


Enter all the desired criteria: the apps that satisfy them all will be searched; if a criterion is specified multiple times, only the last occurrence will be considered.












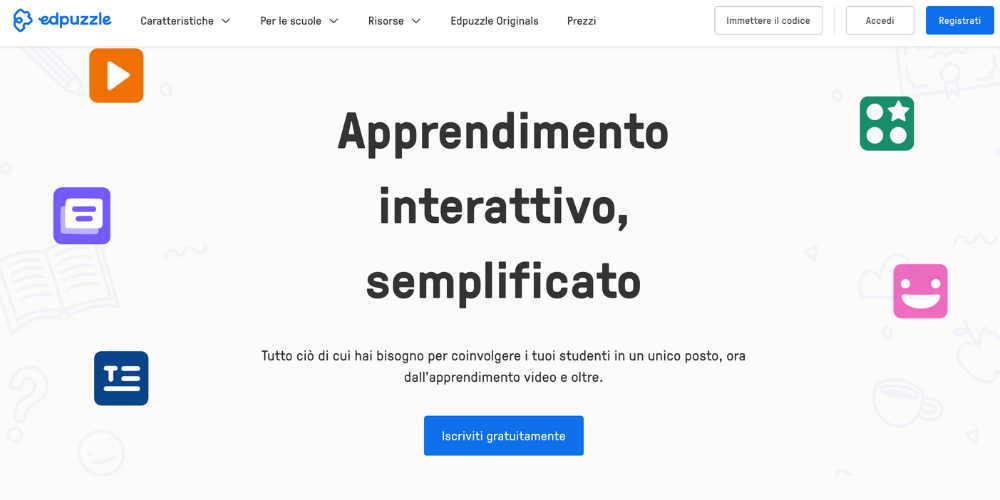
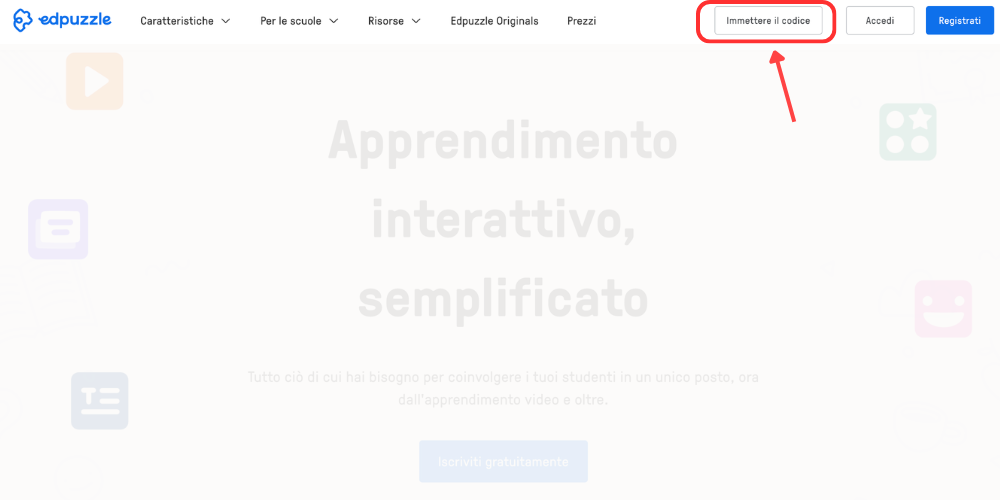
The following is the EdPuzzle home screen: from here you can log in or register.
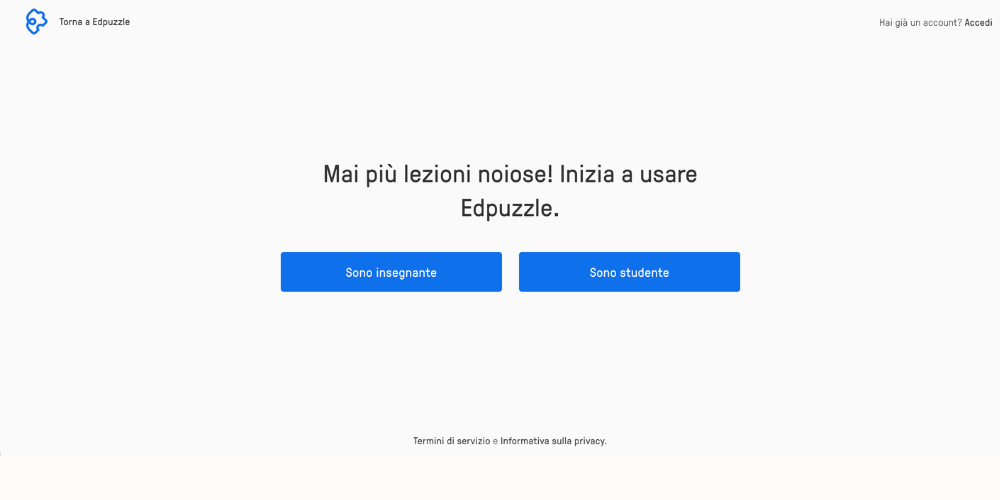
During the registration process, you will be asked to specify whether you are registering as a student or a teacher.
If you select the teacher role, you must indicate the school where you work.
The following screen represents your account dashboard. From this section, you can explore and use interactive videos created by the EdPuzzle community, manage your personal library by organizing content into folders and playlists, and monitor your class activity, including student progress and achievements.
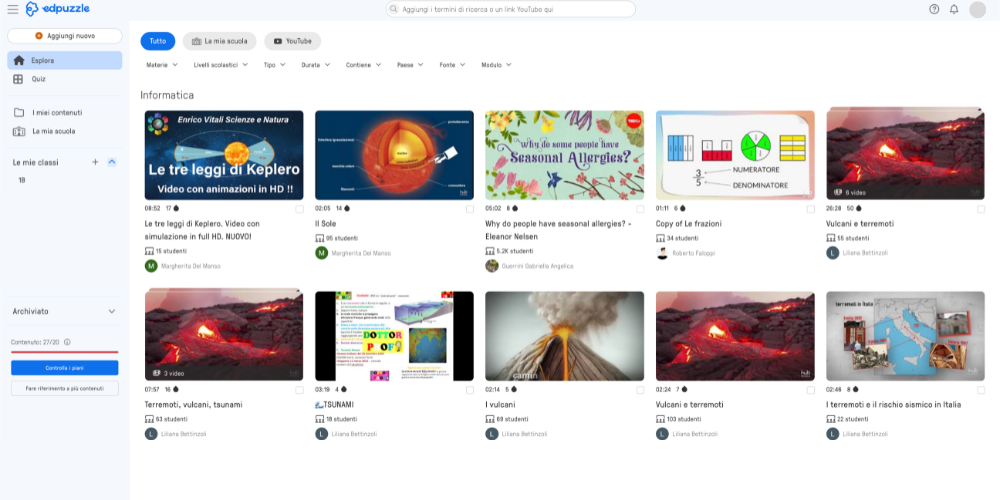
By selecting a video from the library, you can edit and customize it to suit your teaching needs or add it to your library for later use. Once you have completed your content review, you can proceed with assigning the interactive video to your classes.
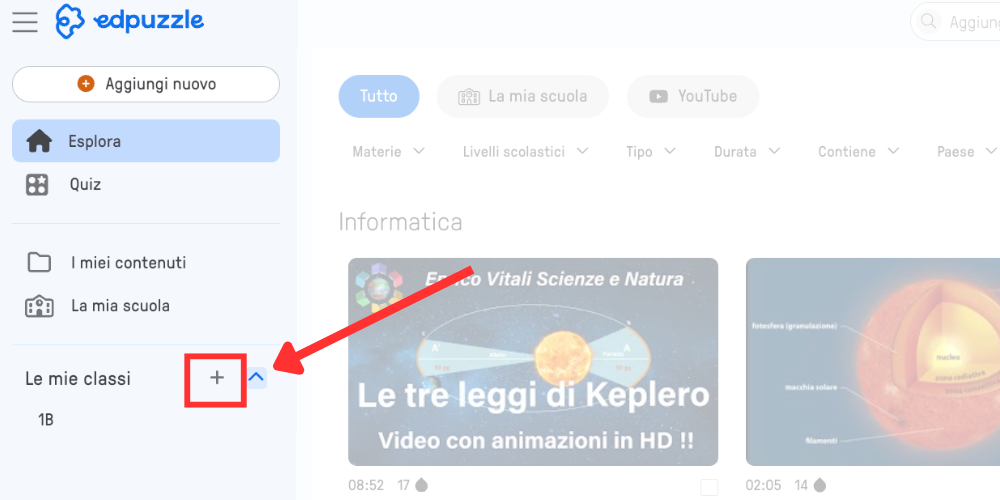
To create a class, click the + next to "My Classes"
EdPuzzle allows you to directly integrate your virtual classes managed via LMS (Learning Management System), such as Google Classroom or Microsoft Teams.
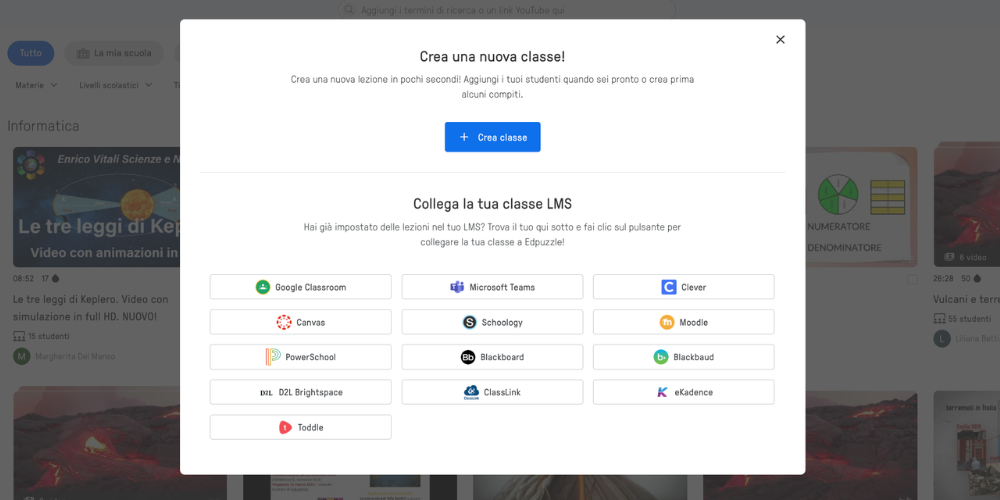
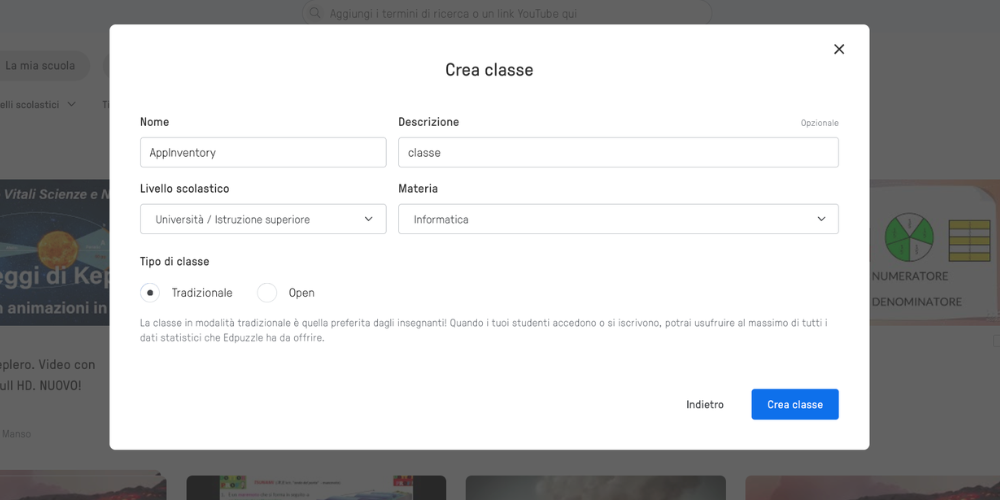
As an alternative to LMS integration, you can create a class directly within the platform, choosing between two different configuration modes: Public Class and Private Class.
In this case, students access the course by entering the course code on the main interface (homepage) of the site and specifying a simple username, which will only be associated with viewing the activities and the answers provided during the session.
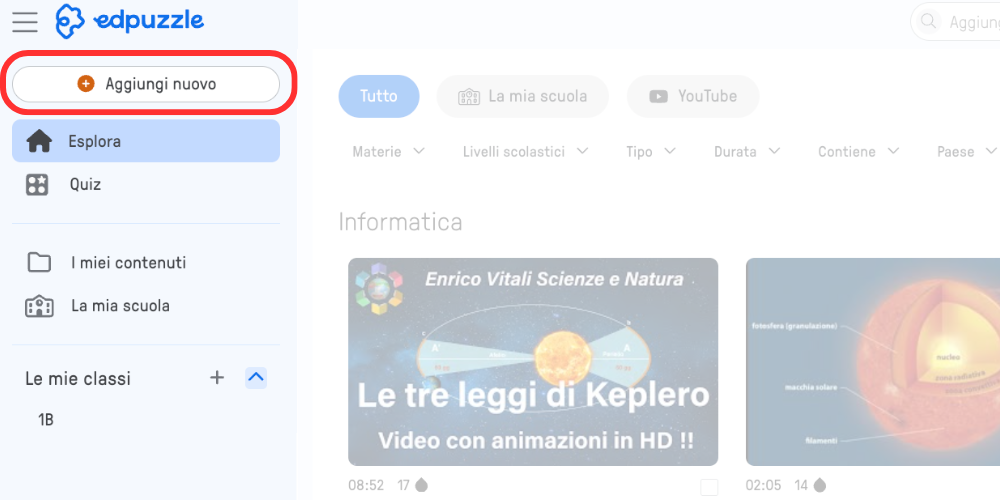
From your account dashboard, you can create your own project by clicking on "+ Add New"
The following screen shows the section dedicated to content creation. From here, you can choose to create interactive videos, interactive documents, interactive presentations (slides), and quizzes. The Student Project feature is also available, which promotes active learning by allowing students to independently create and develop their own multimedia content, which can then be shared with the teacher.
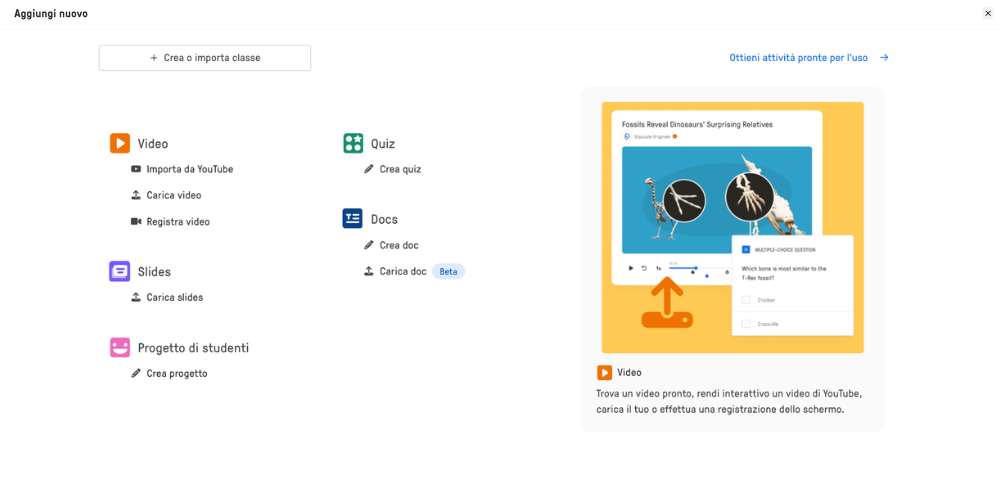
Users can choose to import a video from YouTube, selecting it for later customization. Alternatively, they can upload a video from their device or record it directly, after installing the appropriate extension.
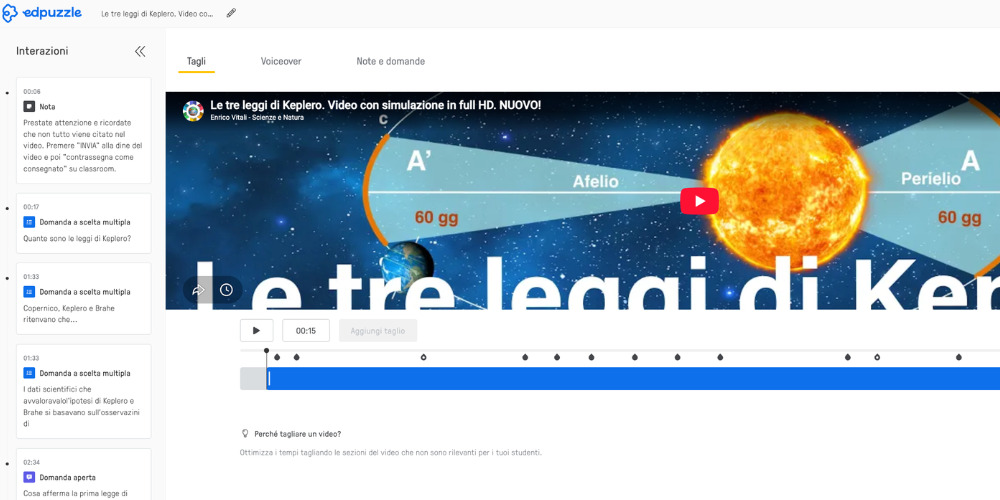
The following screenshot shows the video editing panel.
In this section, you can customize the content by adding open-ended or multiple-choice questions, as well as making cuts and edits to the video. If the content is uploaded from your device or recorded directly, you can also replace the original audio with custom voice recordings.
In this specific case, we chose to edit a video already available on YouTube, transforming it into an interactive activity.
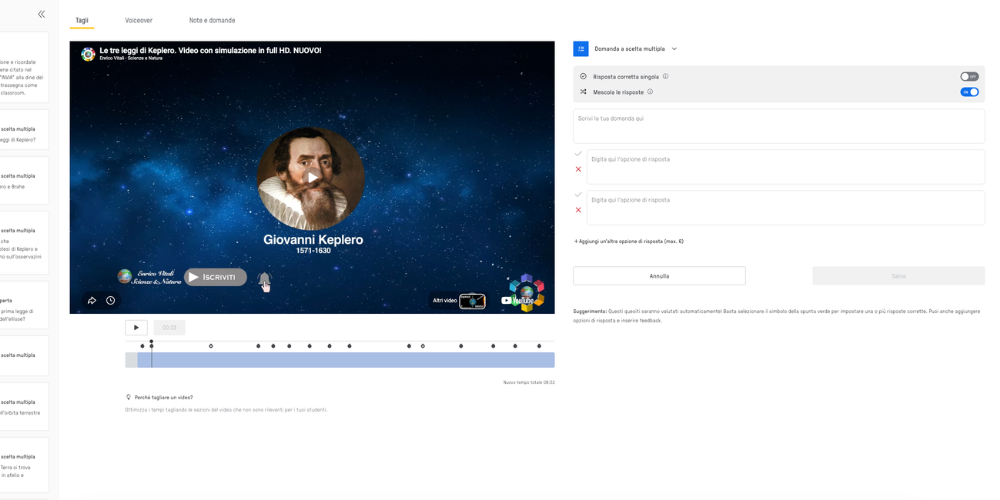
To customize the questions associated with the video, select "Notes and Questions" from the top menu. You can then choose between "Multiple Choice," "Open Question," or "Note," depending on the type of content you wish to include. A dedicated window will open for each option, allowing you to type the text.
For multiple choice questions, you can indicate the correct answer by selecting the green checkmark (e.g., answer 1) and mark incorrect answers with the red X (e.g., answer 2). To determine the exact time in the video to display the question, simply select and drag the corresponding drop icons in the timeline below the video.
Once you've completed the customization, select "Save" to save your changes and then "Done" to conclude the process.
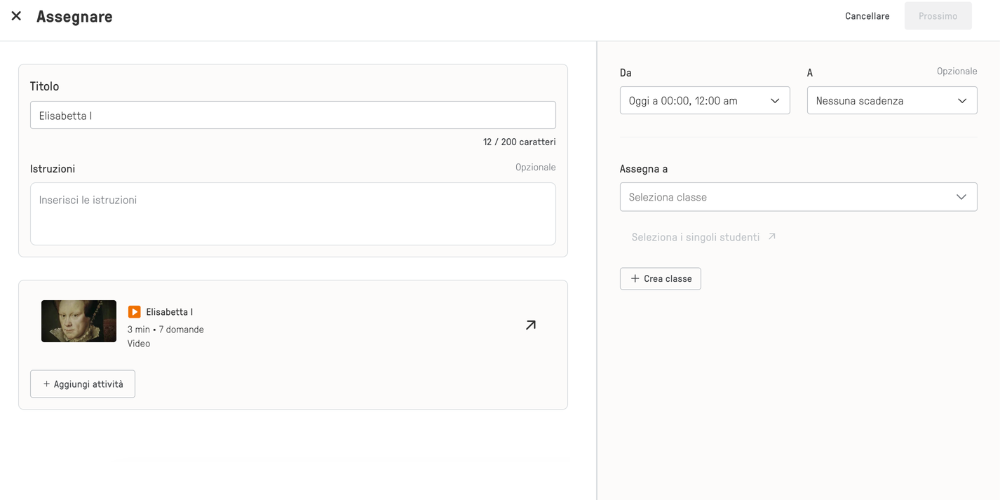
Once the editing phase is complete, you can assign the video to students, or to a specific class group, by selecting the "Assign" button. Alternatively, the content can be further edited before distribution by saving it in the "My Content" section.
During the assignment process, you must define certain parameters, including the publication date and time, the activity title, and the recipient class. If your Edpuzzle account is synchronized with an LMS (e.g., Google Classroom or other classroom management platforms), students will automatically receive a notification within their digital environment, with a direct link to access the activity on Edpuzzle.
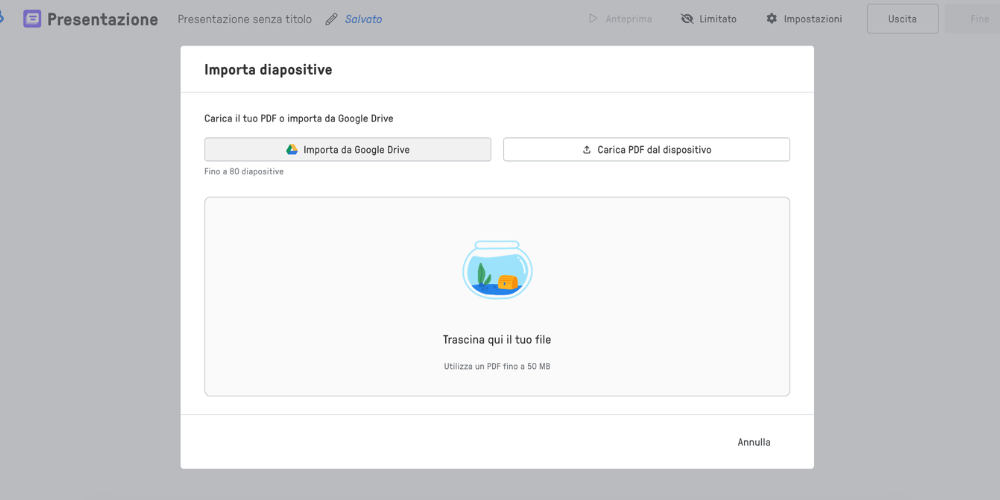
The following screenshot shows the section dedicated to interactive presentations (Slides). To upload a new presentation, select "Upload new" and choose the PDF file containing the presentation, importing it from Google Drive or your device.
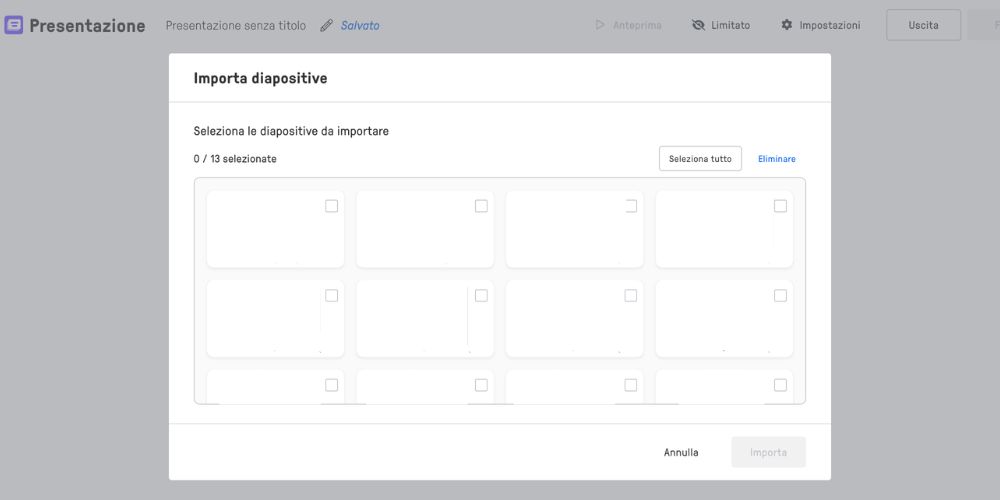
Next, you can select the slides you want to import: if you want to use the entire presentation, simply select "Select All" and proceed with "Import", waiting for the upload to complete.
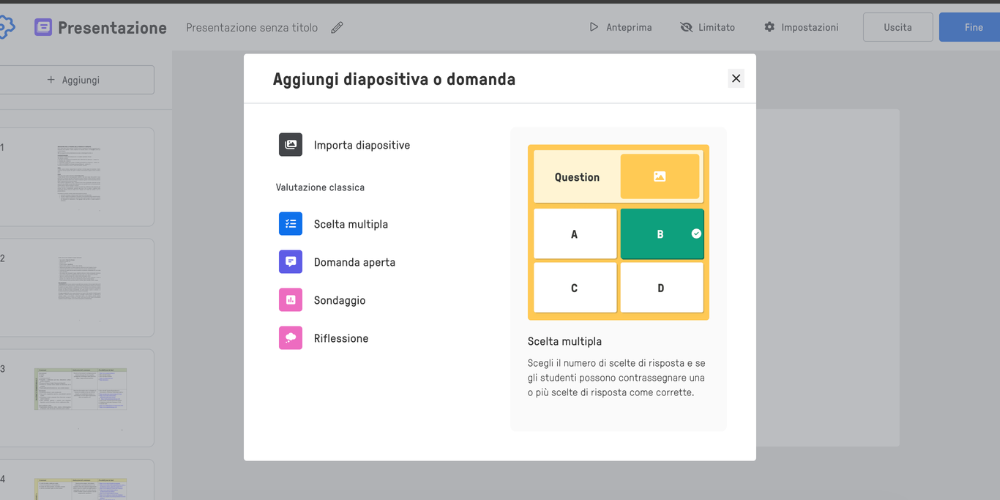
Once the slides have been imported, you can enrich them with interactive content using the "Add New" button, which allows you to insert questions, notes, or reflections, the latter similar to open-ended questions.
The following screenshot shows the editing environment for a multiple-choice question. The process for setting correct and incorrect answers is similar to that already illustrated for interactive videos: you can indicate the correct answer with the green checkmark and mark incorrect answers with the red X.
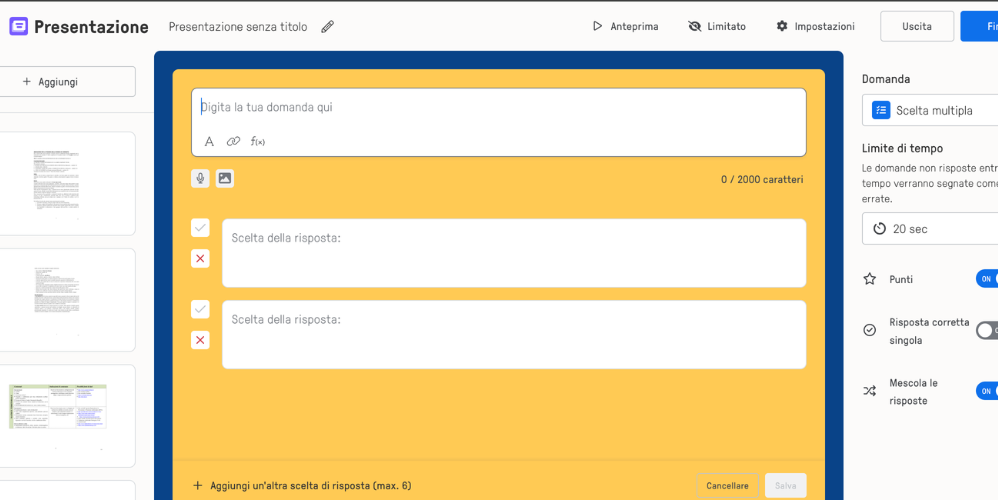
Finally, the preview screen allows you to view the student's experience: after viewing the slides, the time required to answer the entered question will start counting.
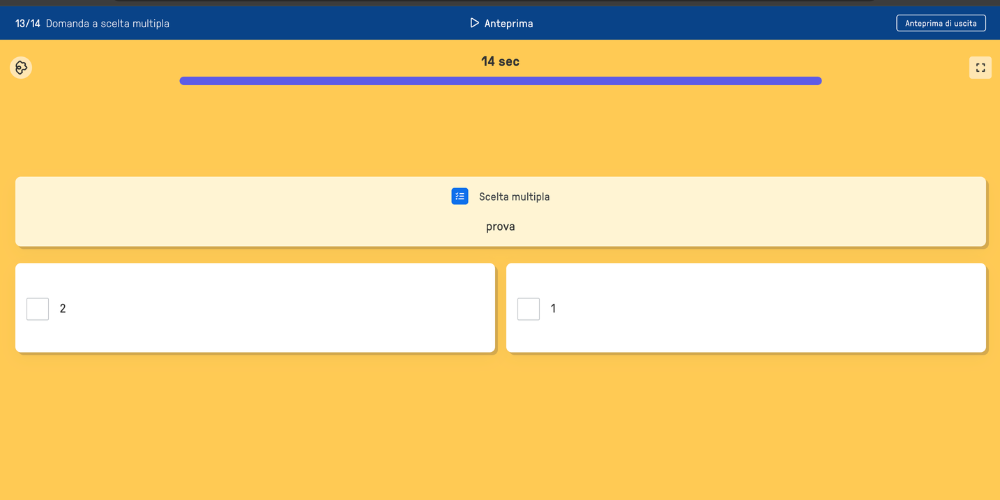
The side of the interface displays the presentation slides and any interactive elements you've added, such as questions, notes, and reflections. By holding down the desired element, you can drag it and change its position within the slideshow if you need to move it from where you initially inserted it.
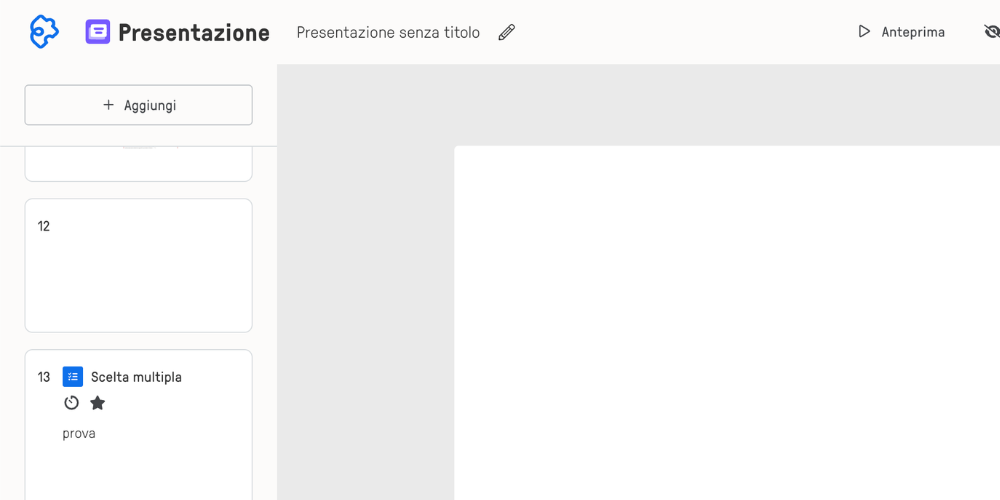
Once you've completed customization, select "Finish" to complete the process.
As previously explained, once the editing phase is complete, you can assign the content to students, or to a specific class group, by selecting the "Assign" button. Alternatively, you can make further changes before distributing the activity by saving it in the "My Content" section.
During the assignment process, you'll need to configure the main parameters of the activity, including publication date and time, title, and target class. If your Edpuzzle account is synchronized with an LMS (e.g., Google Classroom or other classroom management platforms), students will automatically receive a notification within their digital environment, with a direct link to access the activity on Edpuzzle.
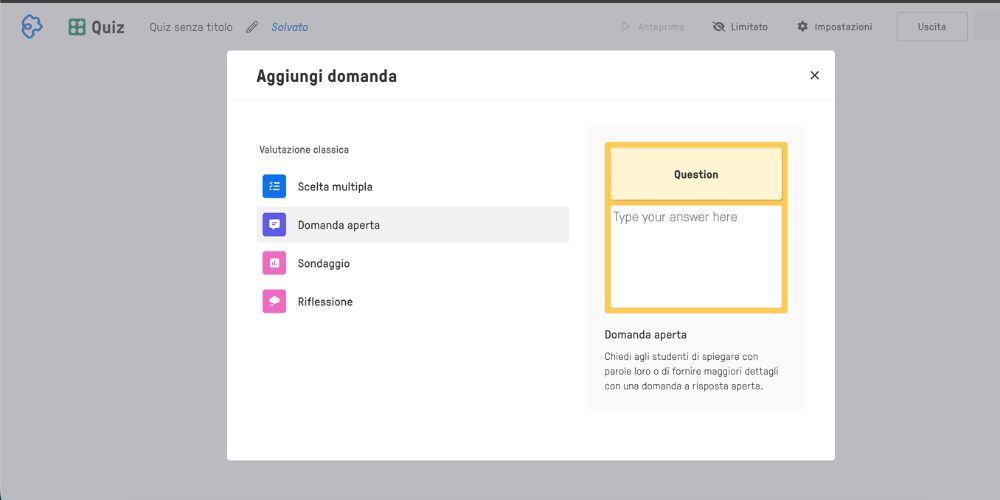
The following screen shows the quiz section. Using the "Add New" button, you can add various interactive elements, including questions, notes, and reflections, the latter similar to open-ended questions.
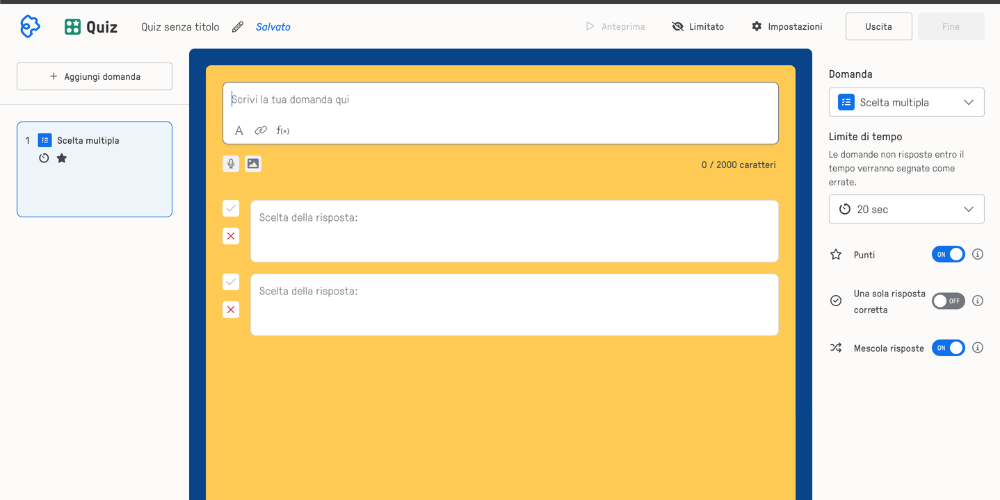
The next screen shows the editing environment for a multiple-choice question. The process for setting correct and incorrect answers is similar to that already described for interactive videos: you can mark the correct answer with a green checkmark and indicate incorrect answers with a red X.
Preview mode allows you to view the student's experience while taking the quiz: after the question is displayed, the time allowed for answering the question entered will begin.
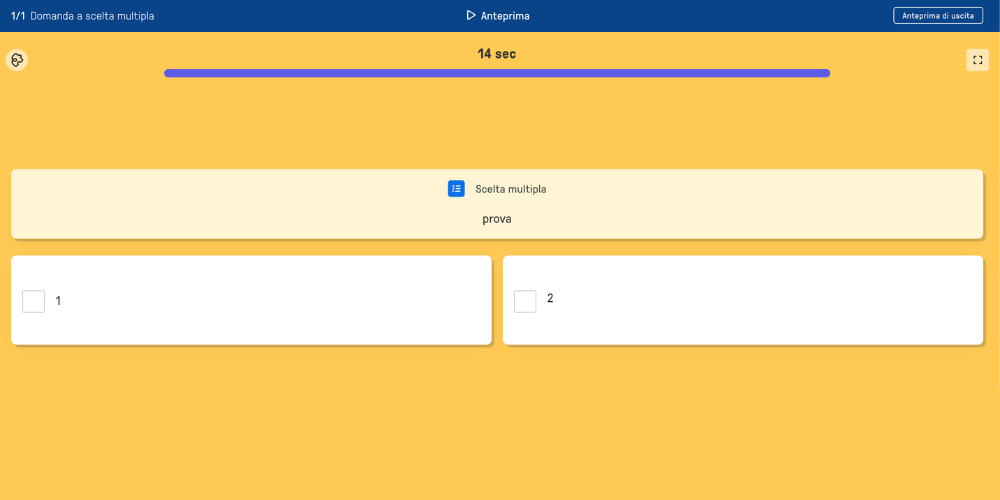
The quiz's component elements, such as questions, notes, and reflections, are displayed on the side of the interface. By holding down the desired element, you can drag it to change its position within the sequence, should you need to move it from its initial placement.
Once you've completed customizing your quiz, select "Done" to complete the process. As previously explained, the content can then be assigned to students, or to a specific class group, using the "Assign" button. Alternatively, you can save it in the "My Content" section for later editing or use.
The following screenshot shows the environment dedicated to creating an interactive document. You can choose whether to import an existing document from your device or create the content directly within the platform.
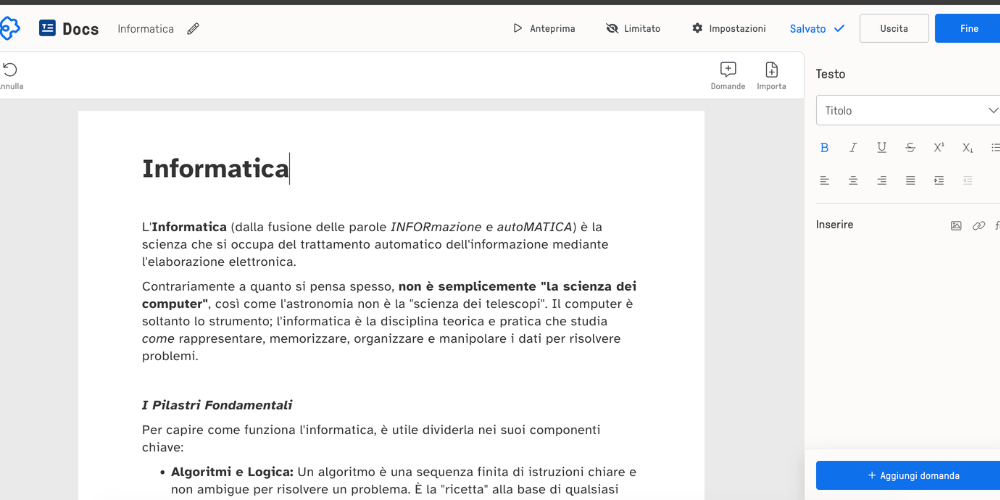
To begin composing the document, you need to enter the title and then develop the corresponding paragraphs. Text formatting tools are available on the sides of the editor, allowing you to apply changes such as bold, italics, underlining, and other stylistic settings. You can also define the content type, choosing between body text, paragraph, title, or note.
At the bottom of the interface, there's a button for inserting a question, which allows you to make the document interactive by adding elements for verification or further study. You can enrich the document with various interactive elements, including questions, notes, and reflections, the latter of which can be considered open-ended questions designed to encourage student reflection.
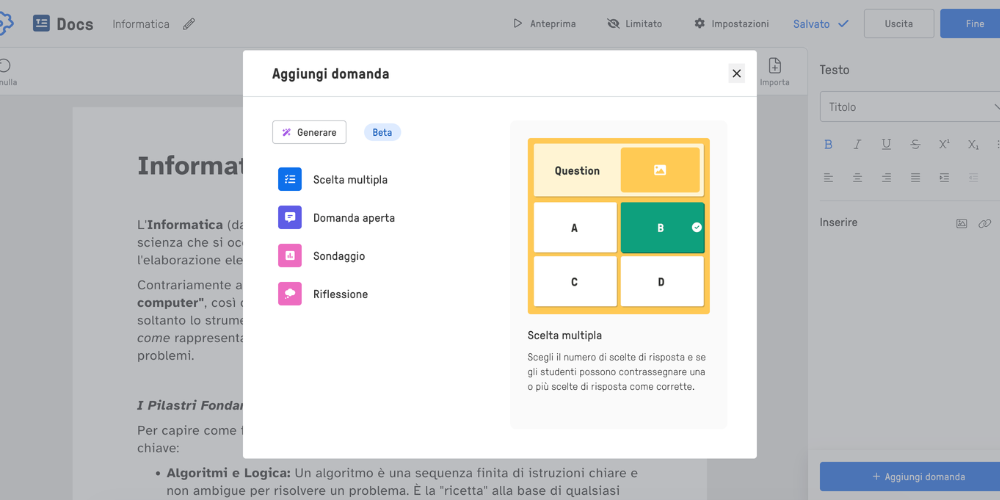
The management of correct and incorrect answers follows the same procedure already illustrated for interactive videos: the correct answer is marked with a green tick, while incorrect answers are indicated with a red X.
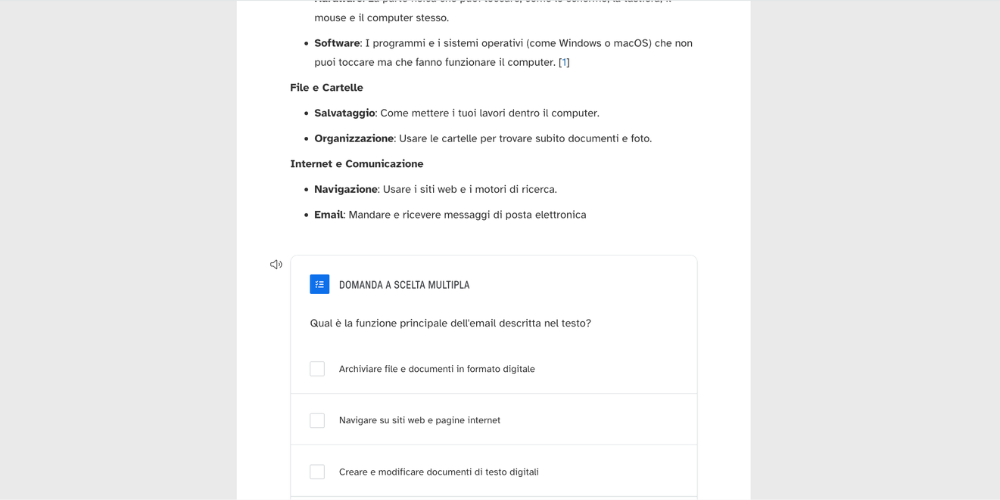
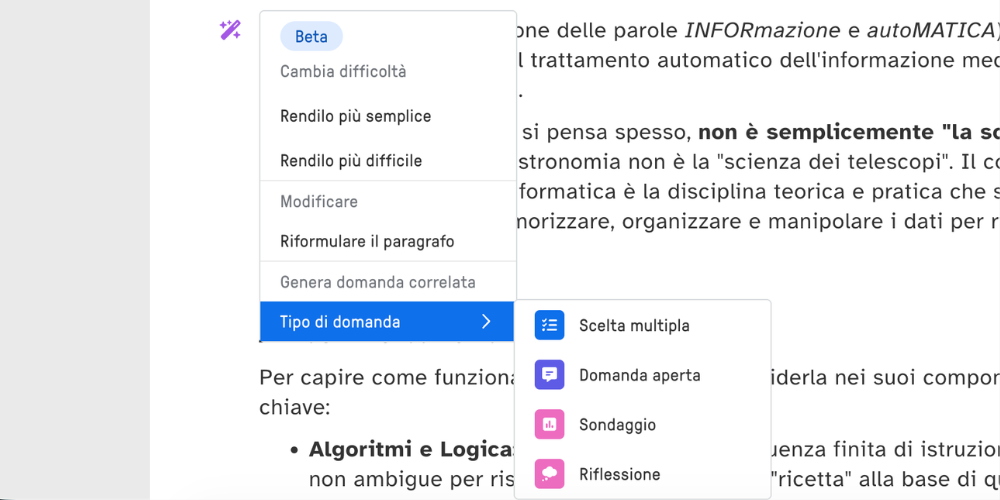
Additionally, by selecting the magic wand icon next to each paragraph, you can access AI-powered tools. These allow you to automatically modify the format of your content, for example, rewriting the text, correcting it, making it more formal, or adapting the style to your needs.
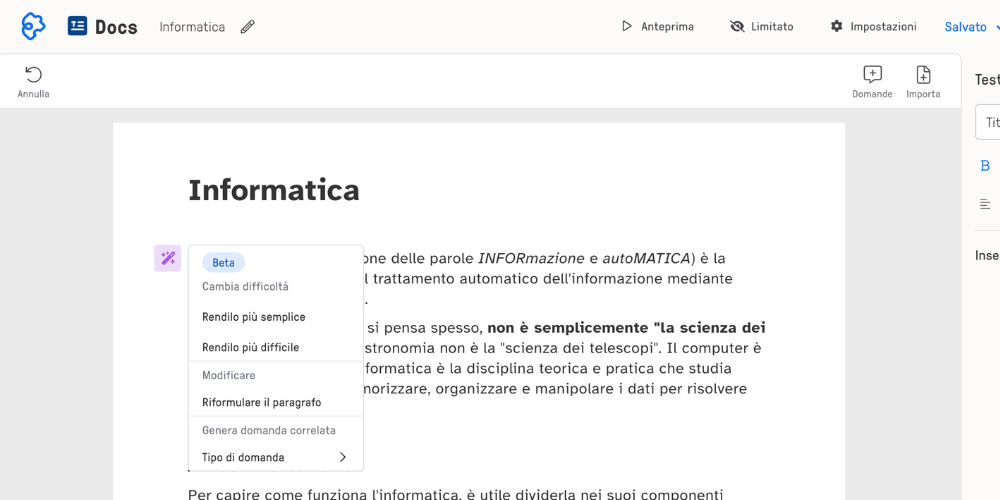
The same feature also allows you to automatically generate a question related to the selected content, choosing the type in advance, such as an open-ended or multiple-choice question.
Once you've completed customizing the document, you need to select "Finish" to complete the process. As previously explained, the content can then be assigned to students, or to a specific class group, using the "Assign" button. Alternatively, you can save it in the "My Content" section for later editing or use.
The following screenshot shows the section dedicated to creating a Student Project. To configure the activity, you need to enter a title, description, and project objectives, thus providing students with the necessary instructions for completing the assignment.
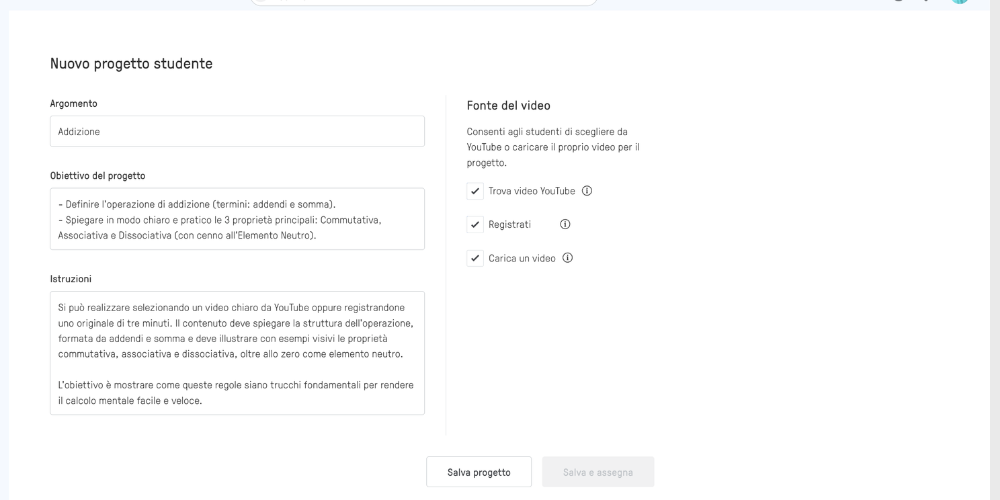
Next, the teacher can define how students will create the content, choosing whether to allow them to search for a YouTube video, record directly, or upload a previously created and edited video from their own device.
Once the project is configured, select "Finish" to conclude the process. As previously explained, the content can then be assigned to students, or to a specific class group, using the "Assign" button. Alternatively, it can be saved in the "My Content" section for later editing or use.
The following is the main screen for the student account. The left navigation bar lists the classes in which the user is enrolled, either through standard registration or through synchronization with external platforms such as Google Classroom.
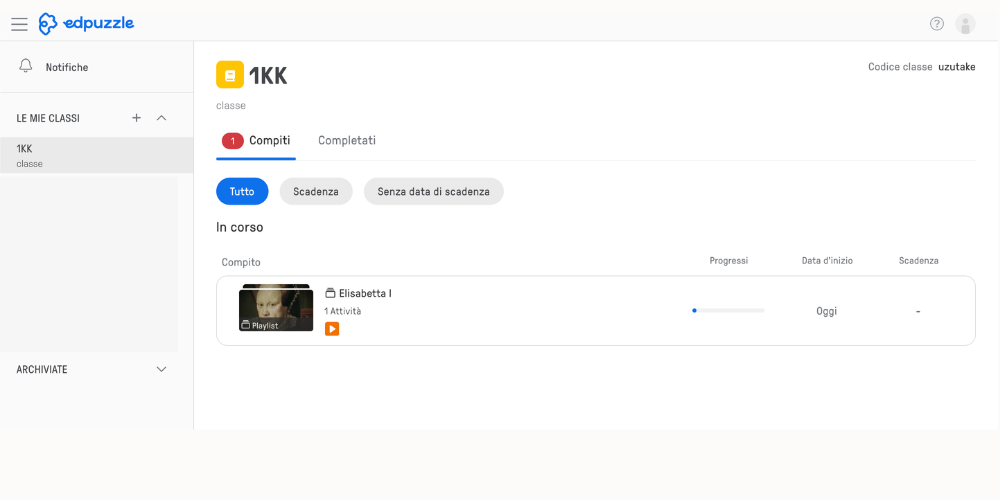
By selecting a single class, the interface displays the list of assigned and pending tasks.
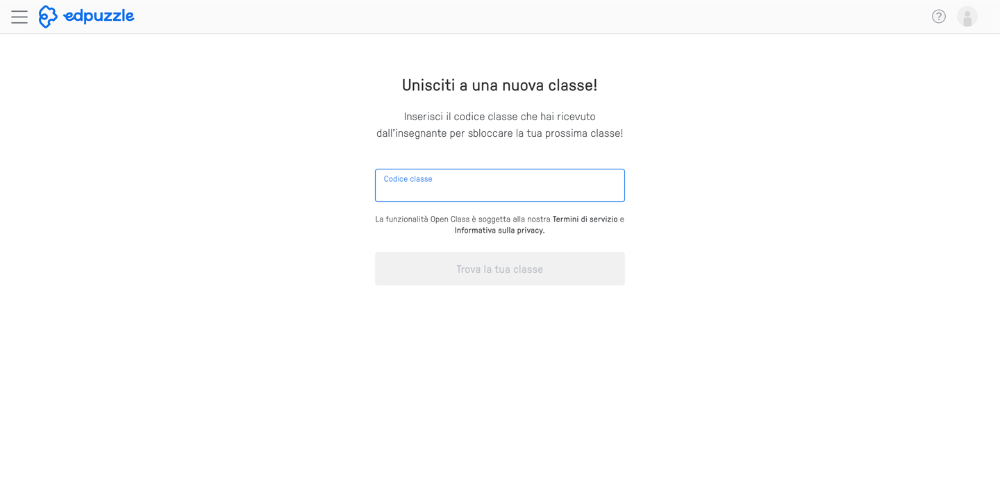
Furthermore, using the dedicated button marked with the + symbol, next to the "My Classes" menu, you can enroll in a new class by entering the unique code provided by the teacher.
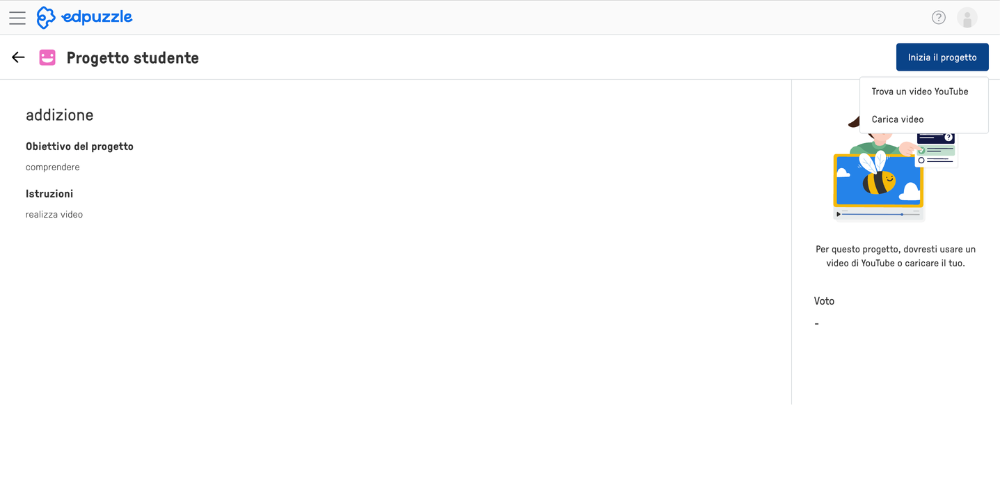
By selecting an assigned project, the student must start the activity by clicking the "Start Project" button.
The interface then prompts students to choose between three different content upload methods:
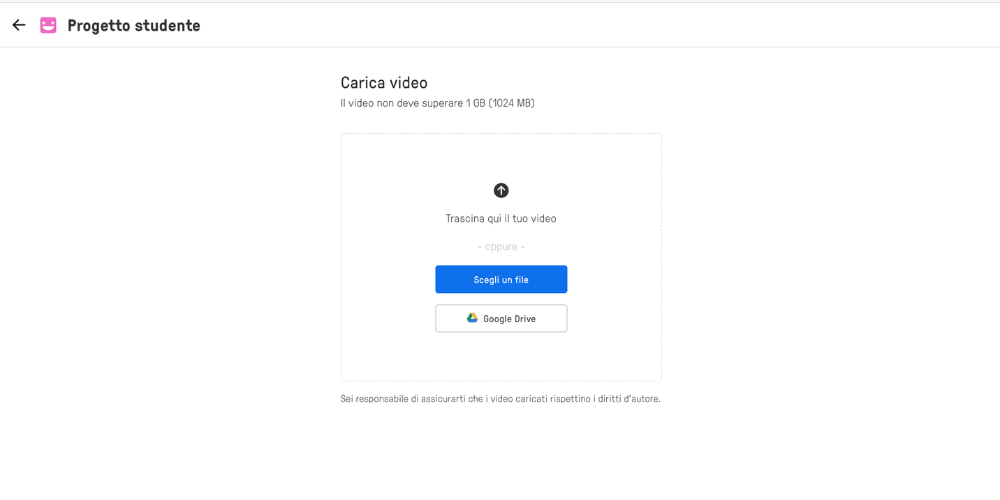
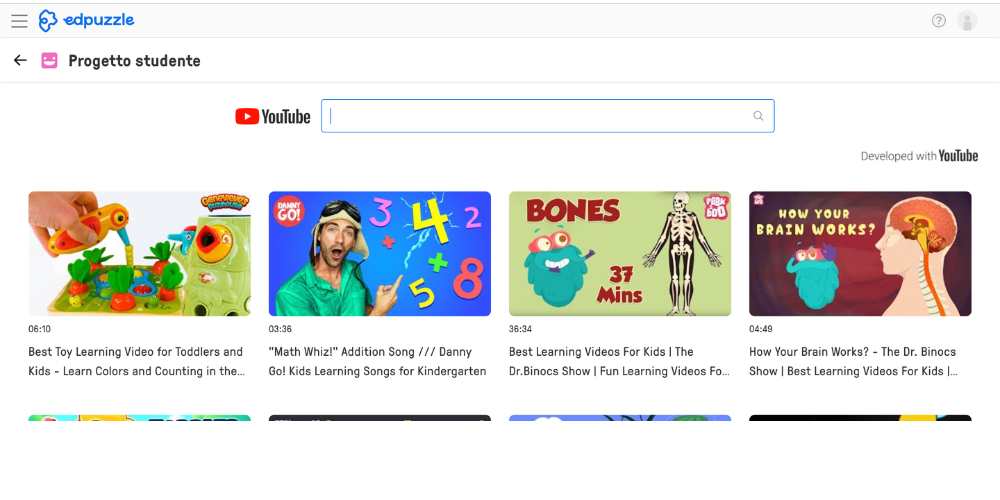
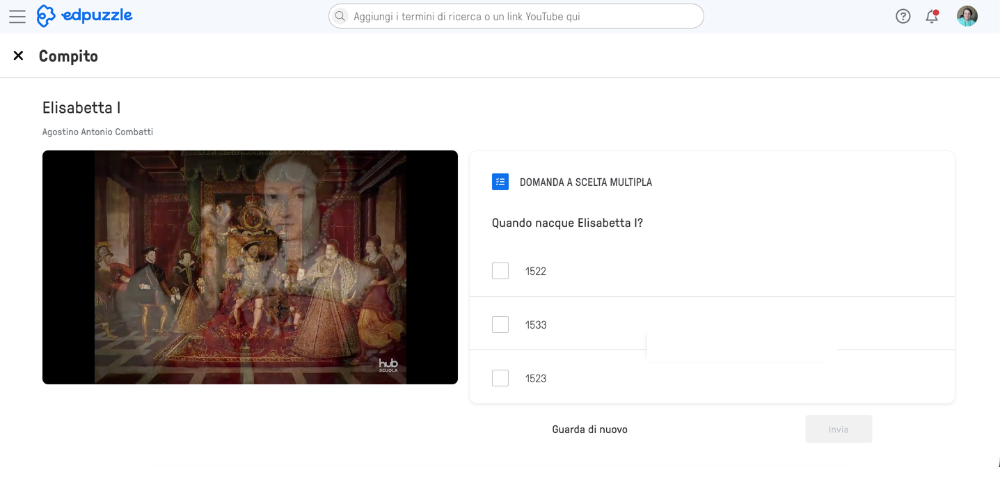
For videos, the student selects the assigned multimedia content to play it and complete the activity, answering the comprehension questions that appear during playback.
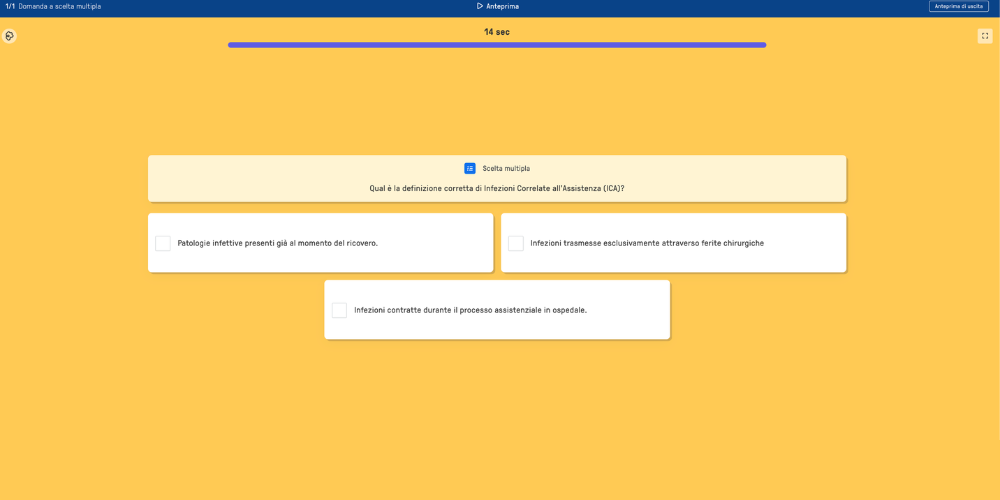
For quizzes, this is the single activity display screen, which displays the assigned question along with the corresponding answer options from which you can select the correct one.
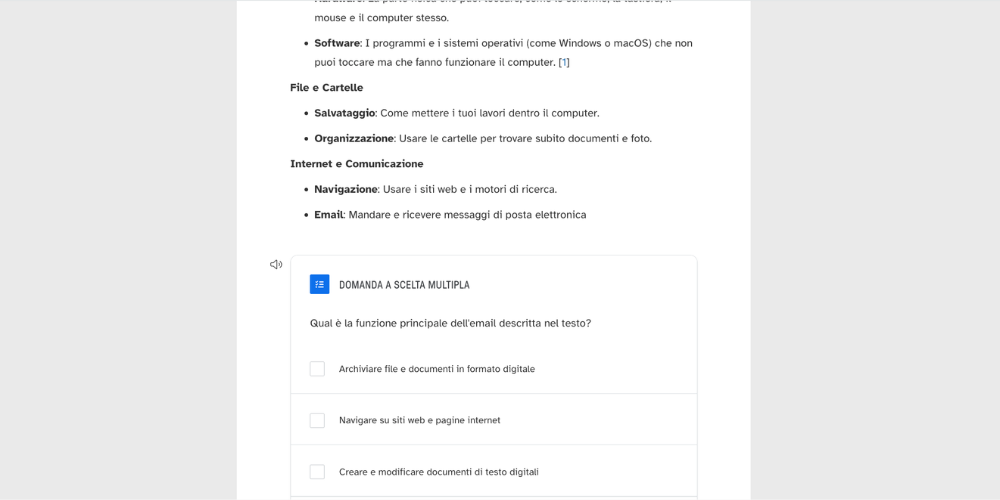
For documents (.doc), the viewing screen displays the text file created and assigned by the teacher. The activity is structured similarly to interactive videos, integrating questions within the document that the student is required to answer during the consultation.
EdPuzzle can be used to:
 Quizzes, forms, surveysVideo making & enrichment
 Groups managementCollaboration & Communication

 2.1/5
5
1.6/5
5
3/5
5
2.8/5
5
2.9/5
5
2.1/5
5
1.6/5
5
3/5
5
2.8/5
5
2.9/5
5
 Add comment









Copy link