Enter all the desired criteria: the apps that satisfy them all will be searched; if a criterion is specified multiple times, only the last occurrence will be considered.

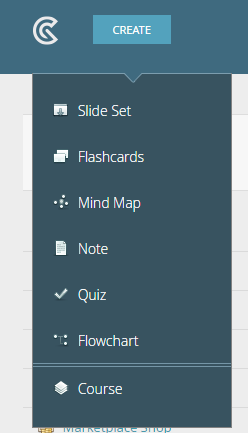
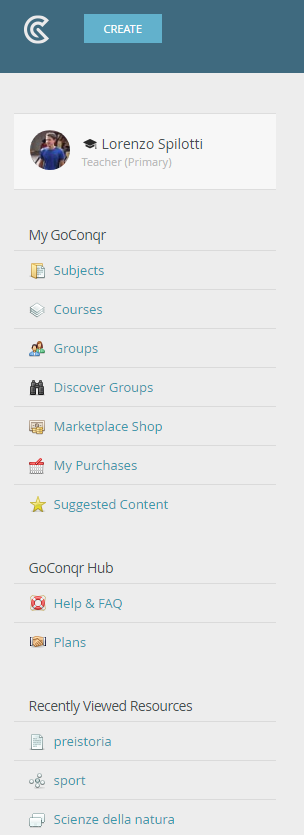 Having illustrated all the items composing the sidebar, now the main part of the application will be analyzed, which can be reached by clicking on the “Create” button. A drop-down menu will open, containing some features made available by the app: SLIDE SET FLASH CARD MIND MAP NOTE QUIZ FLOWCHART COURSE
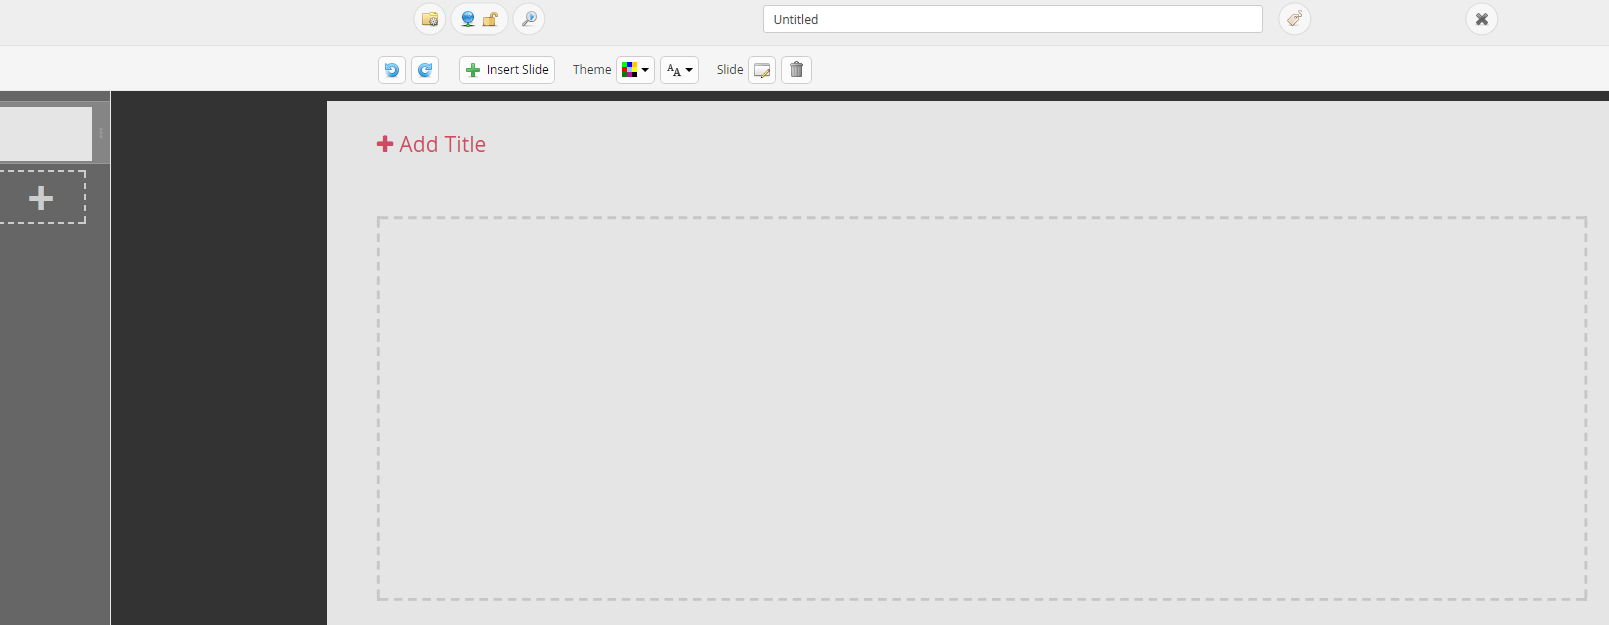
  SLIDE SET Let’s start, for example, by clicking on “Slide Set”. As can be seen in the interface that is presented to us, on the left is the slides creation function, while on the right of it (central part) we will view the newly created slides.
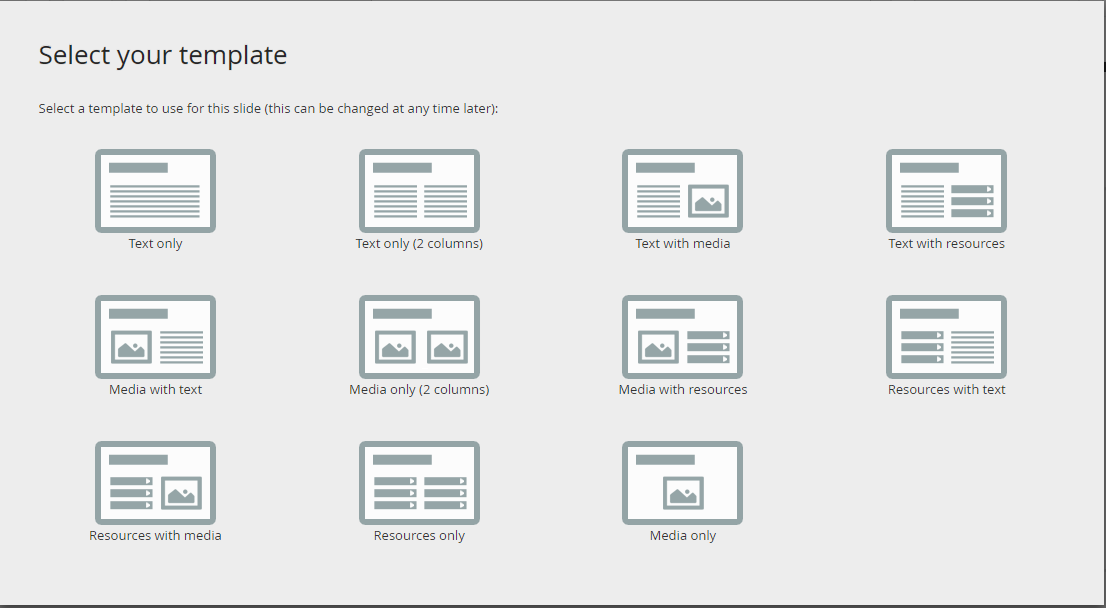
  By clicking therefore on the left to create our slides, a window will open, where we will have to choose our template; whether consisting of text only, media only or both.
  After selecting “Text with media”, for example, on the left we will add our text while on the right the picture that we want to connect to the text. Having filled in both the text and picture fields, we will click on “Actions” (at the top left) to see our preview and this will be what our (example) slide looks like.
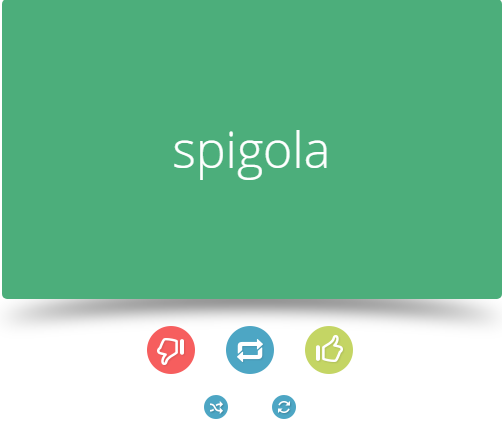
  FLASHCARDS (cards containing information) In this part we will analyze the flashcards section. We will then operate exactly as explained before (“Create” → “Flashcard”) and an interface with the following features will appear: the front and back faces of a flashcard, where we will be able to only insert text or juxtapose a reference text to an image, with the possibility of modifying the colors and text style thanks to the bar positioned at the top middle.
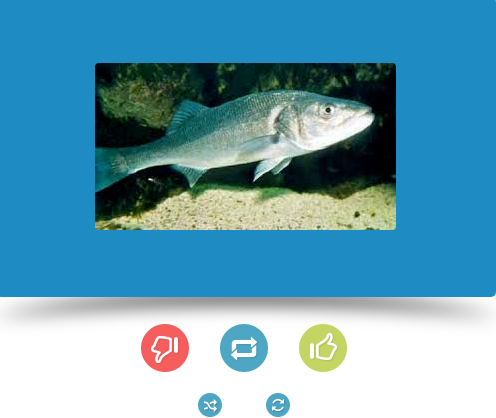 In our case, we have selected the second option and these are the results respectively for the front and back faces of the card, previewable through the “Actions” button.
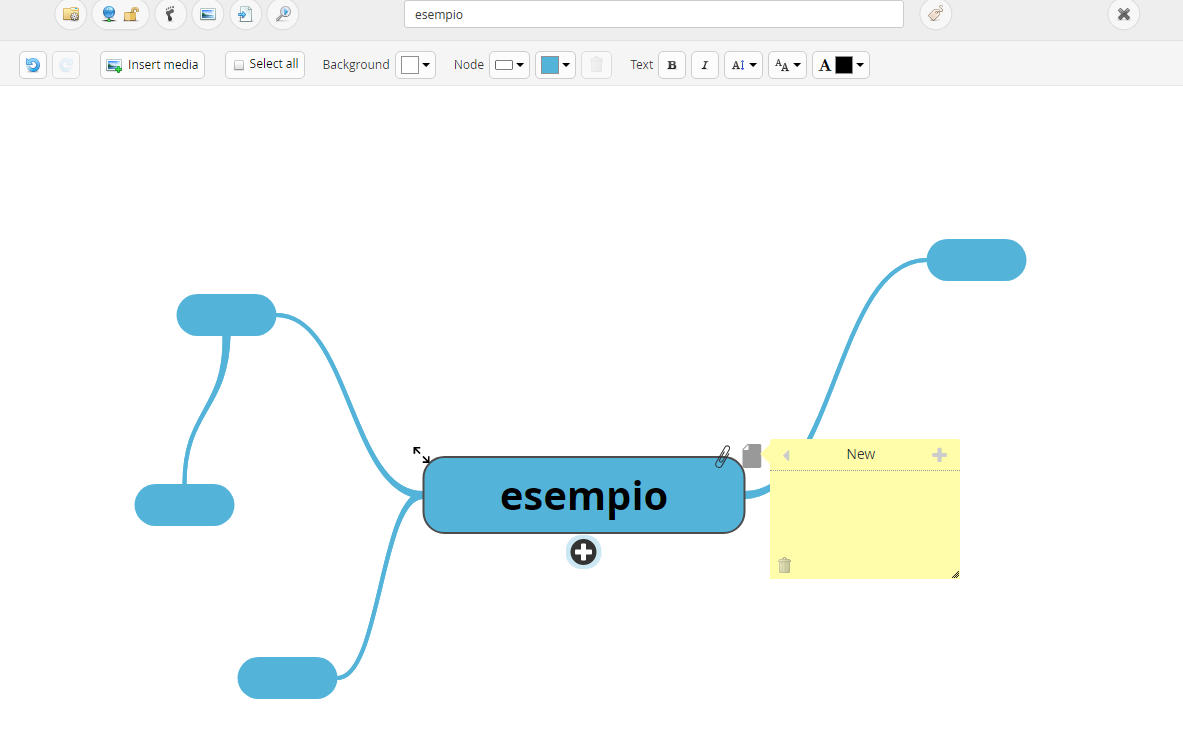 MIND MAP The section regarding mind maps is very simple and intuitive, it appears as a single interface where we will be able to create our own mind map starting from a central node, to add then other links both by clicking on its + symbol and the links’ one. Other functionalities are also present, which allow us to add notes and attach pictures (they have to be in the GoConqr archive already). As every section already introduced, a bar will be present, which will allow us to modify both the colors and text of our mind map.
  NOTE The section that we will now examine is the one called “Notes”, that allows the creation of proper browsable books. The first interface allows us to add the title of the topic that we want to discuss as well as add the first page.
  So, having given a title to our topic/book, we will be able to begin composing it by completing the first box in the spreadsheet. By clicking out of the first box we will add another page, which we will be able to fill in by writing a text or adding multimedia contents (pictures and Youtube videos), through the always present toolbar.
 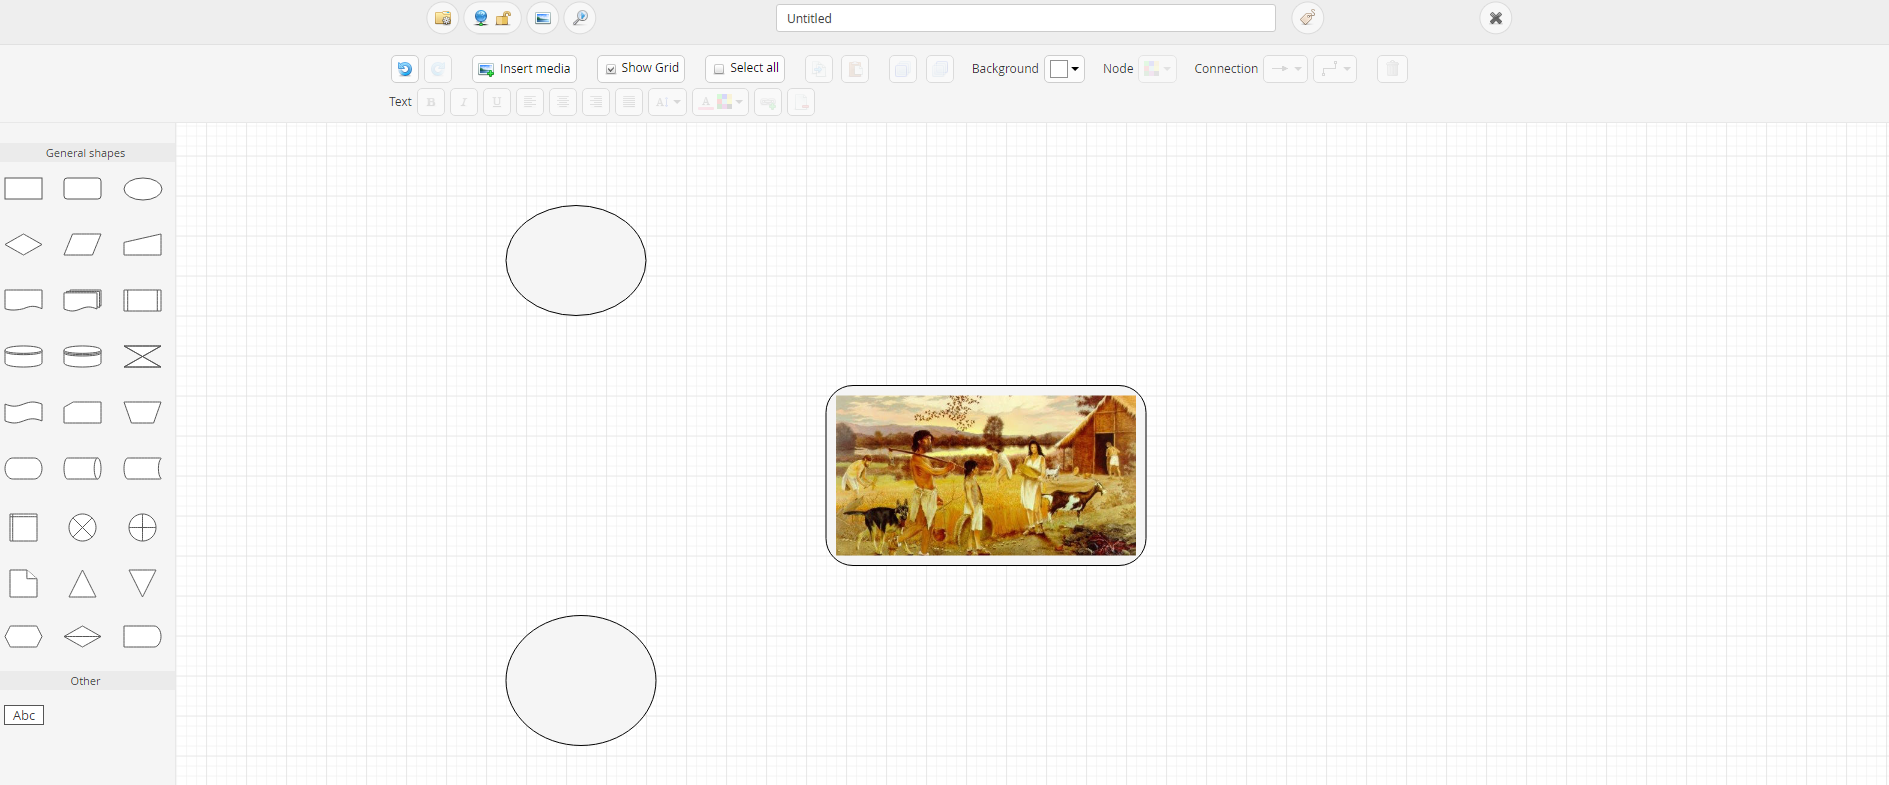 FLOWCHART In this part we will be analyzing the section regarding flowcharts, useful for the creation of the so named diagrams. We will be facing a graphic interface with the following disposition: to the left we will find a bar used for adding geometric figures; at the top middle the multifunction bar with the possibility of modifying both the chromatic and typographic features of the text, adding multimedia files and linking nodes; at the bottom middle we will have the field of our flowchart, where we will view everything we add or type in the previously described bars.
  QUIZ Section dedicated to the creation of quizzes with different characteristics. We will have different kinds of quizzes: drag-and-drop, timed, multiple choice, fill-in-the-blanks, checkboxes and true or false. Il will also be possible to make the quizzes visually catchier by adding pictures uploaded from the computer. By clicking on the section dedicated to quizzes (in the “Create” menu), the following graphic interface will open.
 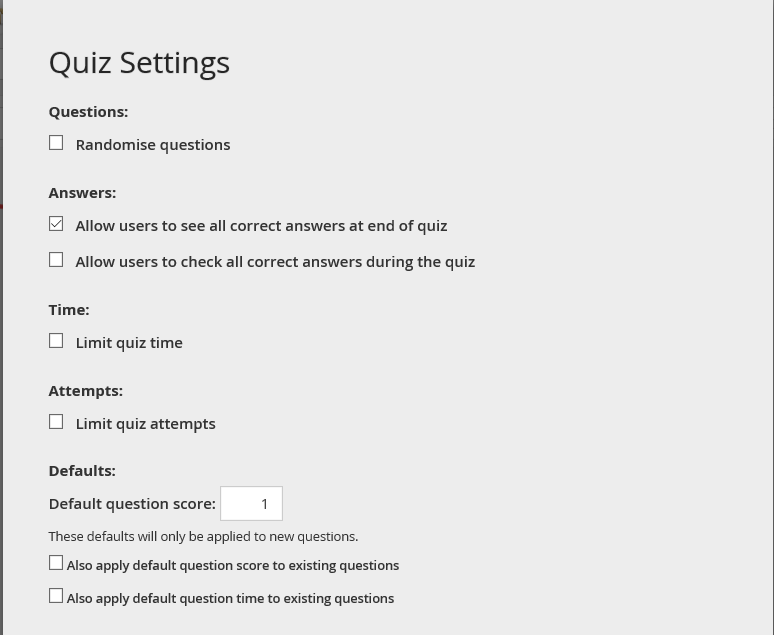 Inside this page of the application, we will be able to carry out the operations: inserting a title for our quiz, with related tags and descriptions; modify the general settings of the quiz. For example, making the order of the questions random, the opportunity for the submitted users of seeing the answers during or after having finished the quiz, giving a time limit or a score;
 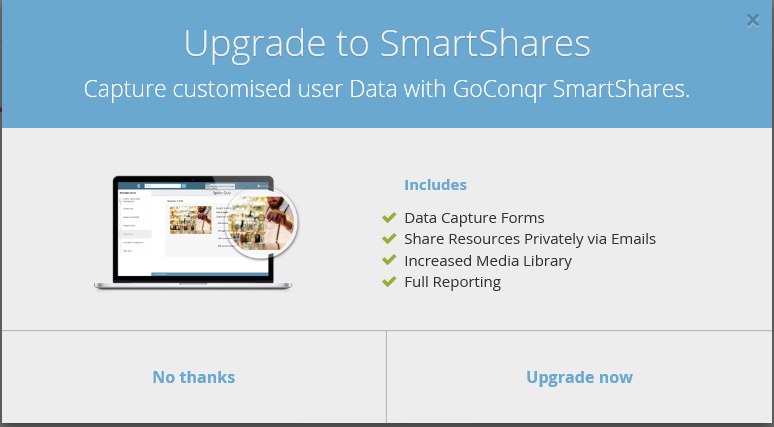 “Insert data capture forms”, an interactive (paid) button that allows to: add data capture forms; share resources privately via emails; have an increased media library; have full reporting;
 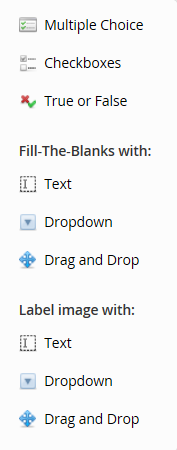 “Insert question”, where all the quizzes that the users can be submitted to are listed: multiple choice questions; checkboxes, very similar to the multiple choice with the only difference being the possibility of adding multiple correct answers; true or false questions. There is the possibility, under “Insert question” still, of inserting white spaces (blanks) through the items: “text”, which allows us, by underlining a part of a sentence, to add a space where we want the users to write; “dropdown”, with the same logic of inserting a white space but with the further possibility of adding more (true or false) answers into a dropdown menu; “drag and drop”, with the exact same procedure but the answer will have to be given by dragging and dropping it. With the same logic, there is the possibility of inserting images under “Label image with”, still using the “text”, “dropdown” and “drag and drop” functions. NOTE: the modalities of adding will be identical to those of “fill in the blanks”, with the only difference of adding images inside the questions.
 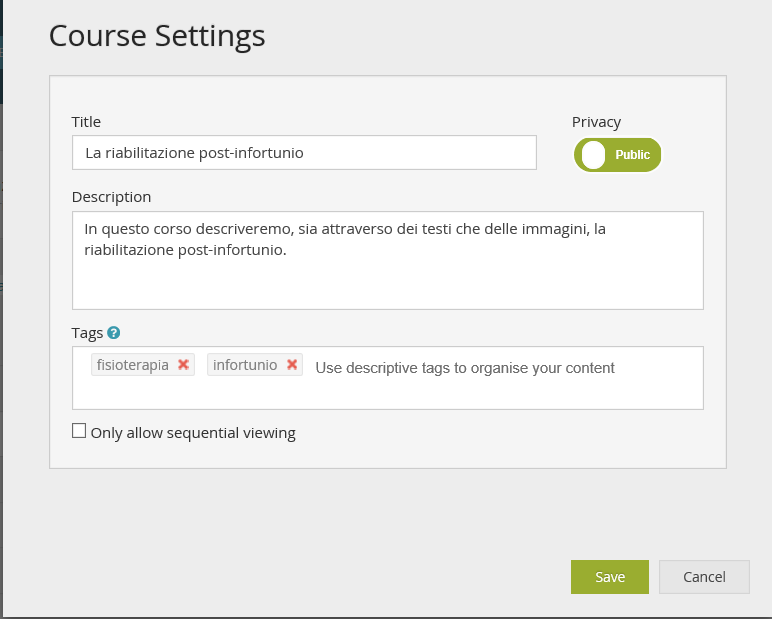 COURSE The last part of the “Create” interactive menu is the “Course” section, where we will be able to create our own course, in the modalities that fit the topic to be discussed in that moment the most. After clicking on “Course”, a window will initially open, where we will be able to set the general features: title, description and recognition tags.
 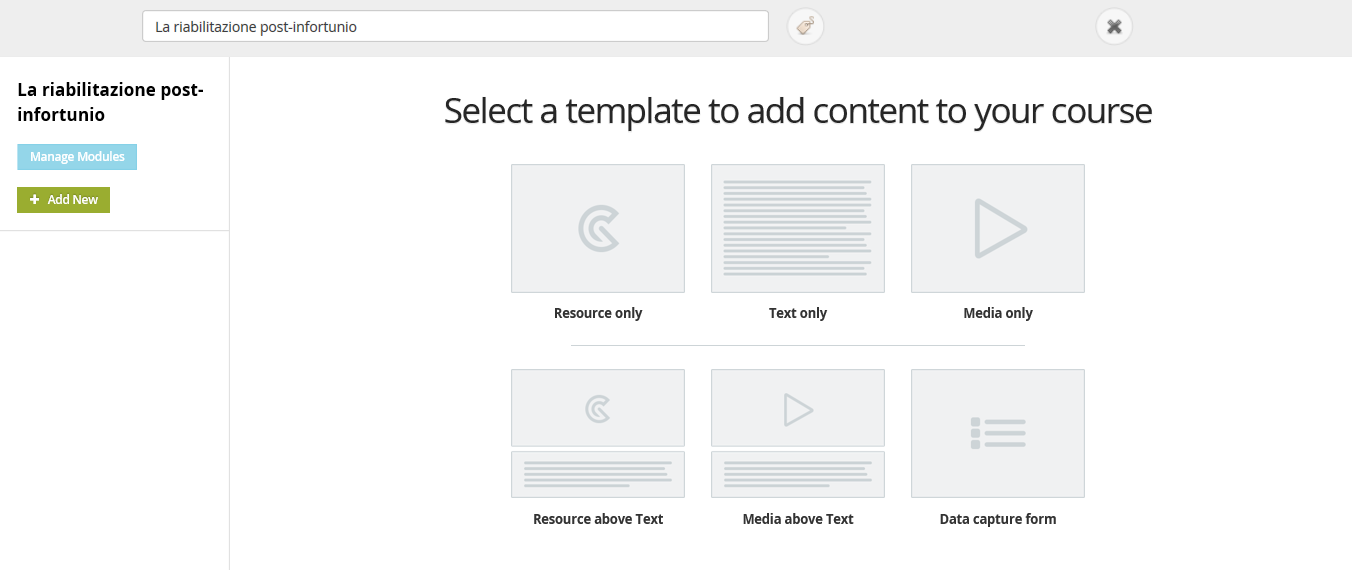 Once all the general features are set, by successively clicking on “Save” we will be facing a new interface, in which we will be able to decide how to (graphically) set the slides up during the course of our course: for example slides made of text only, images only, both text and images etcetera.
 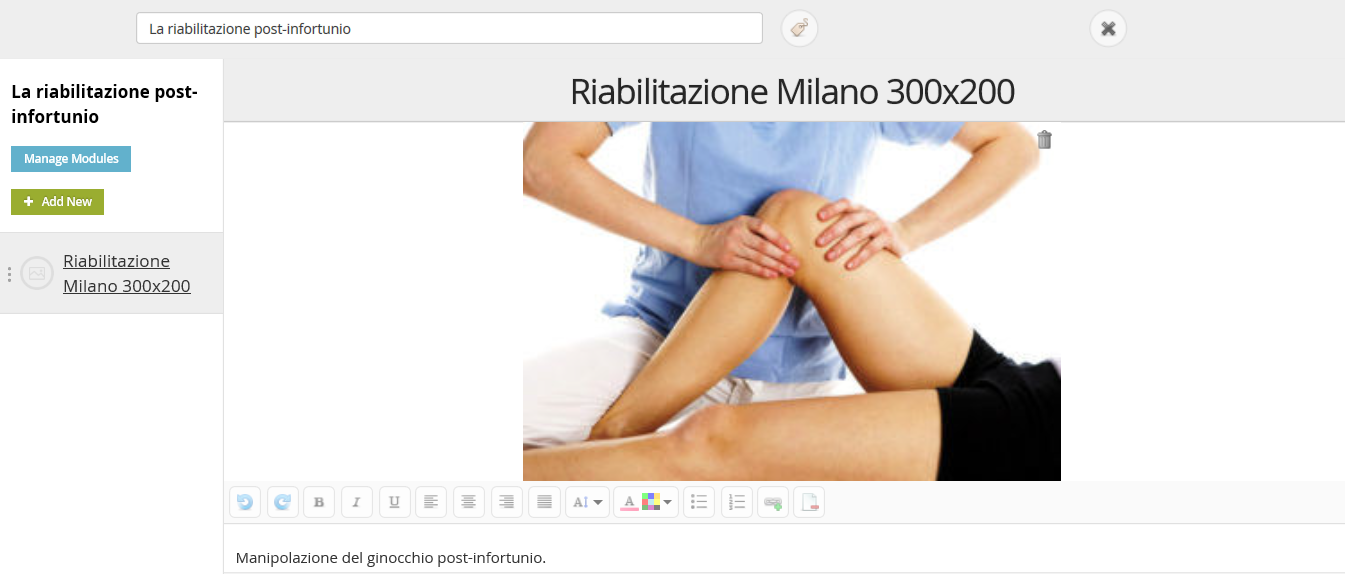 In this case, I have decided to select slides having both images (previously uploaded on GoConqr) and text and the result is the following.
 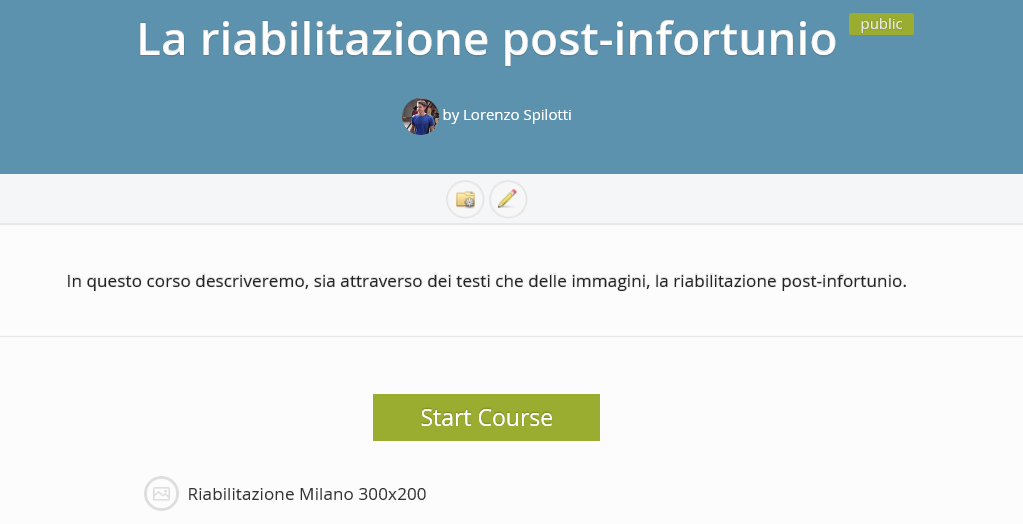 When we are satisfied with our course, we will be asked to save it; to view it we will have to go back to the homepage and click on the left bar on “Courses”. A window will open, where we will see the title, the description and the “Start Course” button for viewing the previously set slides.
Copy link