
Enter all the desired criteria: the apps that satisfy them all will be searched; if a criterion is specified multiple times, only the last occurrence will be considered.
 We have to create an account, signin in with email and password, or login in with a Google, Edmodo or Microsoft account.
 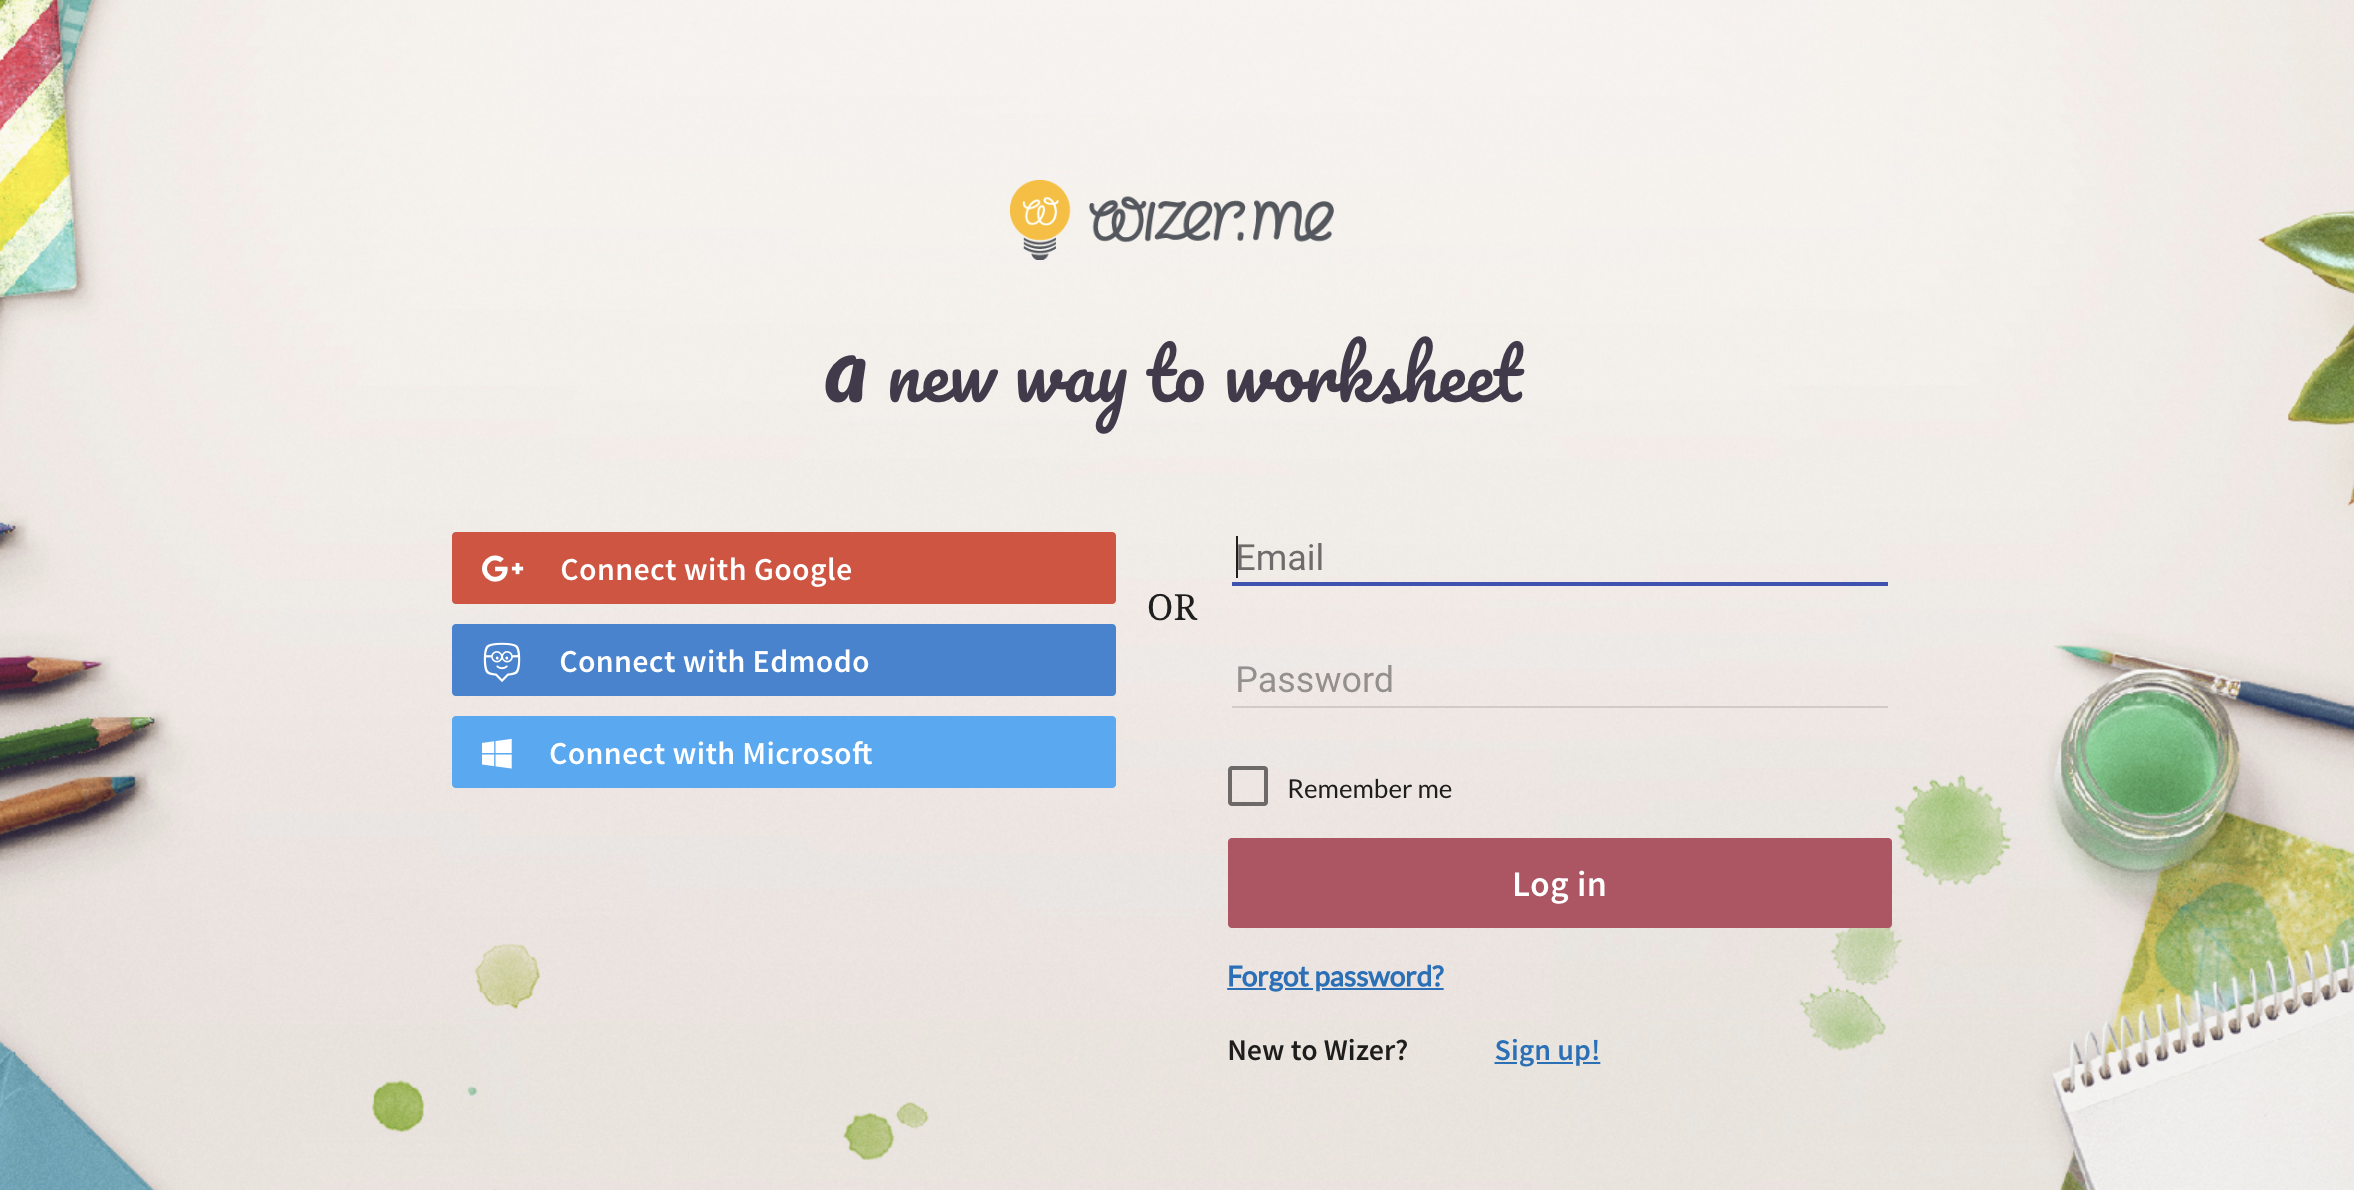 After sign-in, we enter in a personal dashboard, where we can easily create a worksheet. The following figure shows the first step of the creation: the selection of a design and of the worksheet title.
 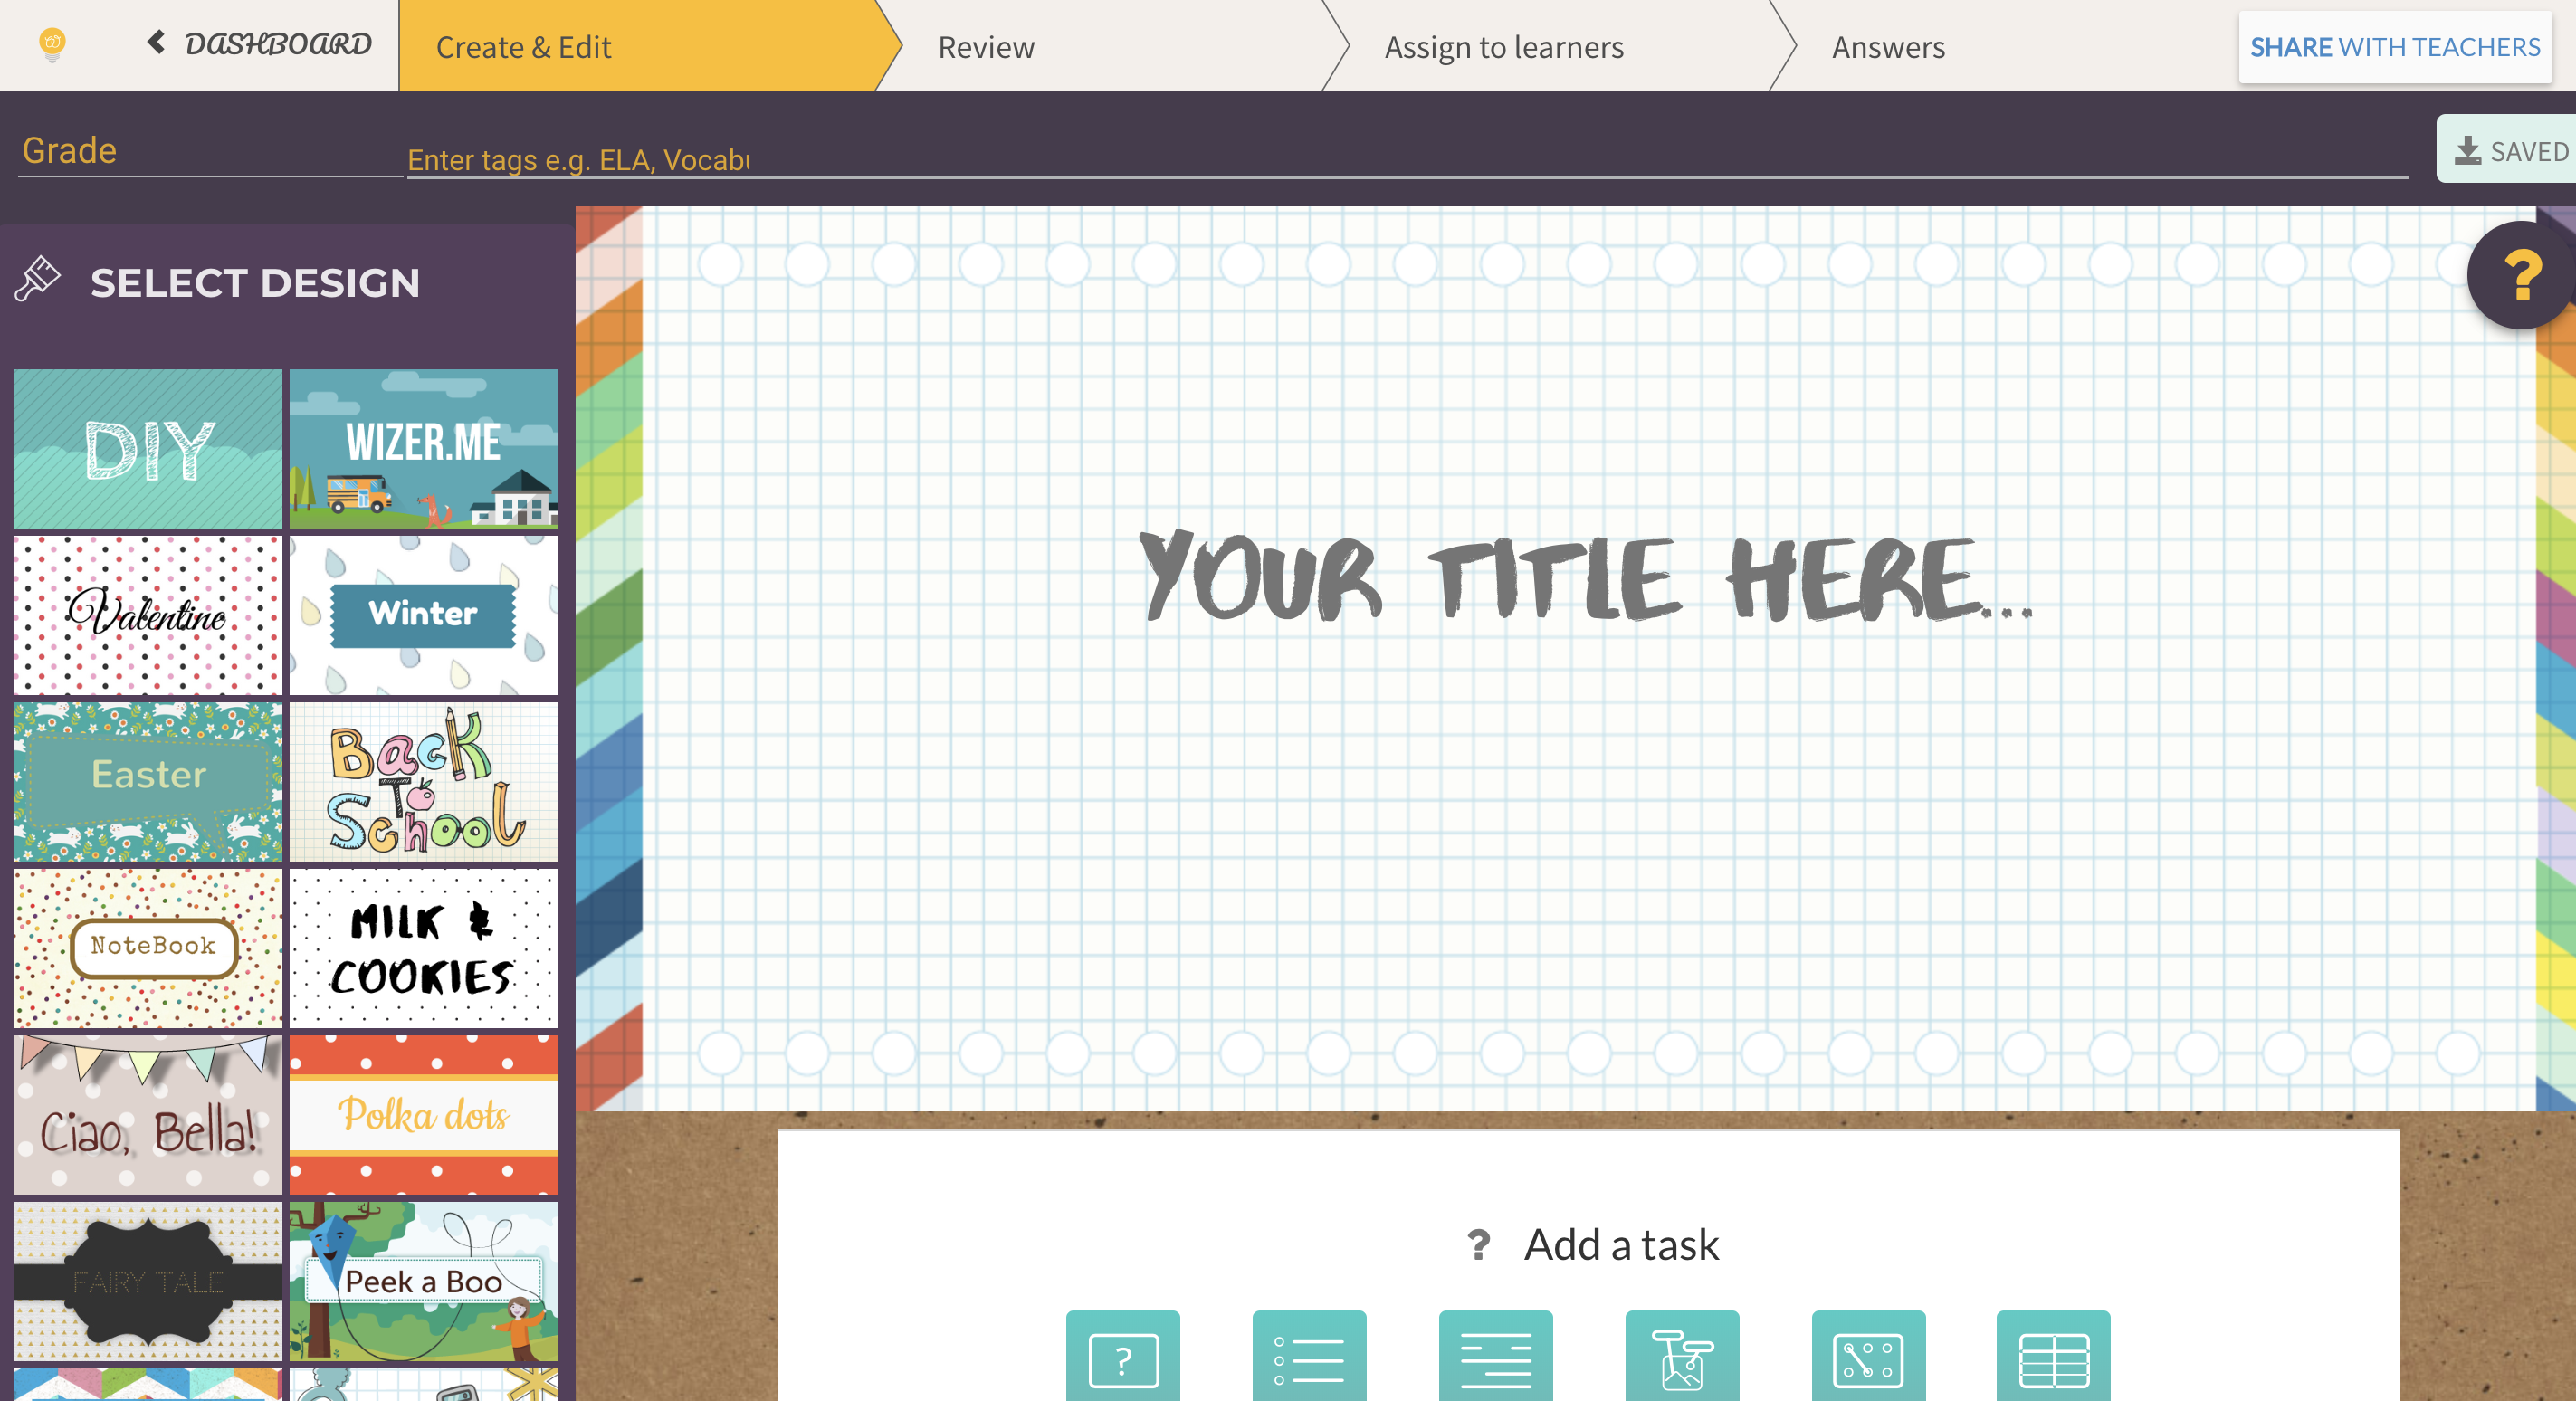 Then, we can add many different tasks in our worksheet. The following picture shows the list of tasks, clicking on one, we add it to the worksheet
 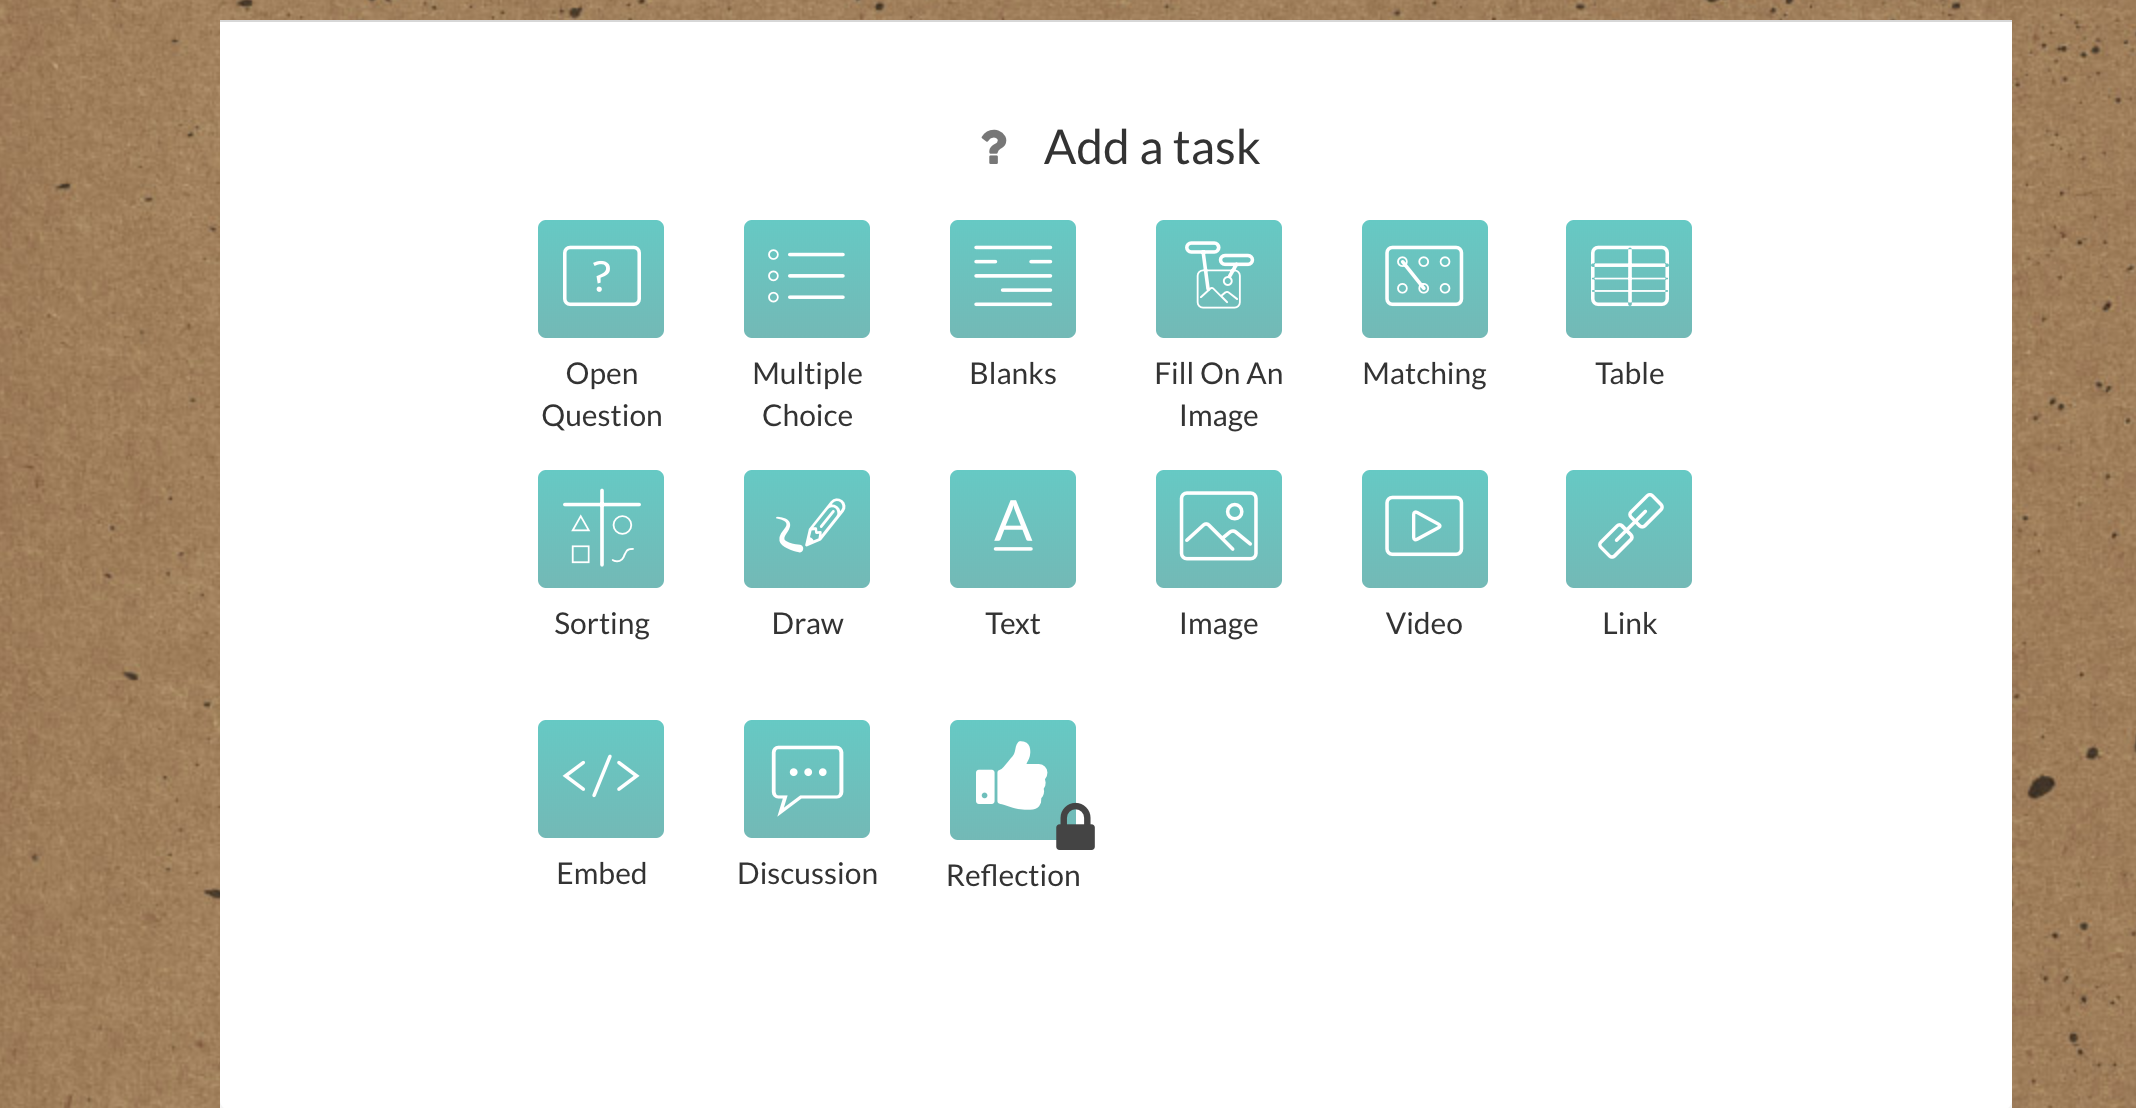 For example, we can add open questions to our work, possible additional information and, if we want, record audio instructions for the students.
 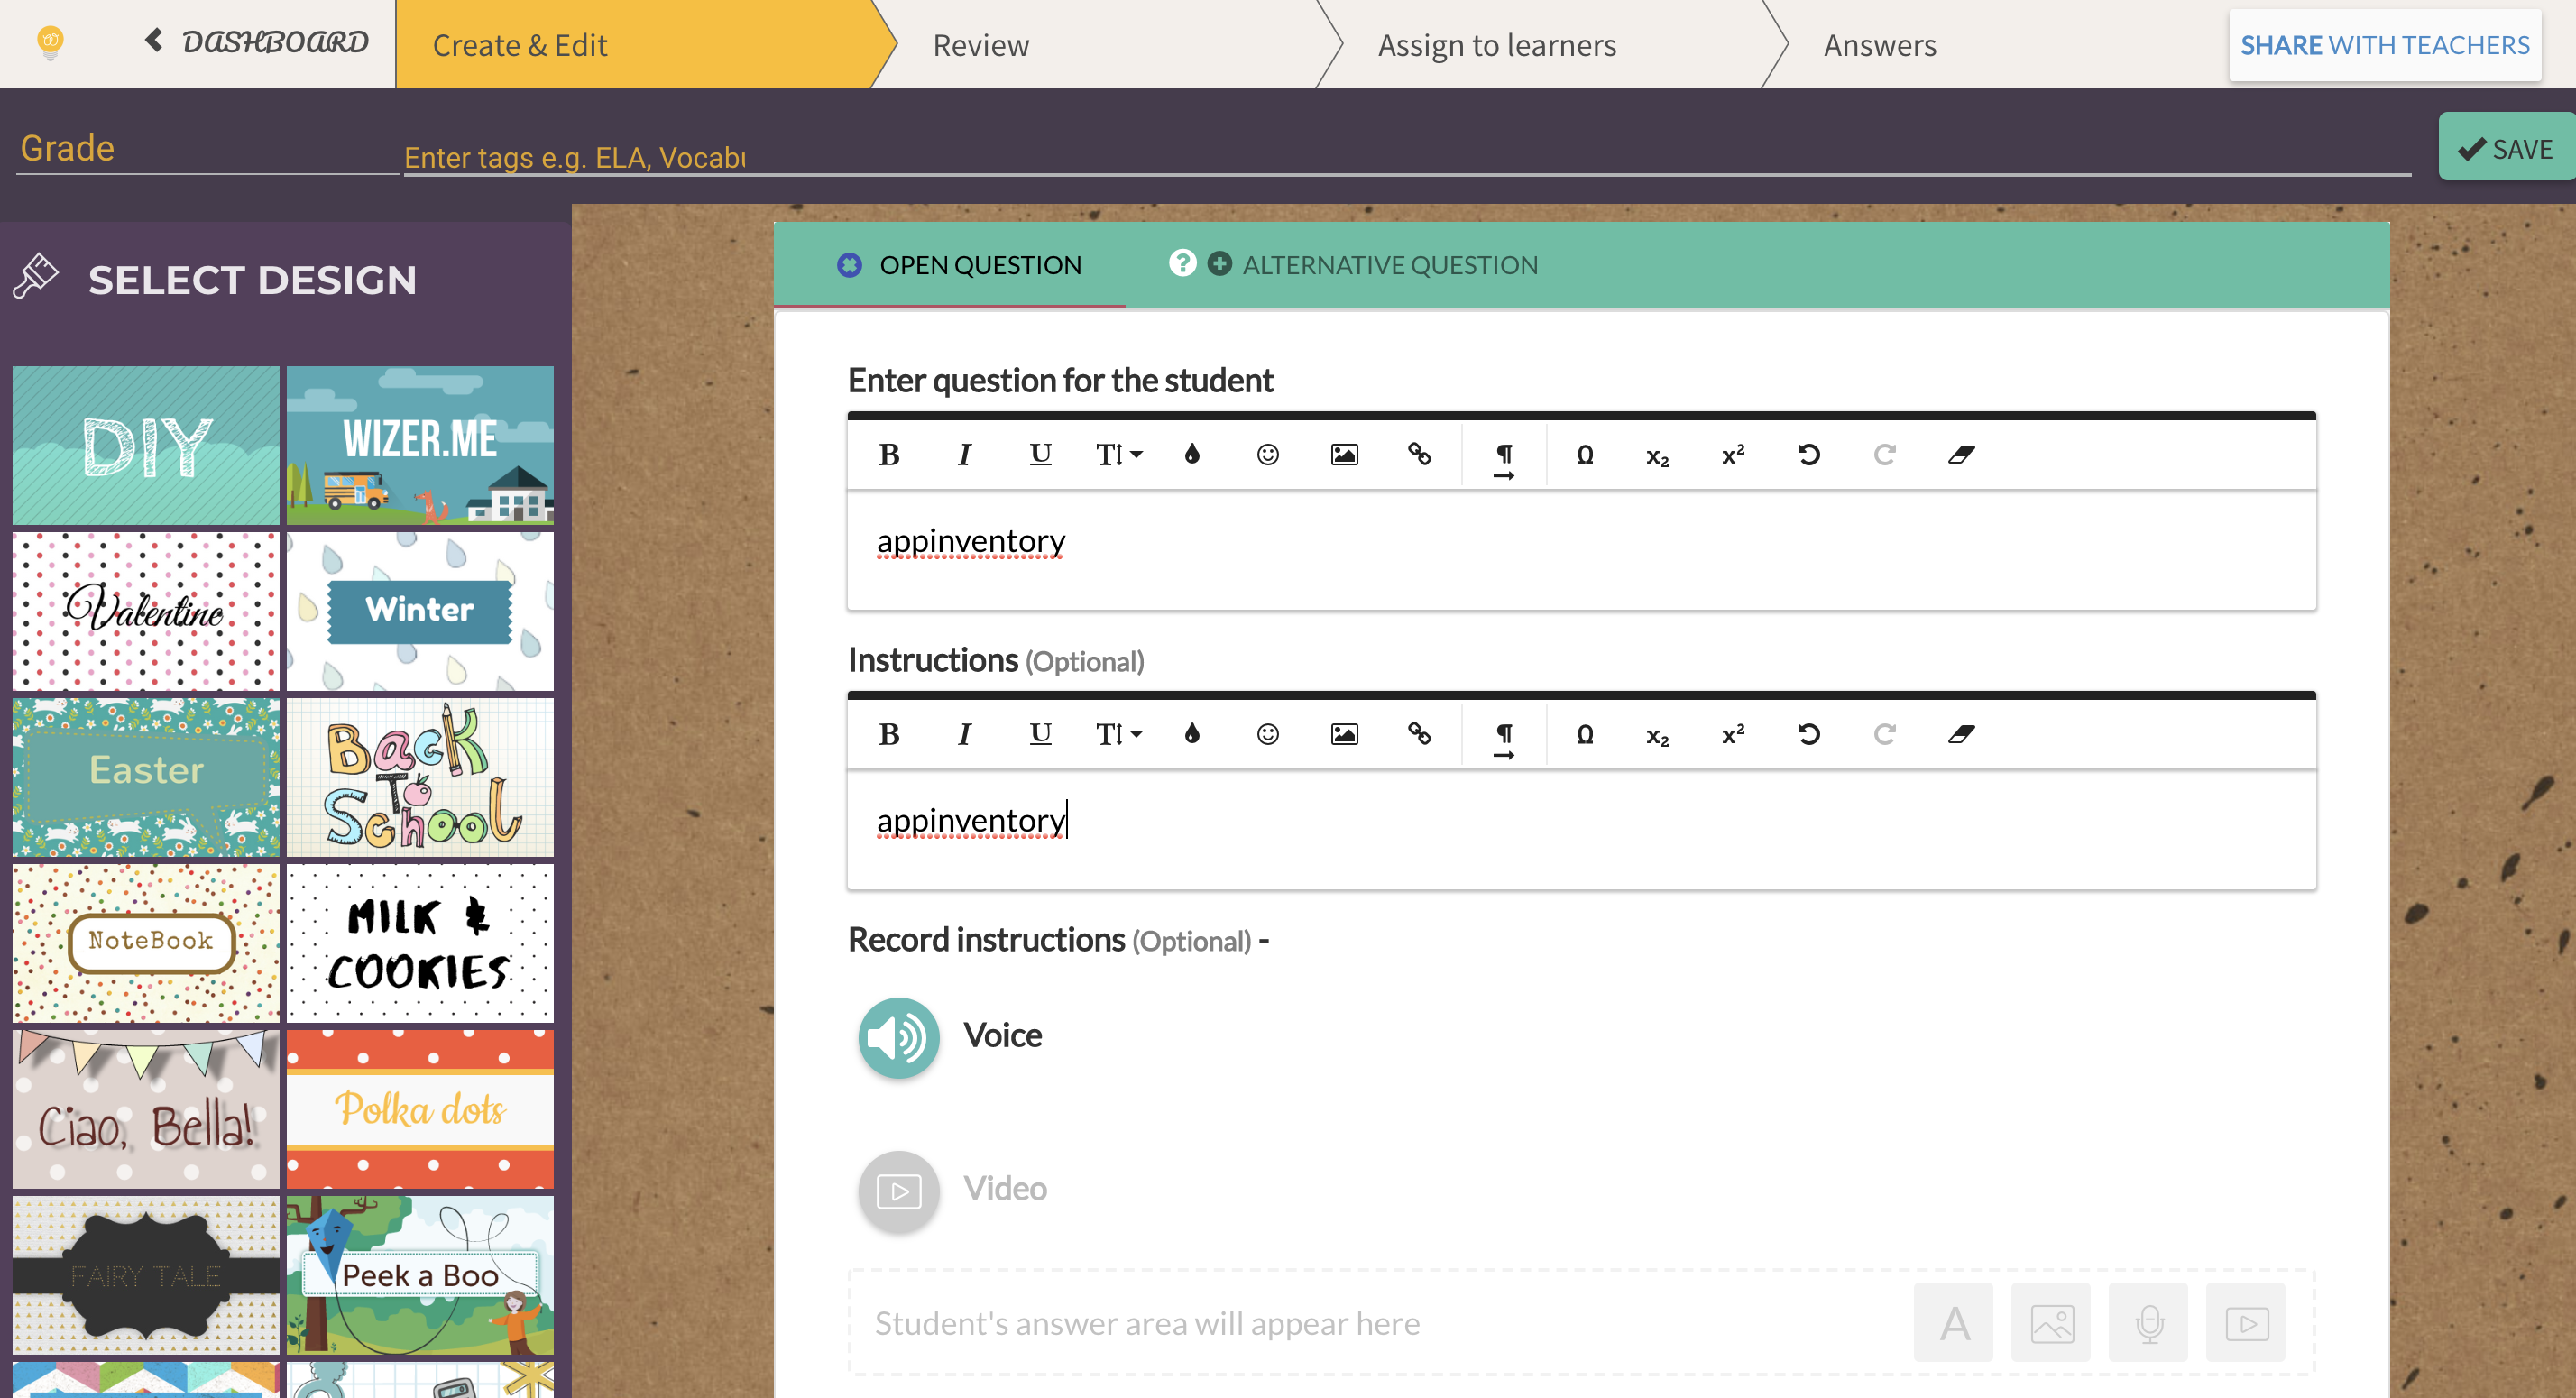 Second example is the multiple choice question task: here we fill the question for the student, possibile instructions by voice or video recording, if necessary, and all the possible answers, checking the correct one.
 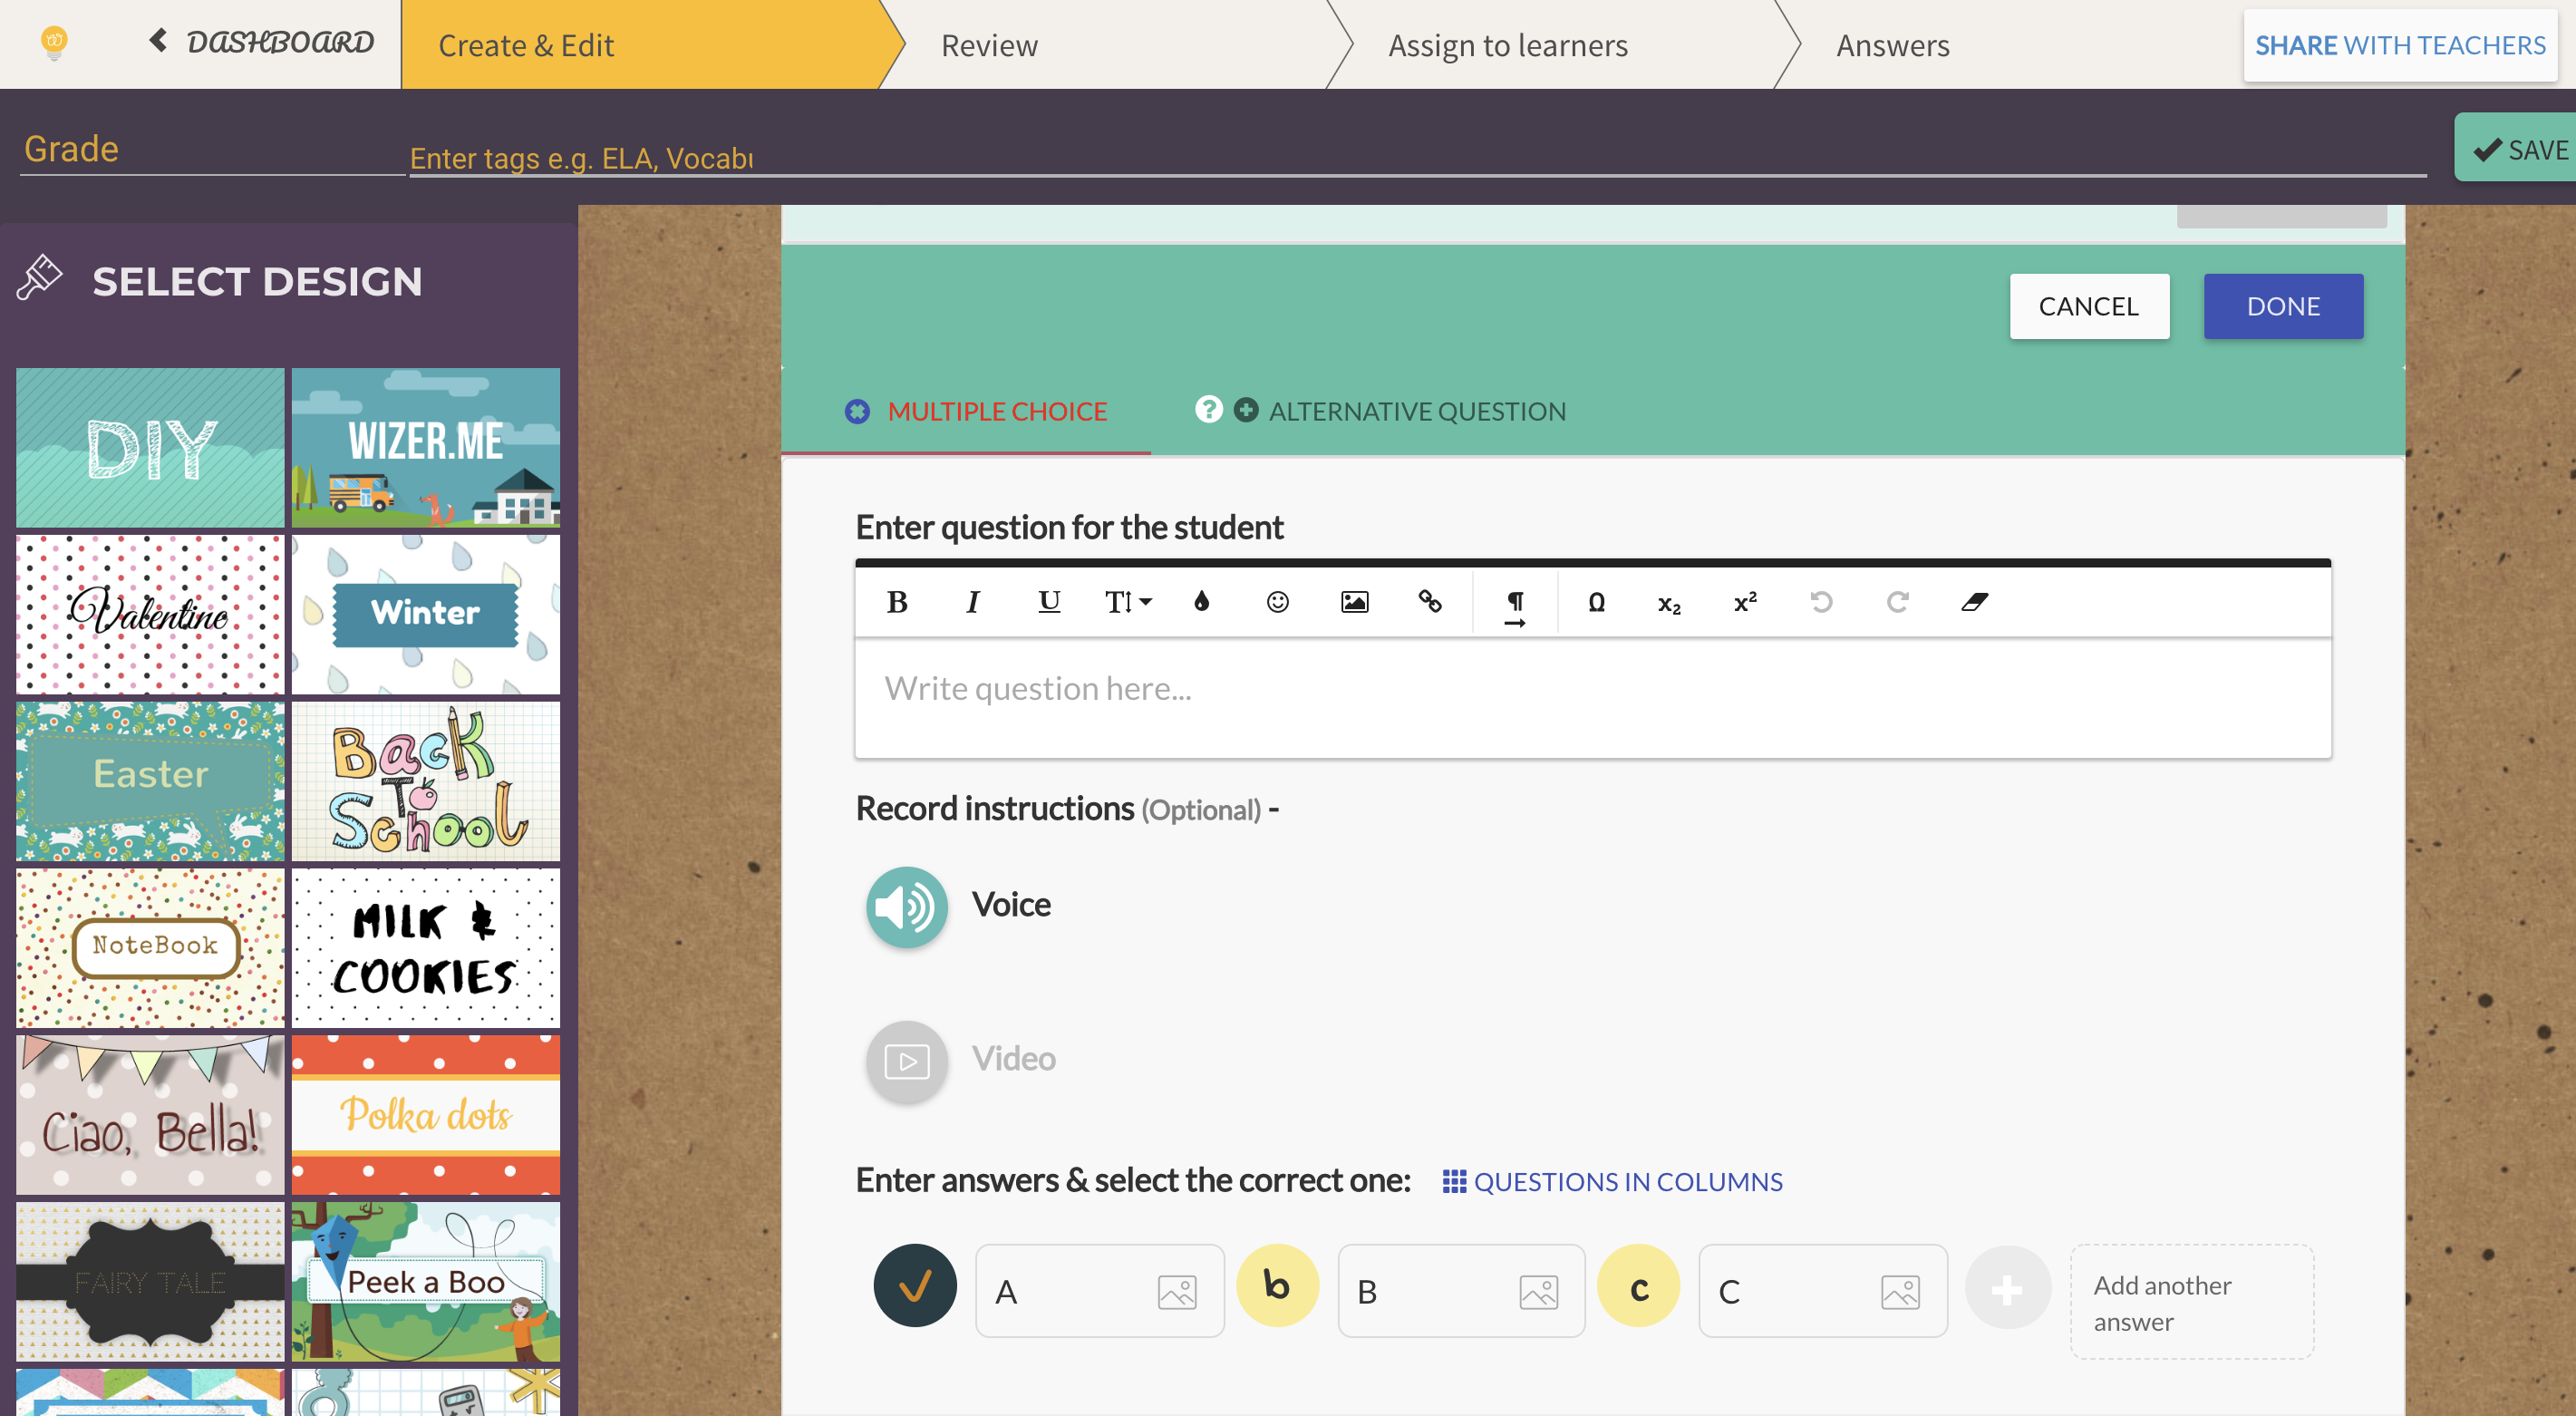 3rd example: the discussion task. In this case the worksheet is similar to a chat.
 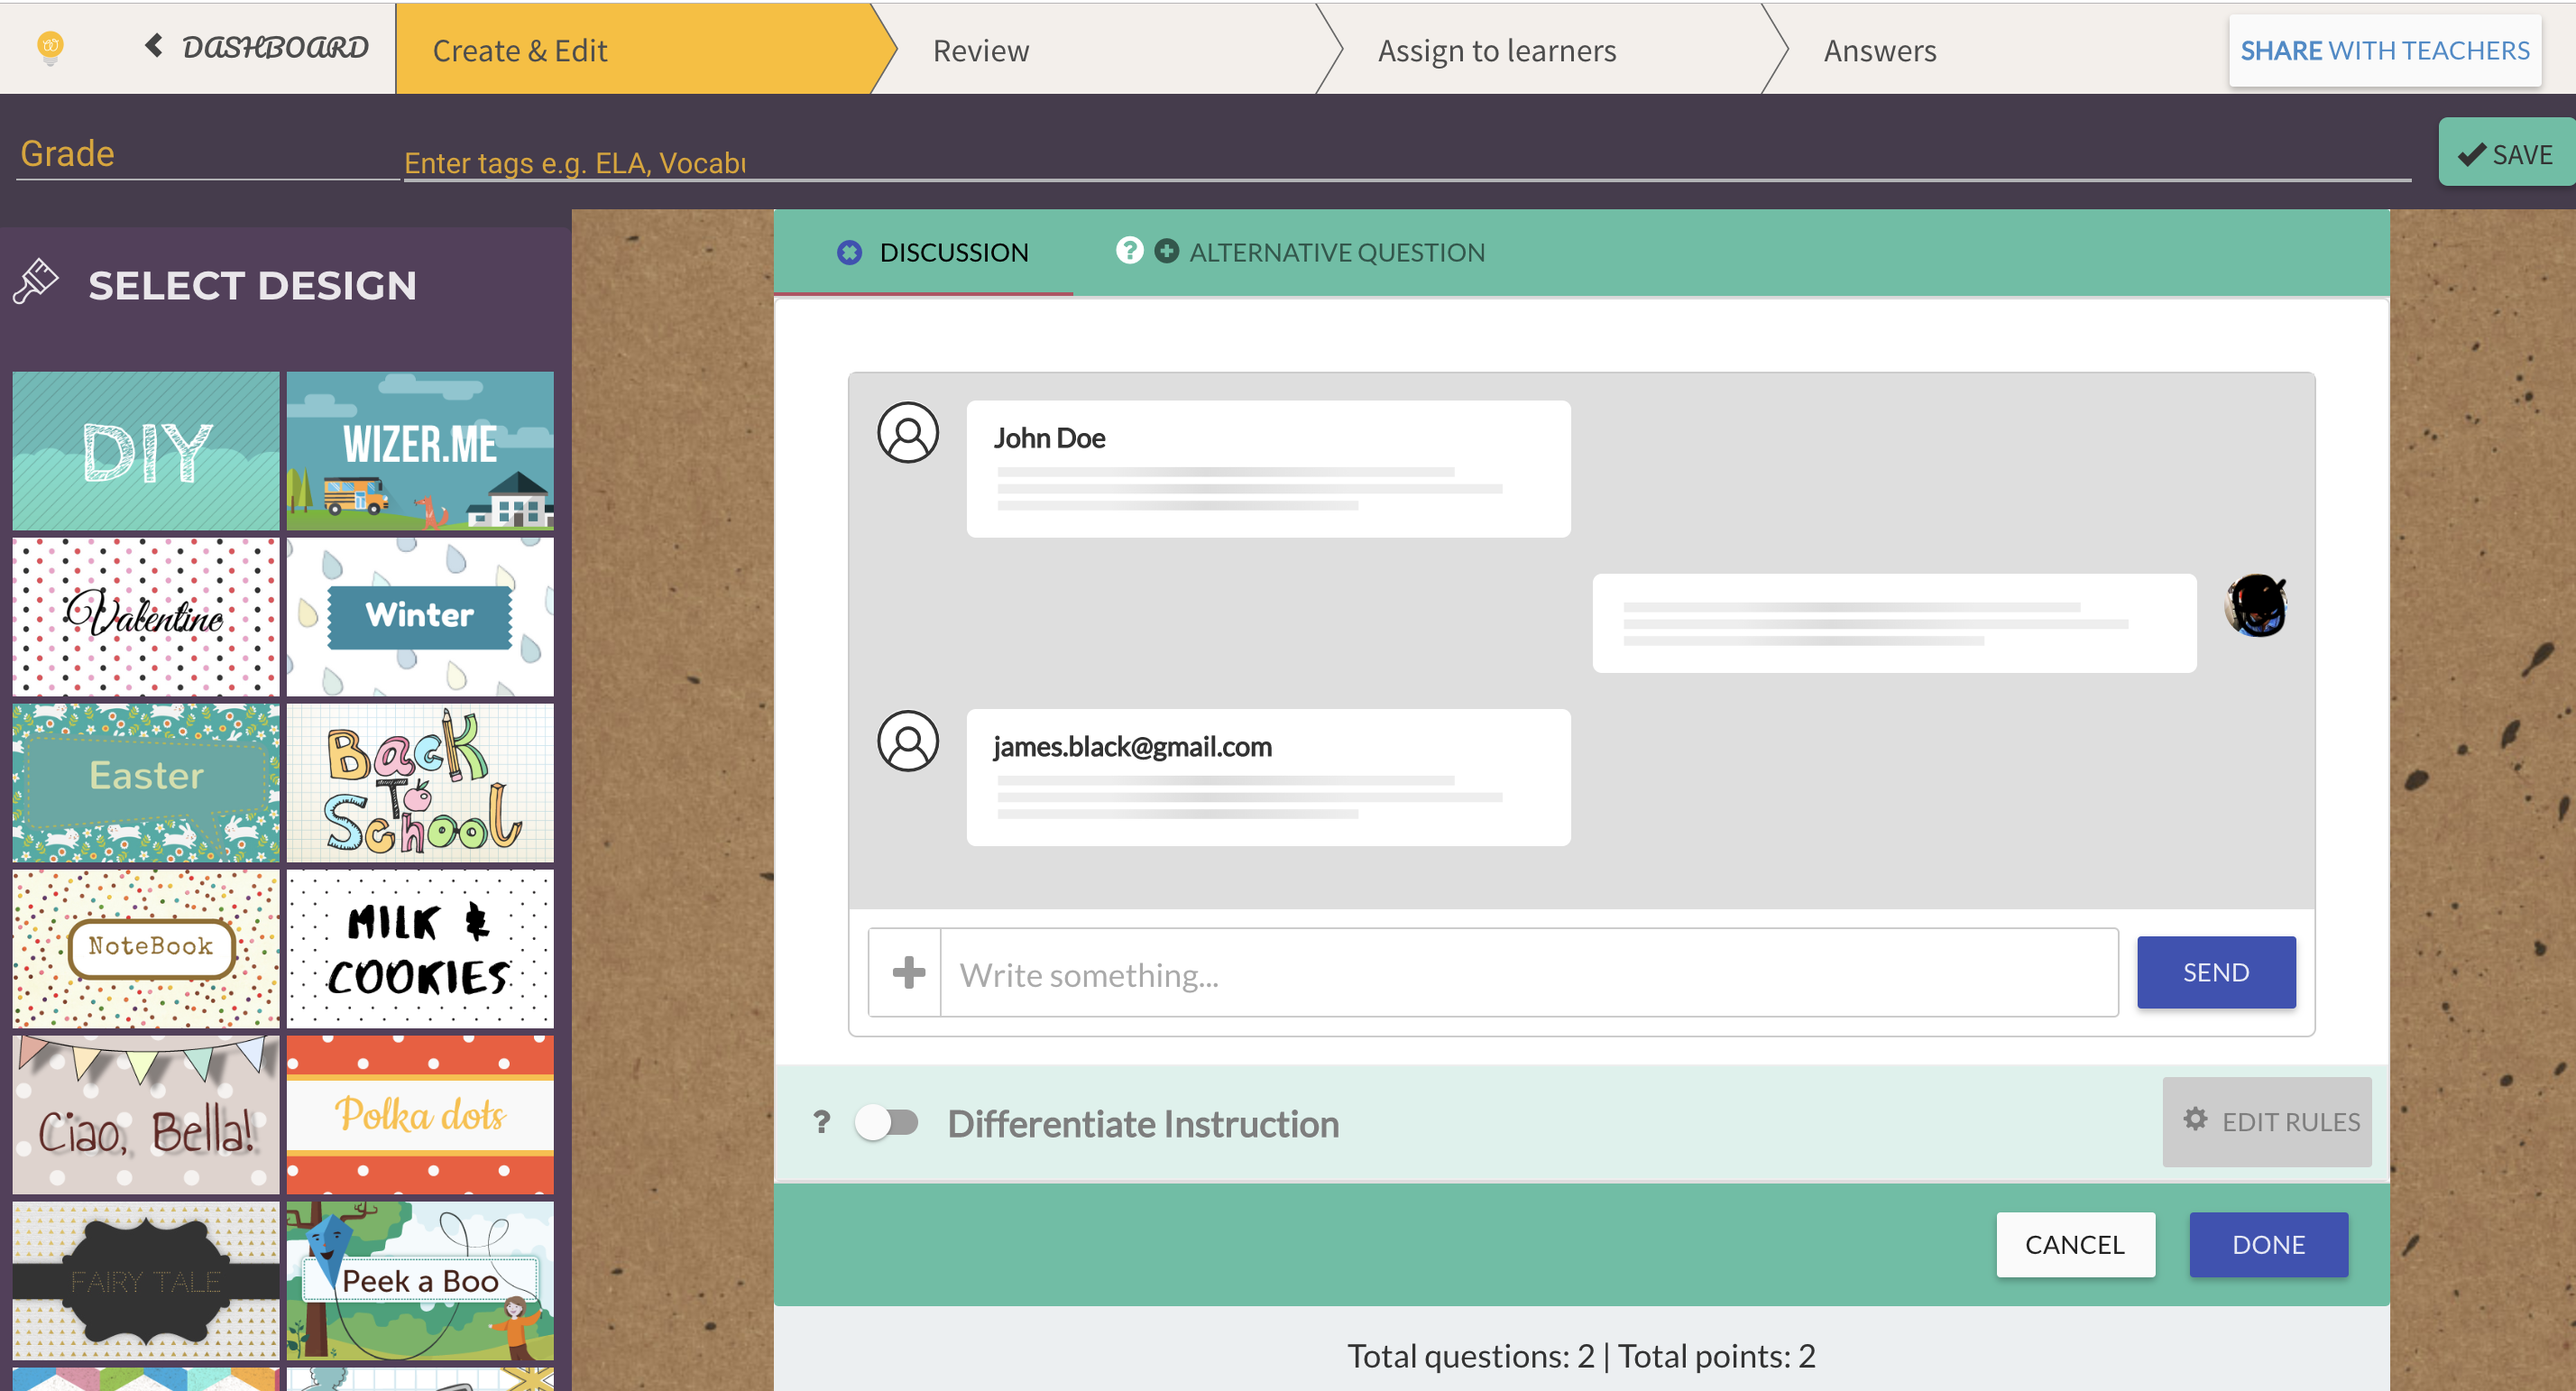 At the end, we must save our work, giving it a name. We will find it in our personal dashboard.
 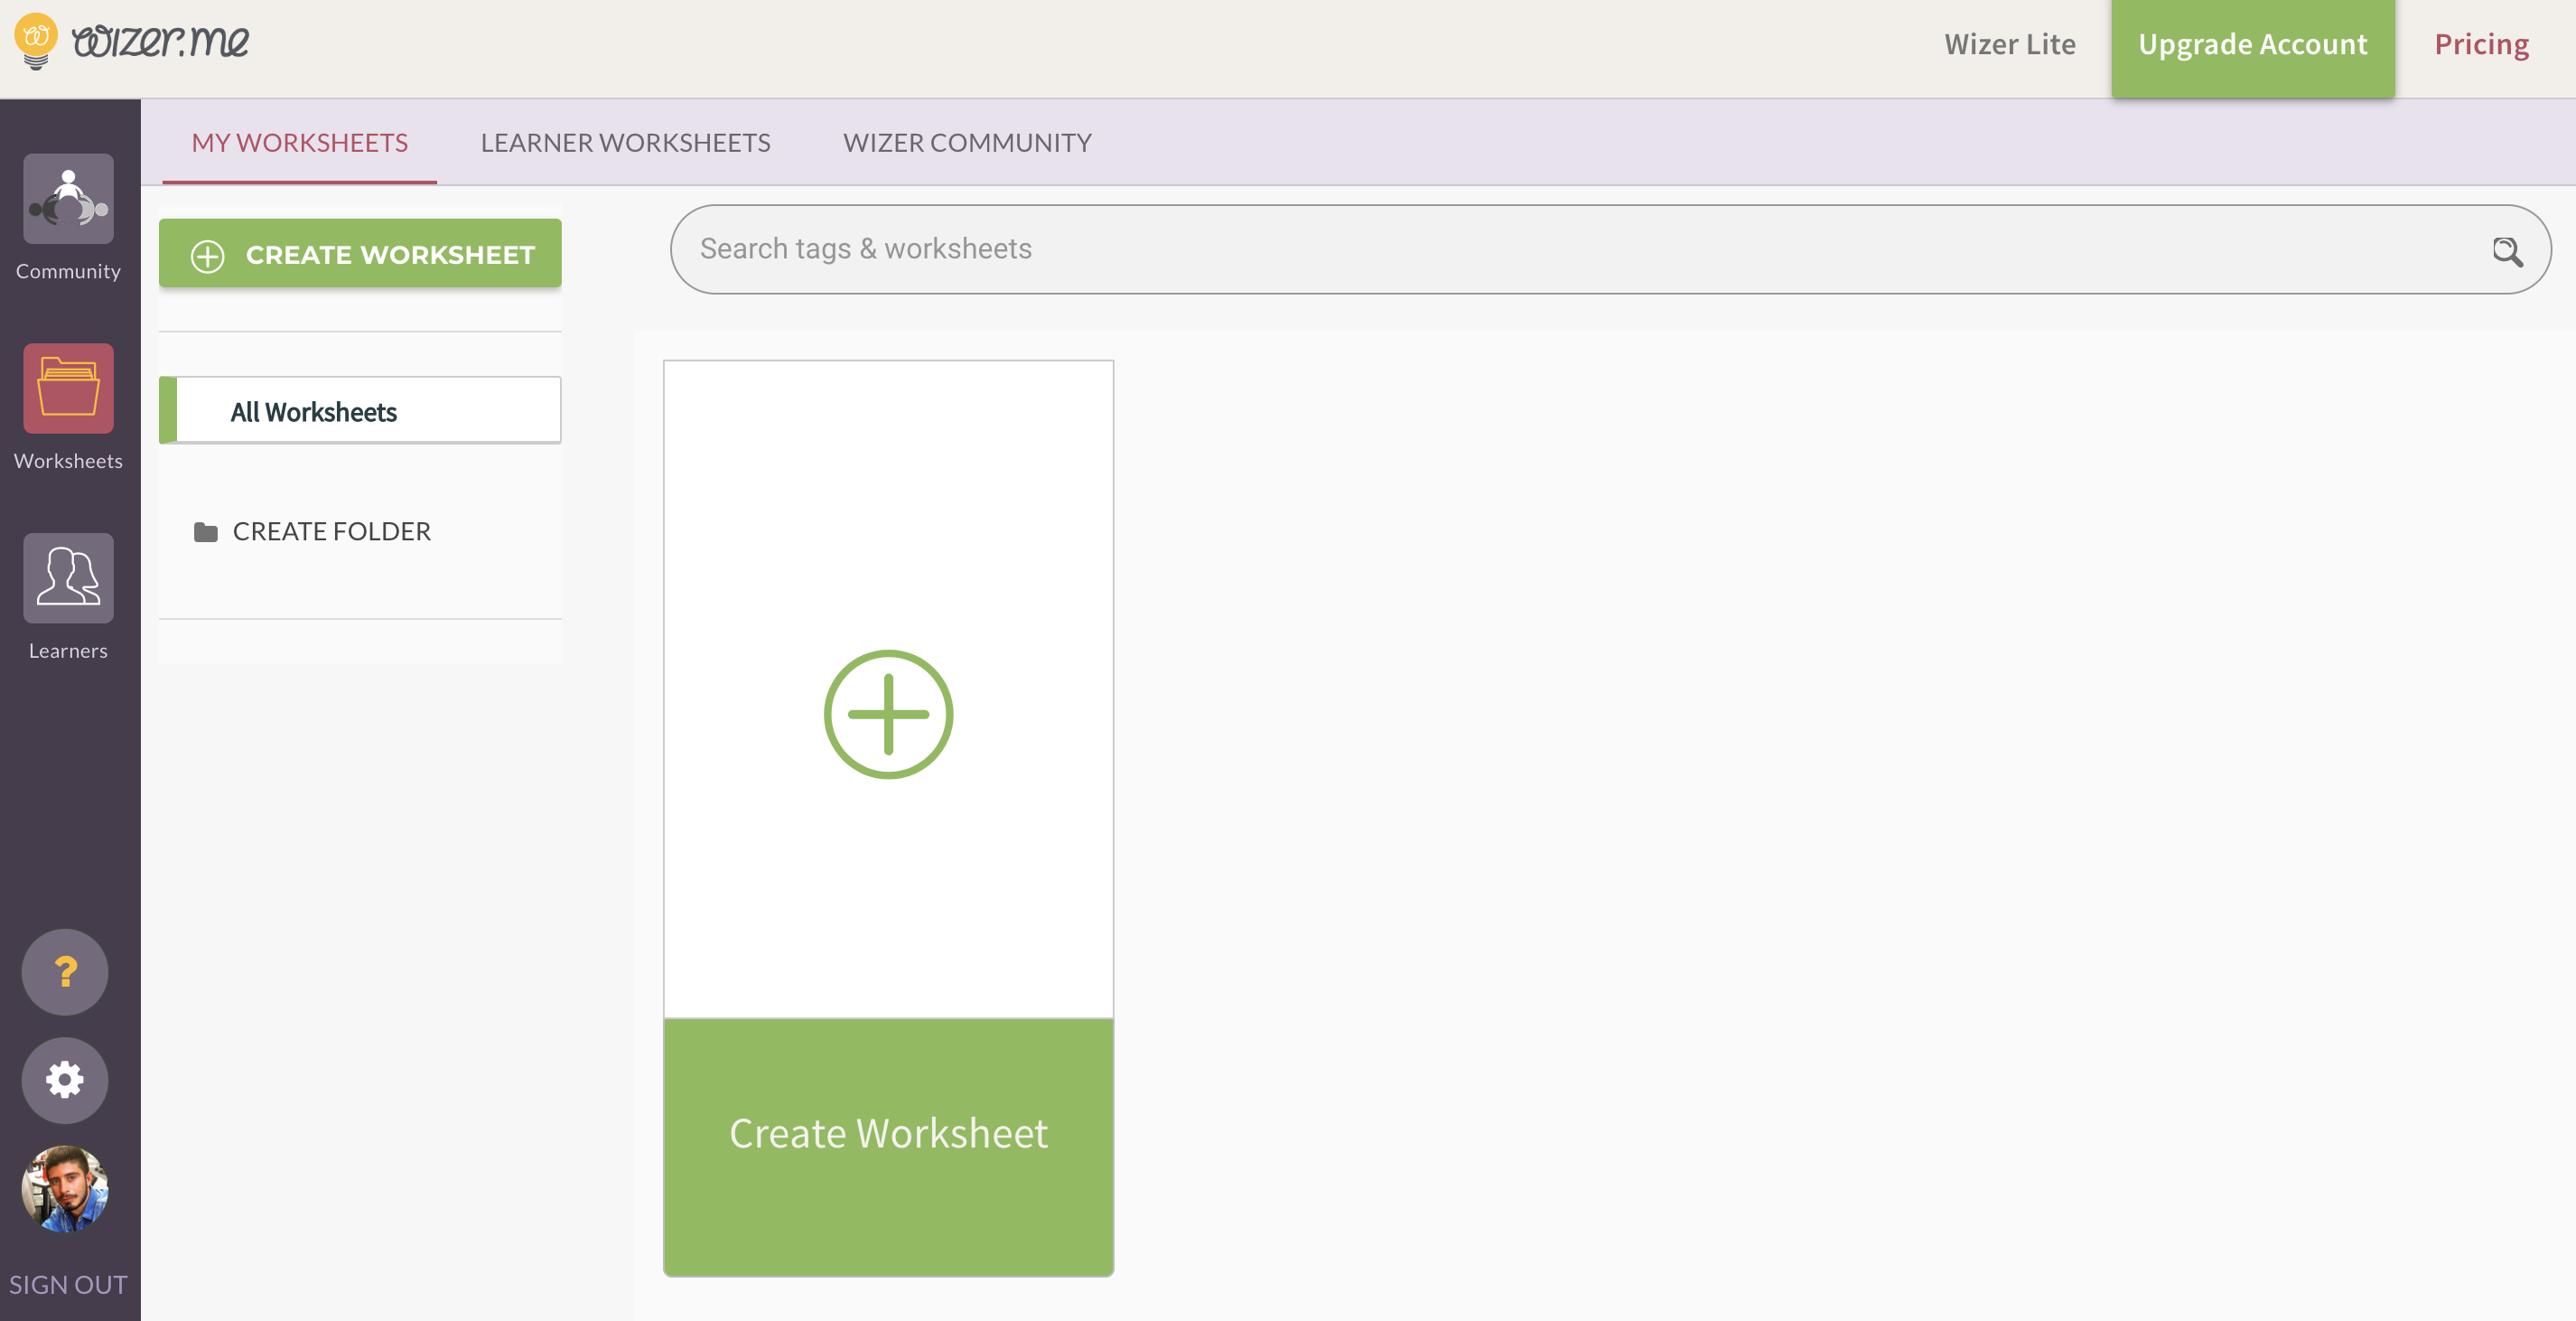 Wizer let you share your works on Twitter, Facebook and Pinteres, on the learning platform Edmodo or copying link on email, using the sharing option.
 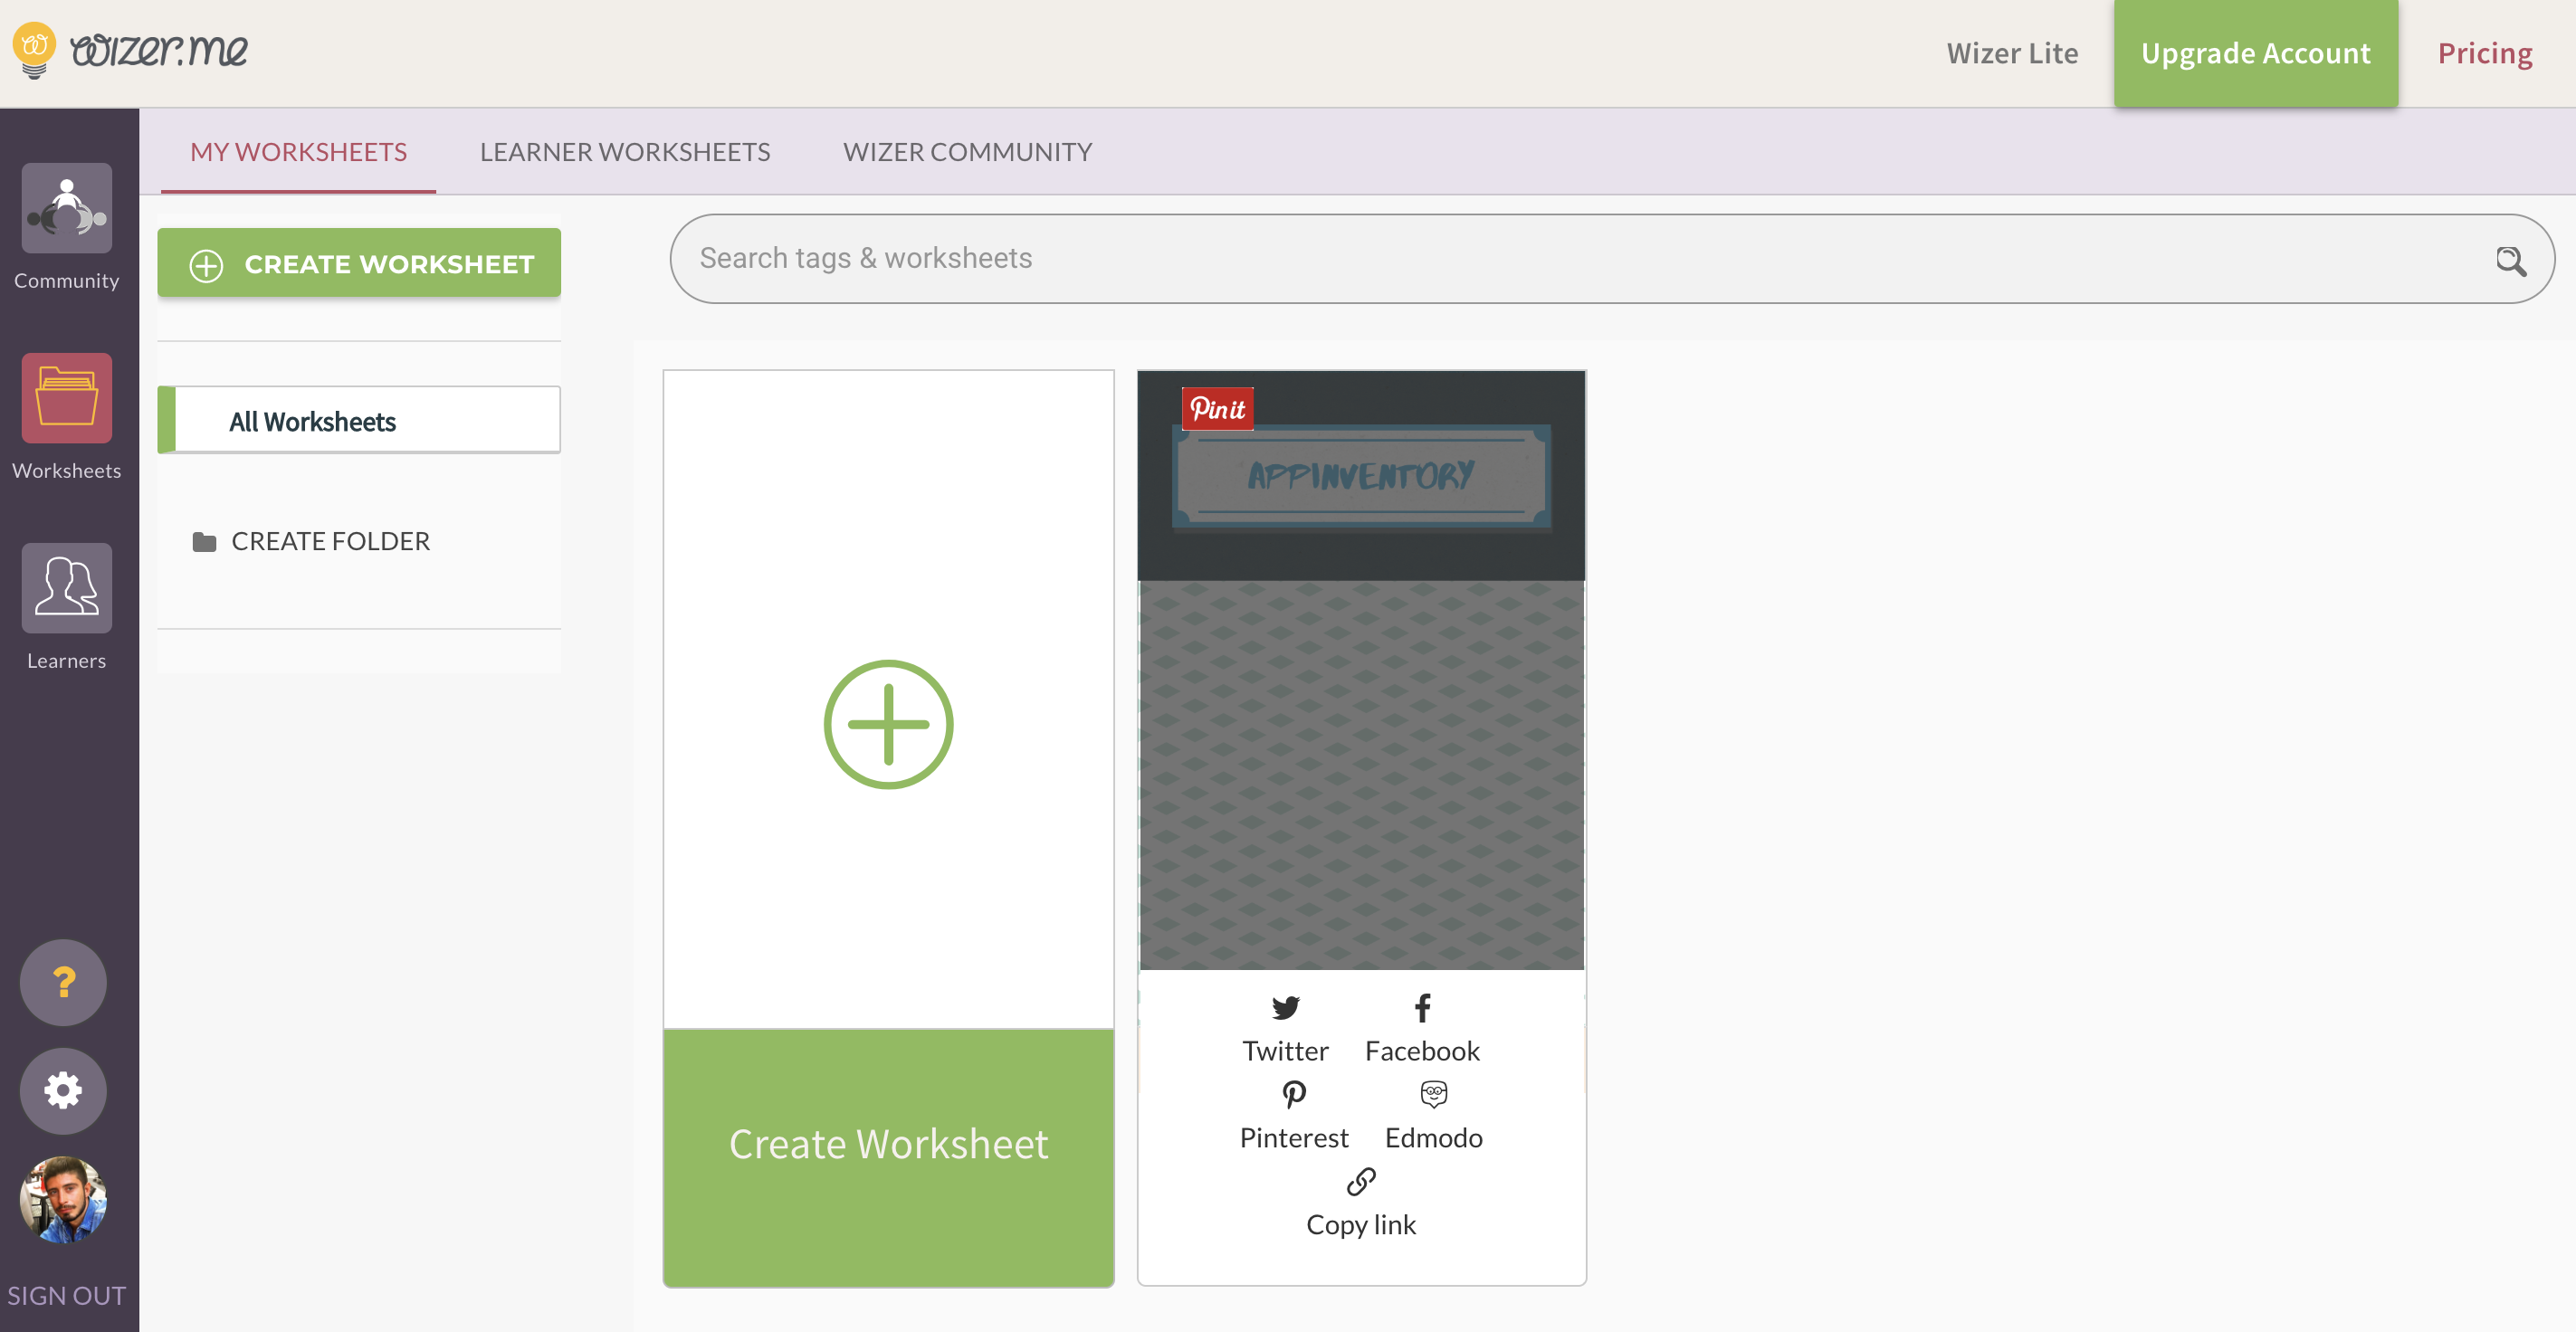 You can also create a class (a students group) and directly share the worksheet with them. The arrow in the next figure shows how create a class.
 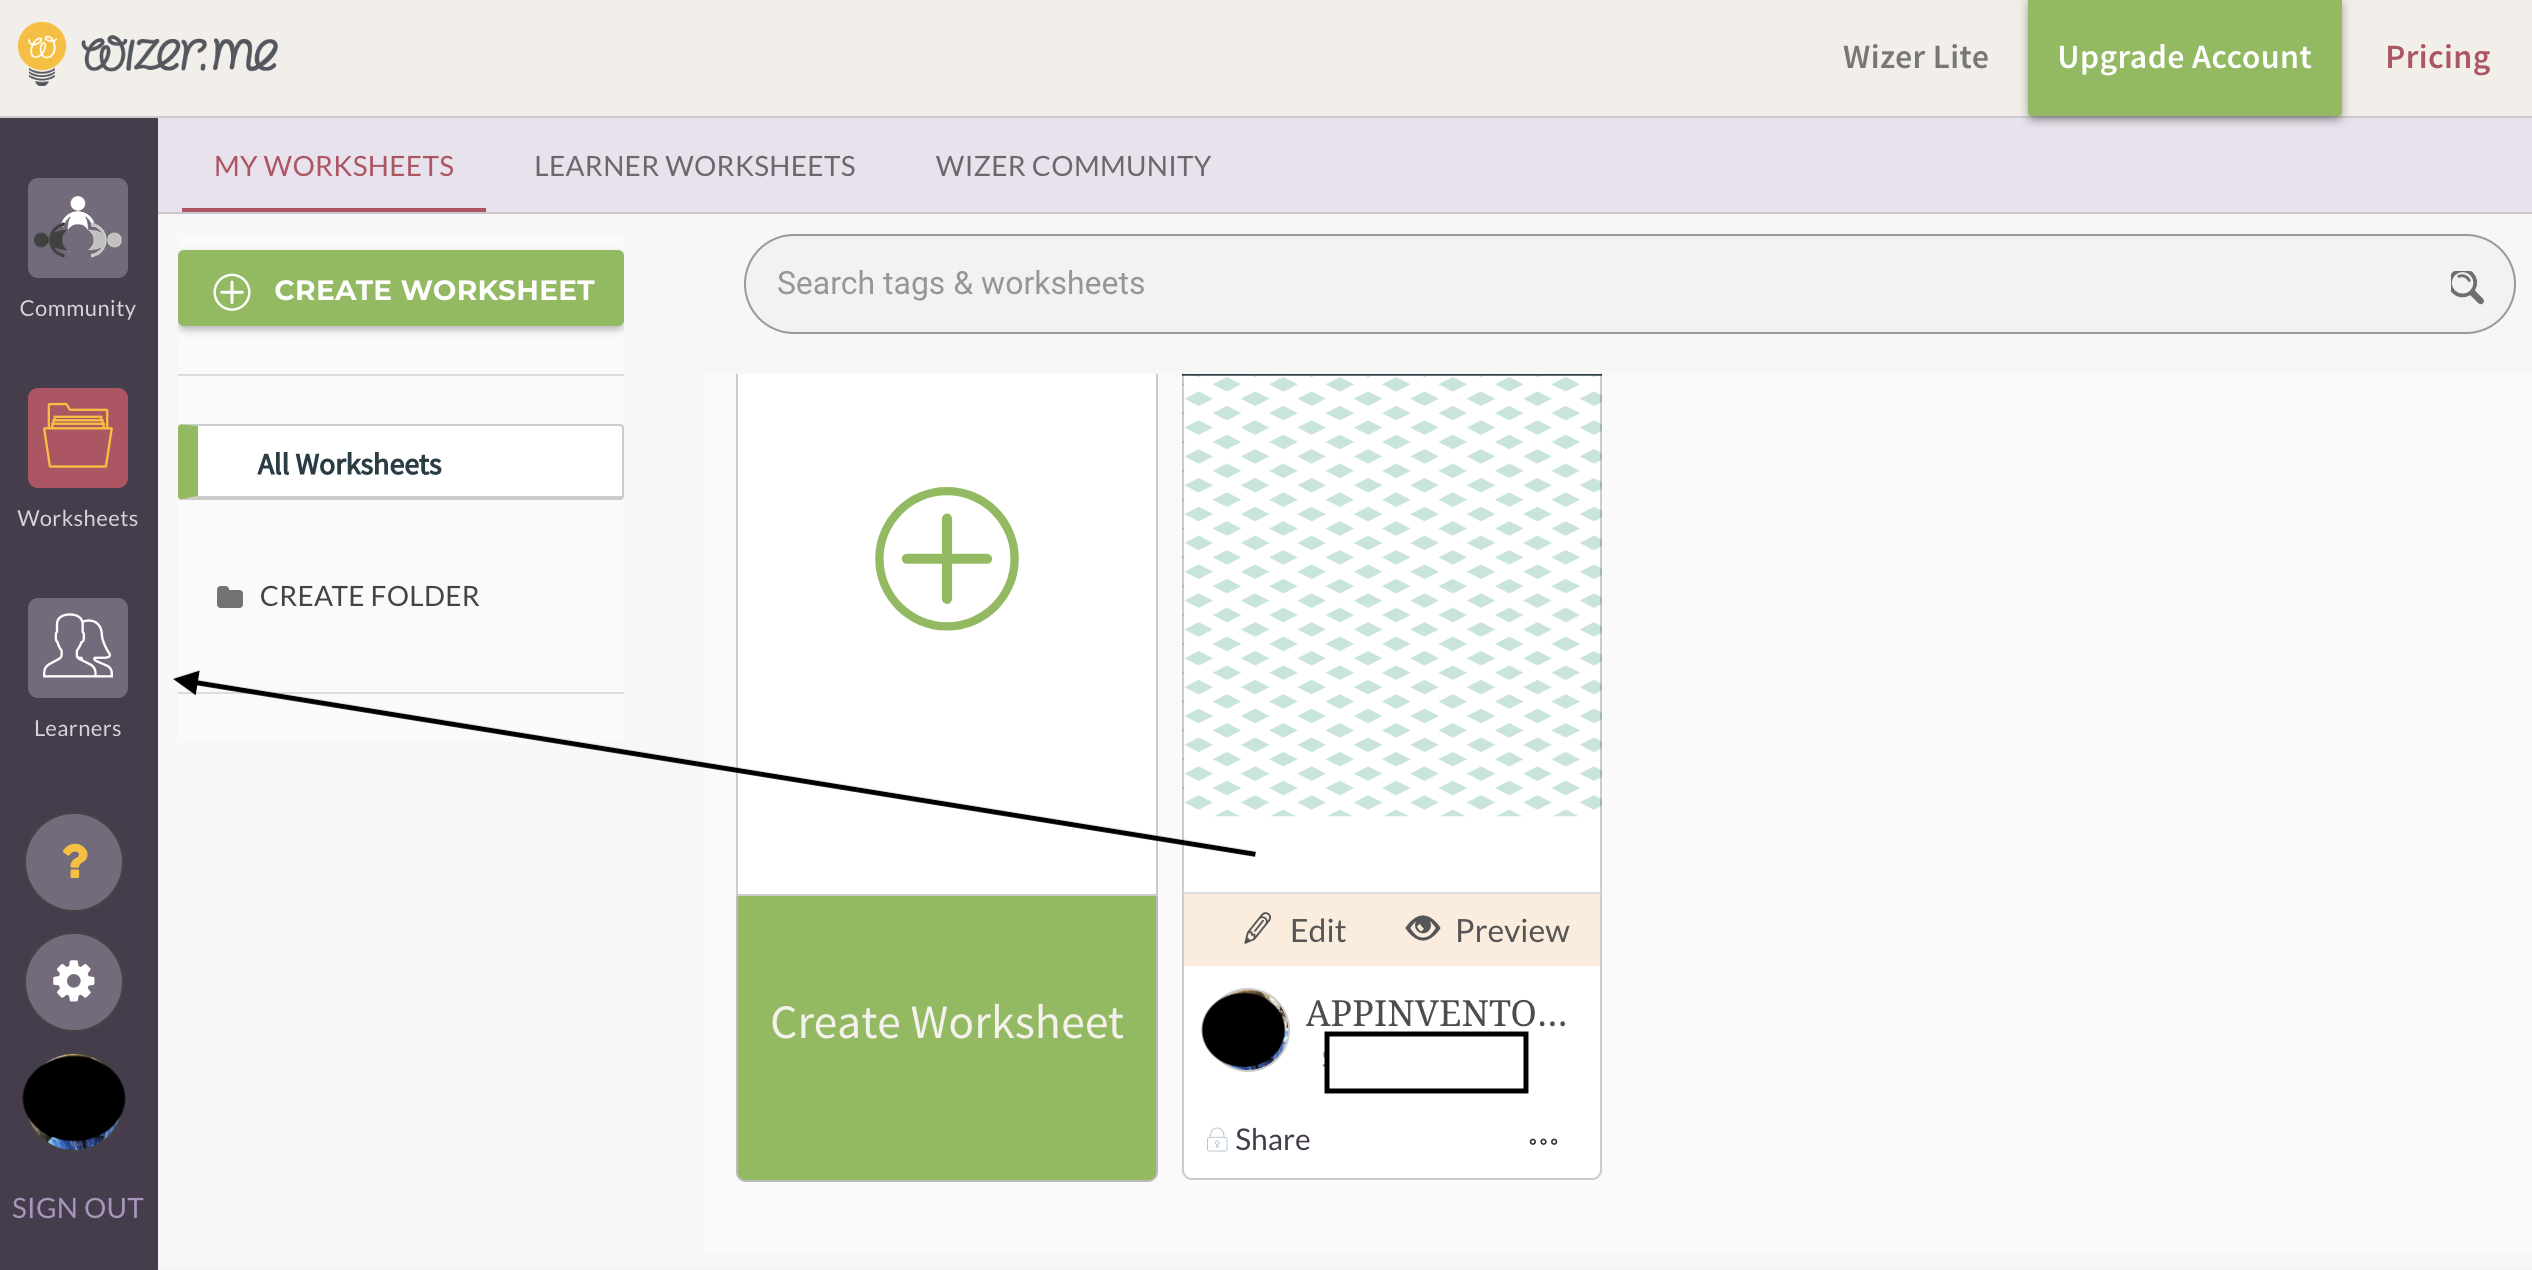 Choosing “Add a Class” we can create it, give it a name and connect all student’s email.
 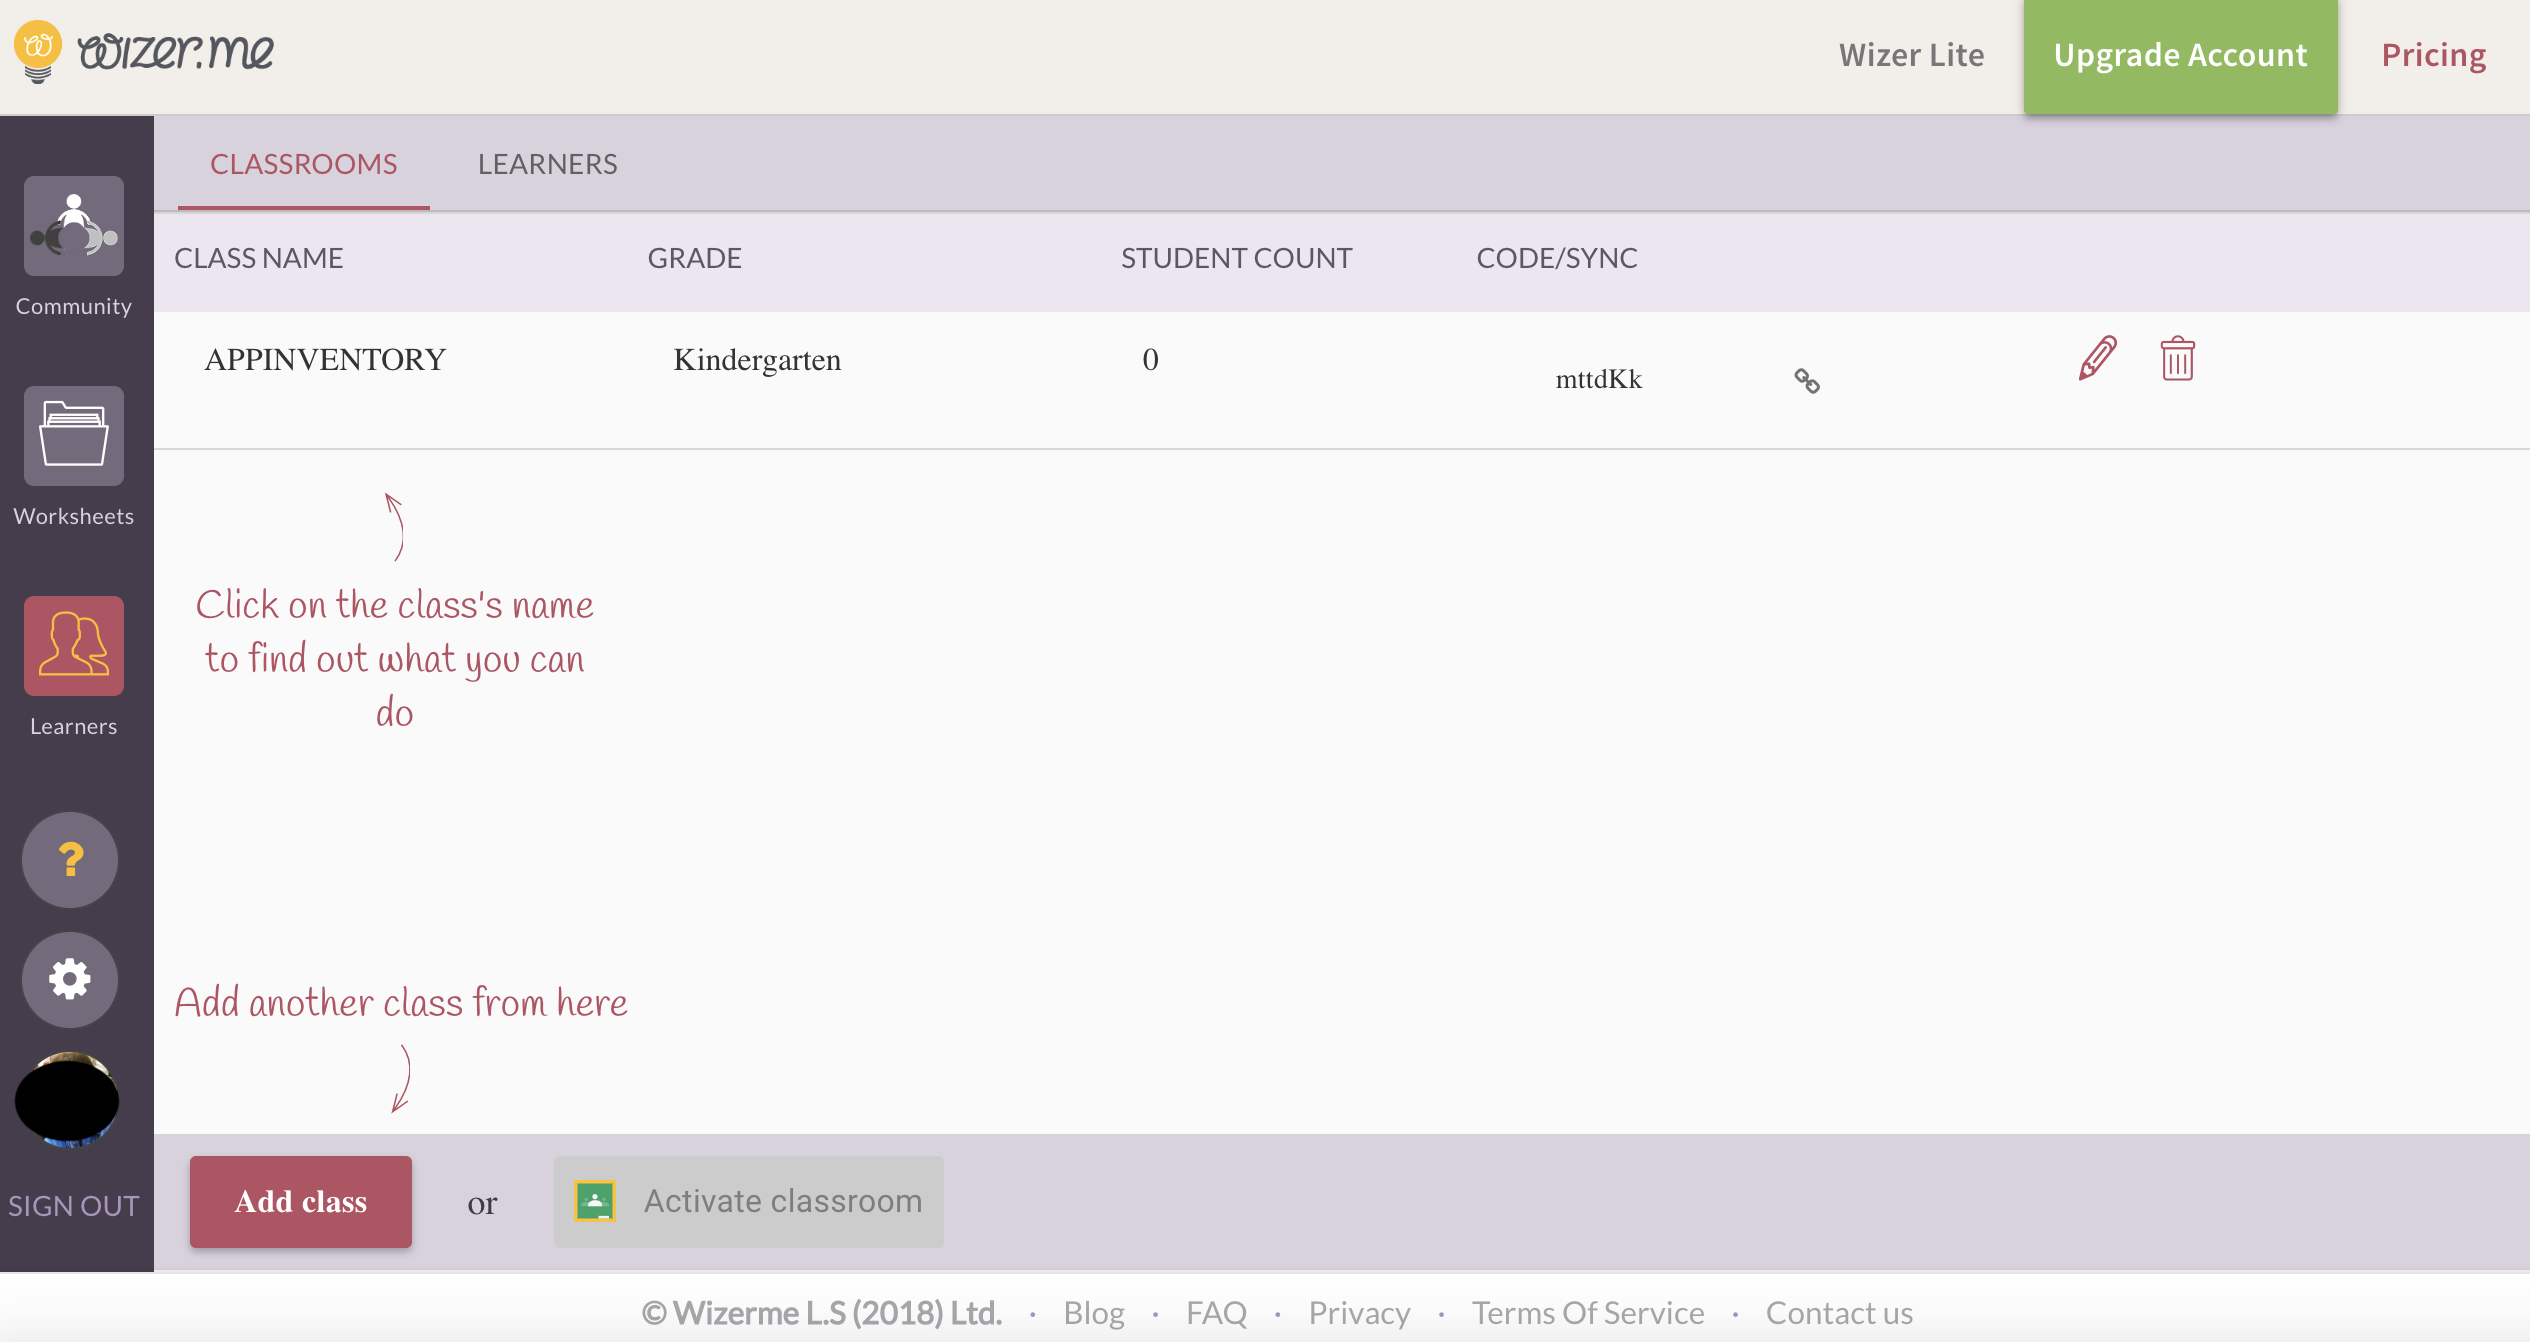 To share the project with the class, we have to go back to our worksheets and choose “assign to learners”.
 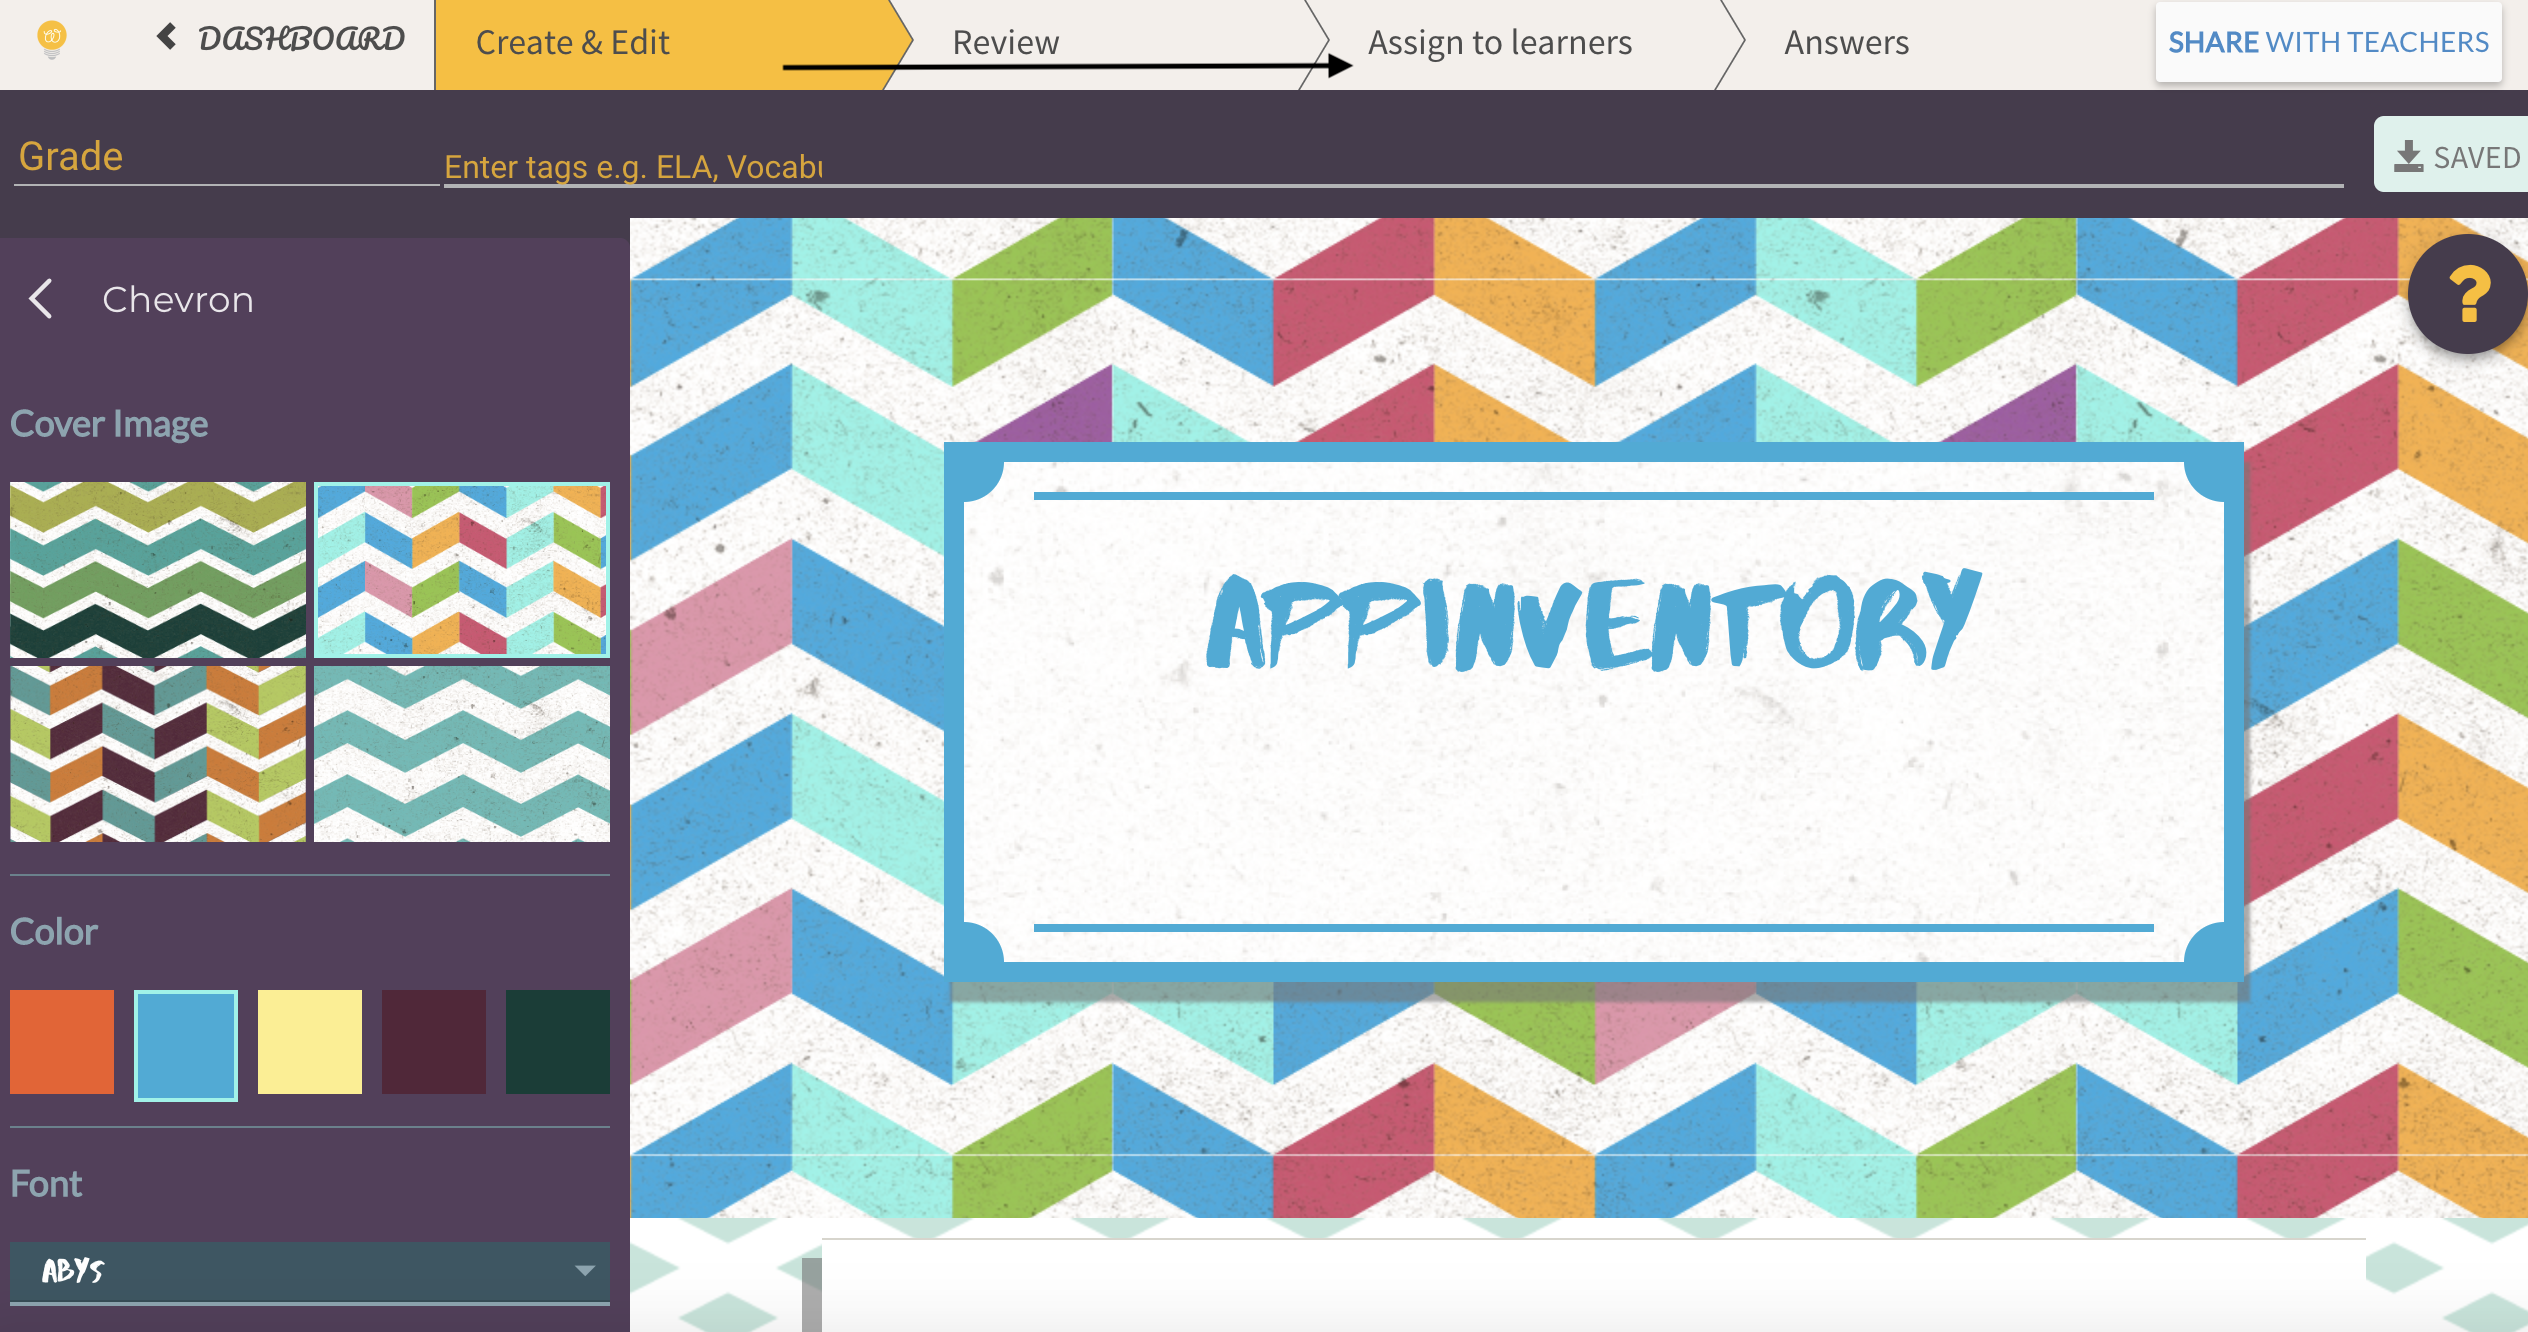 We choose the “class” option and then find it in menù, then we can assign. It (the free profile let you create only one class).
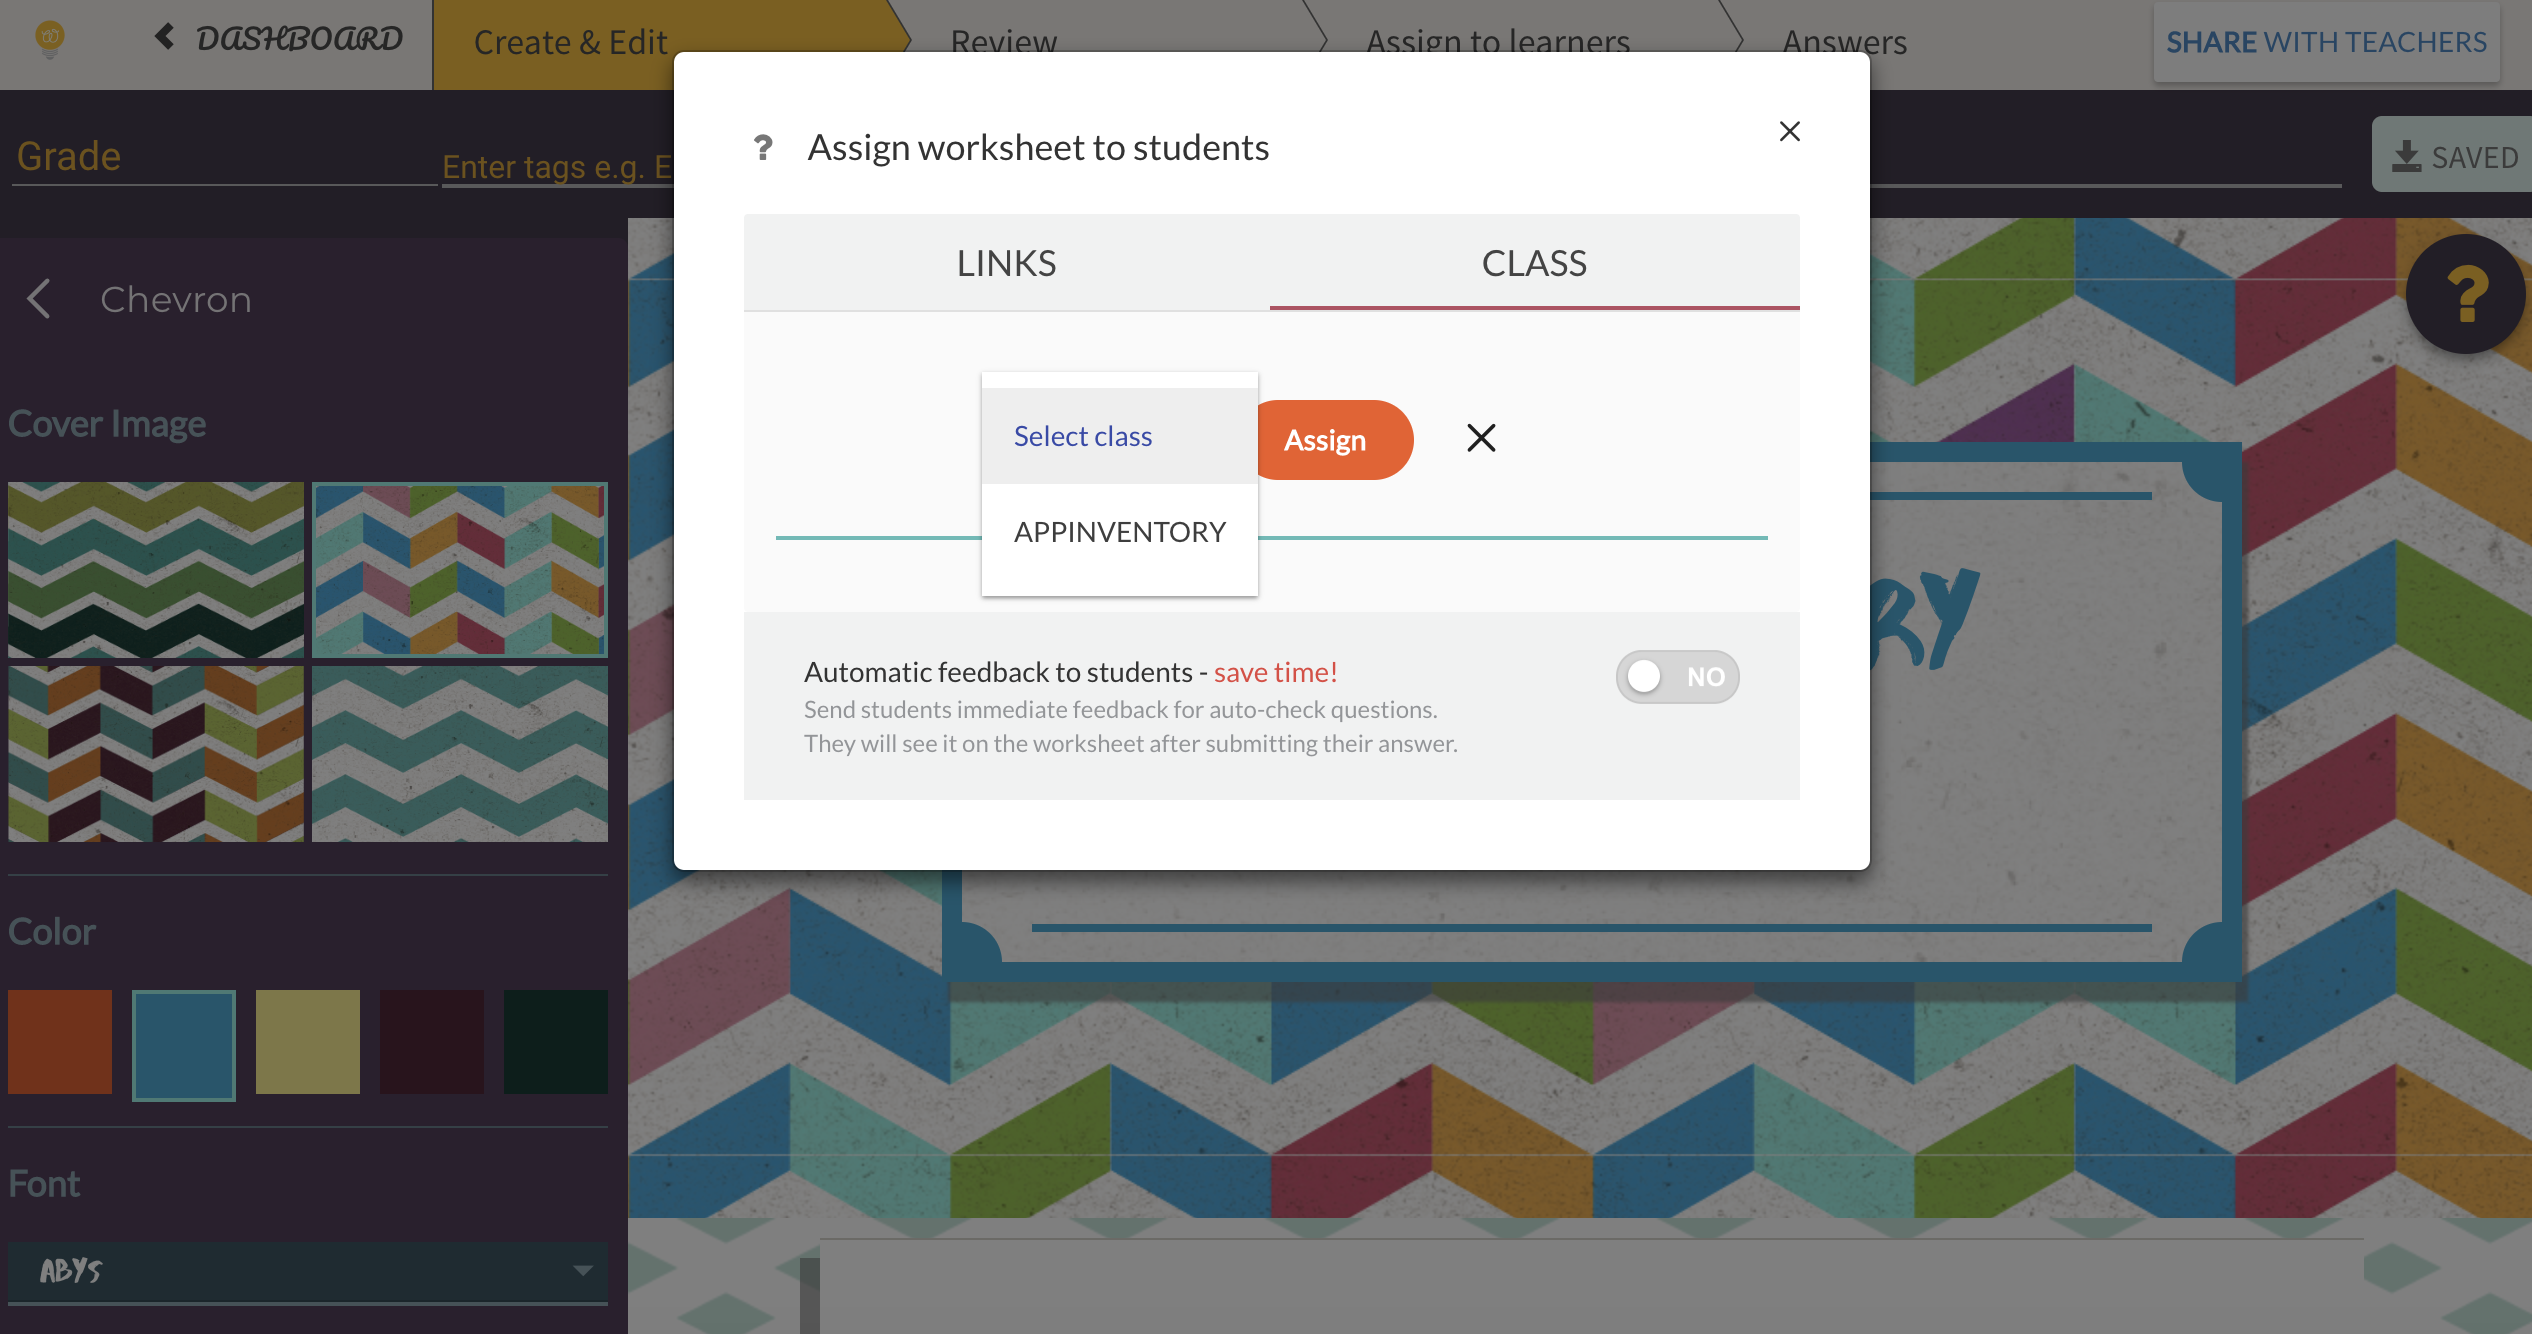


Copy link