Enter all the desired criteria: the apps that satisfy them all will be searched; if a criterion is specified multiple times, only the last occurrence will be considered.

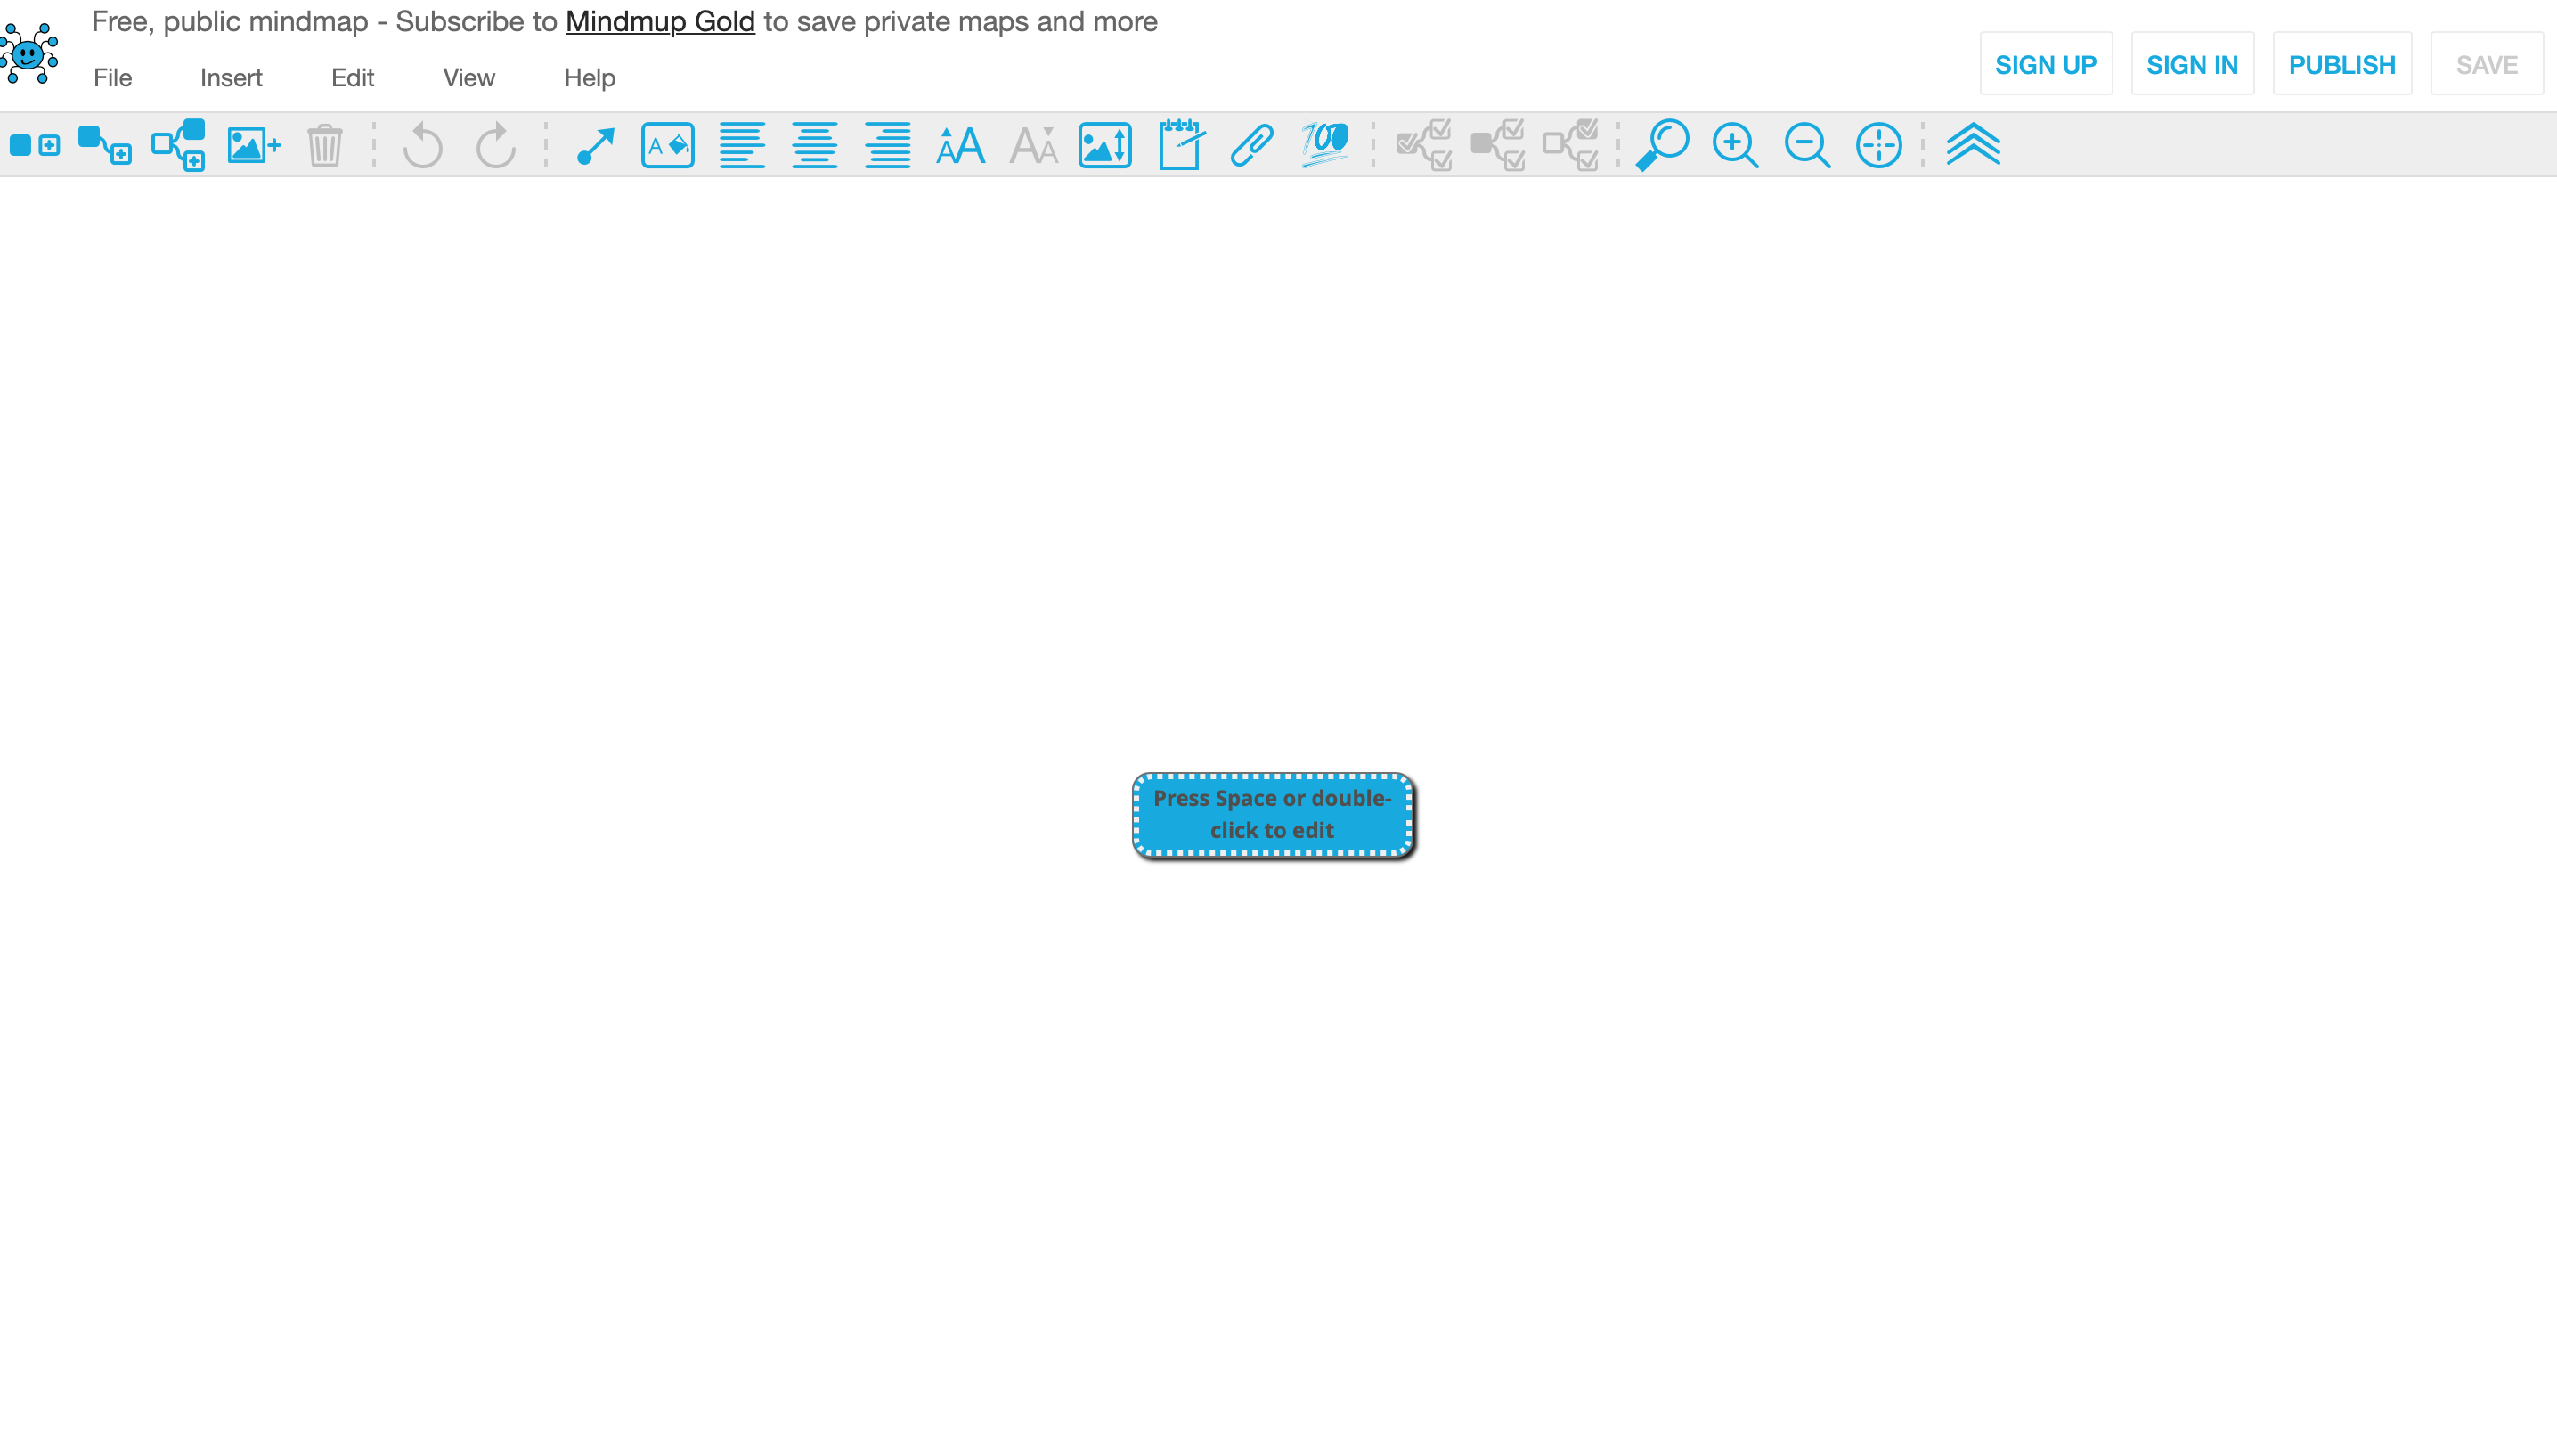
 After clicking on "create a free map" the following screen will appear, which is the editing screen. In the center appears by default a starting node to which you assign a title by double-clicking on it. This is the starting point from which to create your own map. On the toolbar, at the top, starting from the left, are the three main and fundamental functions of MindMup: the "insert a root note" function, which allows you to create a new "starting node" within the same map; the "insert a child note" function, which allows you to create a lower level node, connected to the previous node; and the "insert a sibling note" function, which allows you to create a node of the same level as the current ("sibling") node. Nodes can also be connected and directed according to one's preferences by clicking on the arrow button in the top menu.
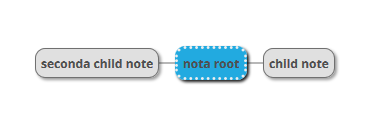
  In this example there is a root node with two child nodes.
  In this last case the root node has five child nodes at the same level.
 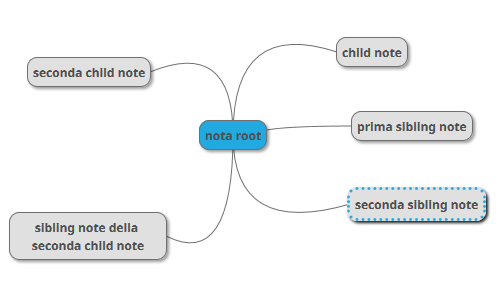 There are also additional functions to give different features to your map. For example change the boxes’ colour, insert images (not recommended on free account, because the map can’t be larger than 100KB), insert side notes, etc. You can save the map, publish it or download it in different ways. In the following screen you can see an example of a very simple map.
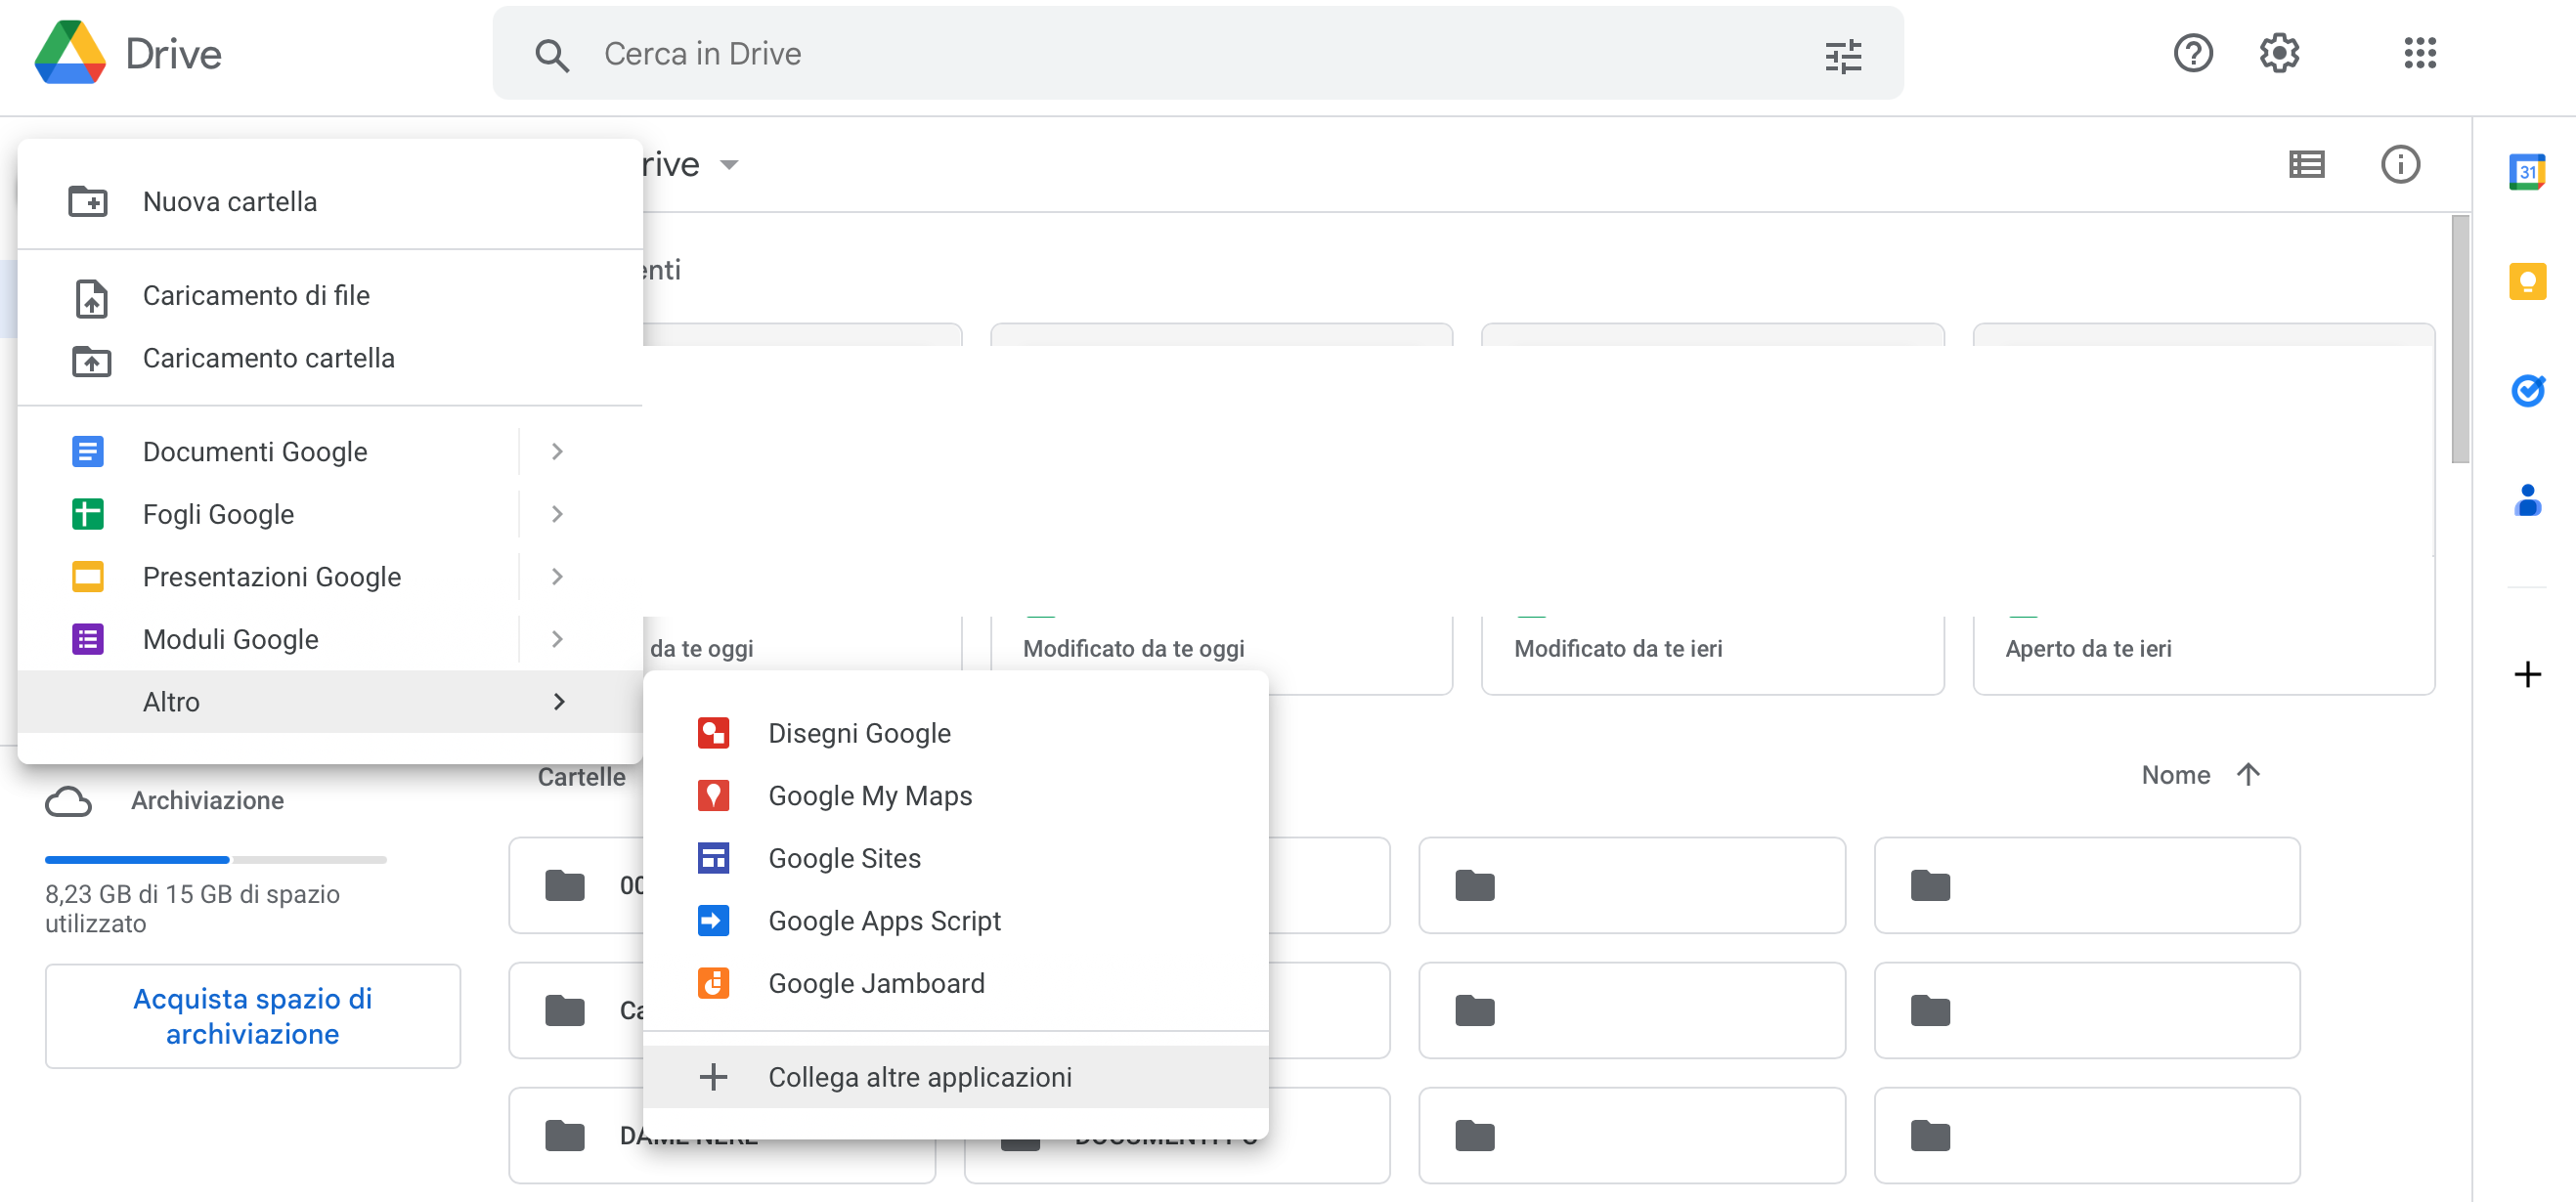
 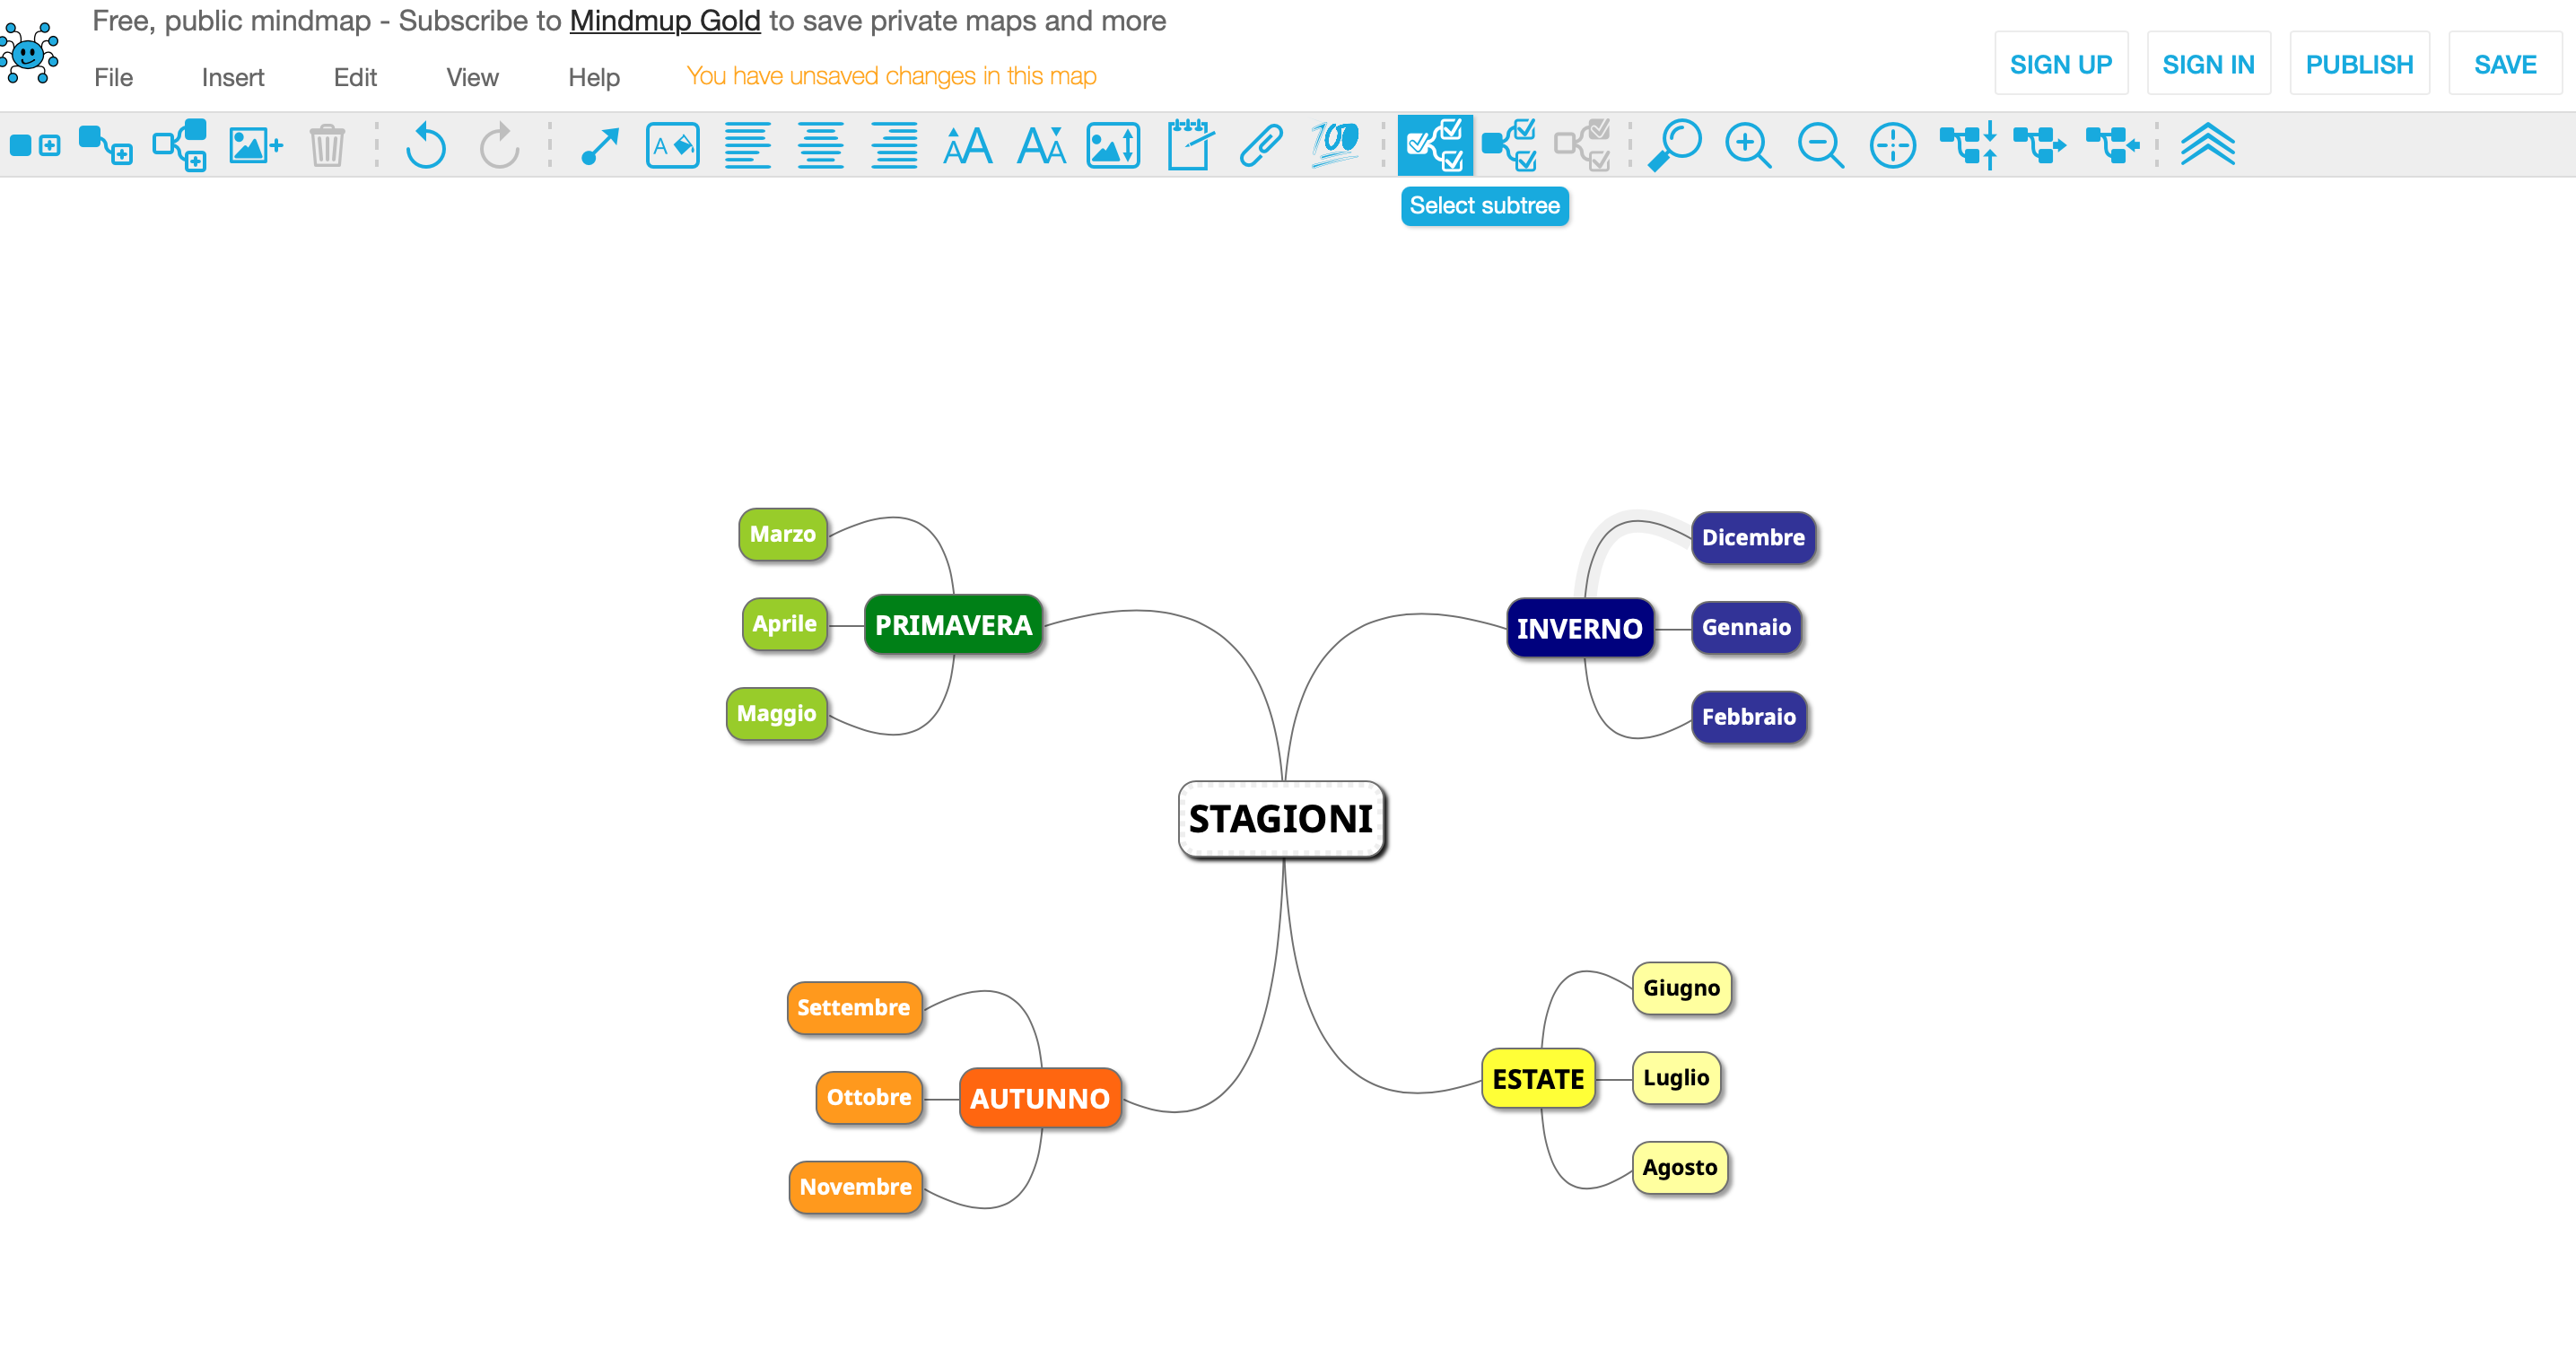 MindMup can also be linked to Google Drive. To do this, simply go to your Drive account, click on "New," then on "other," and then on "connect other apps." The Google Marketplace window will open and you will just have to search for the app in the search bar and click on "install." Once done you will be able to create a map that will be directly saved to your Drive account.
Copy link