
Enter all the desired criteria: the apps that satisfy them all will be searched; if a criterion is specified multiple times, only the last occurrence will be considered.
The following is the Miro homepage. From here, you can explore the types of products offered, access the support and training pages, and view the pricing section. Finally, you can sign up or log in to the application.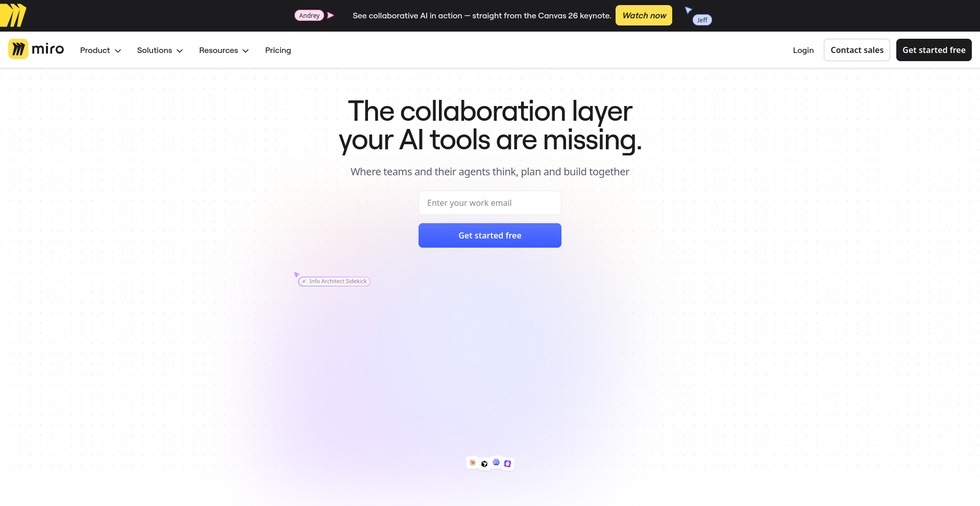
After personalizing your profile through a guided procedure that also allows you to create your team, you access the following Dashboard. In the top left, the name of your team is visible, with the navigation menu and the search bar right below it. In the top right, the "Invite members" button allows you to invite new users to your work team via link, email, or Microsoft, Google, or Slack contacts.
In the center, several templates are available to quickly start working. Below, you will find the list of your team's boards, along with the "Explore templates" and "+ Create new" quick buttons for rapid creation.
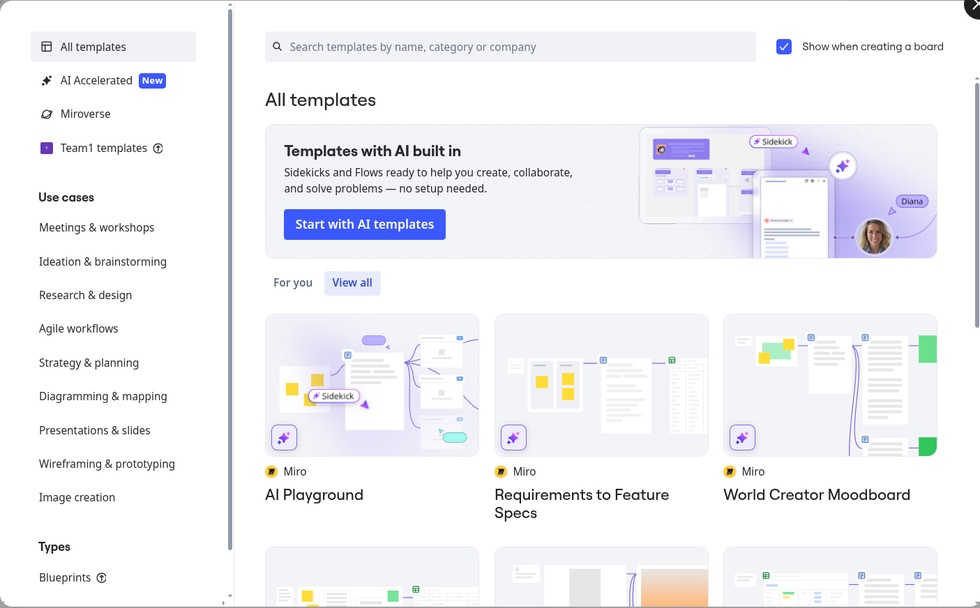
This is the templates page offered by the website. There are thousands of templates searchable either through the search bar or via the "use cases" section. From the left navigation menu, you can select "AI Accelerated" templates, which are ready-made structures with integrated AI that automatically generate or summarize content. In the "Miroverse" section, you can also browse and search for user-created products, which can be reused, modified as desired, or simply used as a baseline structure for your own work.
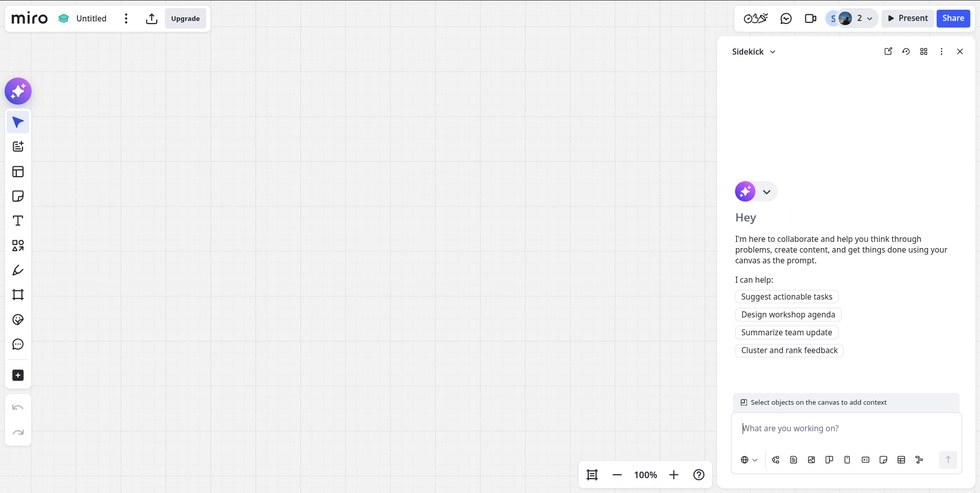
The following is the board editor. In the top left, we have the project name, the preferences and basic settings menu with the three vertical dots (which grants access to view options, background, and version history), and the export button (to PDF, image, as template, embed, and to Google Drive).
In the top right, there are the collaboration controls, including the buttons to view recent document activity, the ability to add voting, a timer, and notes, and the camera icon to record an interactive video with audio commentary of the screen (Talktrack). We also find the list of active users on the board, the "Present" button to launch the presentation, and the blue "Share" button for sharing (with viewer, commenter, and editor roles) or for publishing.
In the workspace, on the left there is the main toolbar featuring all the canvas insertion tools: Miro AI features, selection pointer, templates, tables, sticky notes, text, geometric shapes, diagrams, stickers, and comments. At the bottom there are the "undo" and "redo" buttons. Meanwhile, on the right, the "Sidekick" collaborator panel opens up, a virtual assistant that provides support for creating and organizing content through AI.
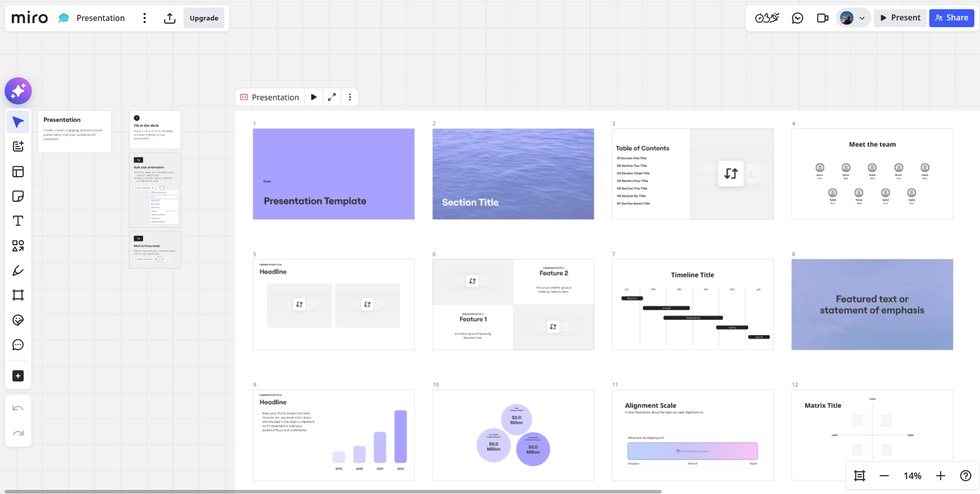
In the following image, you can see how a presentation loaded onto Miro appears. It is possible to navigate the slides and edit them directly on the board. A dedicated toolbar appears above the main block of slides: using the "Presentation" button and the "Play" icon, you can start the presentation in classic mode. The icon to its right, showing two divergent arrows, allows you to enter "Focus mode", a full-screen view of the presentation similar to that of classic editors like PowerPoint and Google Slides. Finally, the three vertical dots open a menu to manage styles, add new slides, insert presenter notes, and export.
Miro can be used in an educational setting to:


Copy link