
Enter all the desired criteria: the apps that satisfy them all will be searched; if a criterion is specified multiple times, only the last occurrence will be considered.
 Once you’ve clicked on “SIGN IN”, Seesaw will give you 3 options: “I’m a teacher”; “I’m a student” and “I’m a Family member”. This is because the aim of Seesaw is to put in contact on a sole simple and easy platform, teachers, students and eventually (depending on the age of the students) family members. To understand the multiple functions of this app, click on “I’m a teacher”.
 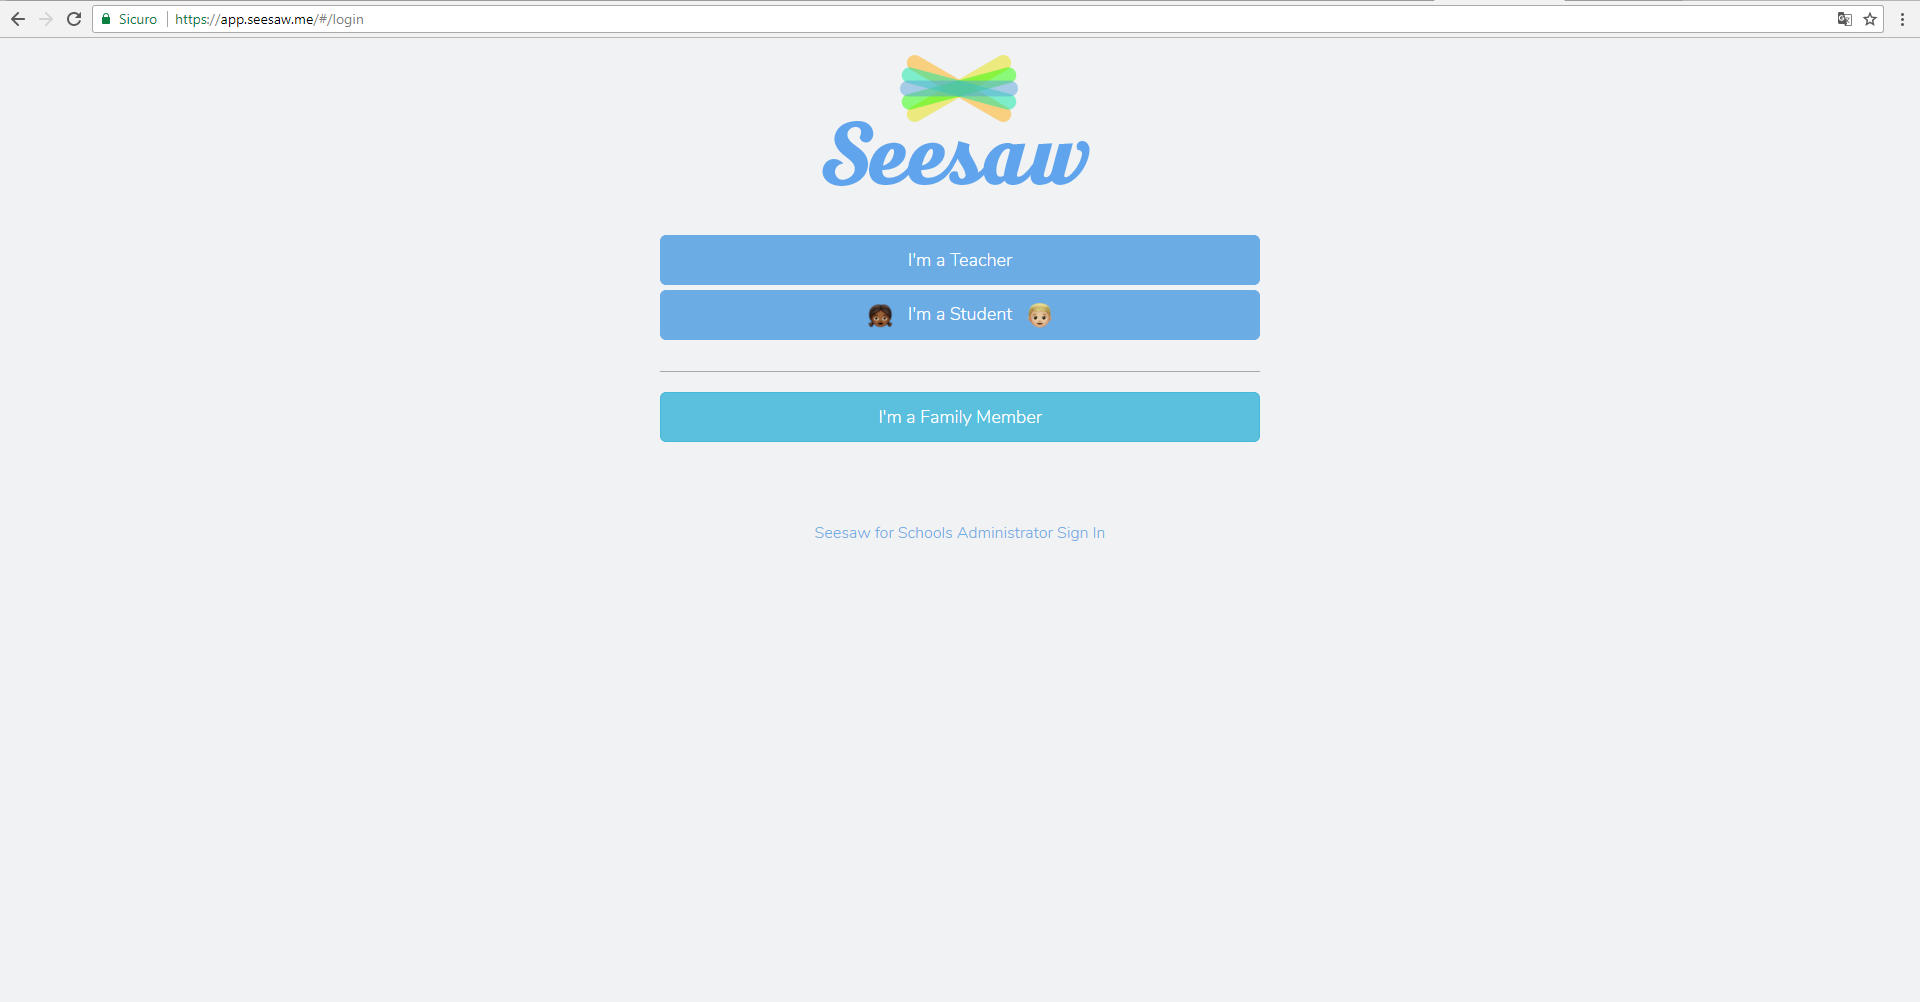 At this point you can proceed normally with the classic registration: name, surname, e-mail address and password. After that, by clicking on “Create Teacher Account”, you will create a new profile as a “teacher”.
 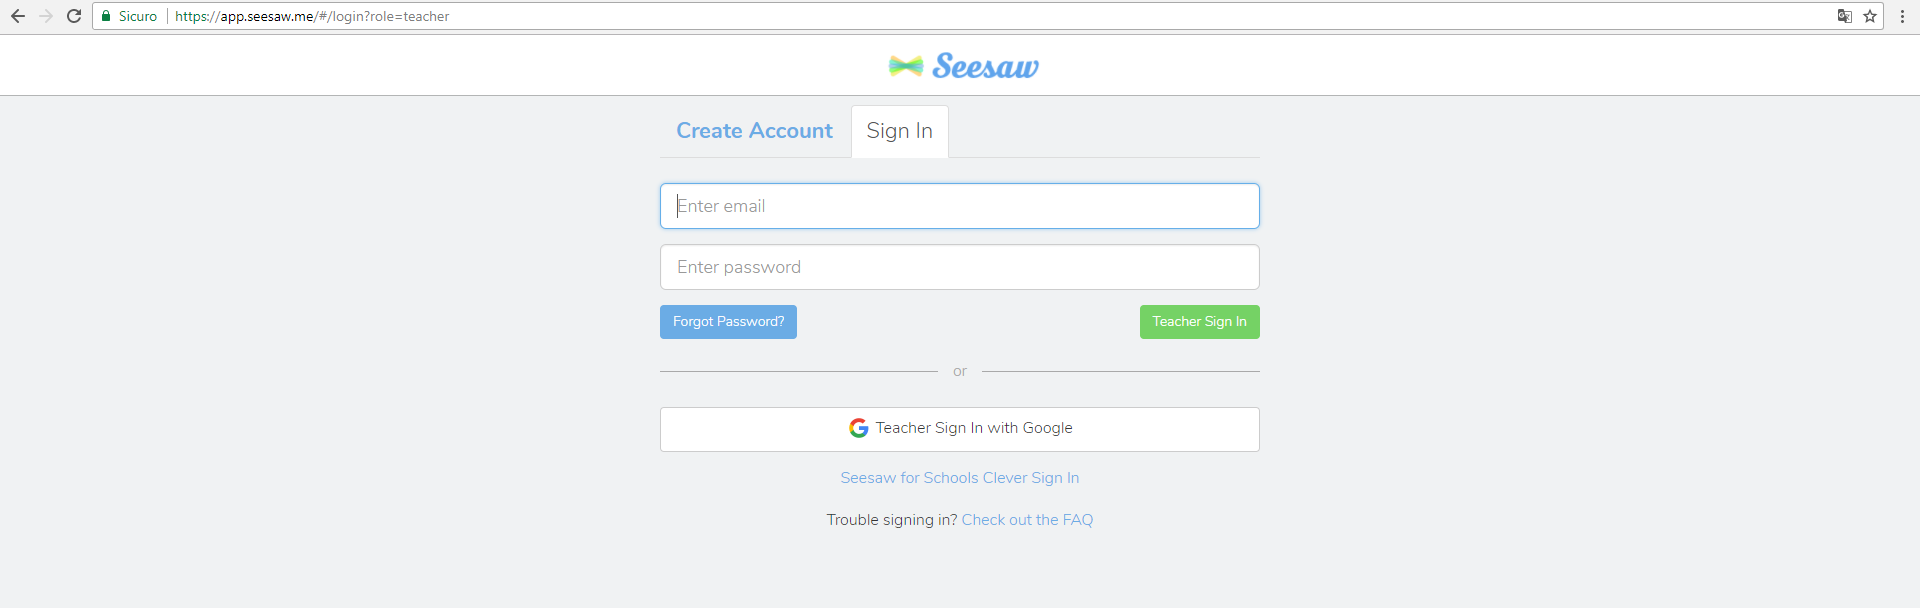 Once you’ve accessed as a teacher, you will be asked to create your class, inserting its name and grade.
 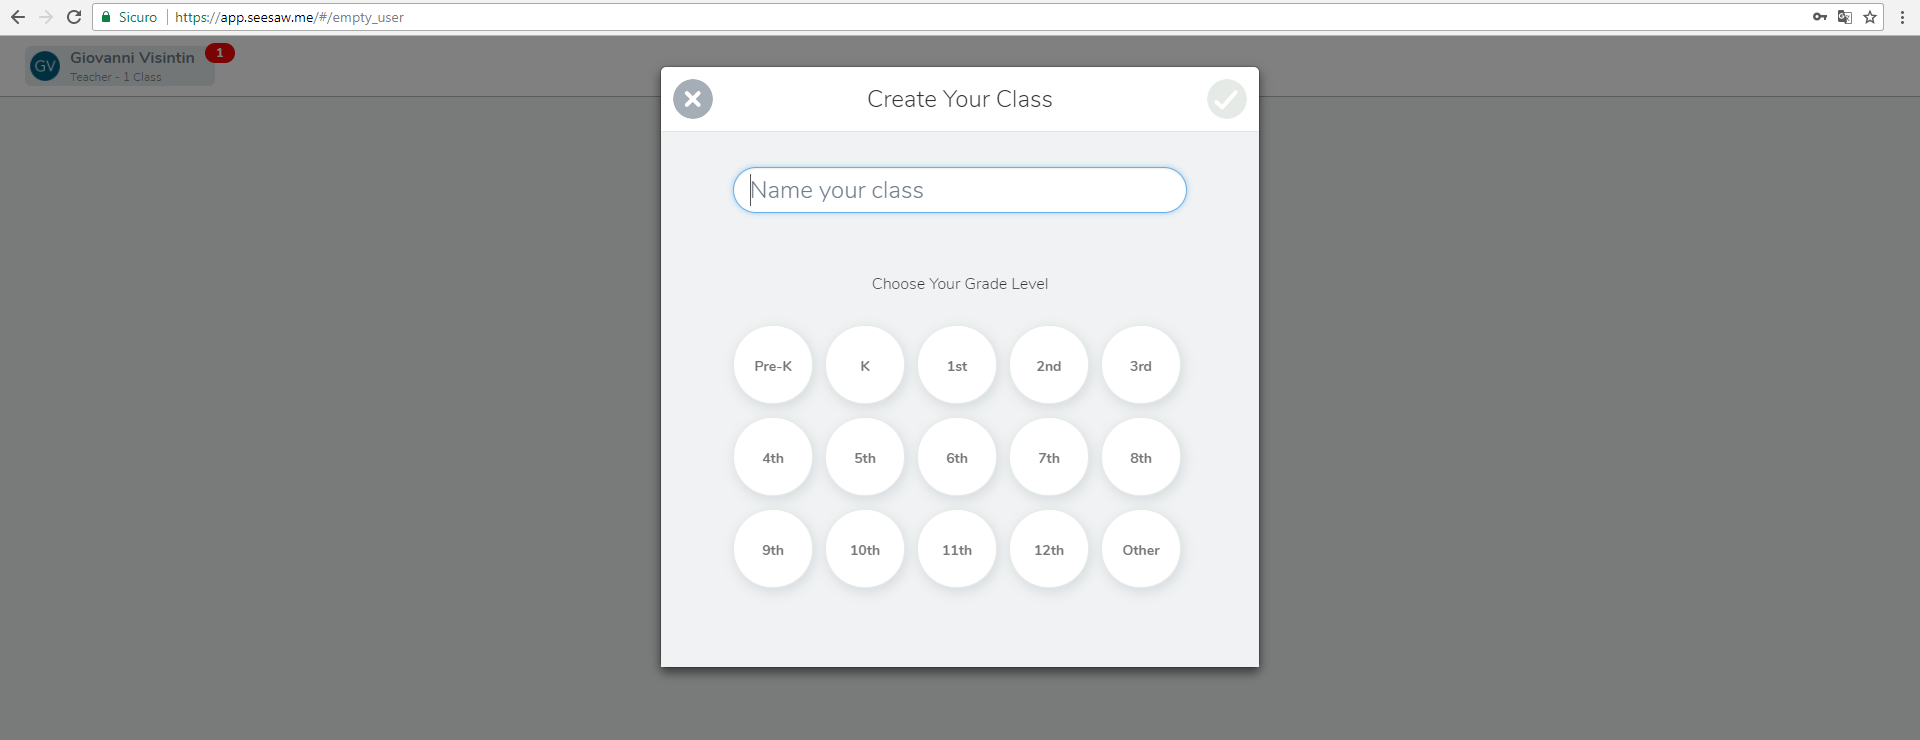 The following image shows how your students can access to the class: via a QR code given directly by the app, or, if they’re old enough, by using their own e-mail and password.
 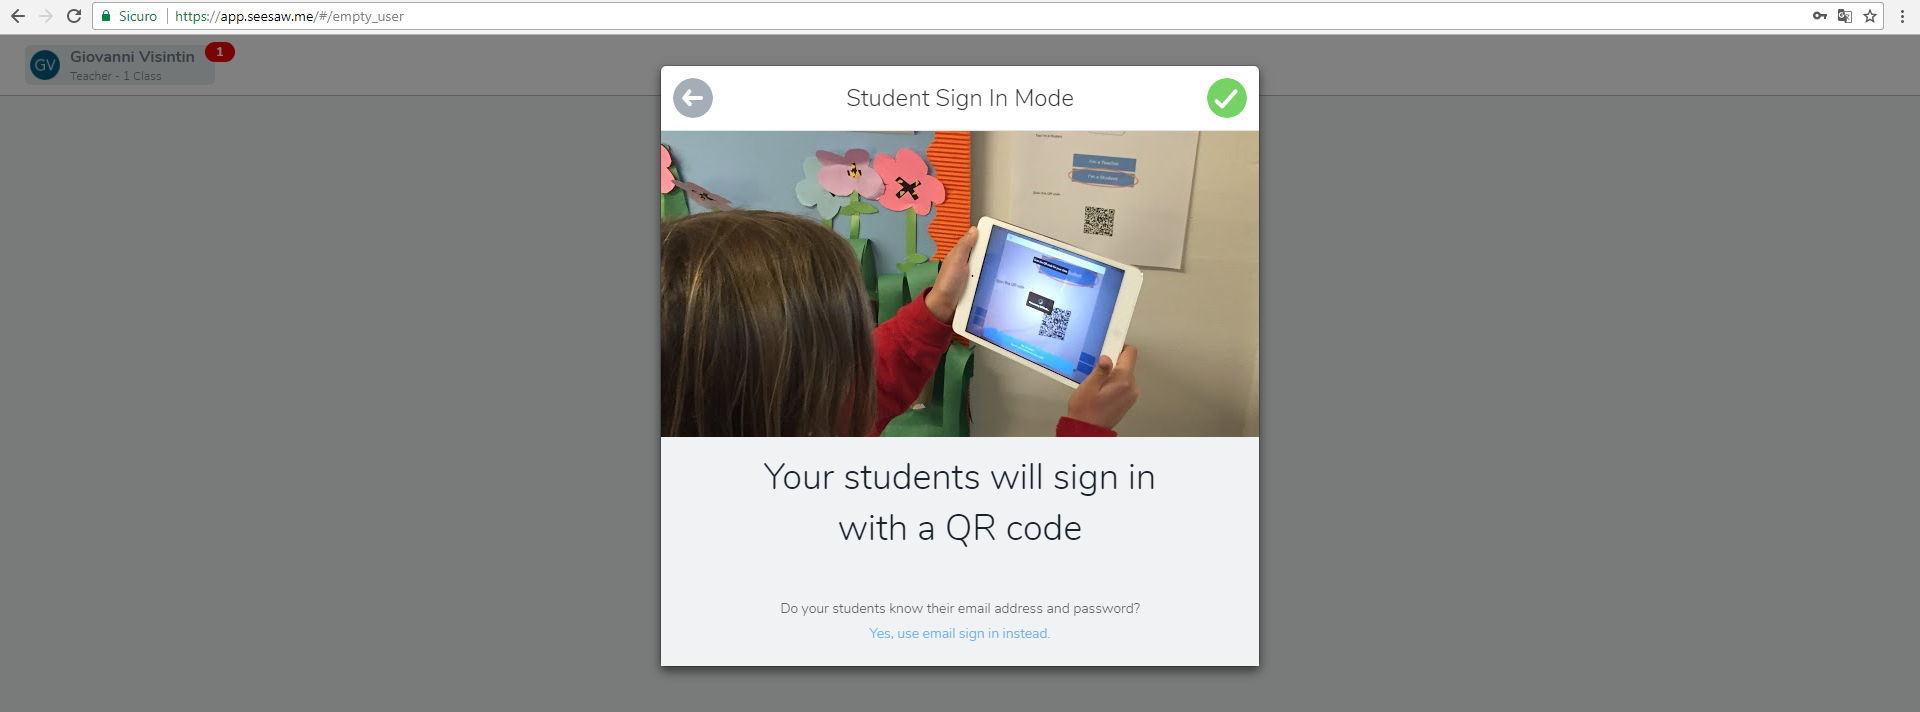 Lastly, you can continue with inserting your students one by one.
 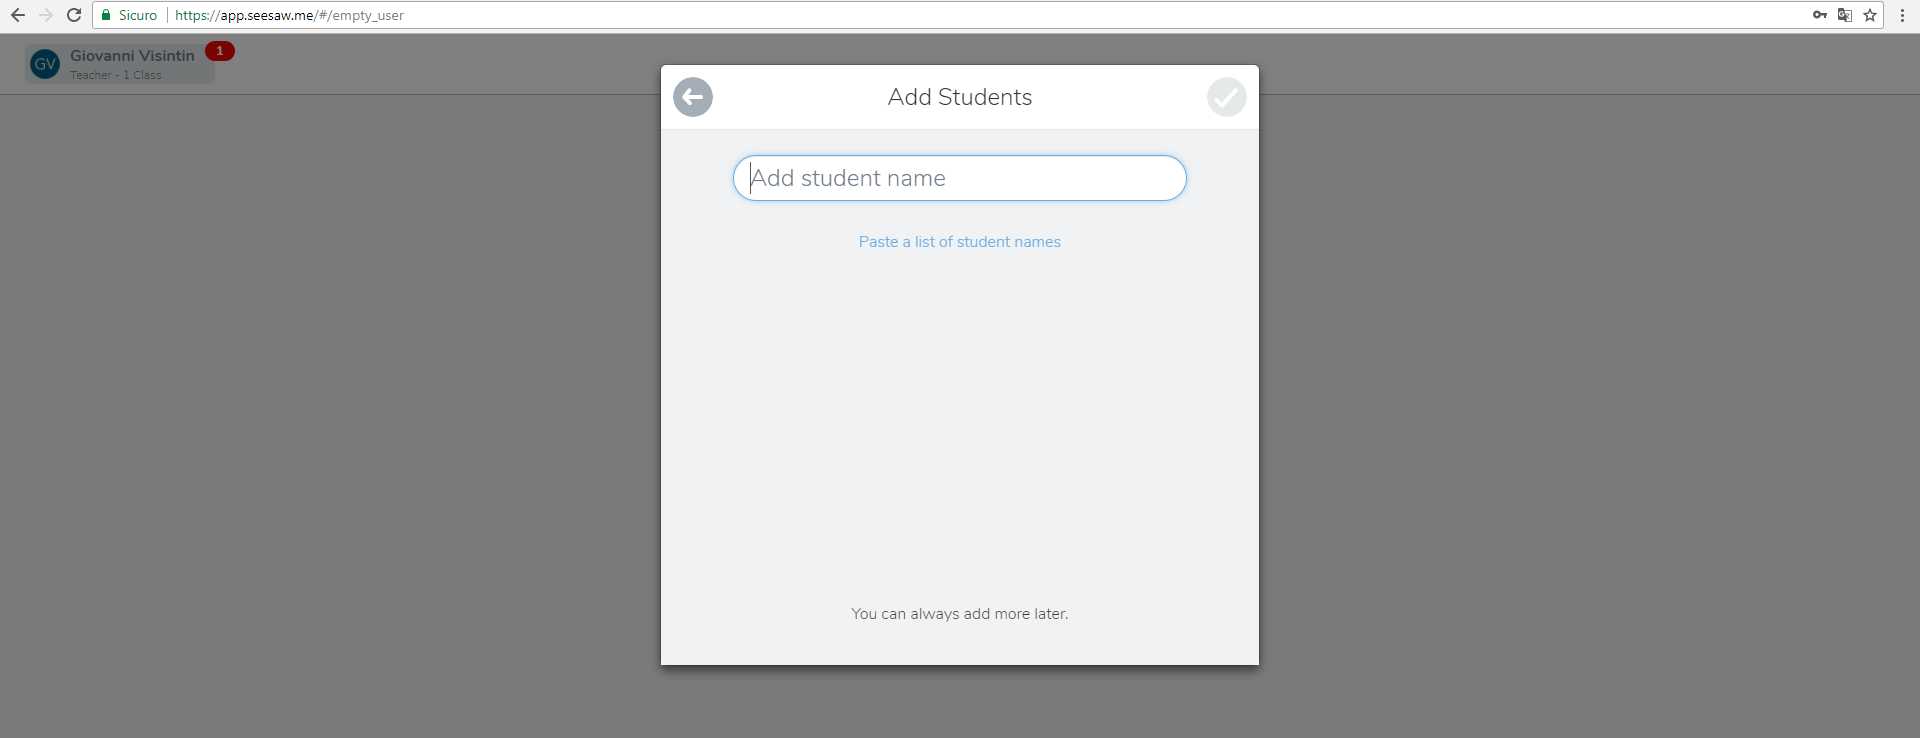 Once you’ve created your class, the homepage of Seesaw will appear, which is made up of two sections: the left side where all the student’s works will be posted so that they can be easily found by the teacher and eventually the families; and the right side where there all the options available to the teacher. e
  There are 5 sections: The first one is “Journal” and it essentially represents your class register and where all the students’ names will appear (to which you assign an images or a profile picture). The second one is “Activities” and it holds all the activities proposed to your students. The third is “Inbox” where the communications between school and home appear, so if there’s a notice or an announcement, it will be in this space. The fourth is“Skills” and it allows the teacher to create a sort of table inside of which each student’s progreess will be automatically inserted so you can have a neat and immediate view of each improvement, progress and/or deficiencies. The fifth is “Blog” and it allows you to create a public space, a website, where you can post your students’ work. Lastly, there are other logos inside this image: the screwdriver in the top right (which is the menu of the various settings); the folder on the same line as “Class Journal” (which gives you the possibility to organise the work by grouping it under themes in different folders) and finally the green plus sign which divides the two parts of the page and allows the teacher to write/share/communicate anything with the class.
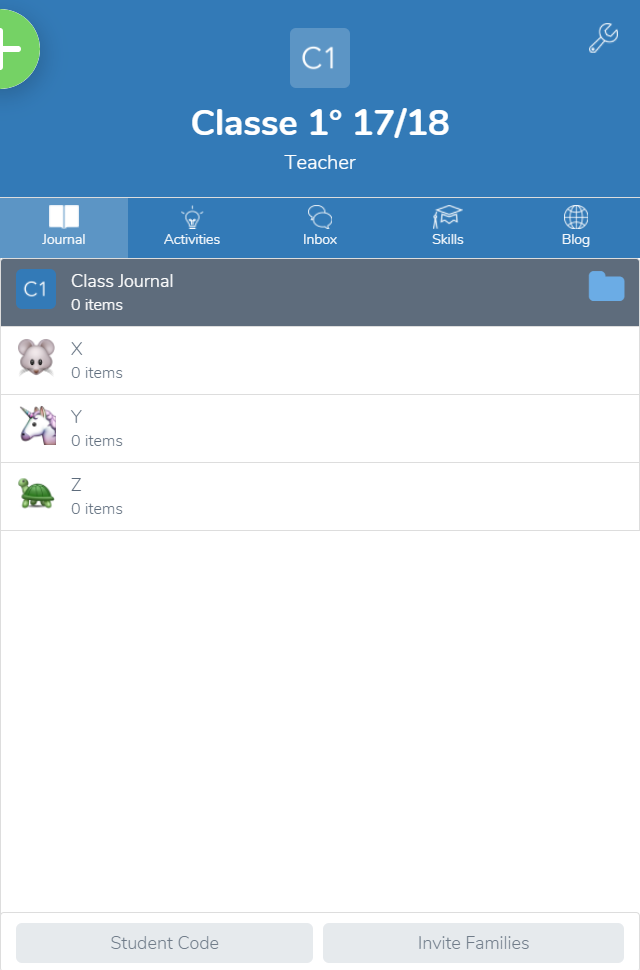


Copy link