
Enter all the desired criteria: the apps that satisfy them all will be searched; if a criterion is specified multiple times, only the last occurrence will be considered.
 Let's see now how the dashboard of Pixlr X and Pixlr E looks like: you can see your projects or create new ones using templates or starting from scratch, search for content created by other users, access the "feedback" section and the "tutorial" section. You can also upload an image from your PC or upload a URL.
 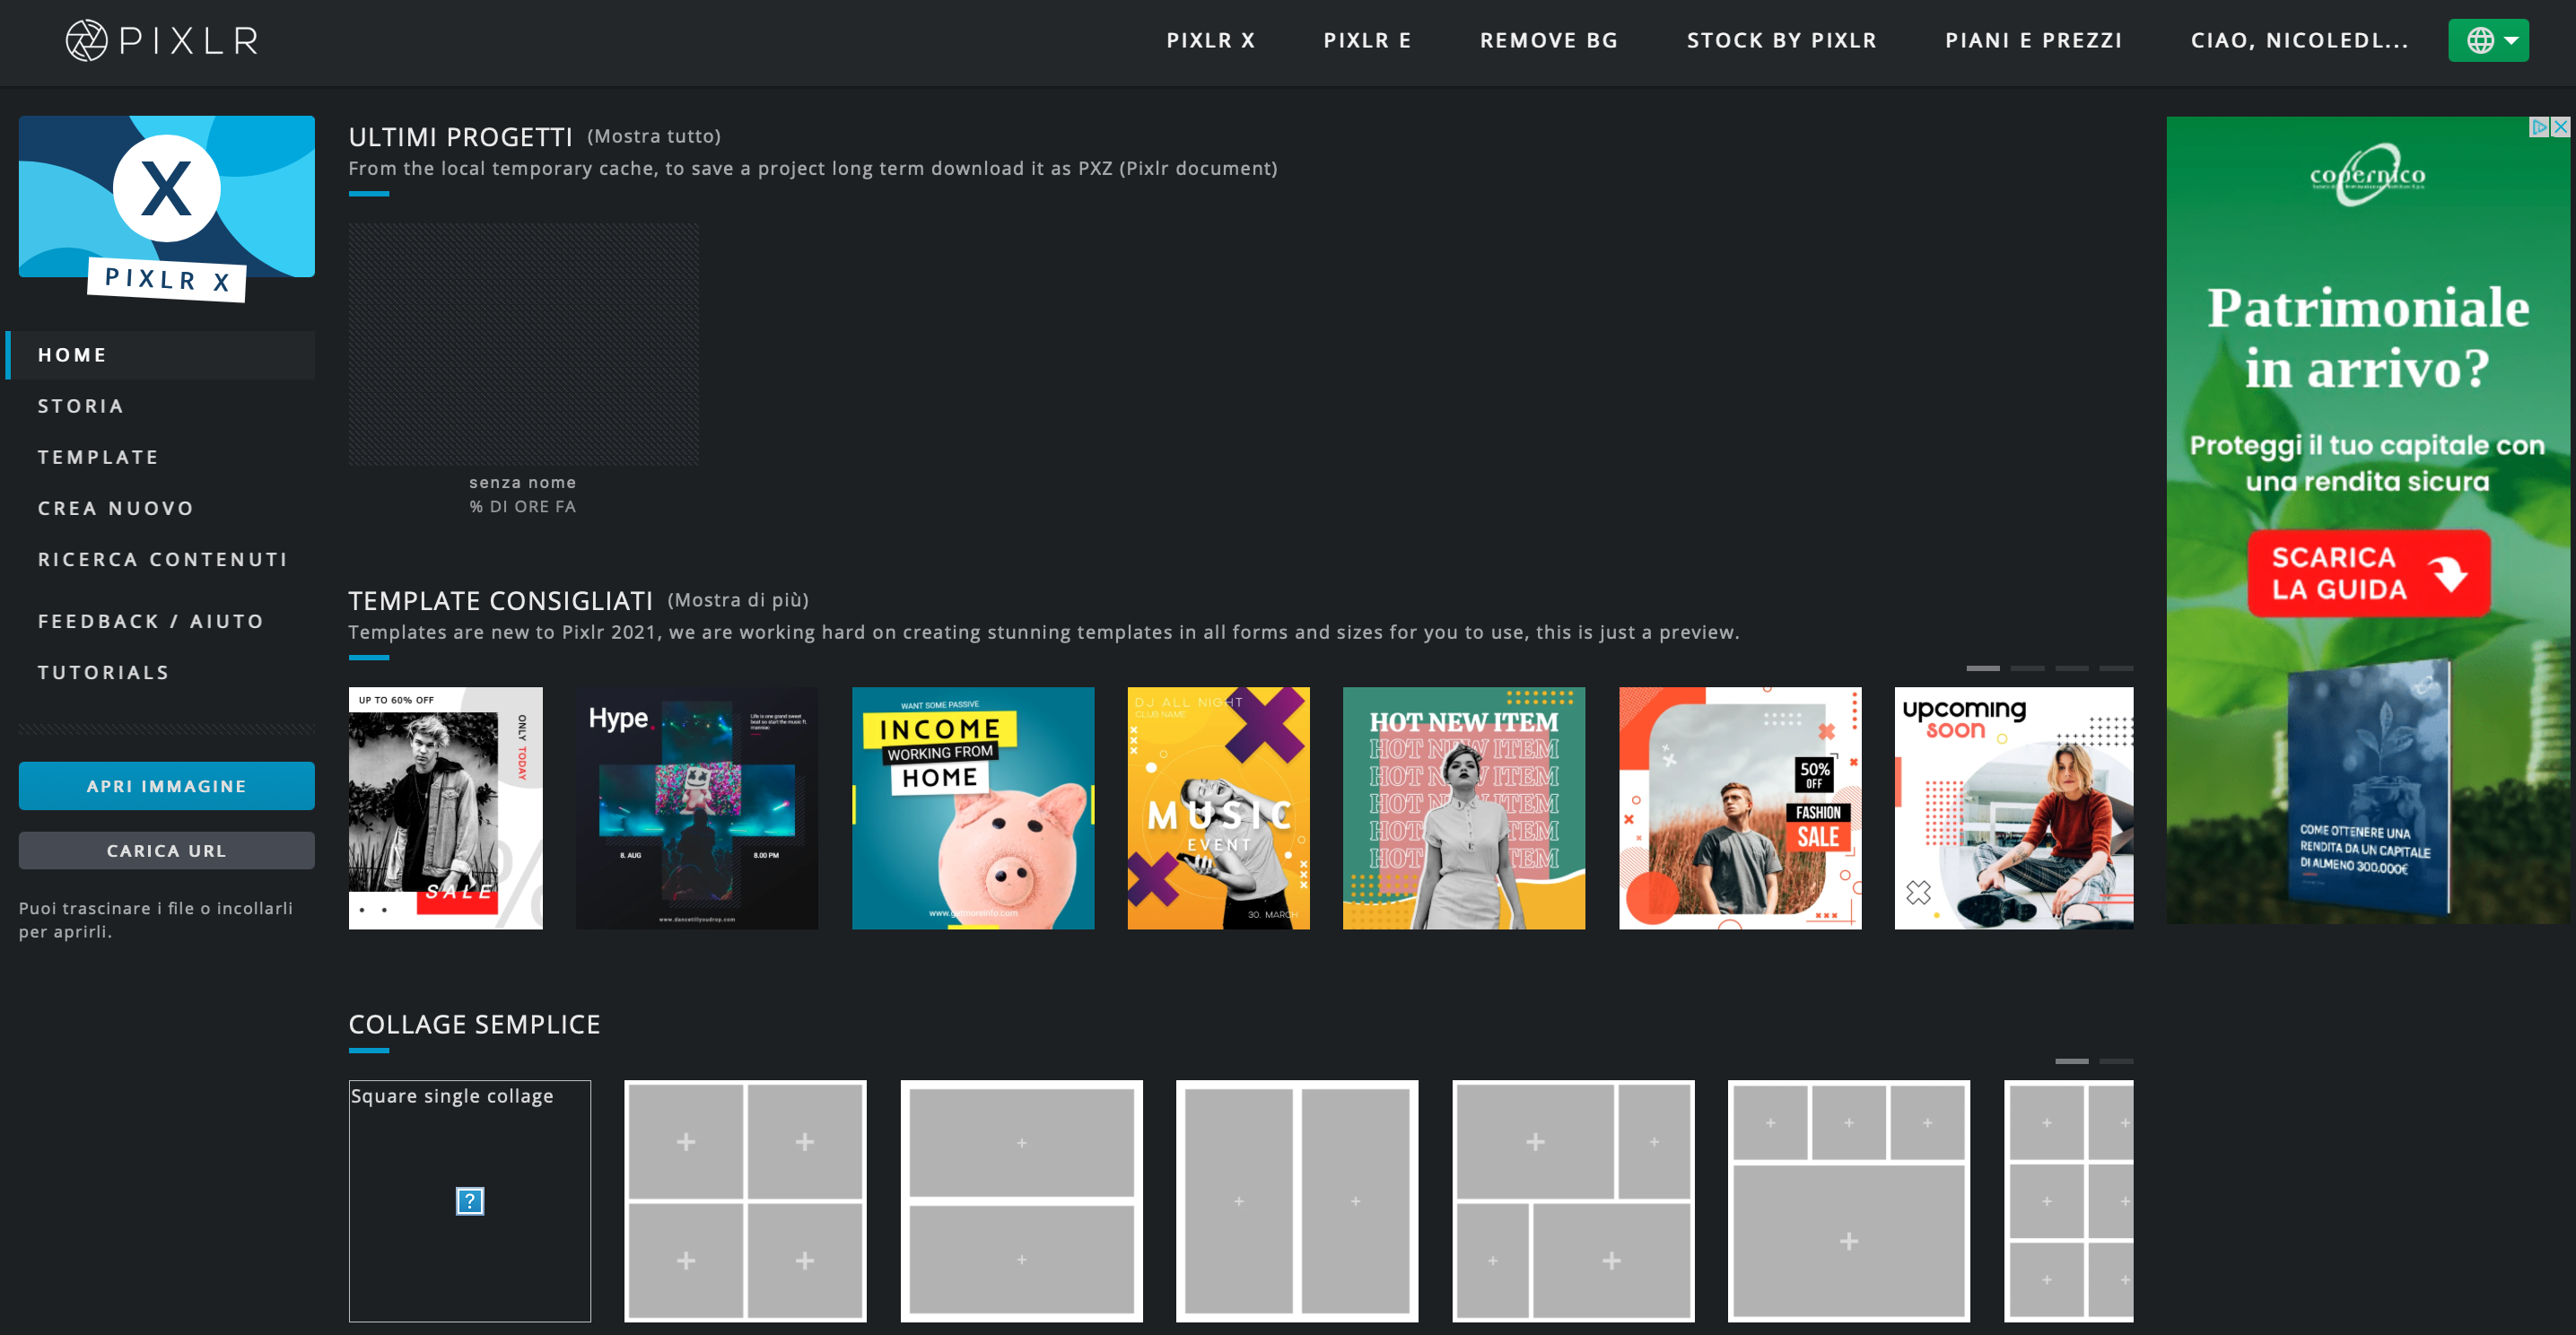 The following is the editing screen of Pixlr X where you can proceed with editing your photos. In the menu on the left you can add various layers (adding text, image or element) that together will form the image. Each time you add a layer it will appear in the "layer panel" to the right of the screen, so you can go and edit each element individually.
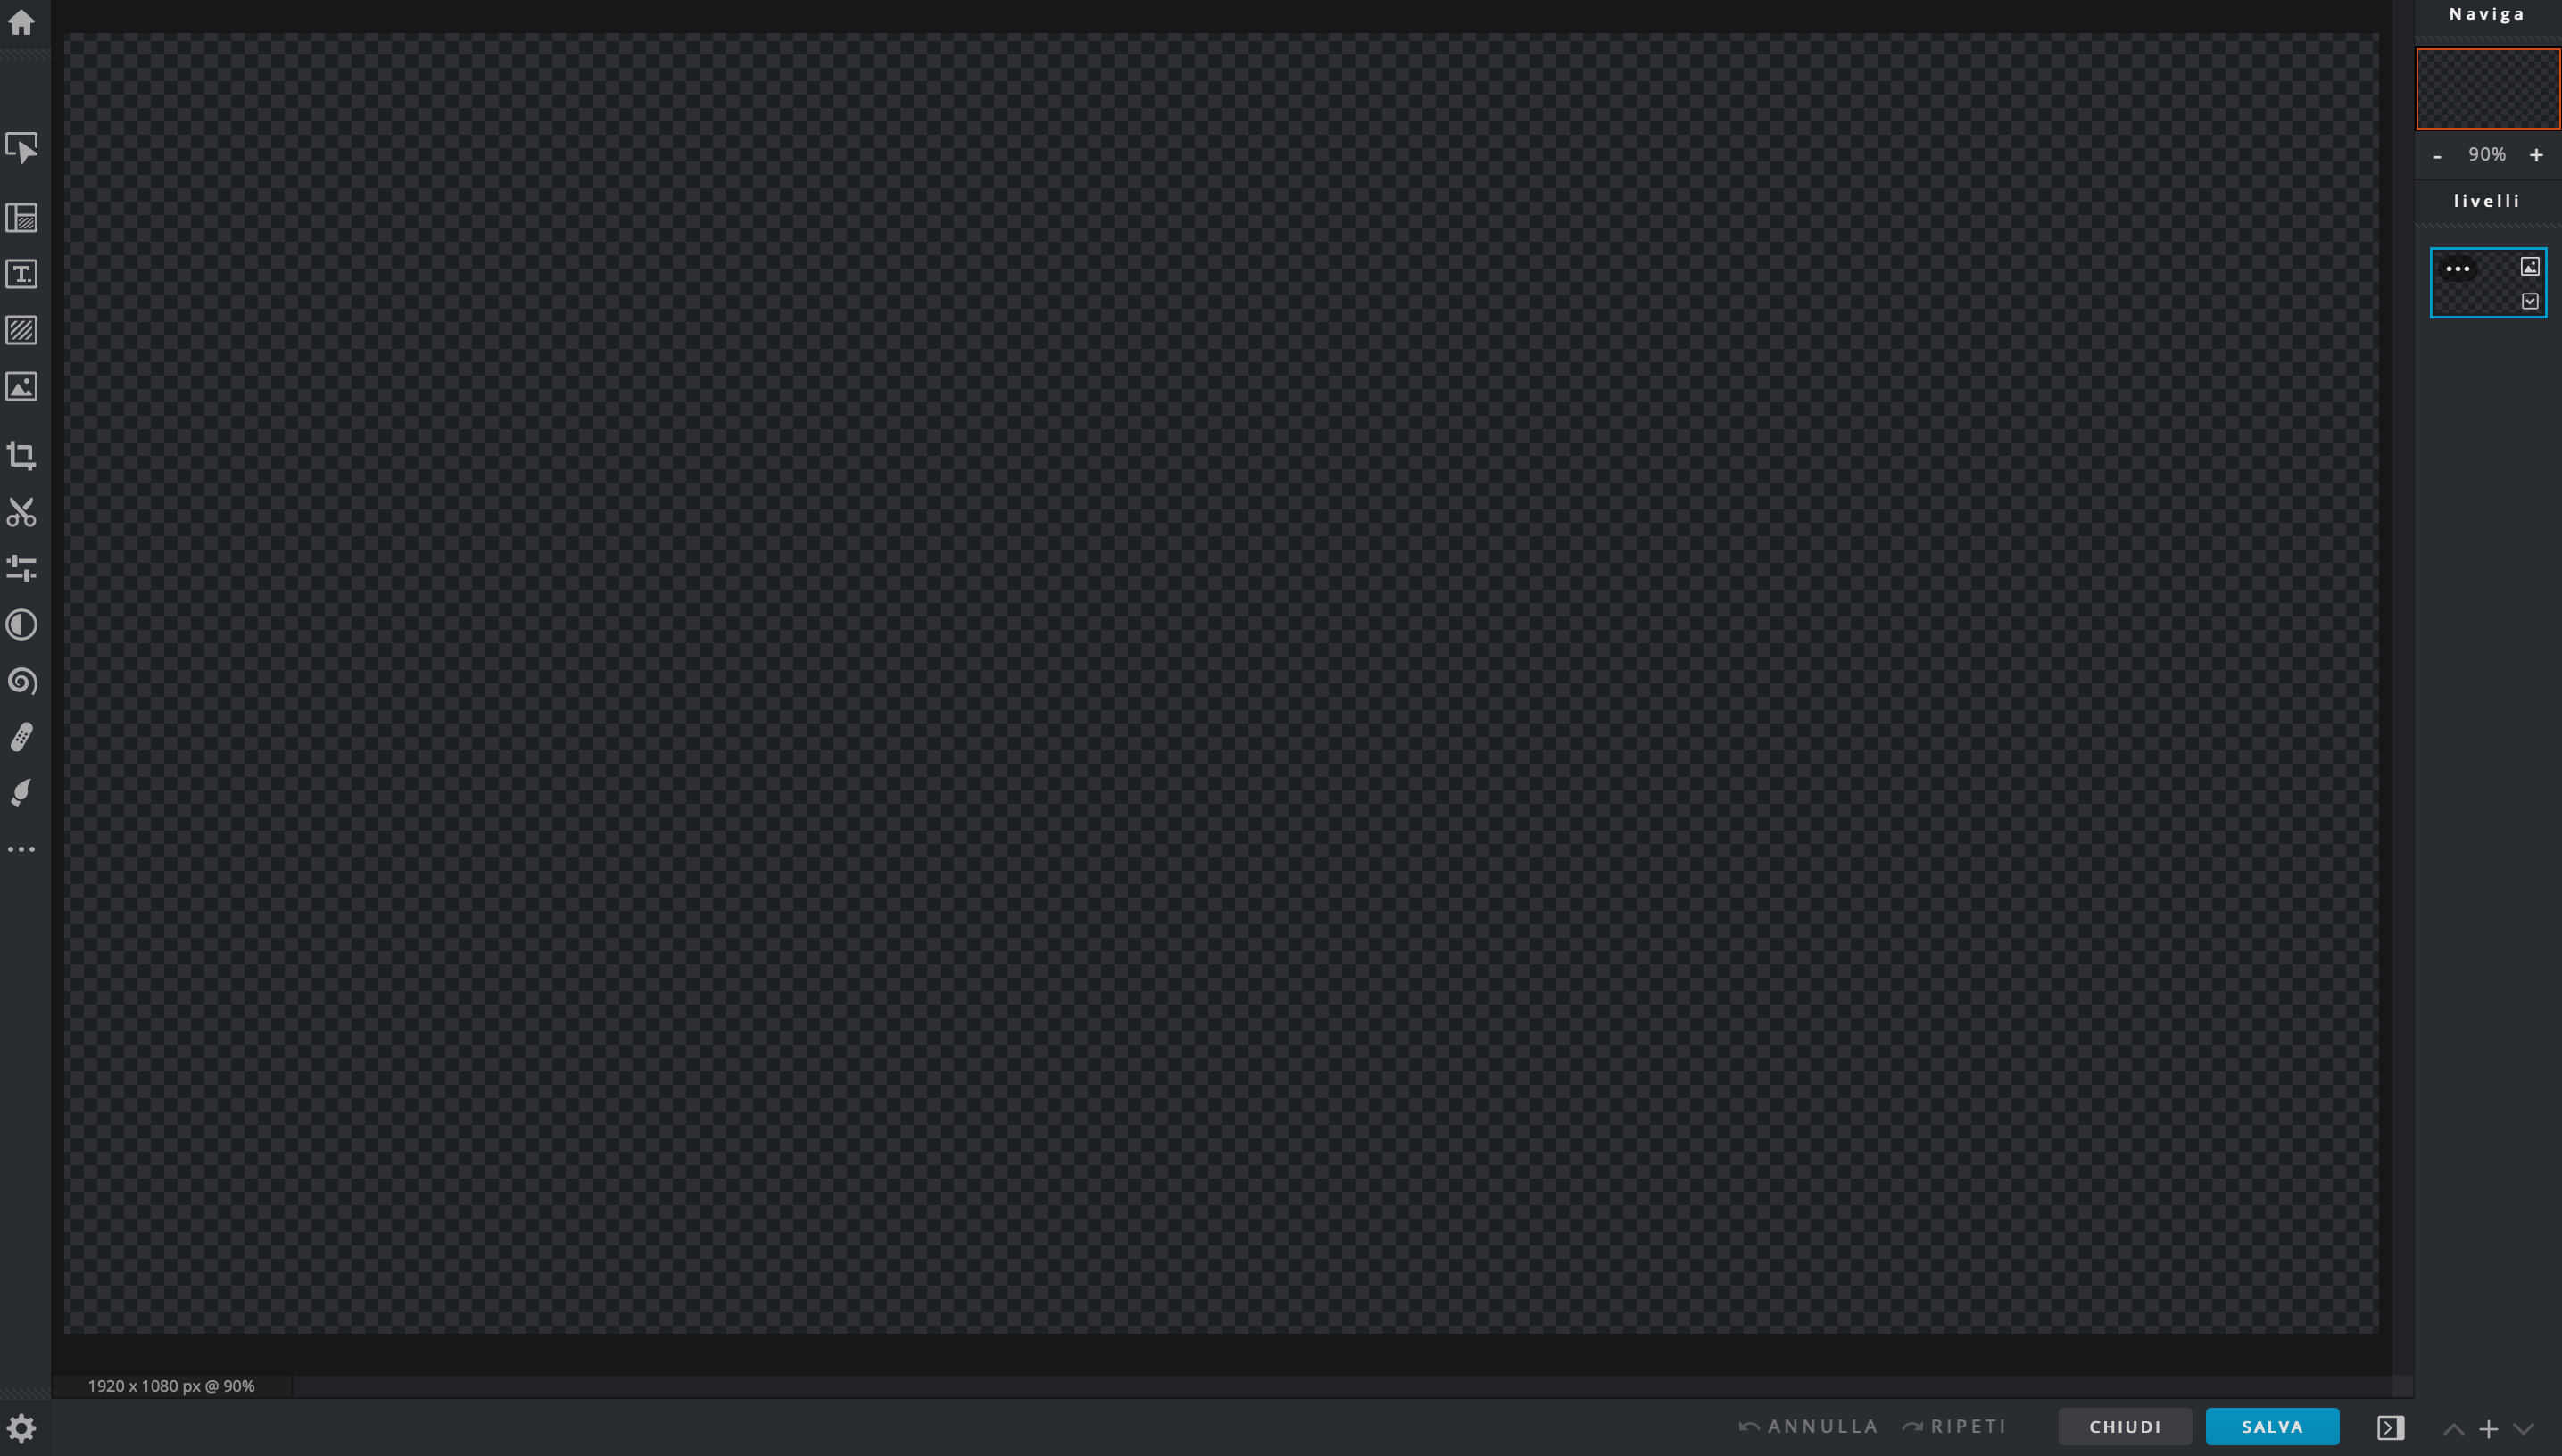 The following is the editing screen of Pixlr E and as you can see there are more tools for editing images, some of them are: lasso select, liquify option, clone, ability to lighten or darken certain areas, use of pen and eraser, ability to fill areas with a color, use color picker For the rest of the functionality it is the same as Pixlr X.
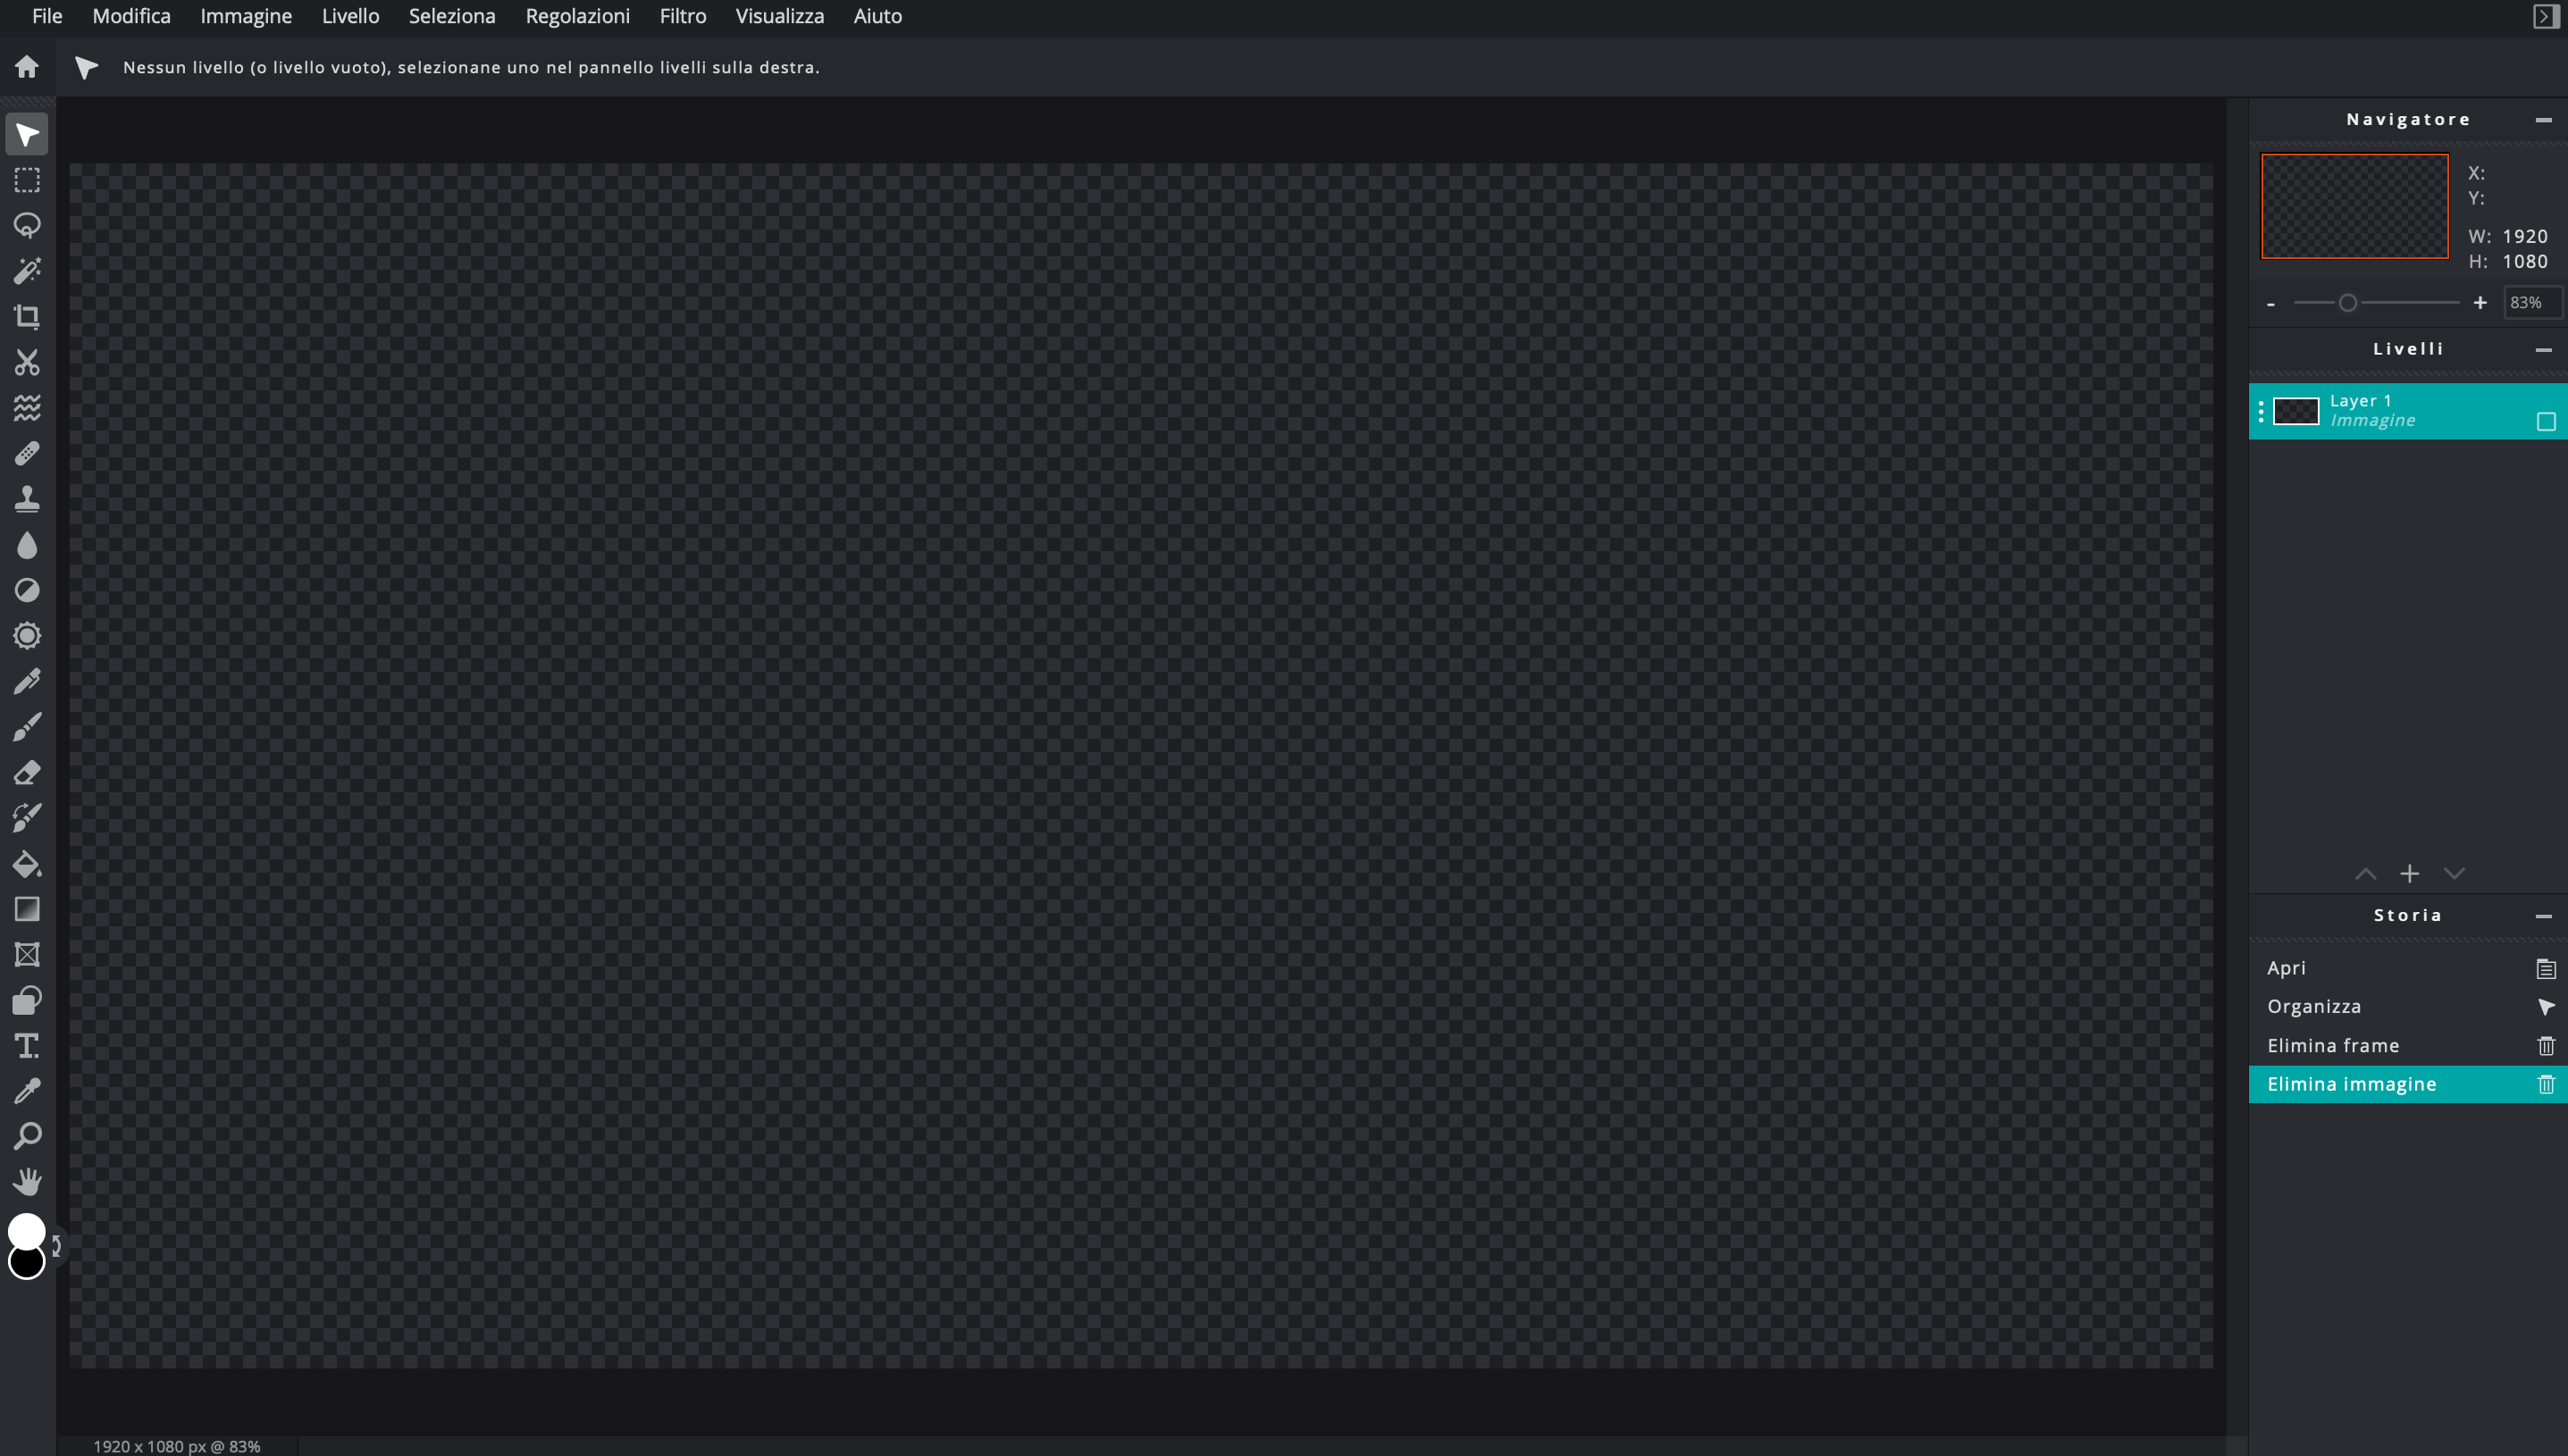


Copy link