
Enter all the desired criteria: the apps that satisfy them all will be searched; if a criterion is specified multiple times, only the last occurrence will be considered.
 The following is your account dashboard where you can find questionnaires and live quizzes, both those you create and those you share. As soon as you create an account, questionnaires and live quizzes provided by the app will appear to start familiarizing you with it. To create a new project, just click on "create new" or the "+" button in the bottom right corner, the app will then ask whether you want to create a questionnaire or a live quiz. The first one consists of tests, exams and exercises that students take on their own and the results are stored for the teacher to evaluate, and the second one allows you to engage students in real time by projecting questions that students can answer with their own devices. From the dashboard, both questionnaires and live quizzes can be assigned or shared directly through pin or link.
  This is the editing screen for a questionnaire. At the top is space to enter the title, and to begin creating the questionnaire, you must enter questions manually by clicking on the "+" or by importing them from an Excel or Word document by clicking on the three dots in the upper right corner. You can add unlimited questions and then, eventually, ask PanQuiz! to draw them randomly. In the settings section at the top right, you can change the options related to the questionnaire: choice of questions, requesting personal data, maximum response time, security, reading by voice, displaying results, etc. In addition, you can enter a description, keywords, a cover image, and decide the color of the questionnaire and its visibility (public or private). A useful feature is also to enable the lock mode, this does not allow students to use the computer while taking the questionnaires or live quizzes.
 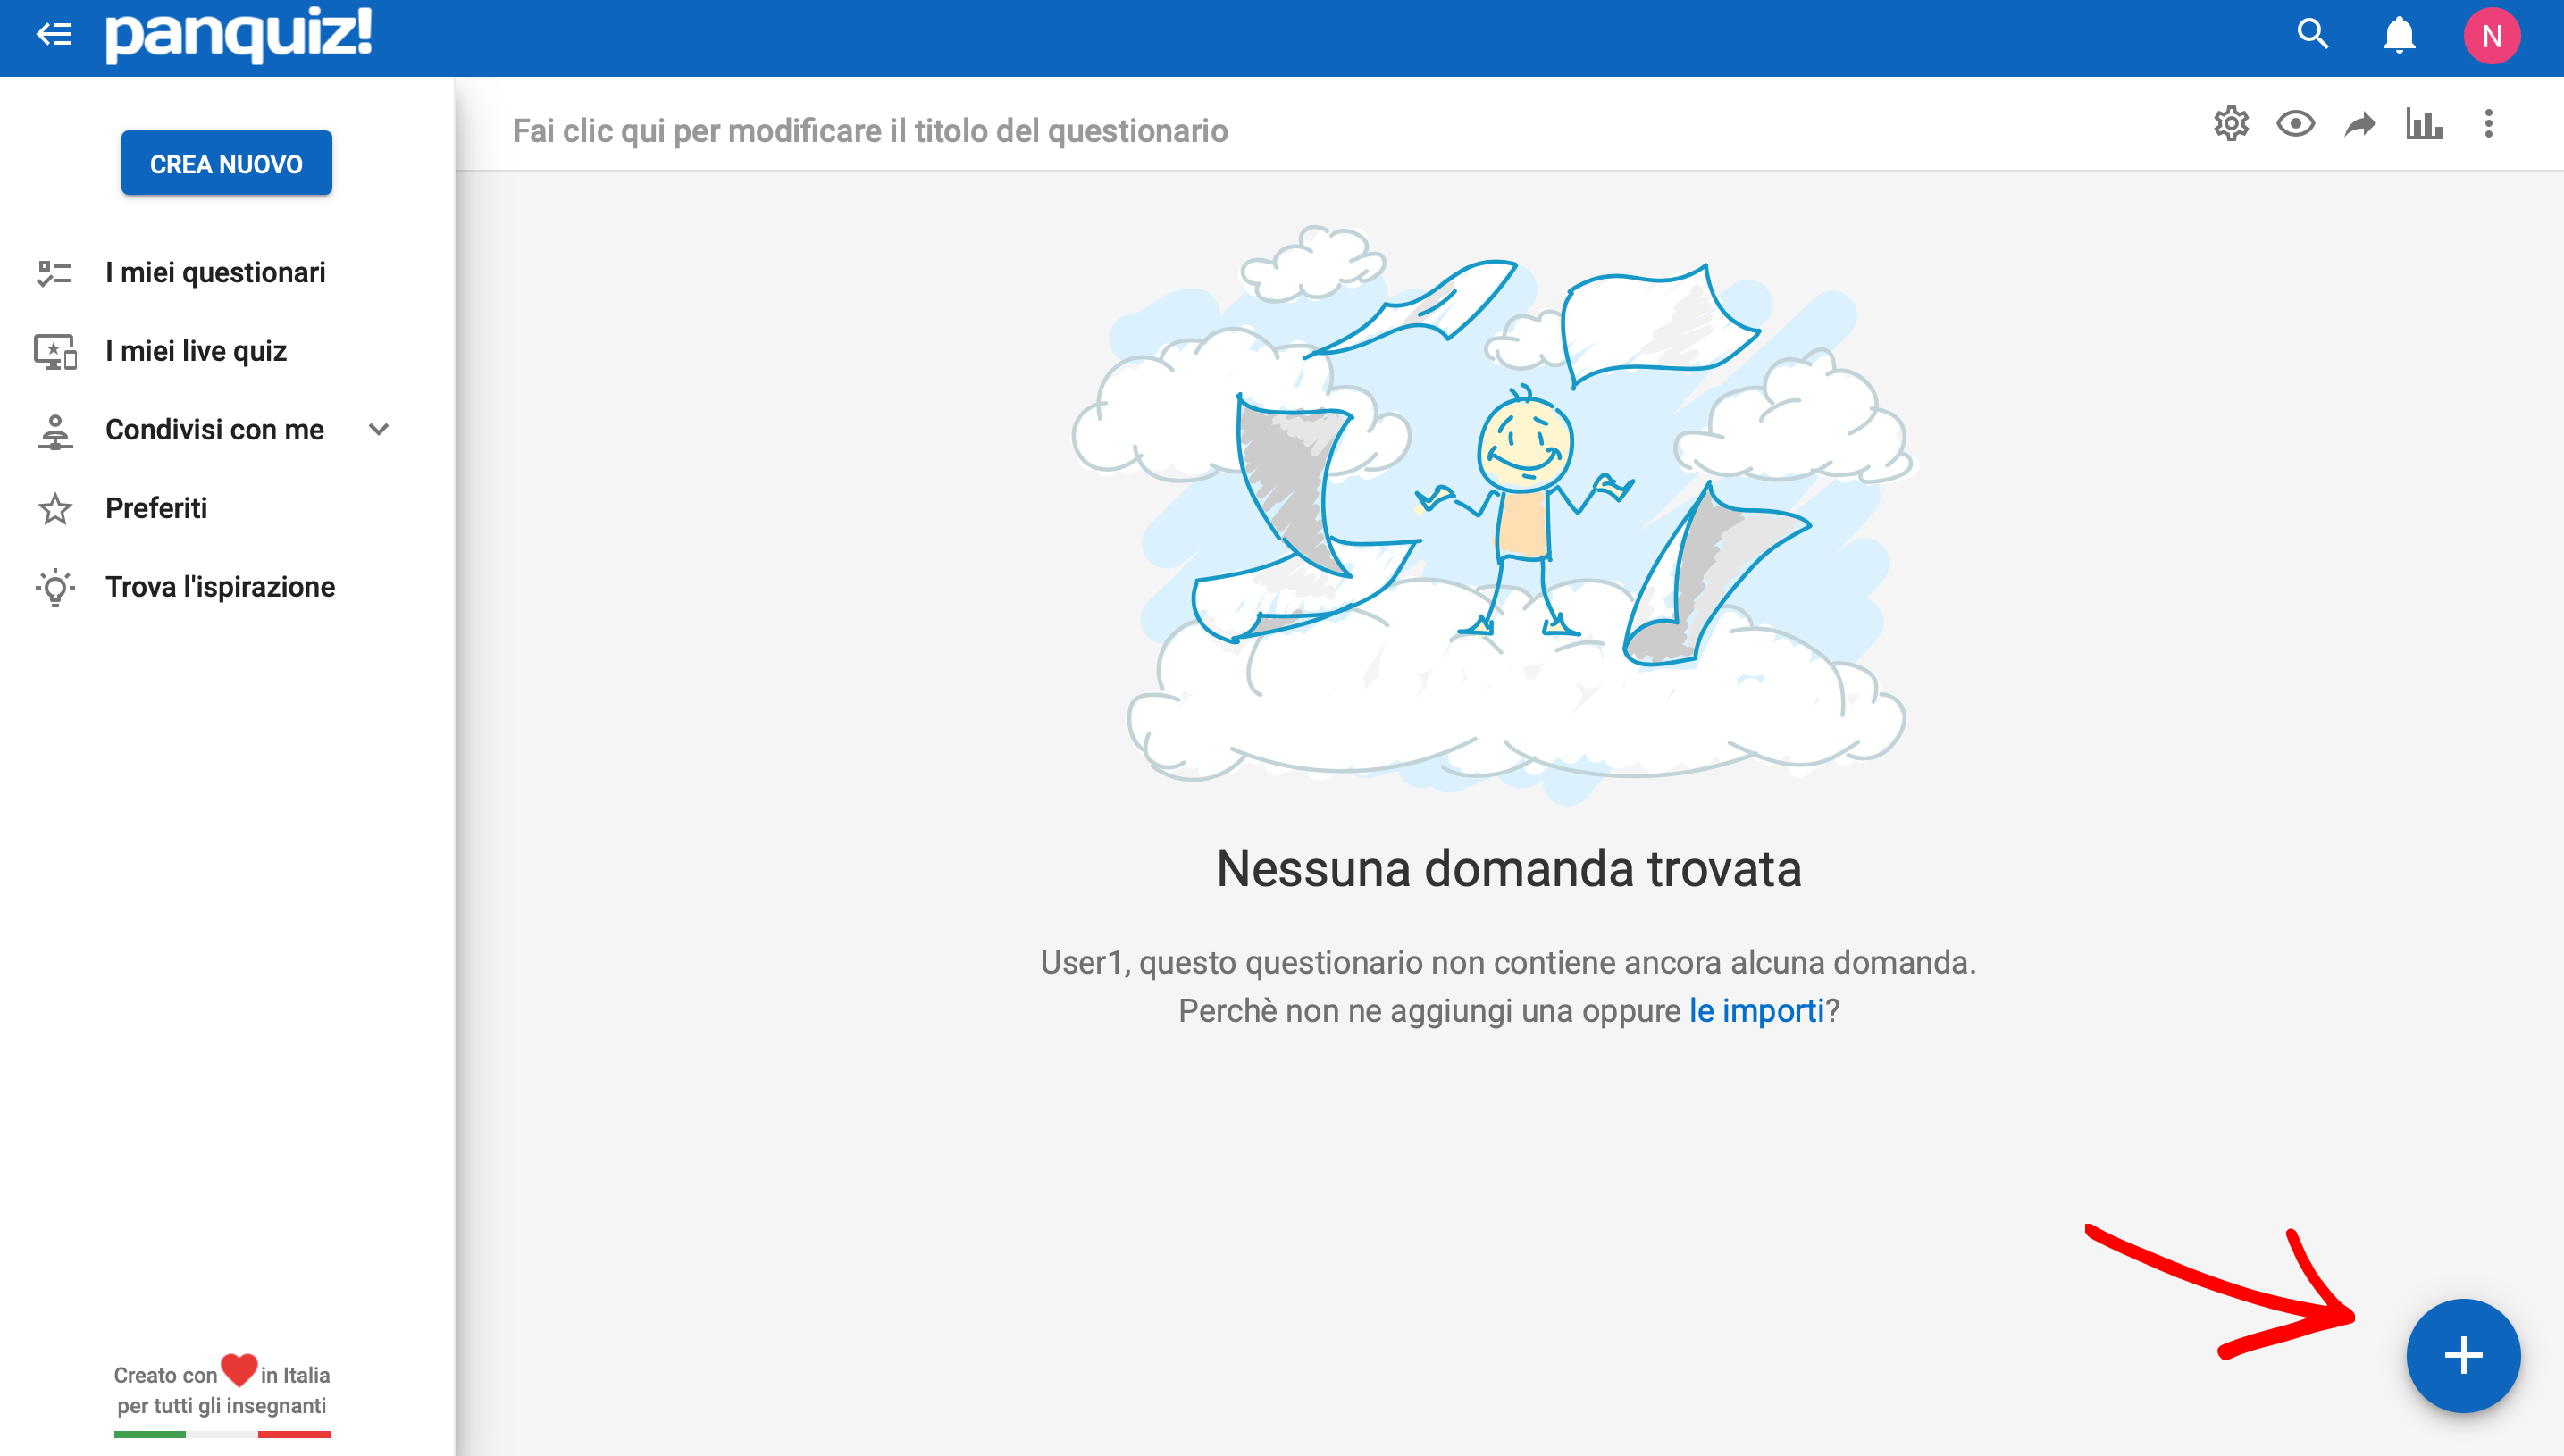 To make the questionnaire it is necessary to enter for each question the type: multiple choice, multiple answer, true/false, insertion, free text or fixed text (read only). After that you can write the question (you can also insert attachments such as pictures, sounds, documents, videos, links) and, according to the type of quiz you choose, the answers. You can enter options for each question such as: compulsory answer, show answers in random order (if the quiz is multiple choice), set a maximum answer time, set a minimum score, etc.
 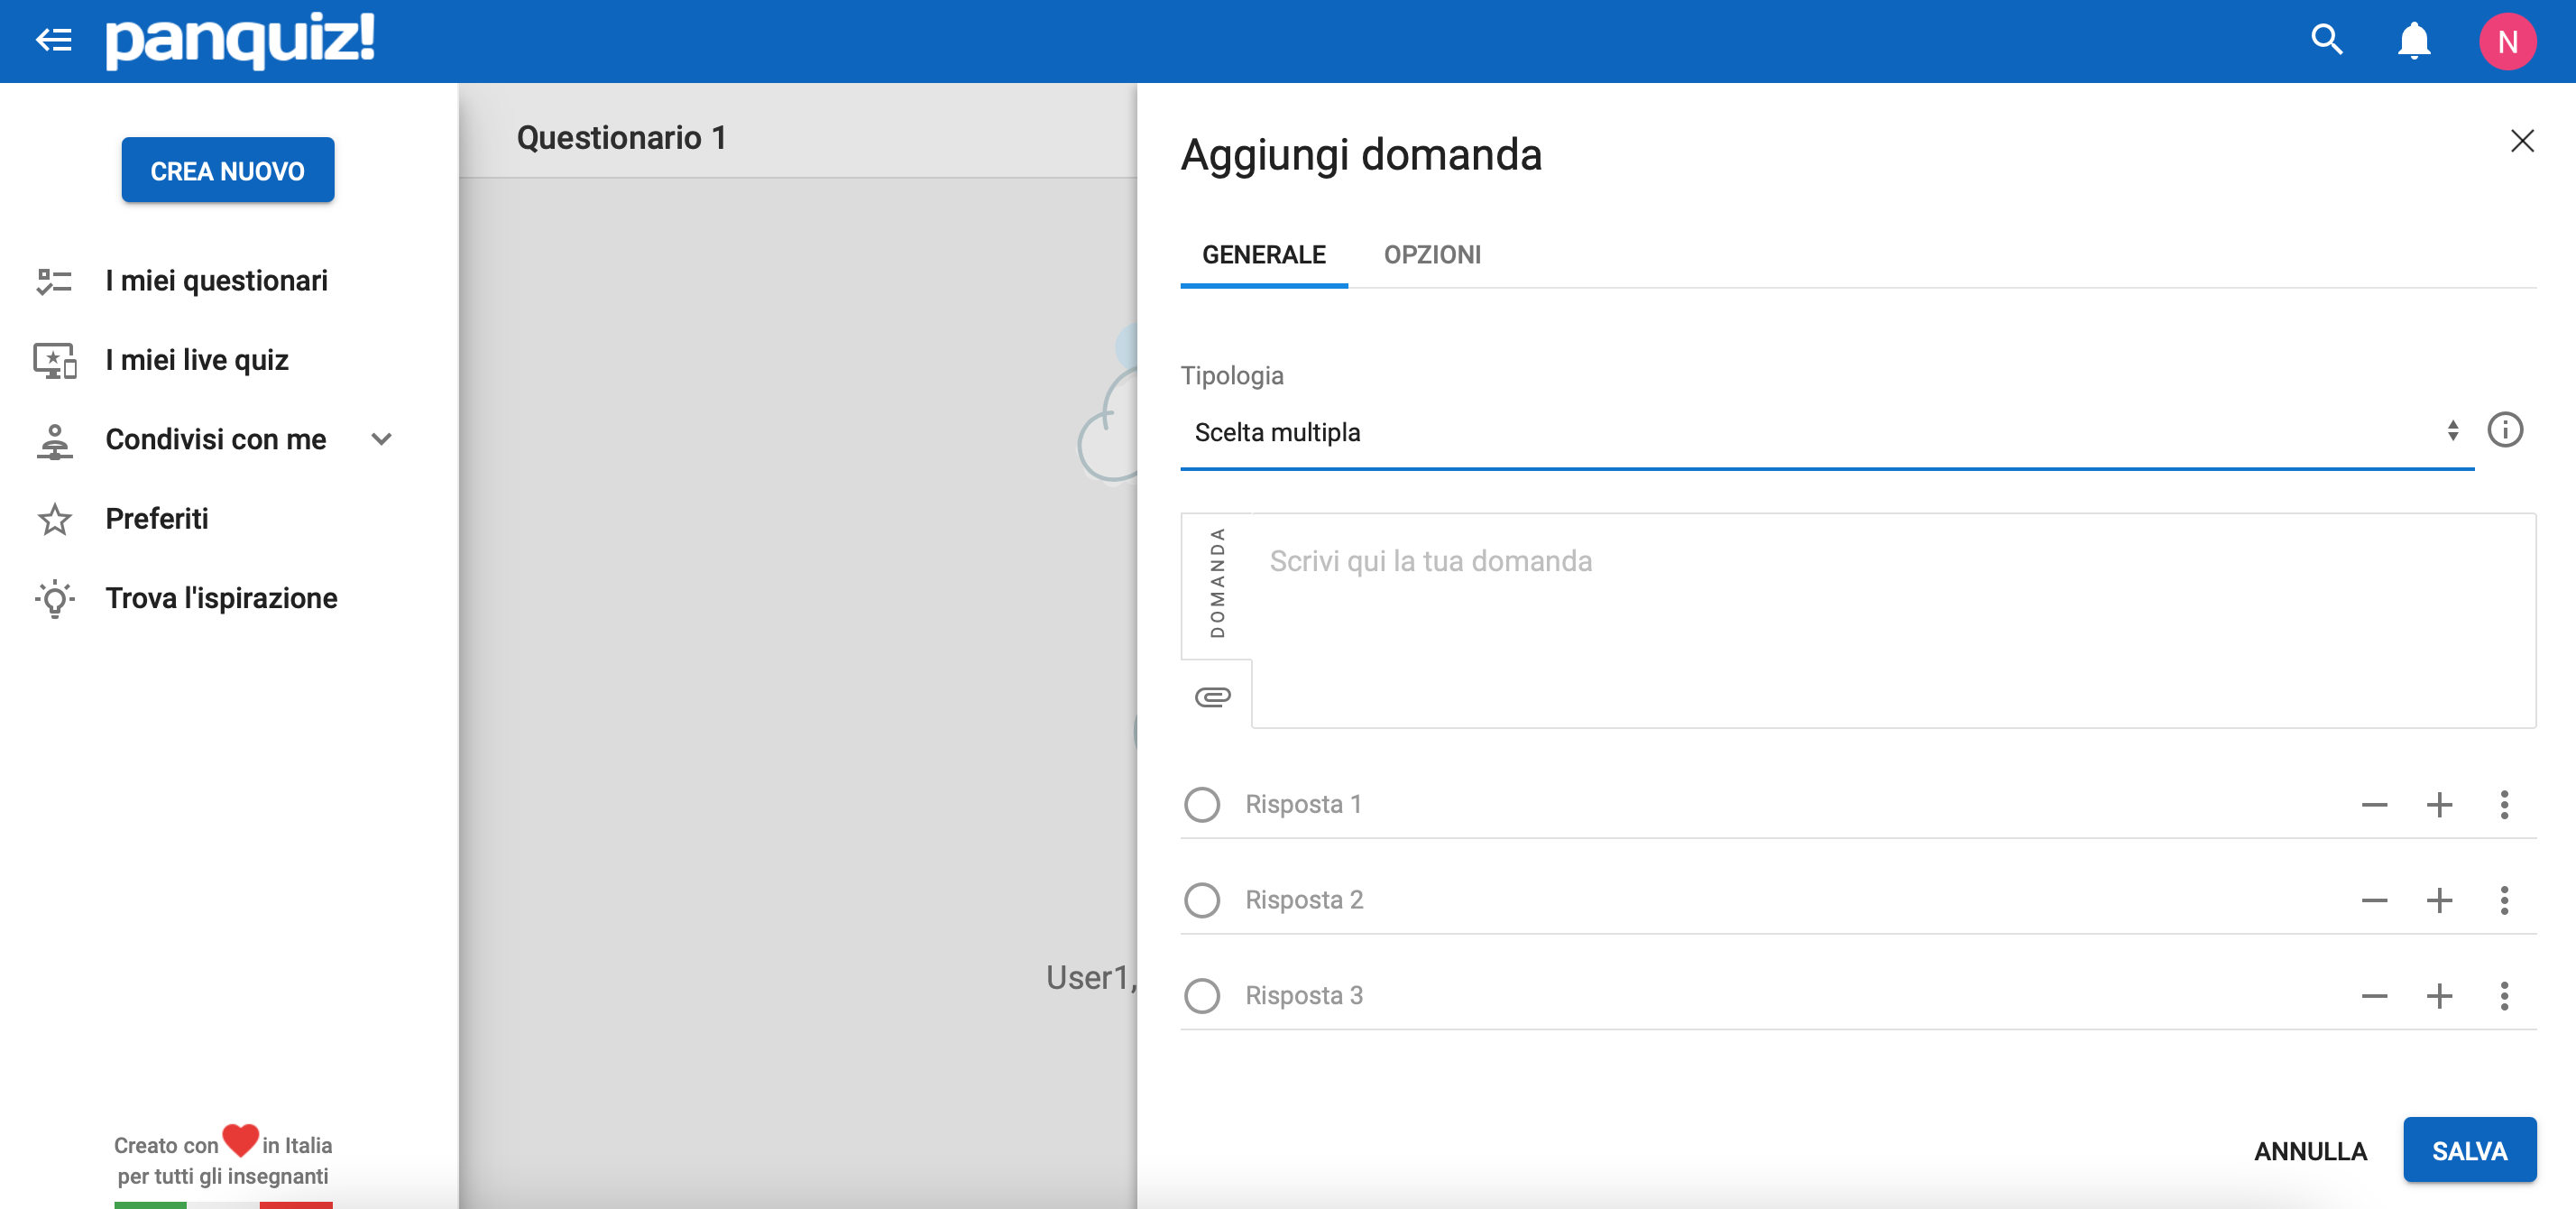 Once you have entered all the questions you can preview the questionnaire, assign it (through pin, link, or by sharing on Classroom) to your students, and view the executions. The executions can be viewed, printed or archived. Alternatively, the questionnaire can also be downloaded in Word or PDF format, or printed. Questions can also be organized into folders so they can be categorized by topic, subject, etc.
 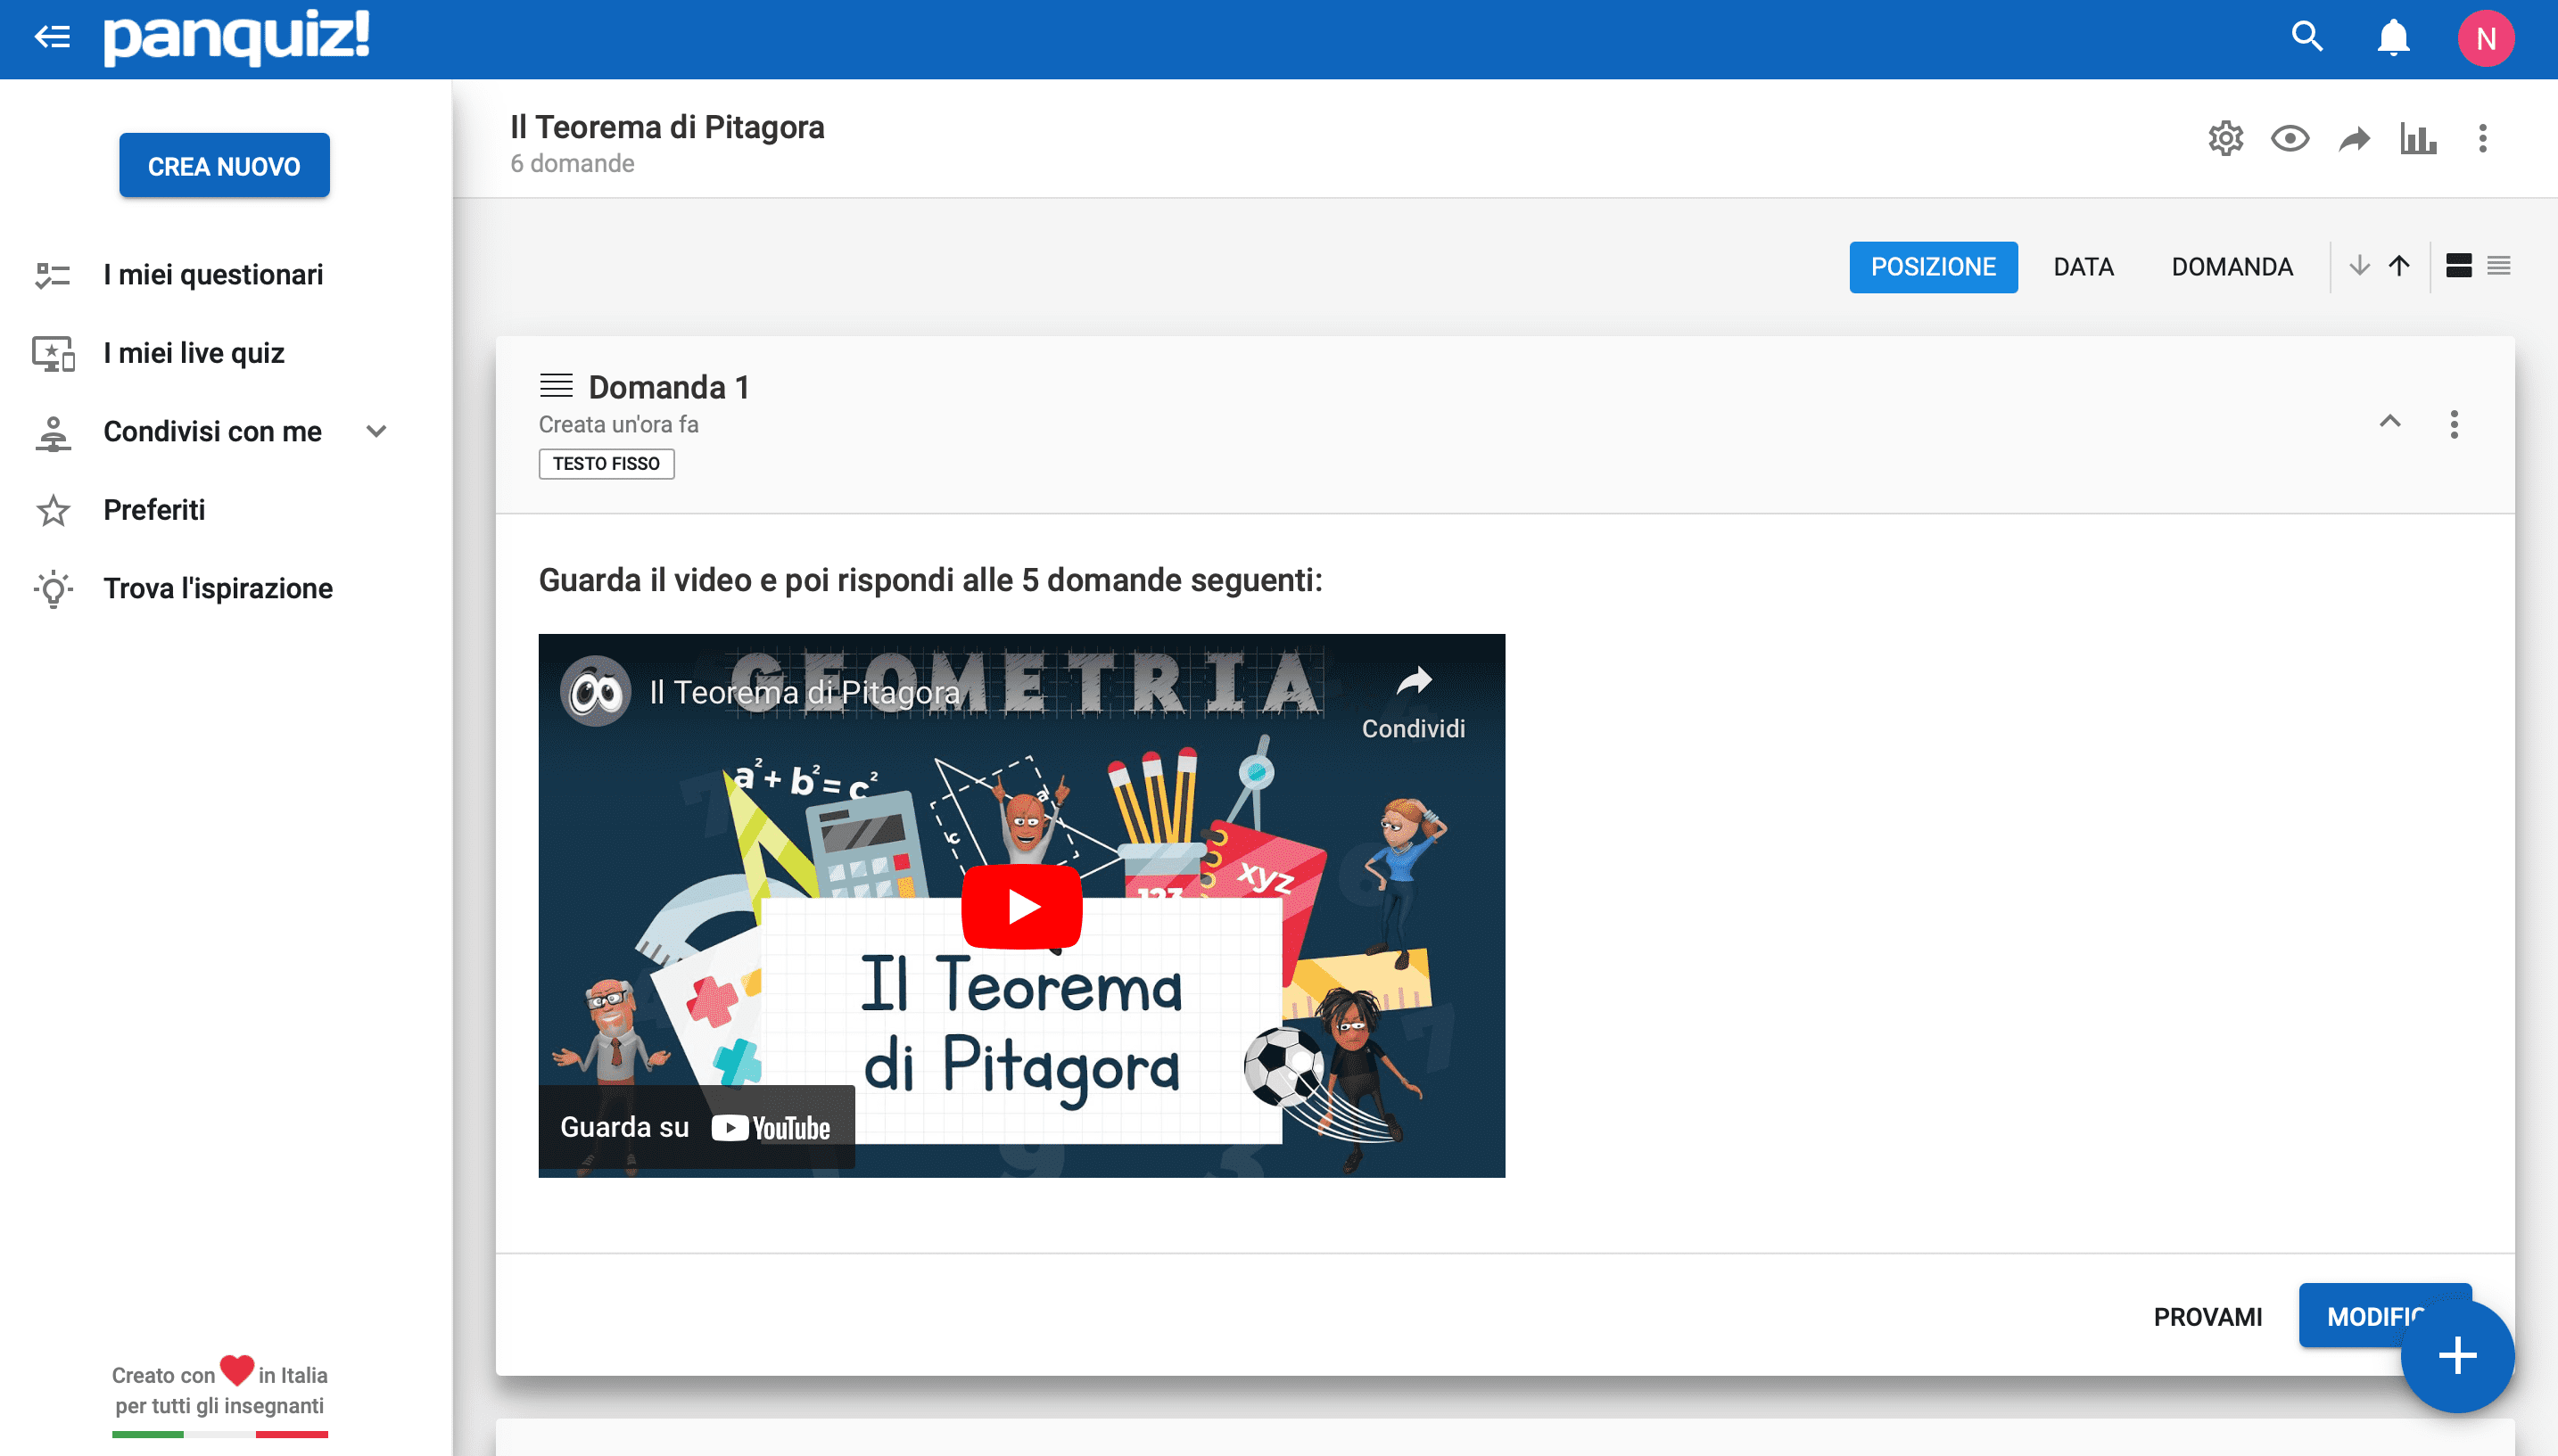 The following is the editing screen for a live quiz. In the "settings" section, you must enter a title, description, and keywords (the latter two are optional but help other users find the quiz). You can decide on the color and, by clicking on additional options, insert a cover image, show questions in random order, set a maximum time, and more.
 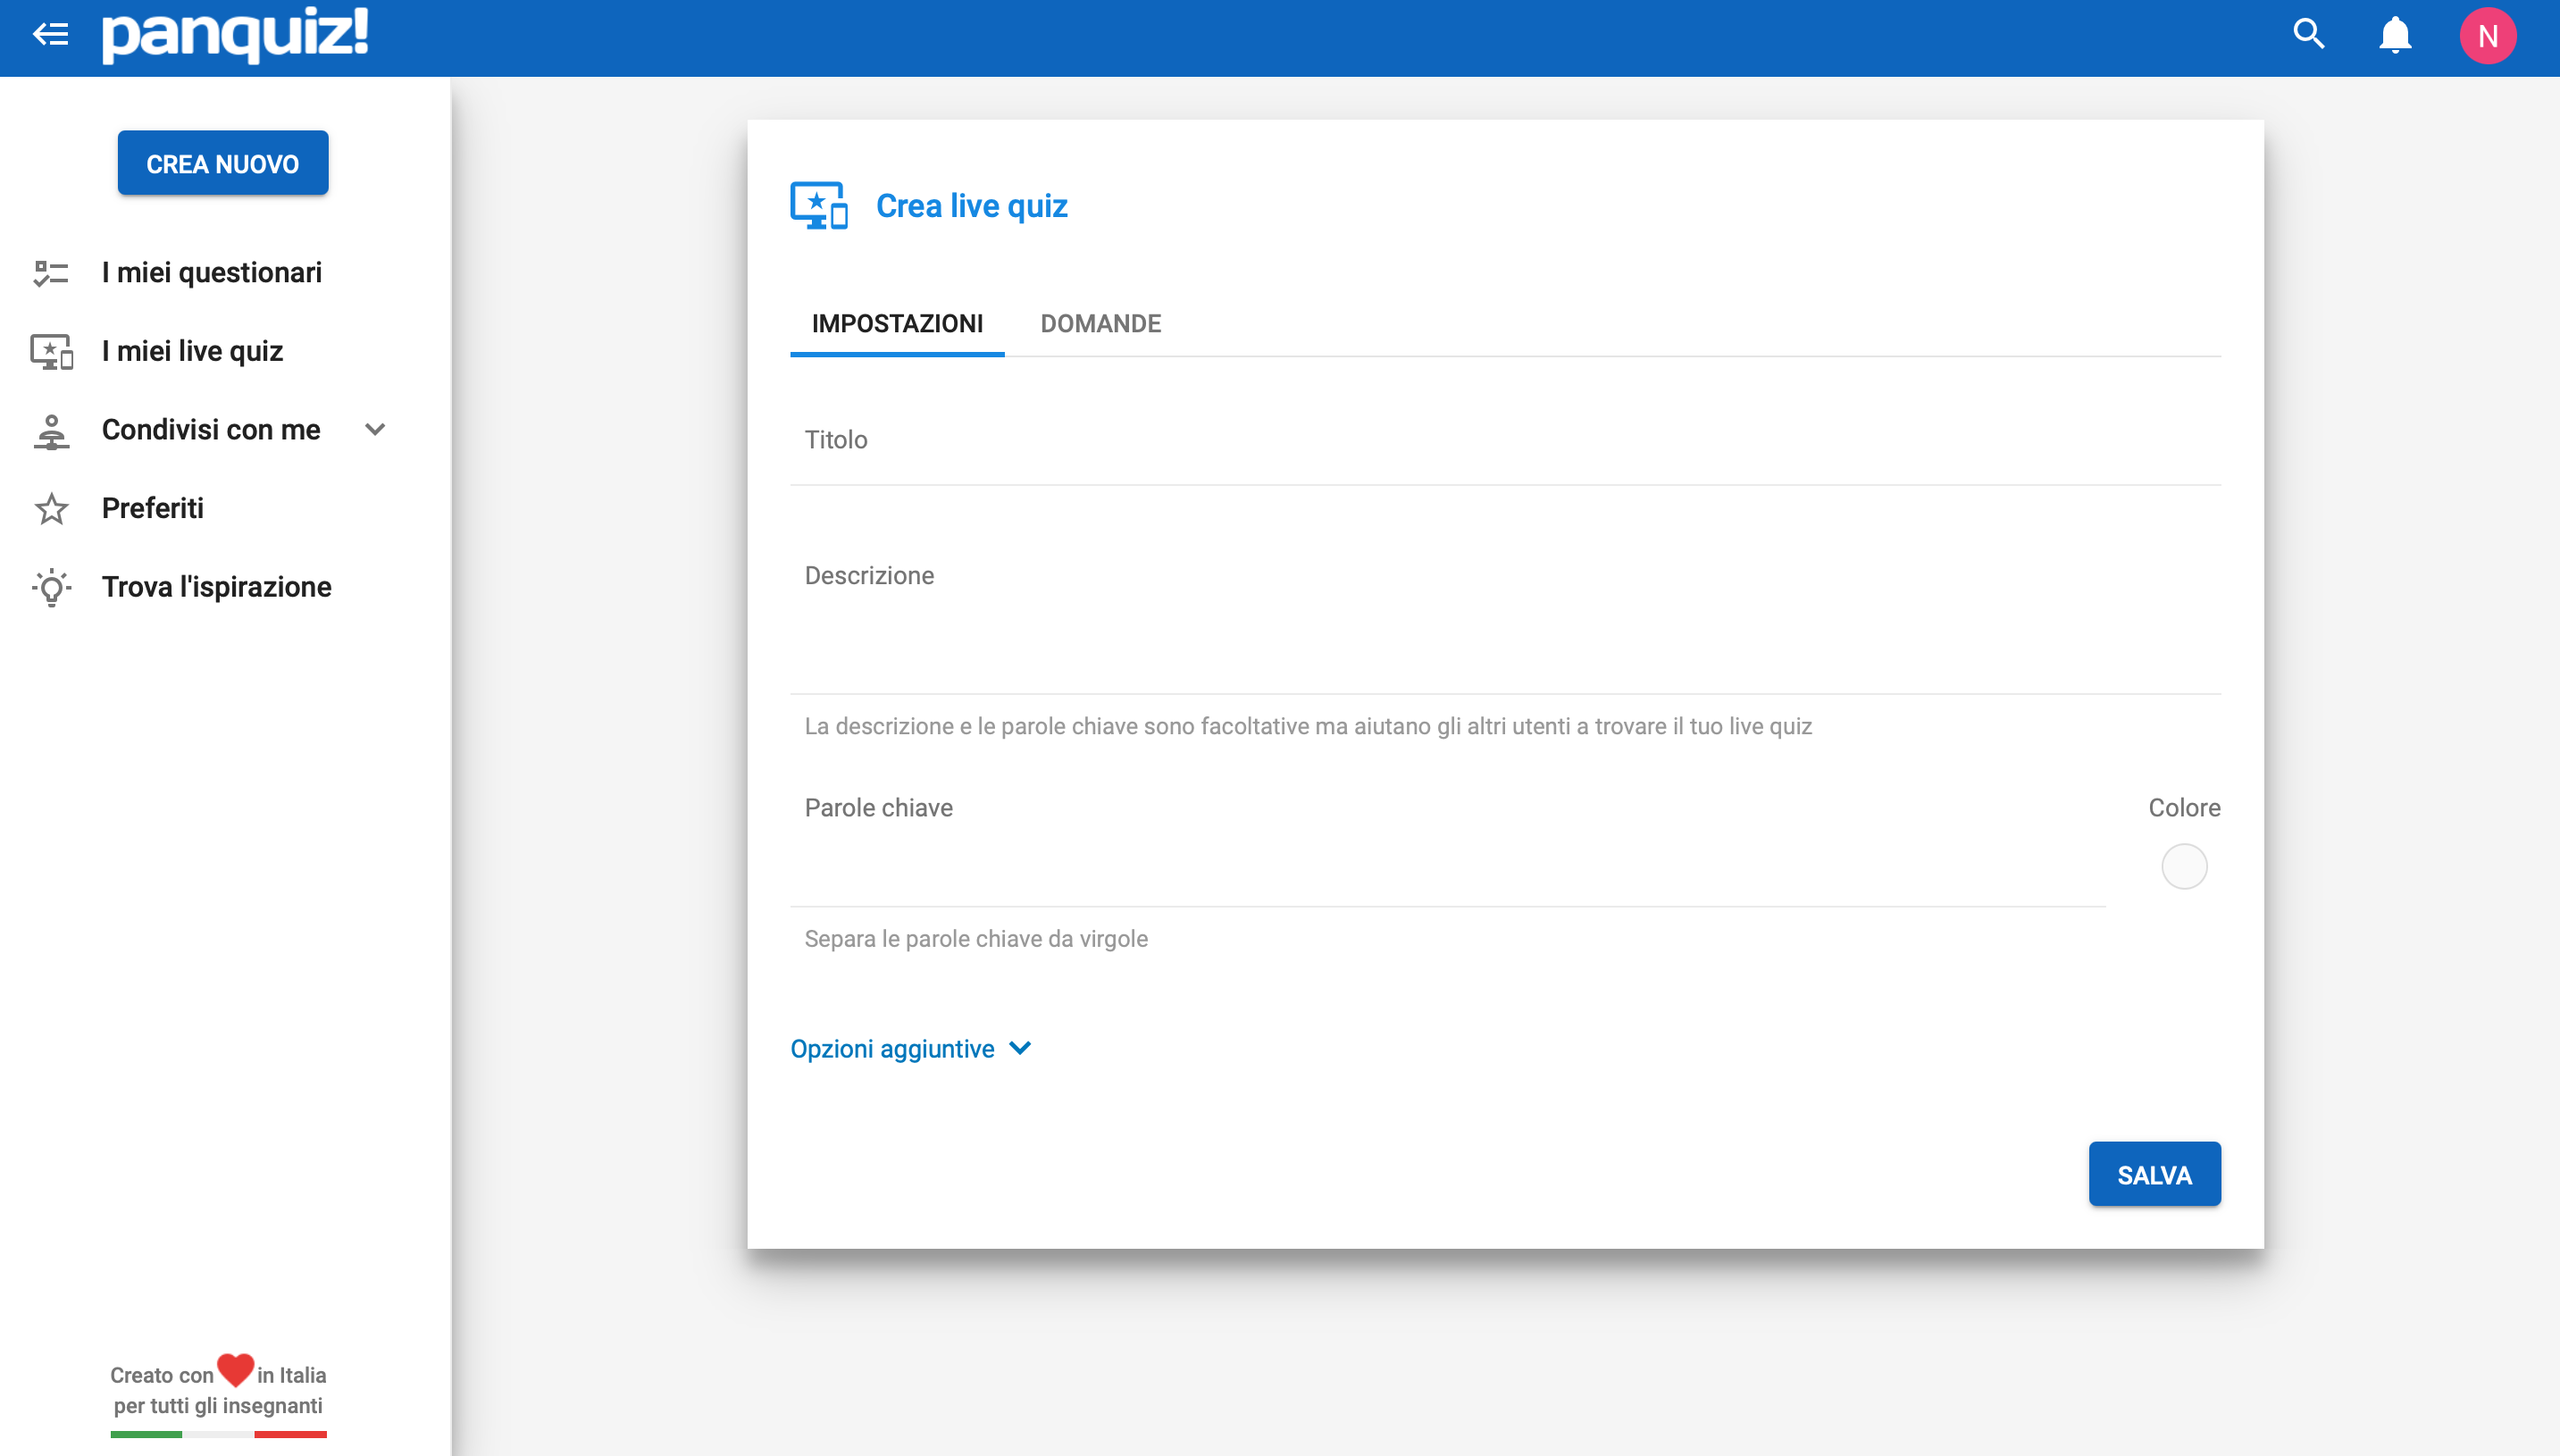 In the "questions" section you can add questions, enter answers, and decide settings for each question.
 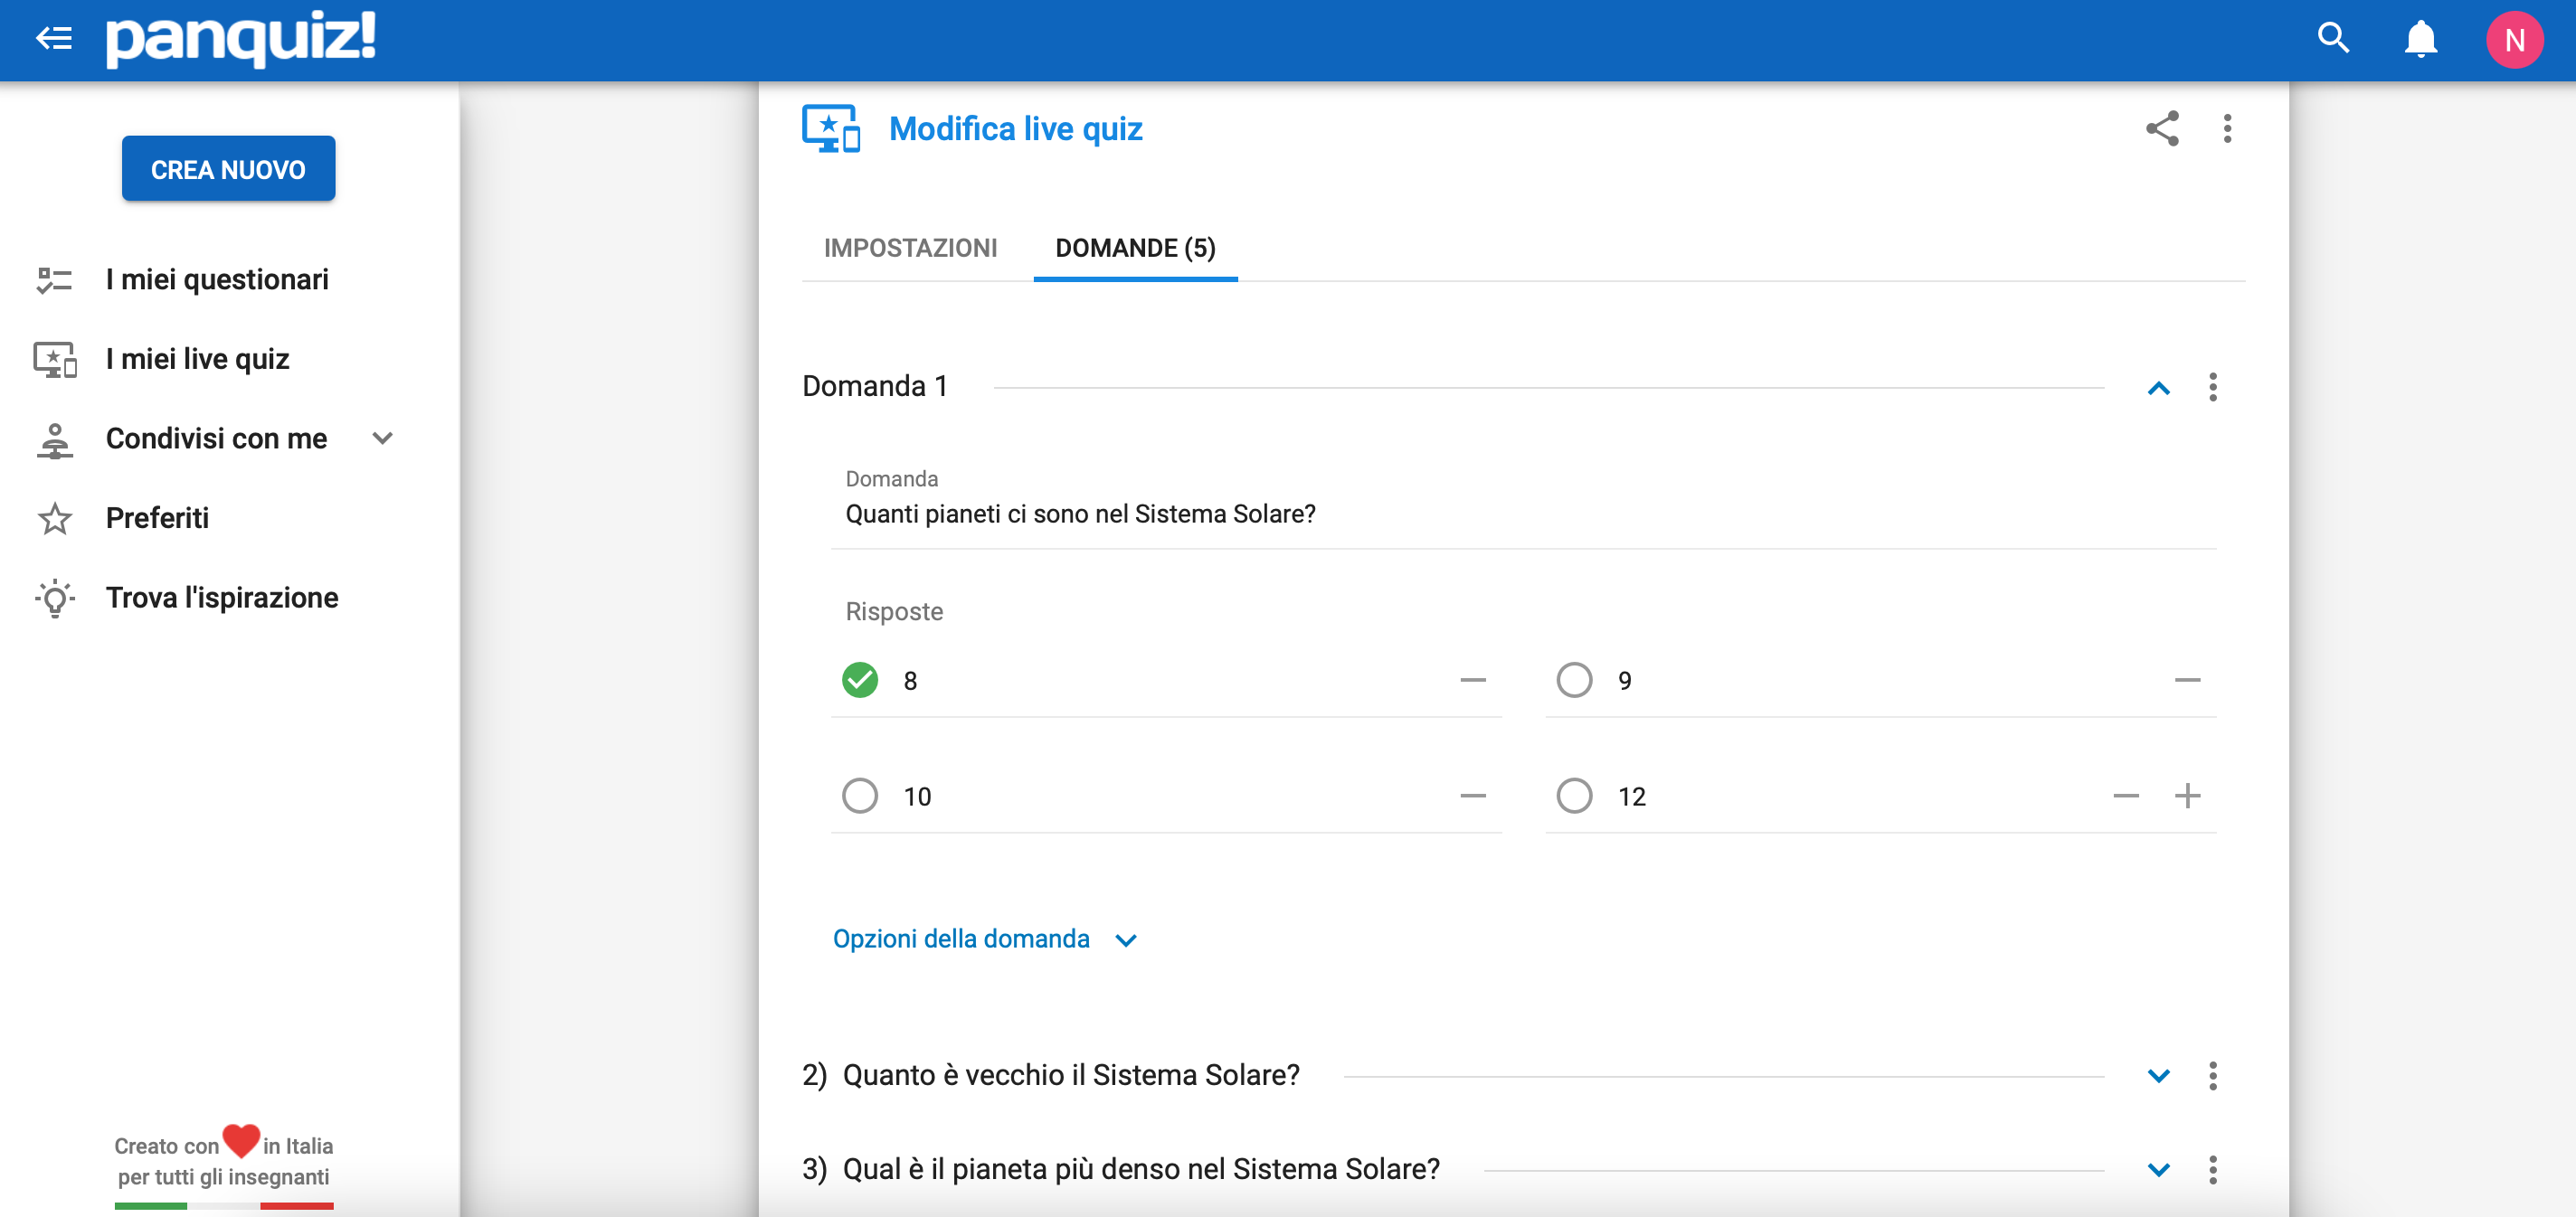 Once you finish the live quiz you can share it with other users by email, download it in Word or PDF format and assign it (as in the screenshot) by providing the pin or link to your students, or share it on Classroom.
 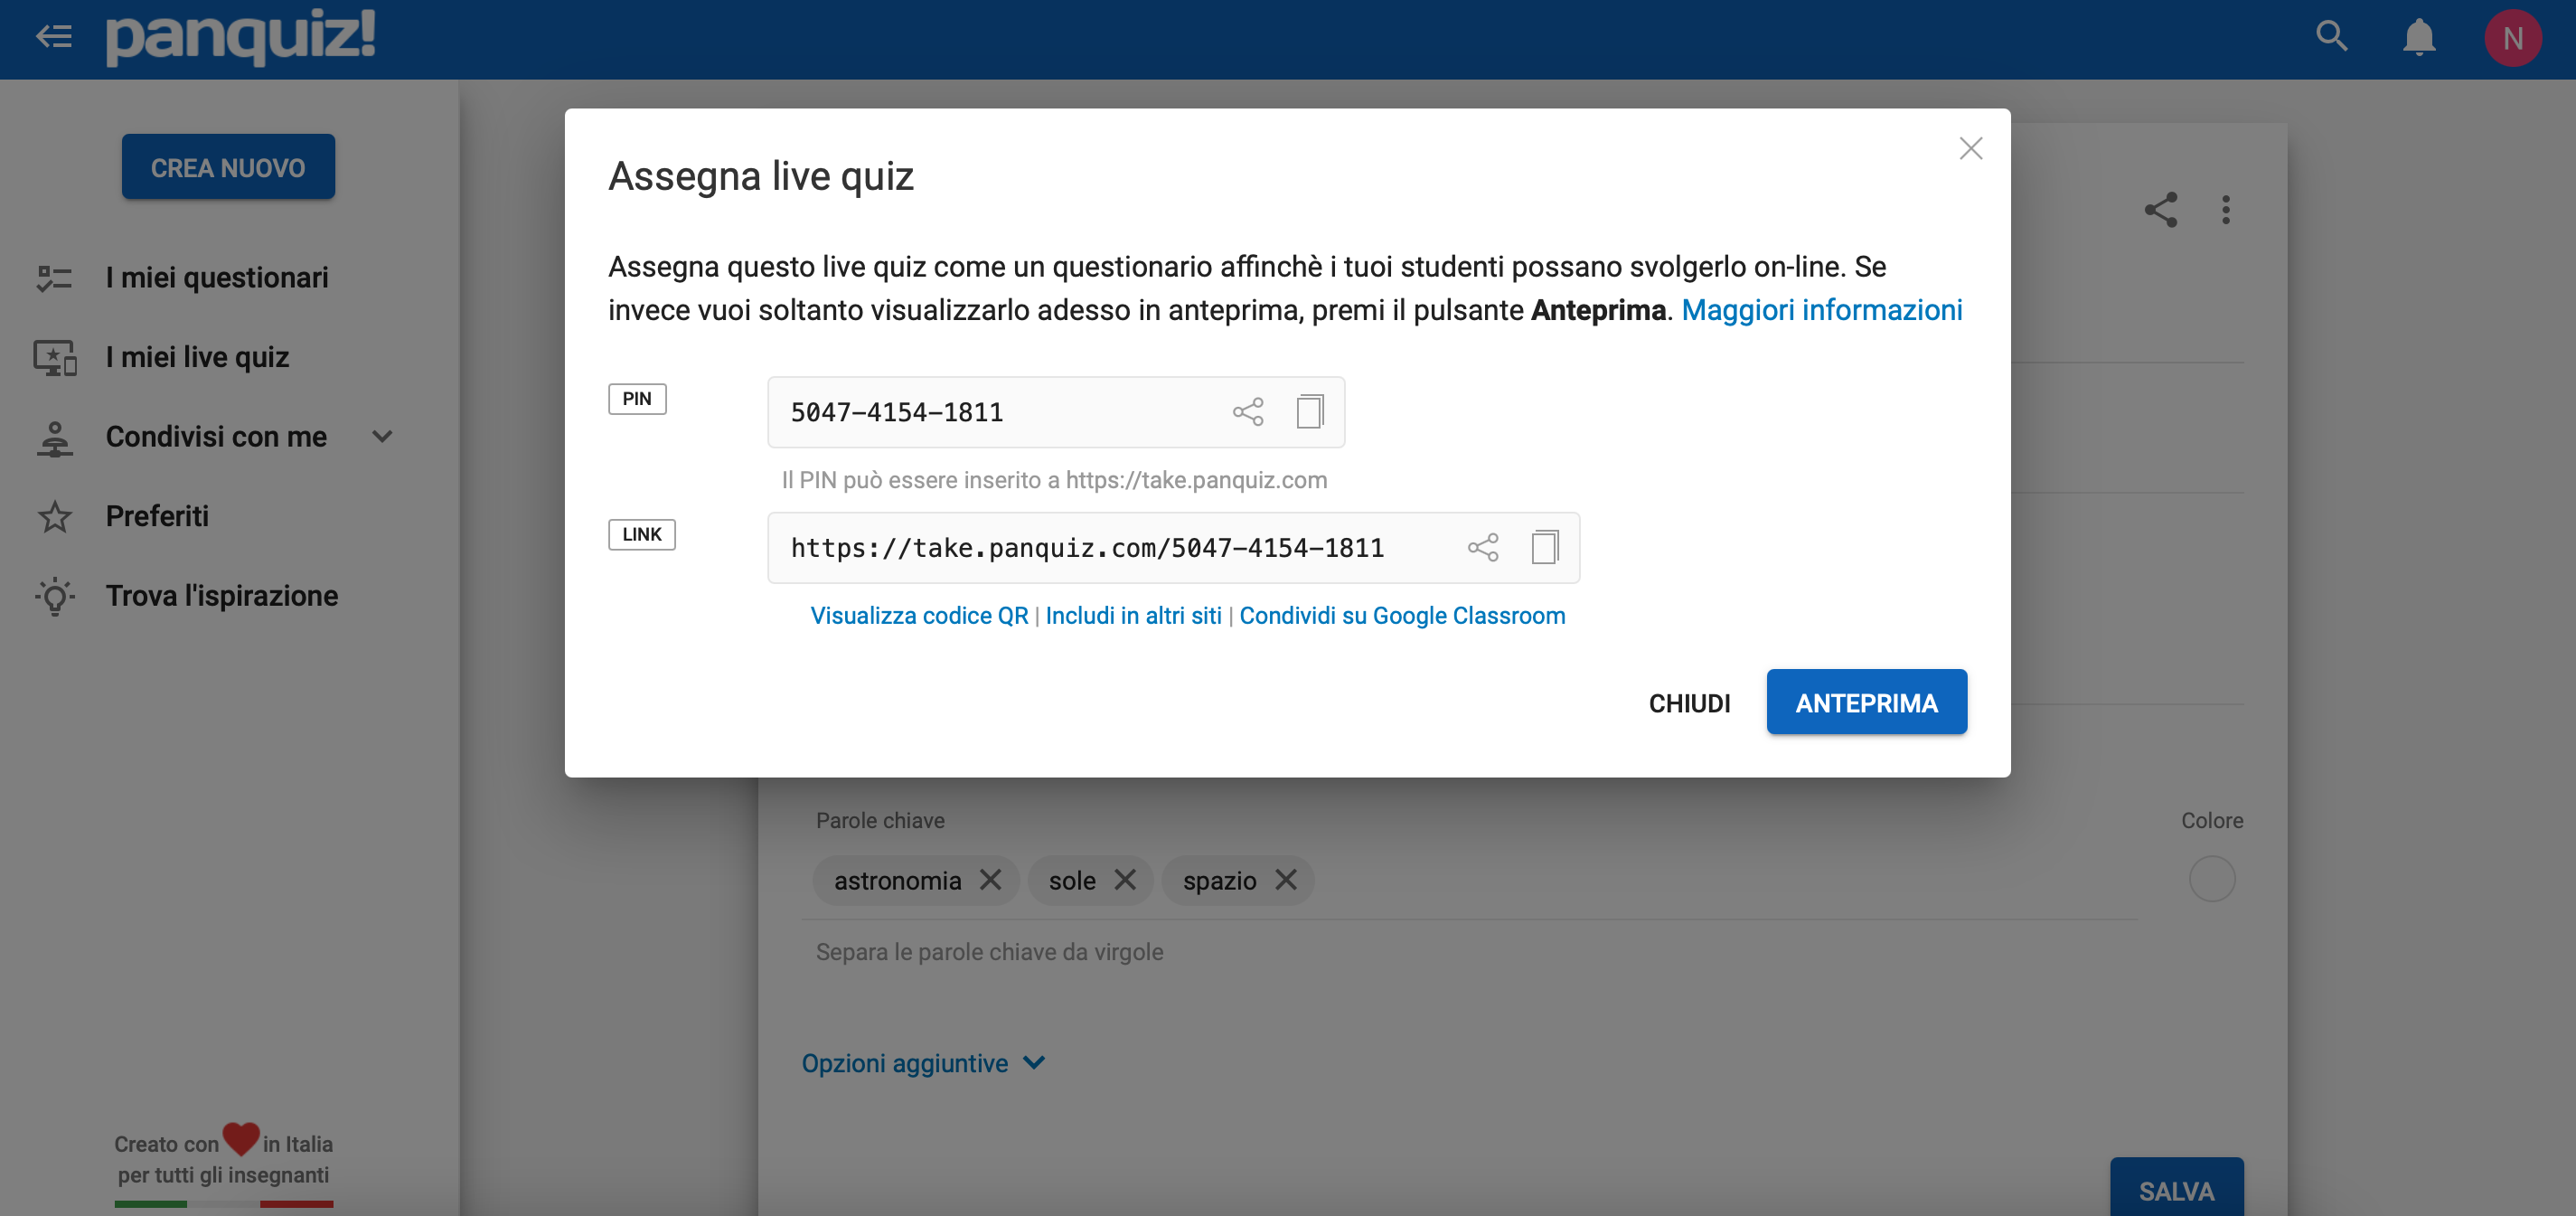 When the student enters the platform through a pin it is necessary for him/her to enter only the first and last name, so registration isn’t necessary.
 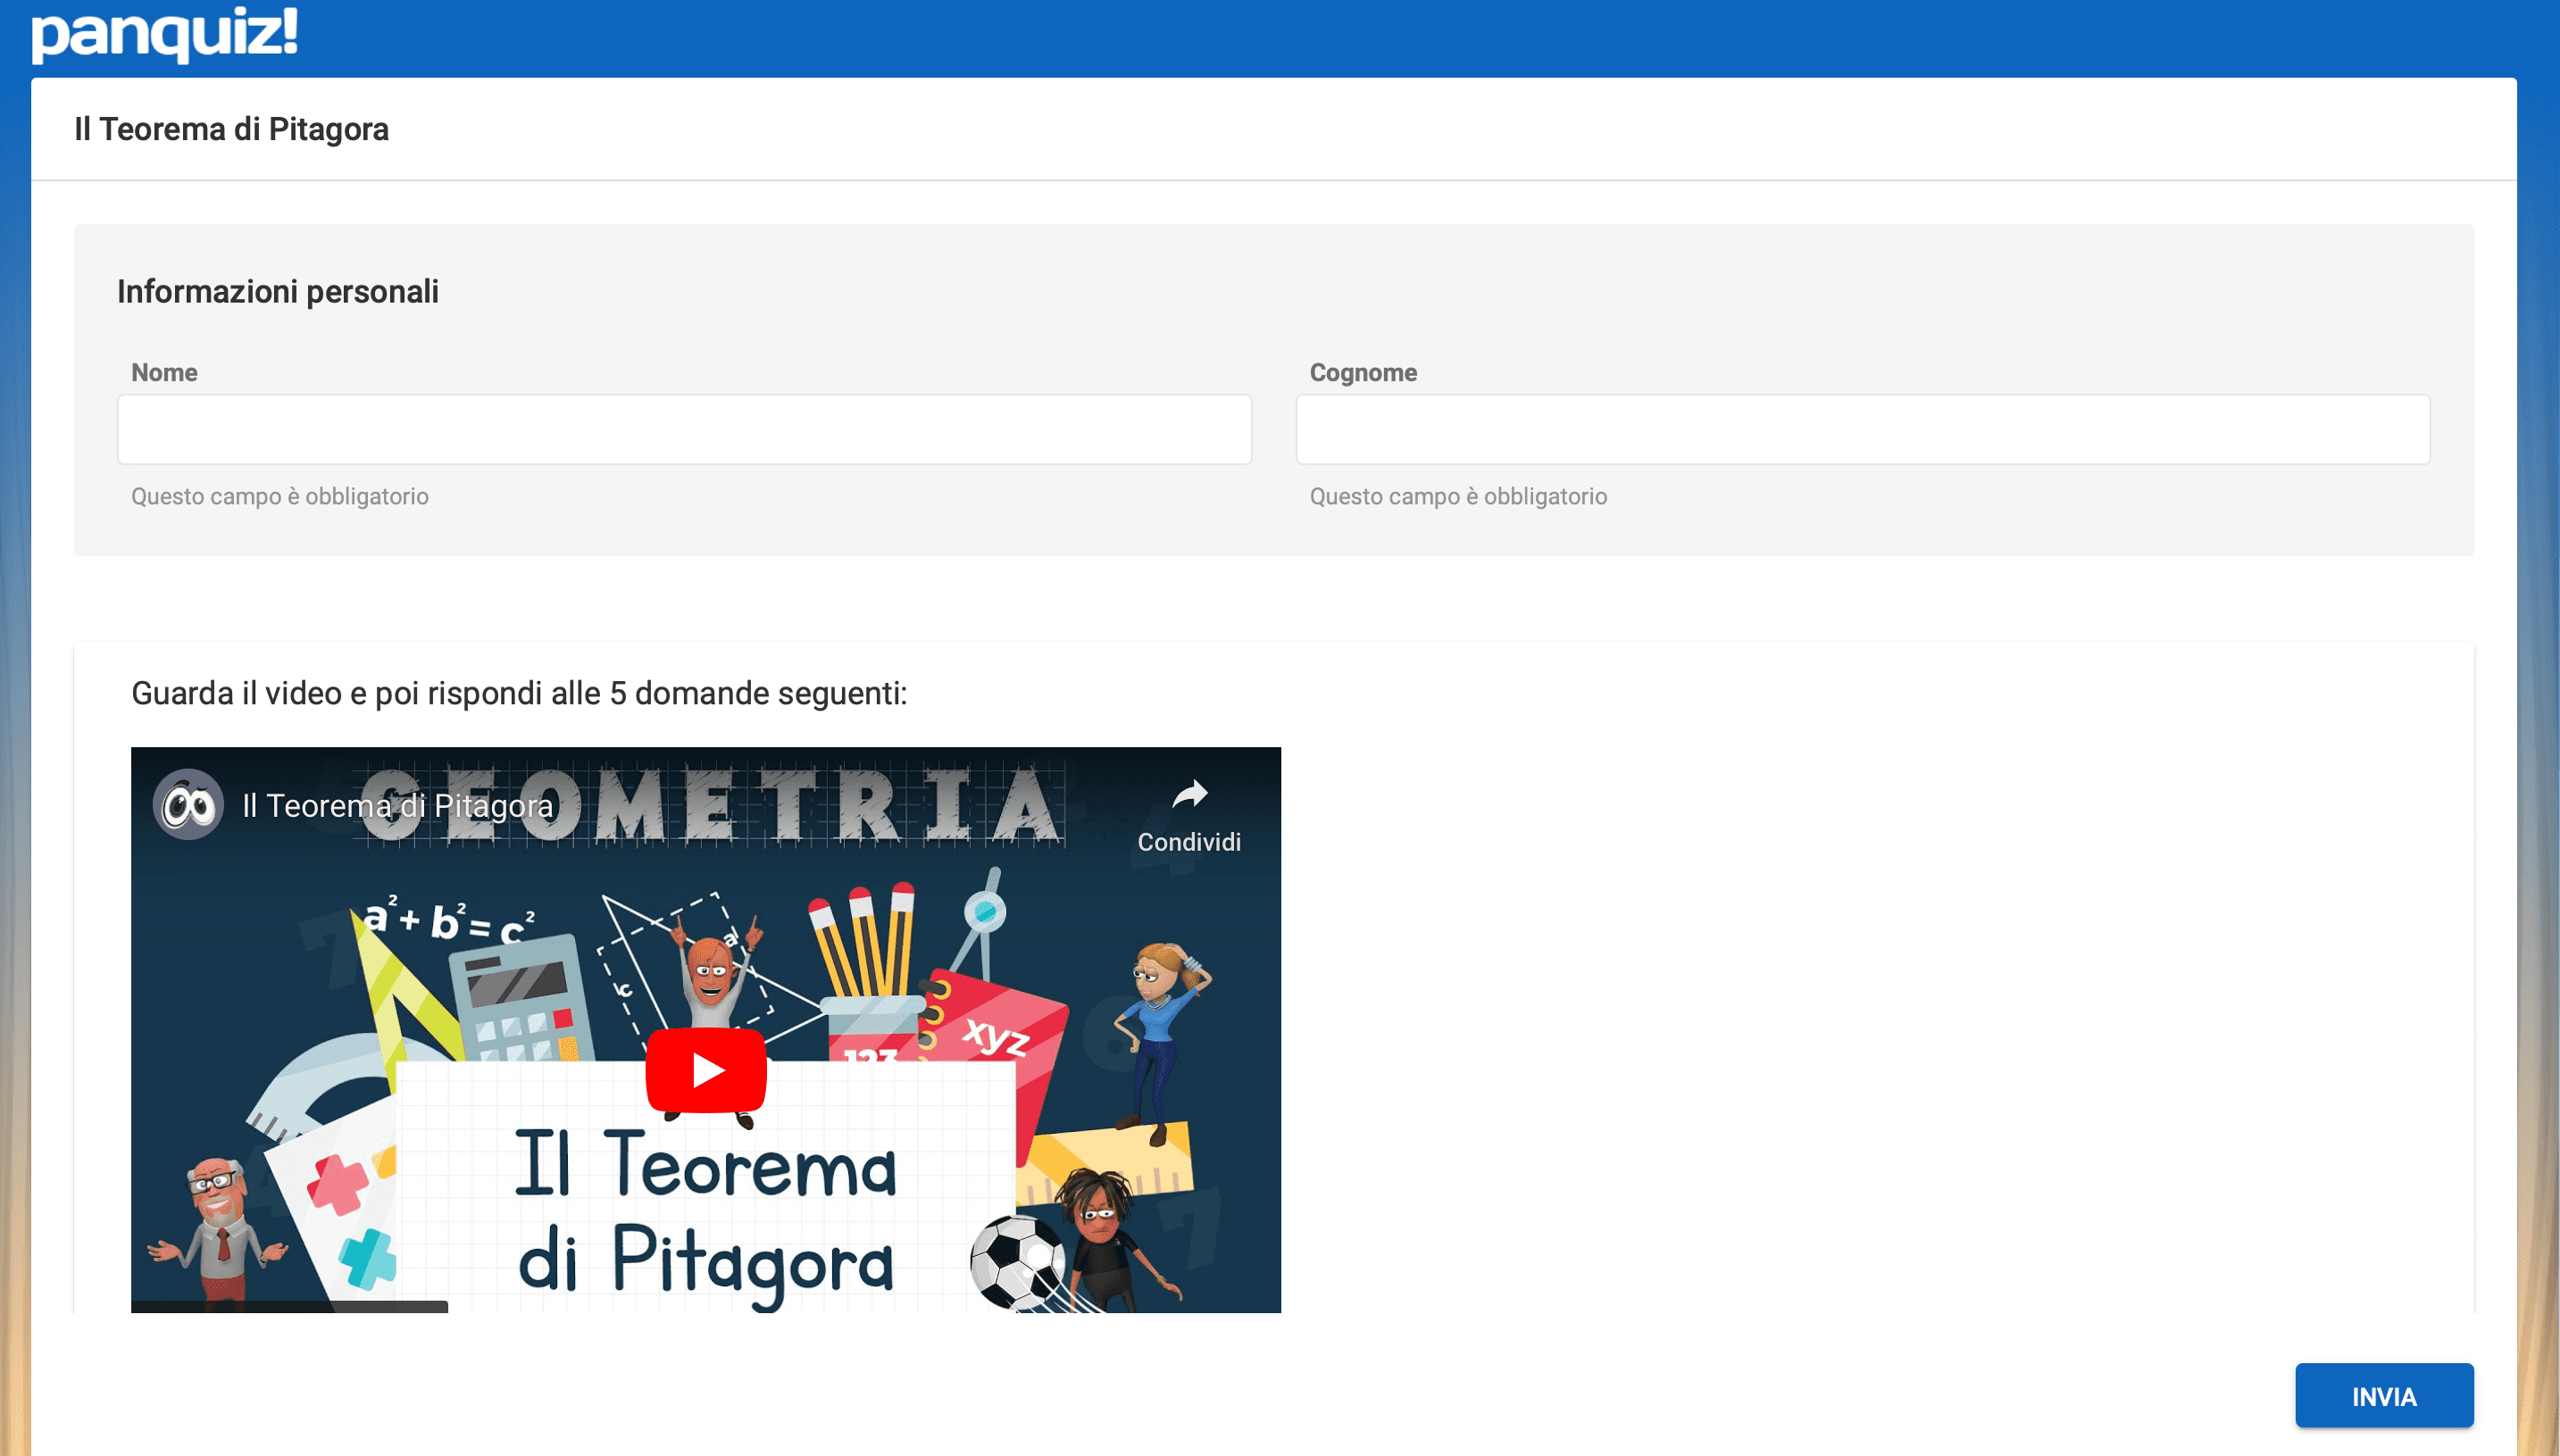 Whenever students finish the questionnaire or live quiz you can see the results and statistics as in the following screenshot.
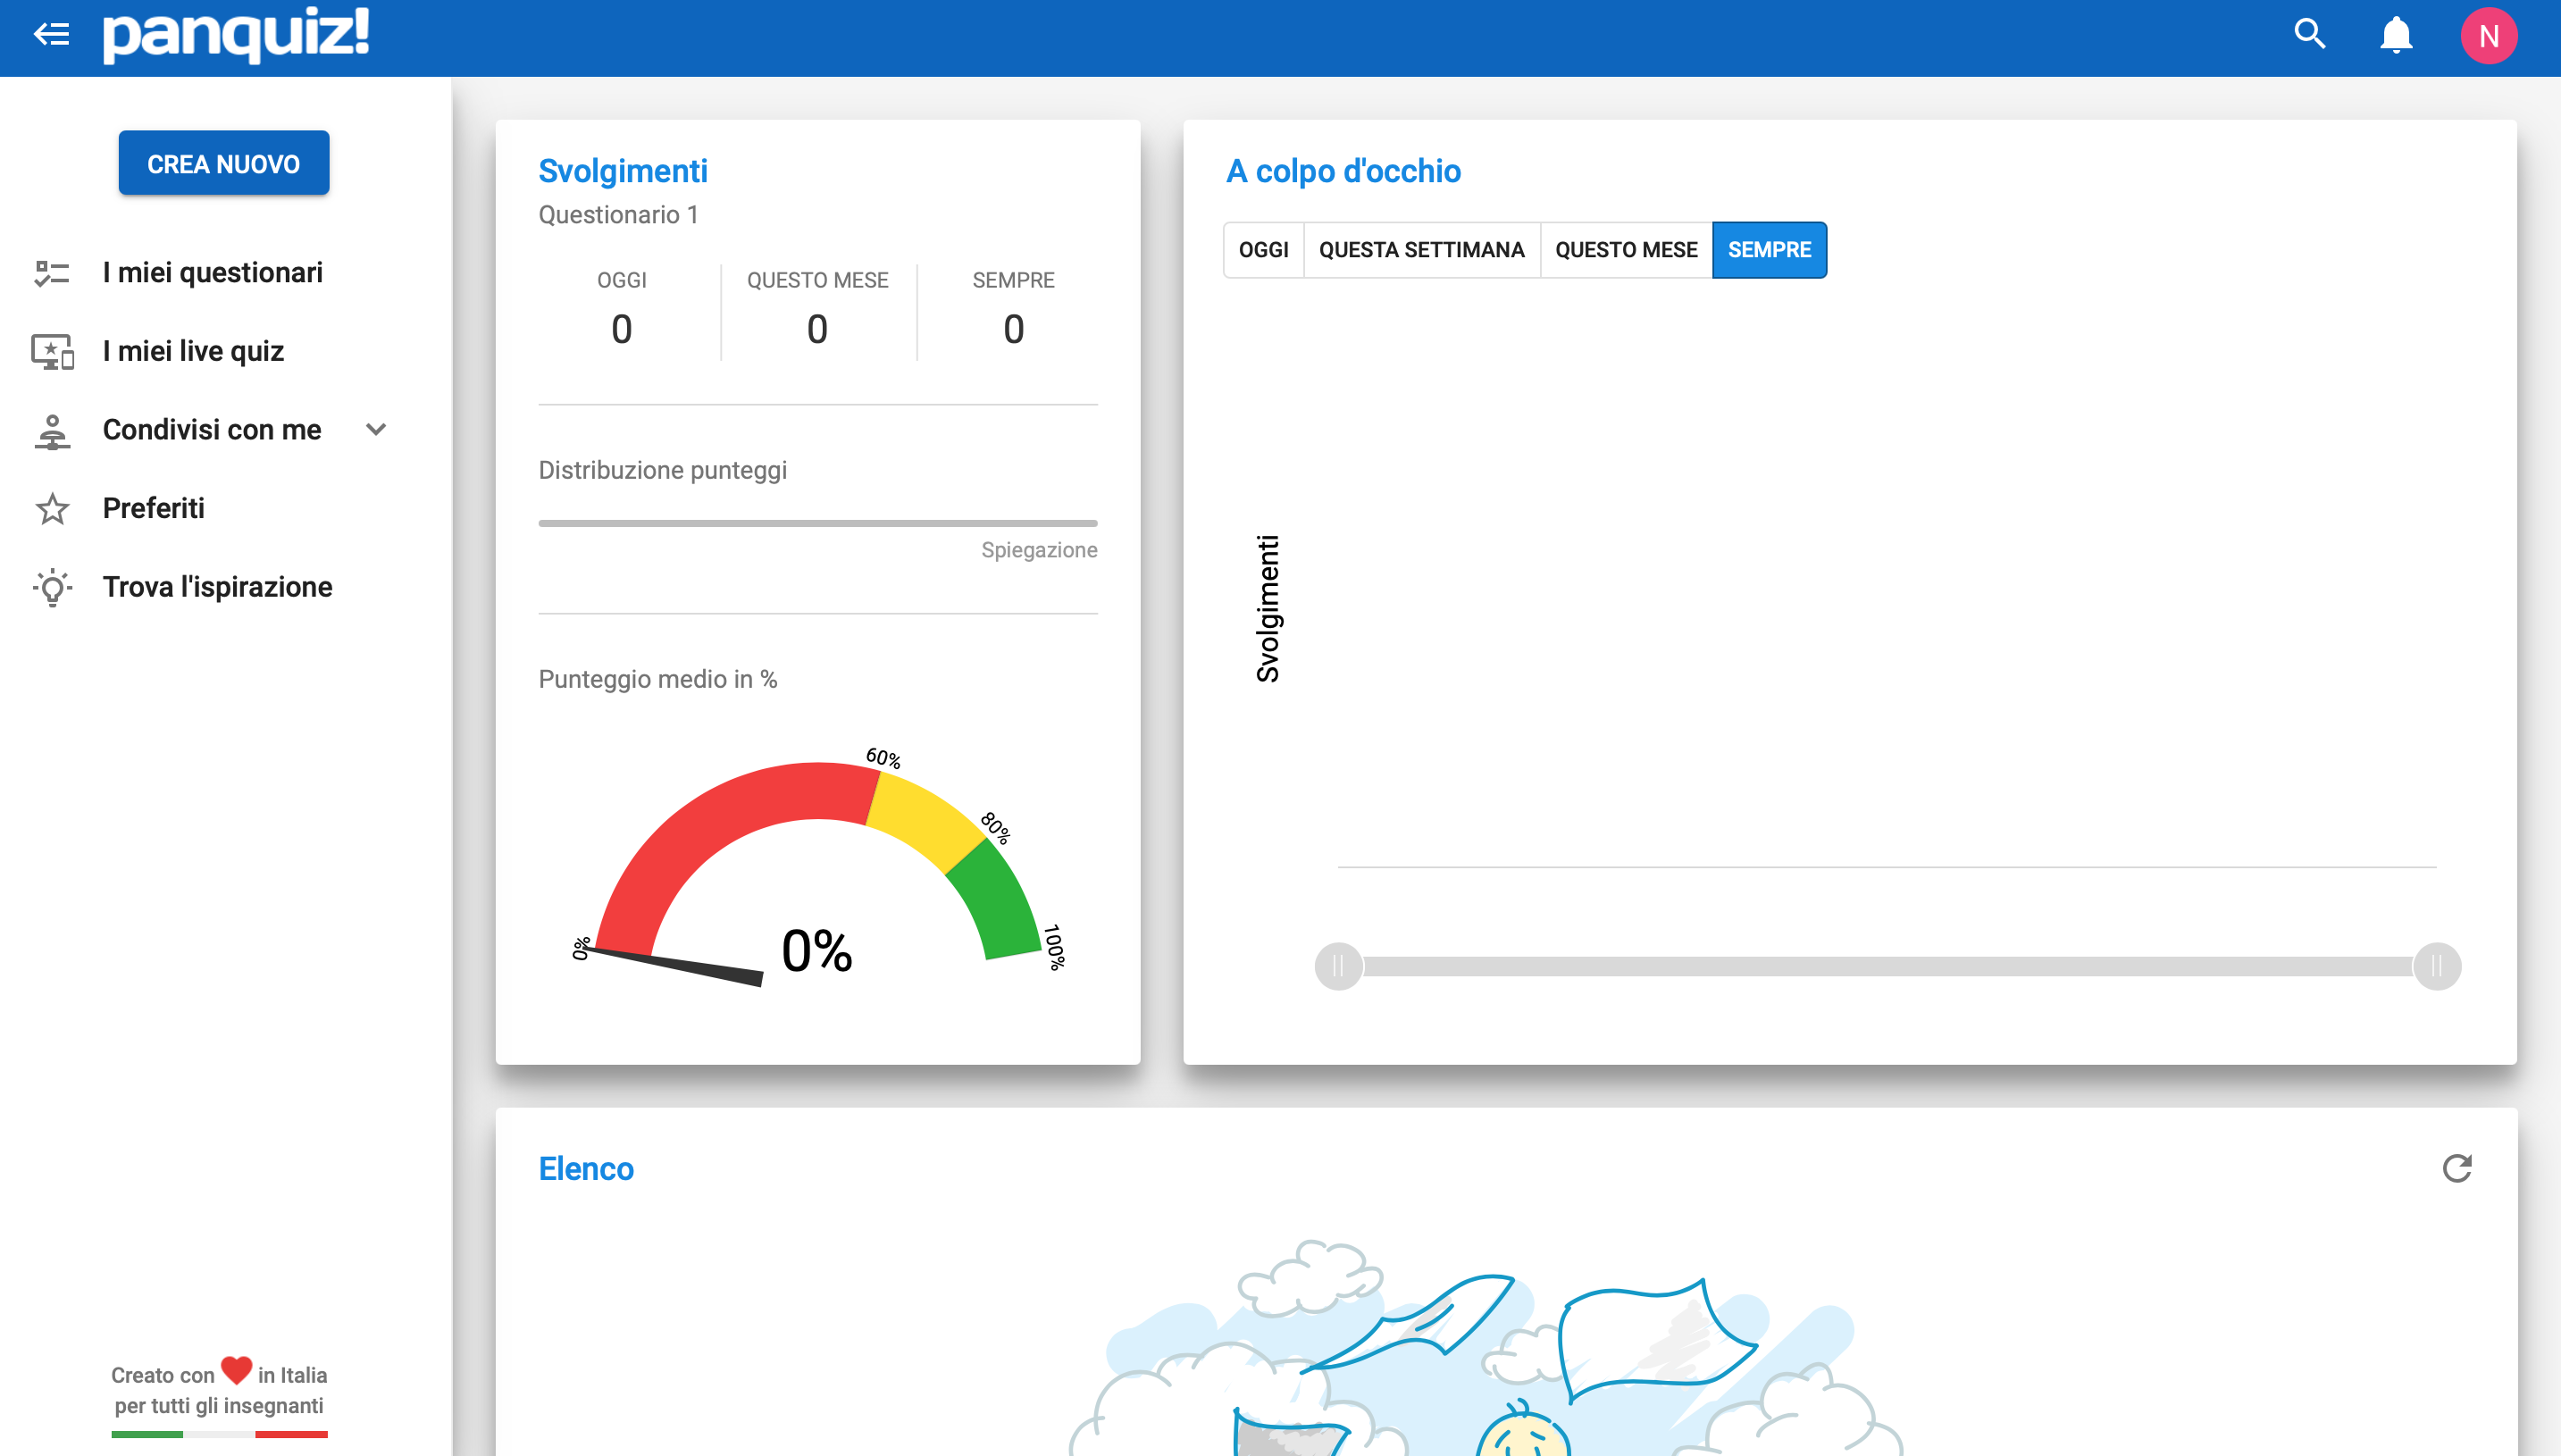


Copy link