
Enter all the desired criteria: the apps that satisfy them all will be searched; if a criterion is specified multiple times, only the last occurrence will be considered.
 Once you download and open the app the following screen will appear which is the Microsoft Teams dashboard. On the left side there is the Teams menu where you can do several things: check your latest actions, start chats, manage and join your teams, manage tasks, view the calendar, make calls, view your own files and those shared by other users, and integrate other apps such as PowerPoint, OneNote, Excel, etc. The following is the screen related to team management: here you can view all the teams you are part of, join new ones through code, or create new ones.
  Through the "chat" option, it’s possible to chat with other users by entering their name, email address, group name or tag in the center bar at the top. Messages can be customized stylistically and you can insert emoji, GIFs, attachments, stickers, etc. From here it is also possible to start a call or video call, share the screen, and invite other users to join the chat. All chats will then be displayed in the menu on the left.
 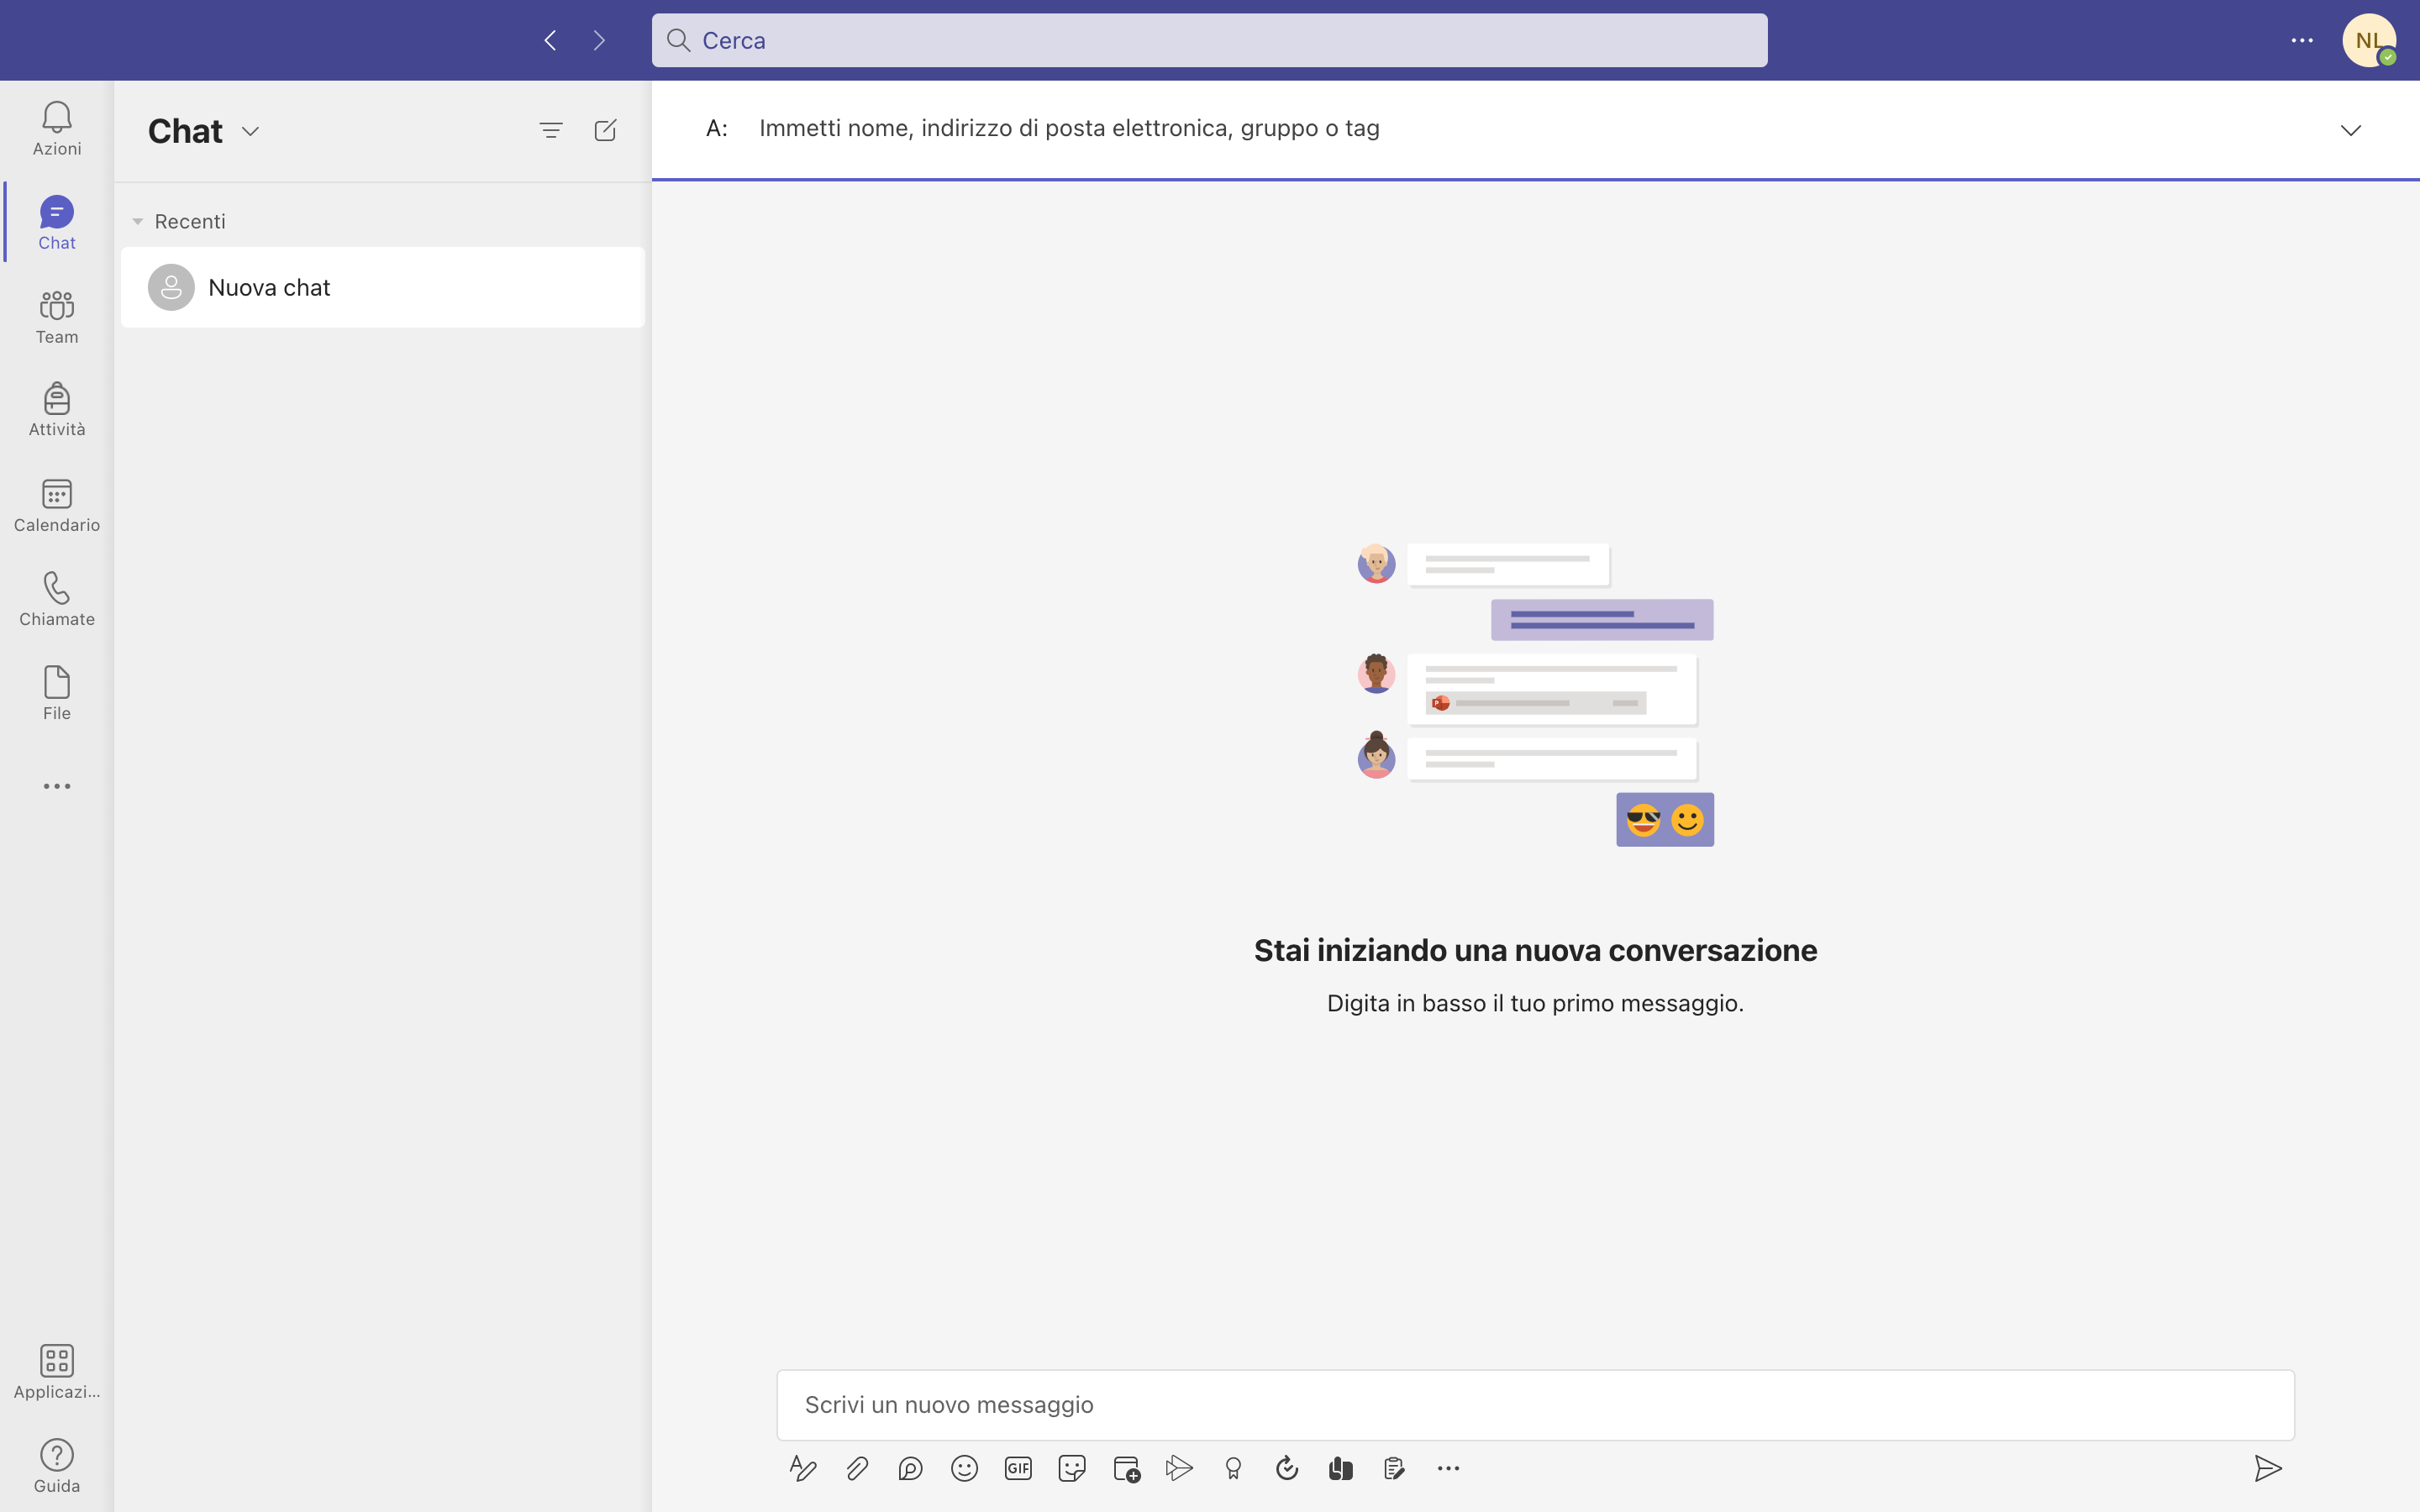 In the following screen you can view how a team is made up. In the menu on the left are the various channels from which the team is made up; the channel called "general" is present by default and in it a conversation can be initiated with the various members. New channels can be added by clicking on the three dots next to the team name; channels are used to make conversations or meetings more focused based on the area of interest. Files can also be added from here, either by uploading them from your own PC, or by creating new ones directly with Teams using Word, Excel, PowerPoint and OneNote. Files can be shared with other users and downloaded to your own PC. Also from this screen you can start or schedule a meeting.
 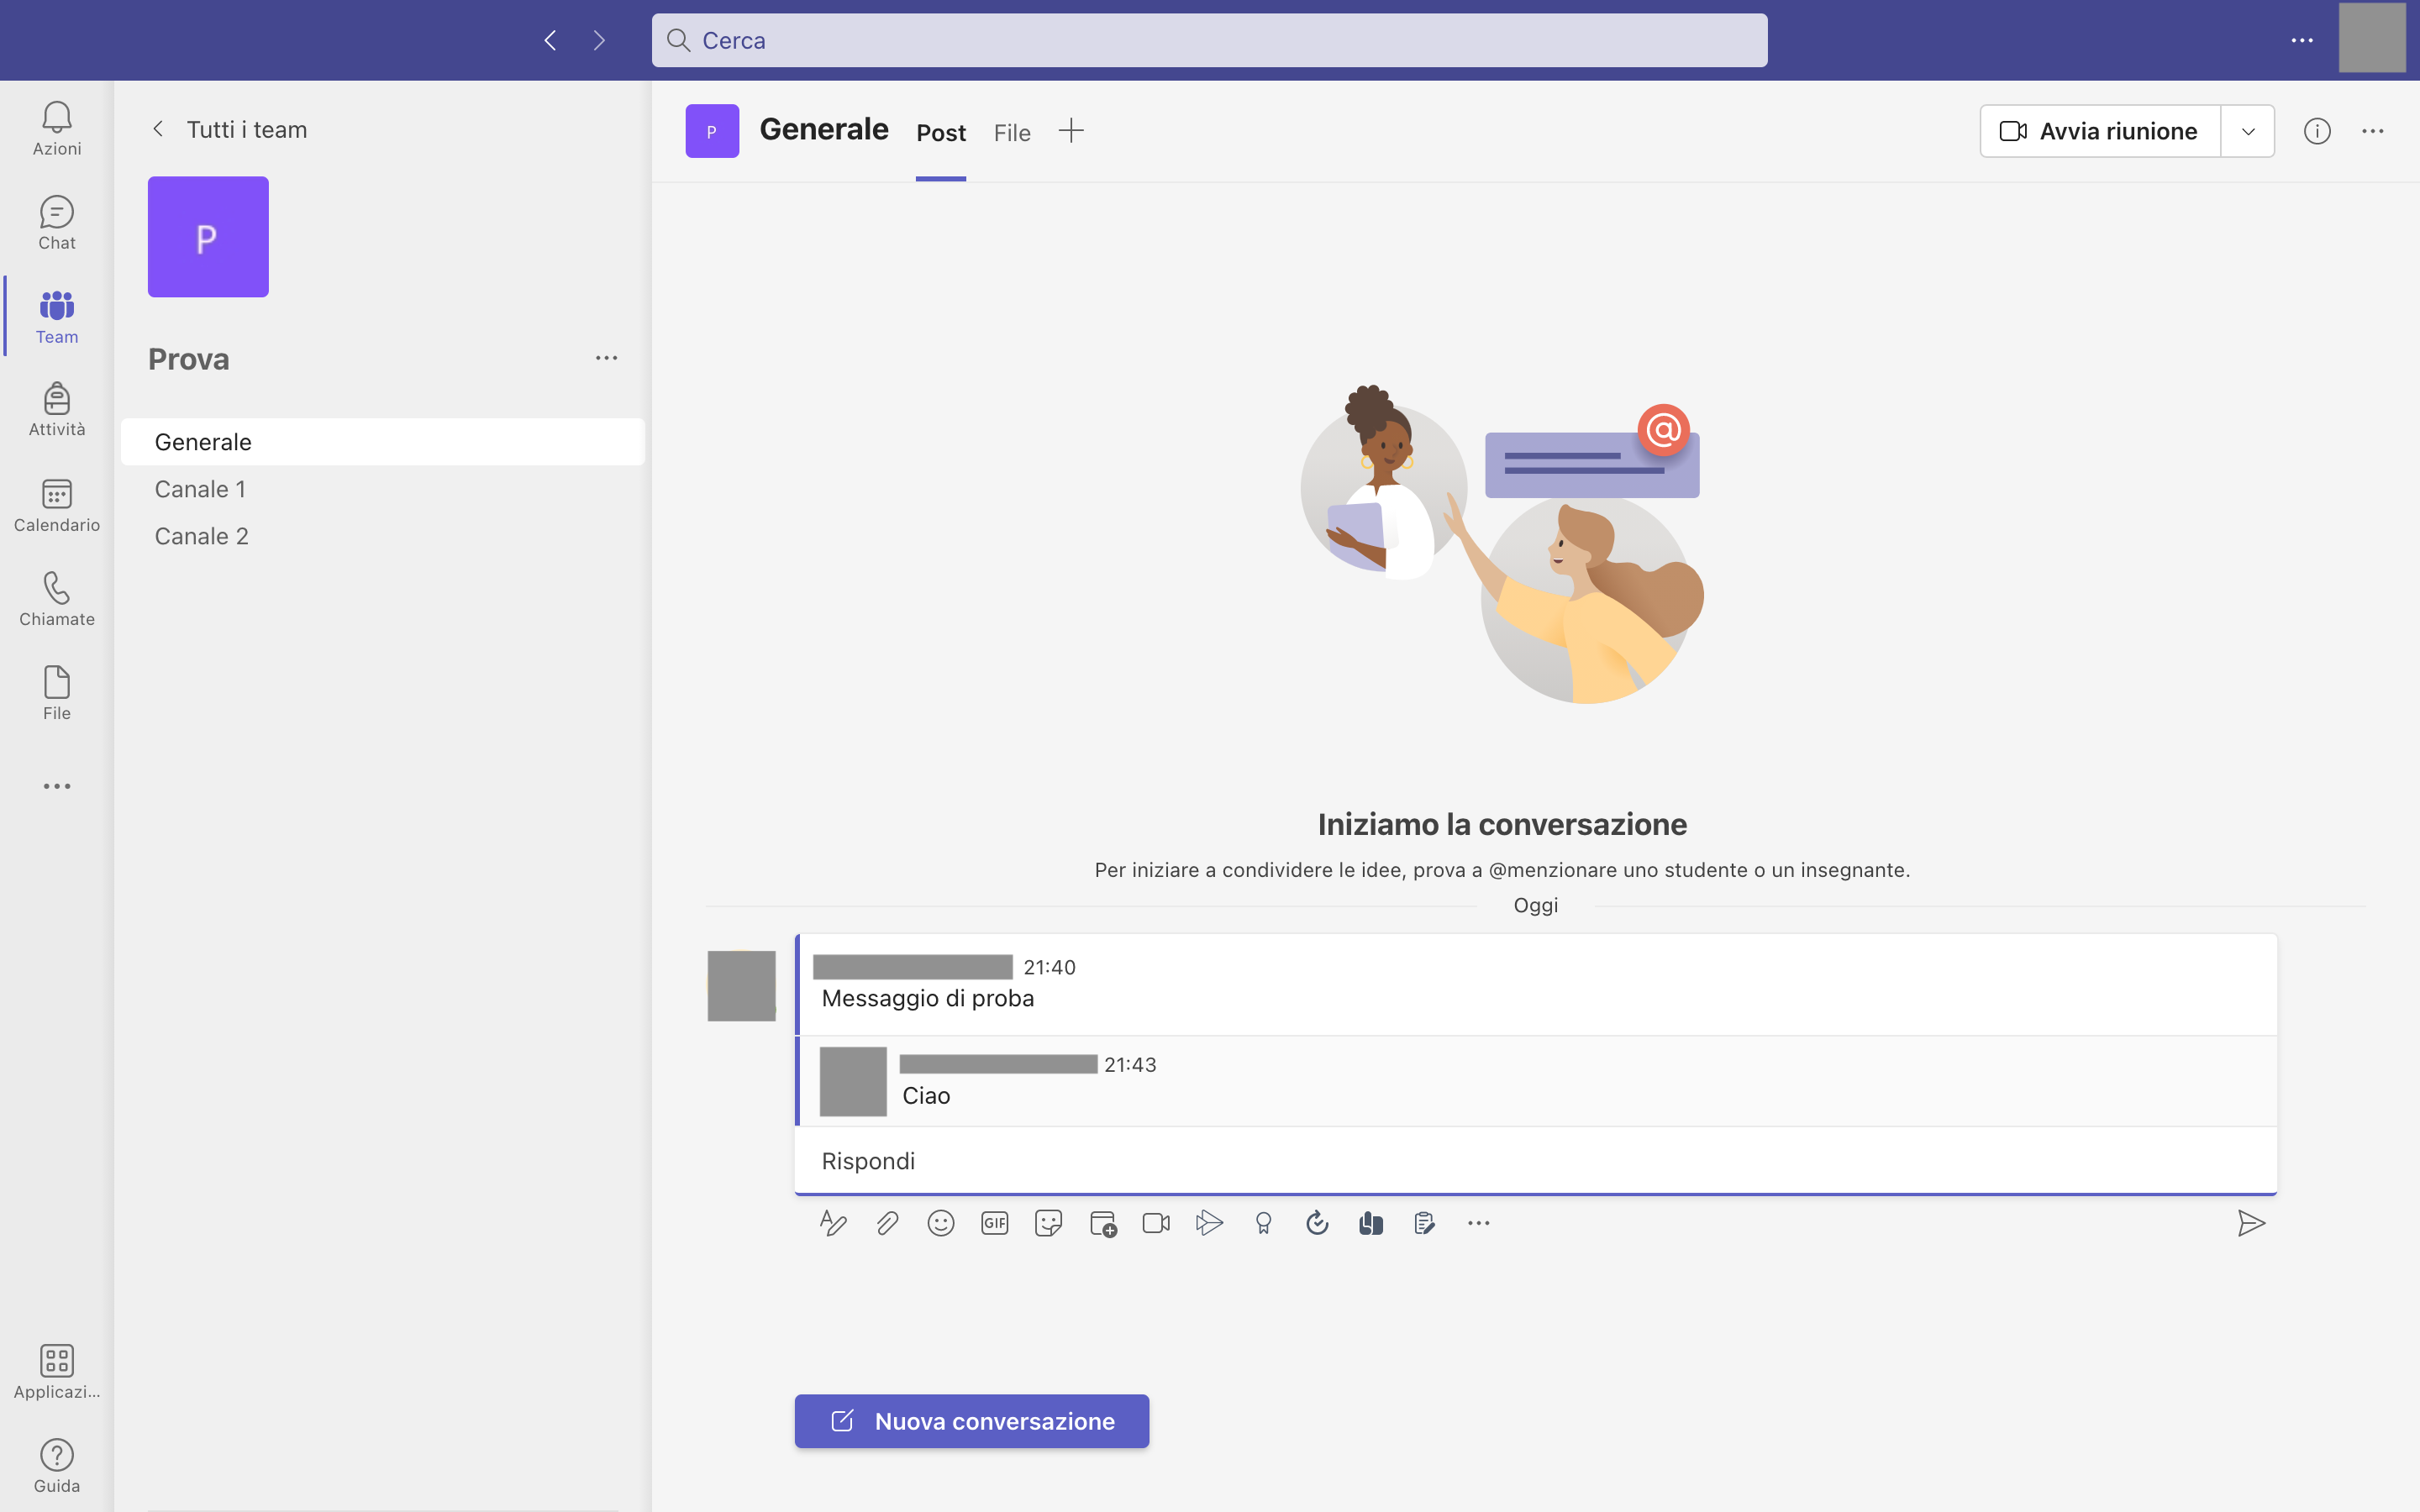 In the activities section you can create courses and propose activities for your students. This function is available only in class teams. To assign an activity to your students, click on the desired class team, select "create activity," and assign a title. You can enter instructions and attachments, evaluate activities, assign activities to specific groups of students, schedule activities, and enter deadlines.
 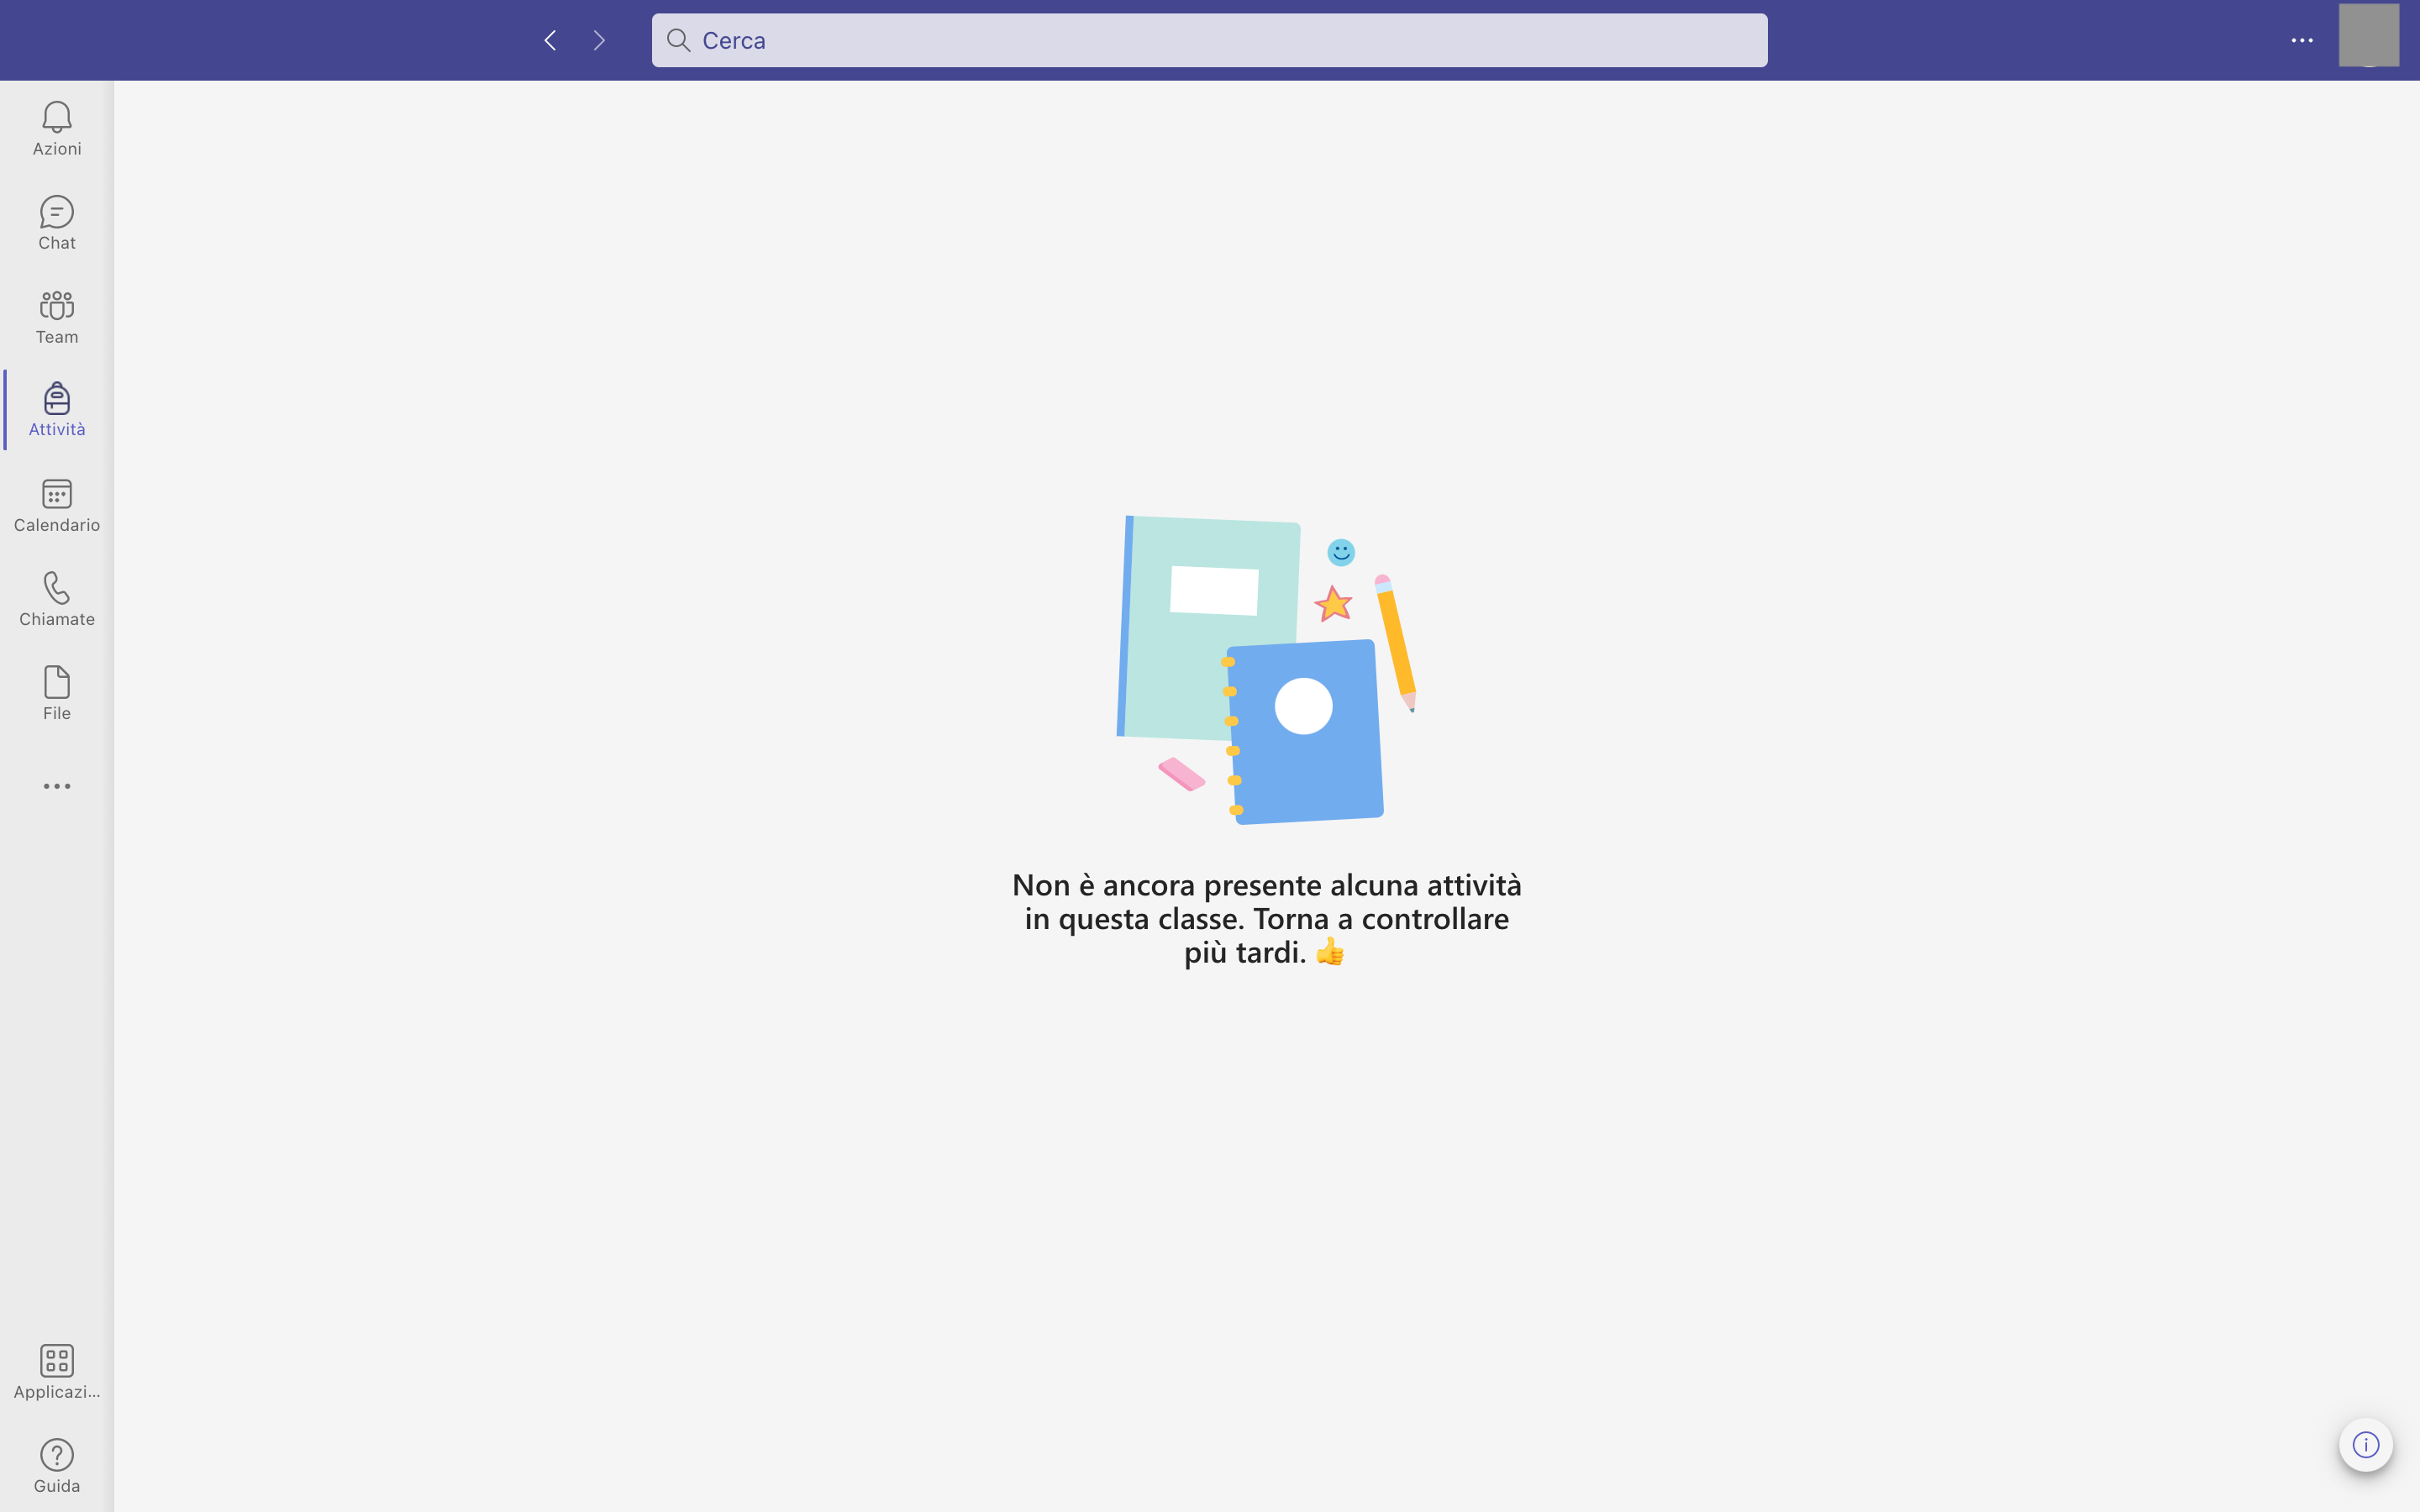 In the calendar section you can enter all meetings and appointments. To do so, click on the day and time you want to schedule the meeting, enter a title, add participants if necessary, add a daily, weekly, monthly, or yearly repeat, add a location and a description related to the details of the meeting.
  In the calls section you can view all contacts in the left menu and start calls or video calls with them (even with multiple users at the same time), while in the middle section you can view the most recent calls or video calls.
 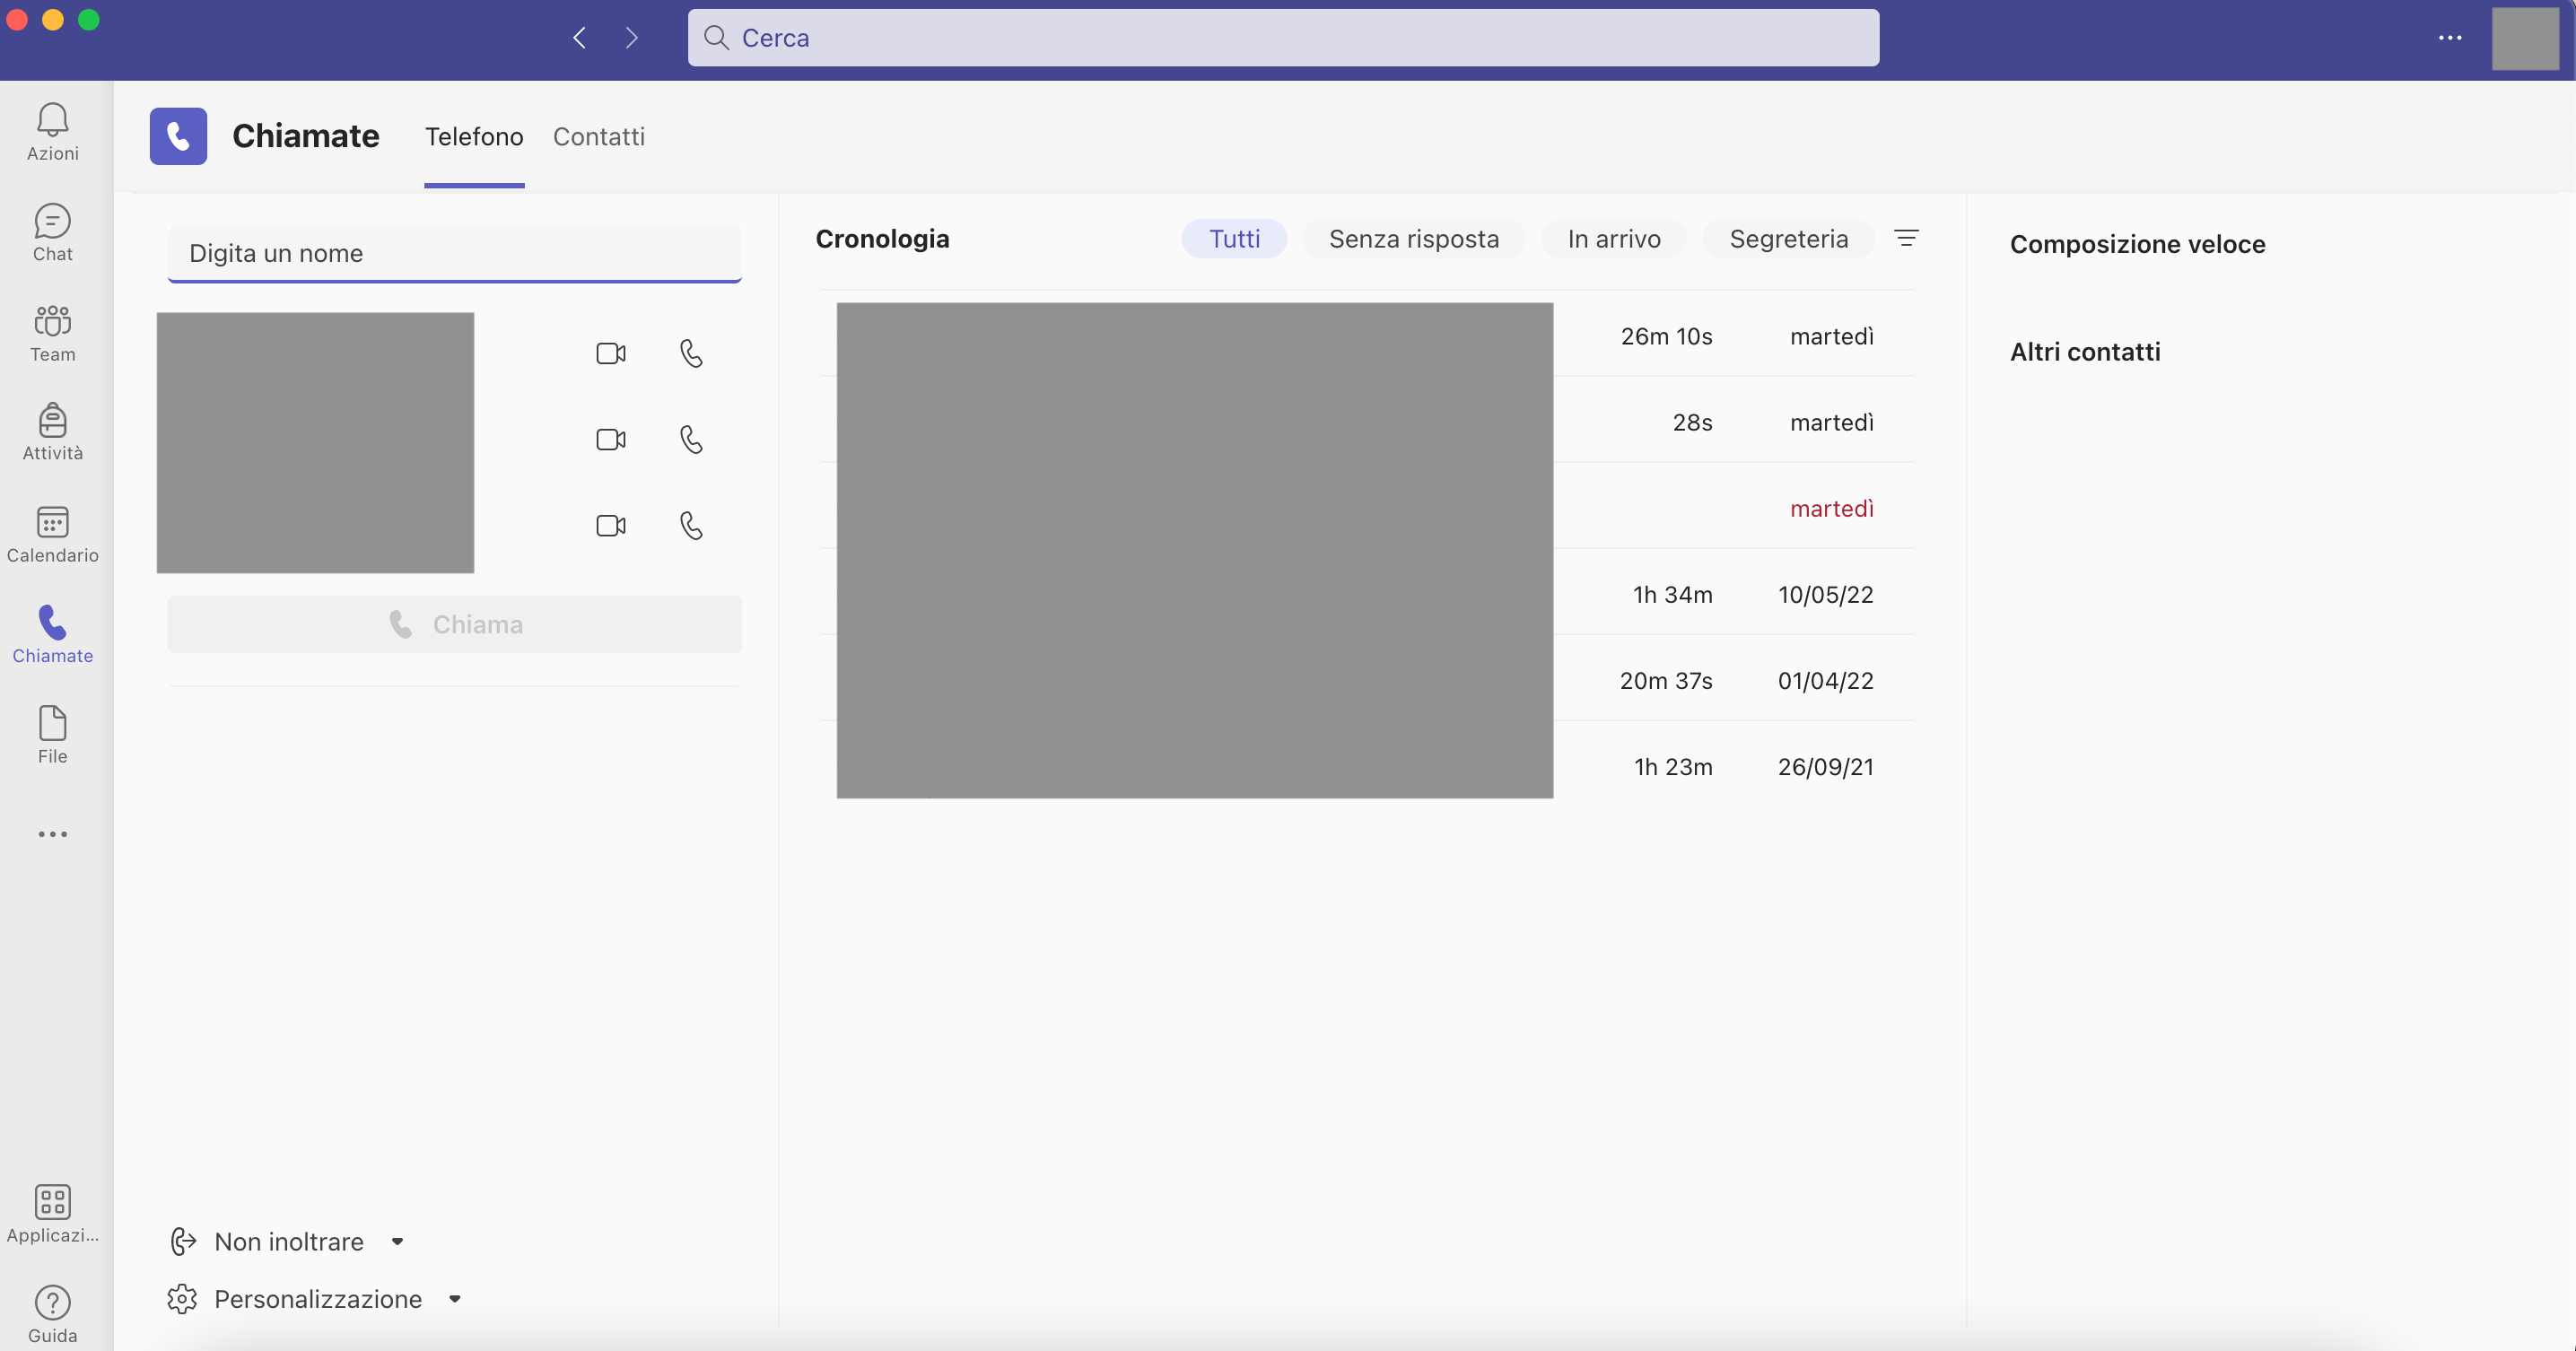 In the file section, it is possible to view all files (audio, images, documents, videos) that have been uploaded or shared by other users, download them, and edit them within the platform itself.
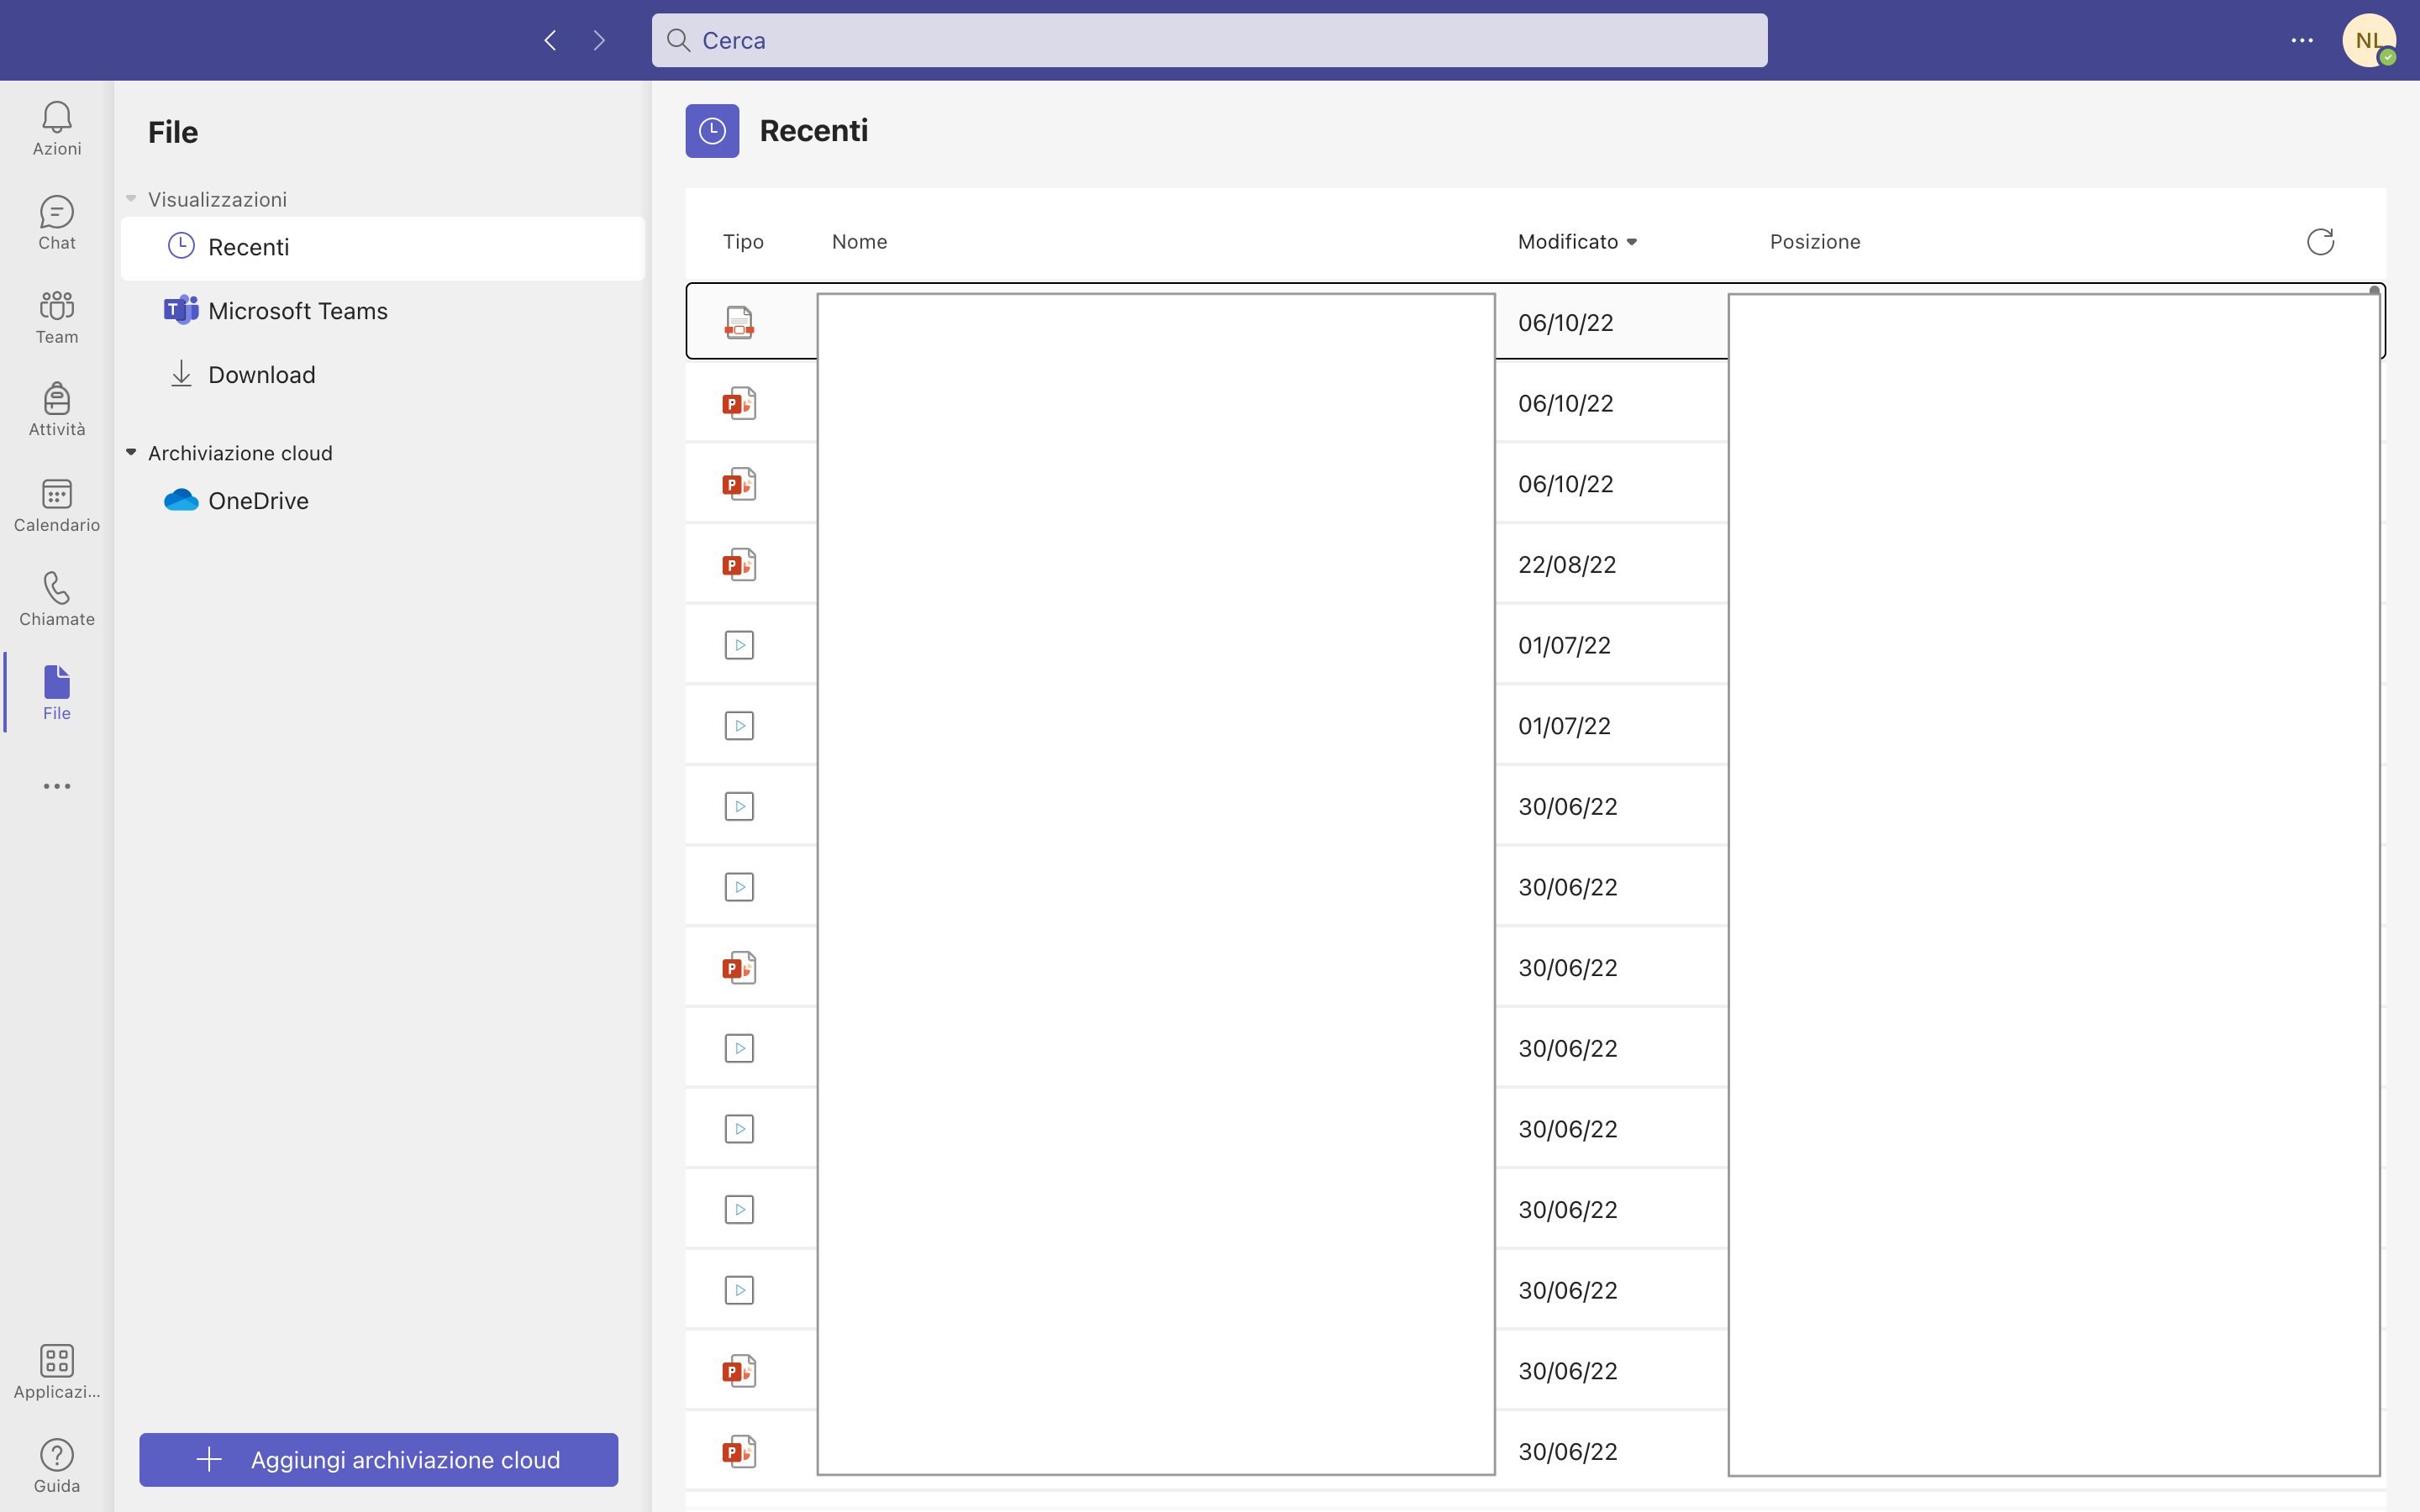


Copy link