
Enter all the desired criteria: the apps that satisfy them all will be searched; if a criterion is specified multiple times, only the last occurrence will be considered.
 Once you have signed up you will see the following screen which is the Blippar dashboard. From here you can proceed to the creation of projects and, by clicking on "My Blipps", view those shared with us. To create a new project just click on "new project" and after which the app will ask if we want to create one that works within the web browser or within a smartphone app. Selecting "Create Web AR Project" Blippar will ask if we want to create AR environments and spaces that appear around the user, for example a virtual store, or use AR on brochures, packaging, product labels, posters, magazines, manuals, etc. Selecting on "Create App Project" Blippar allows you to start the project from scratch.
 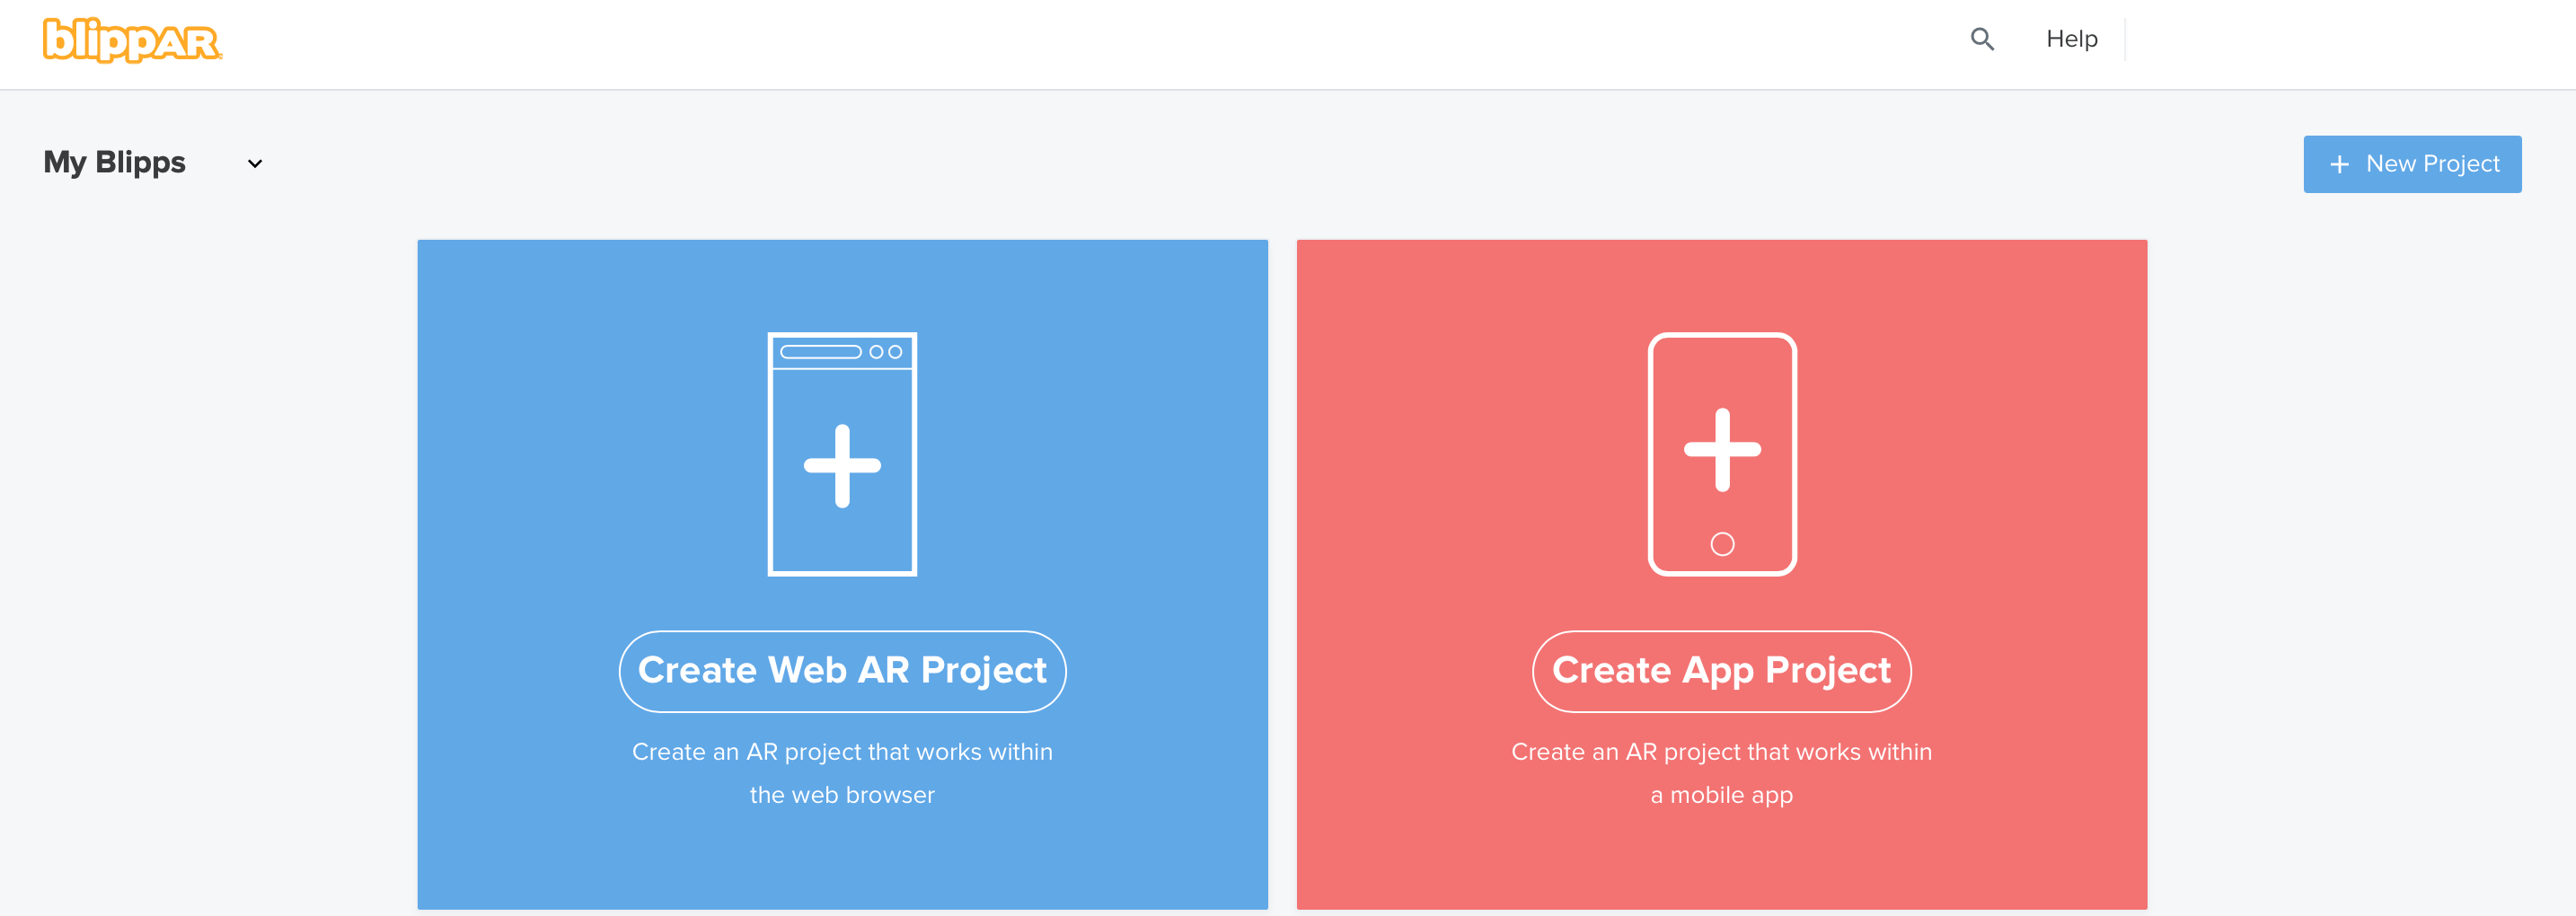 The following is the editing screen. From the menu on the right you can drag and drop any widget to the center or use your own images uploaded from your PC. From the menu on the left you can decide various specifics of the object. In the lower part it will be possible to choose the time of appearance of the object and attribute movement effects to it. Once the project is completed it will be possible to view it, share the link with other users and publish it.
 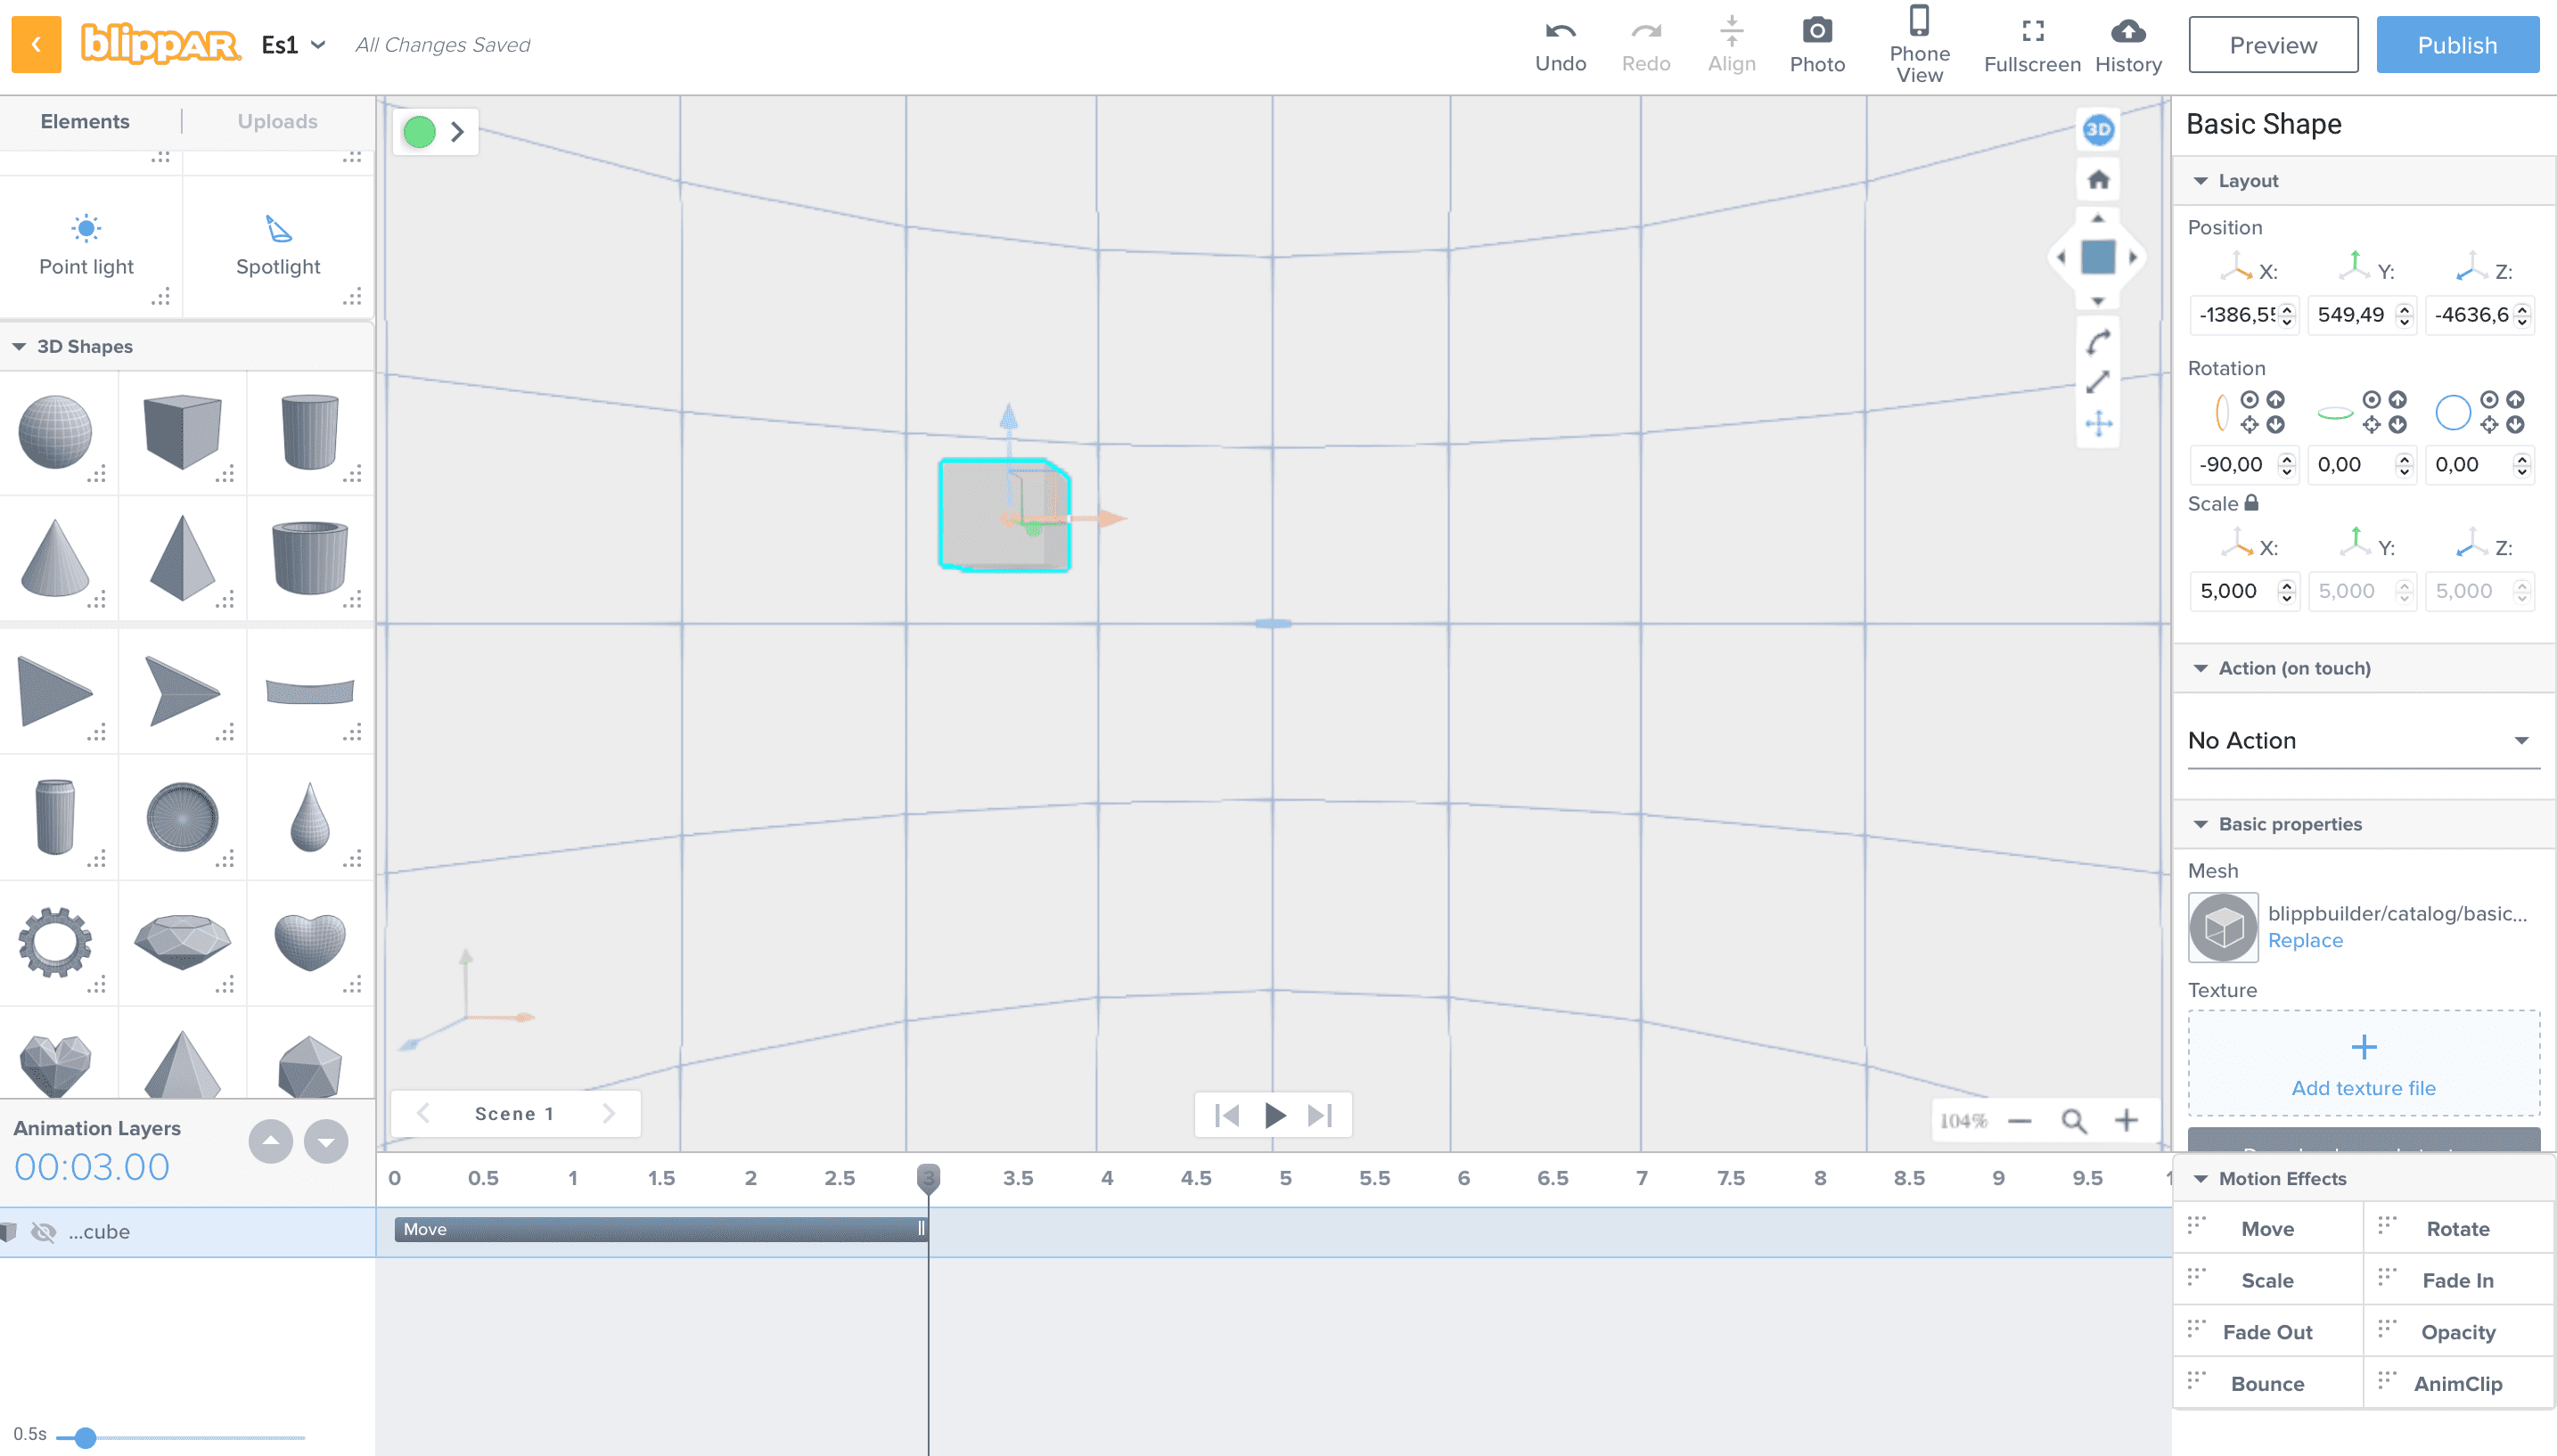 The app is also available for smartphones on the App Store and Play Store. You will need to download the app and, using the scanner through your camera, you will be able to scan any object to experience augmented reality. In addition, the mobile app is very useful because in the "explore" section there are also augmented reality experiences that stimulate learning, such as the solar system that appears around the user. To view the solar system just turn around with your smartphone to see the planets around. You can also align the various planets to compare their size and click on a single planet to get information about it.


Copy link