
Enter all the desired criteria: the apps that satisfy them all will be searched; if a criterion is specified multiple times, only the last occurrence will be considered.
 The section plans&pricing presents the various profiles offered by the application: the free version allows you to create activities, create collections, create groups and get reports on student results but not to create private activities and download standalone versions of them. For the other versions, the price varies according to the functionalities: in addition to offering more activities, they allow you not to view external advertisements that you meet using the application with the free package.
 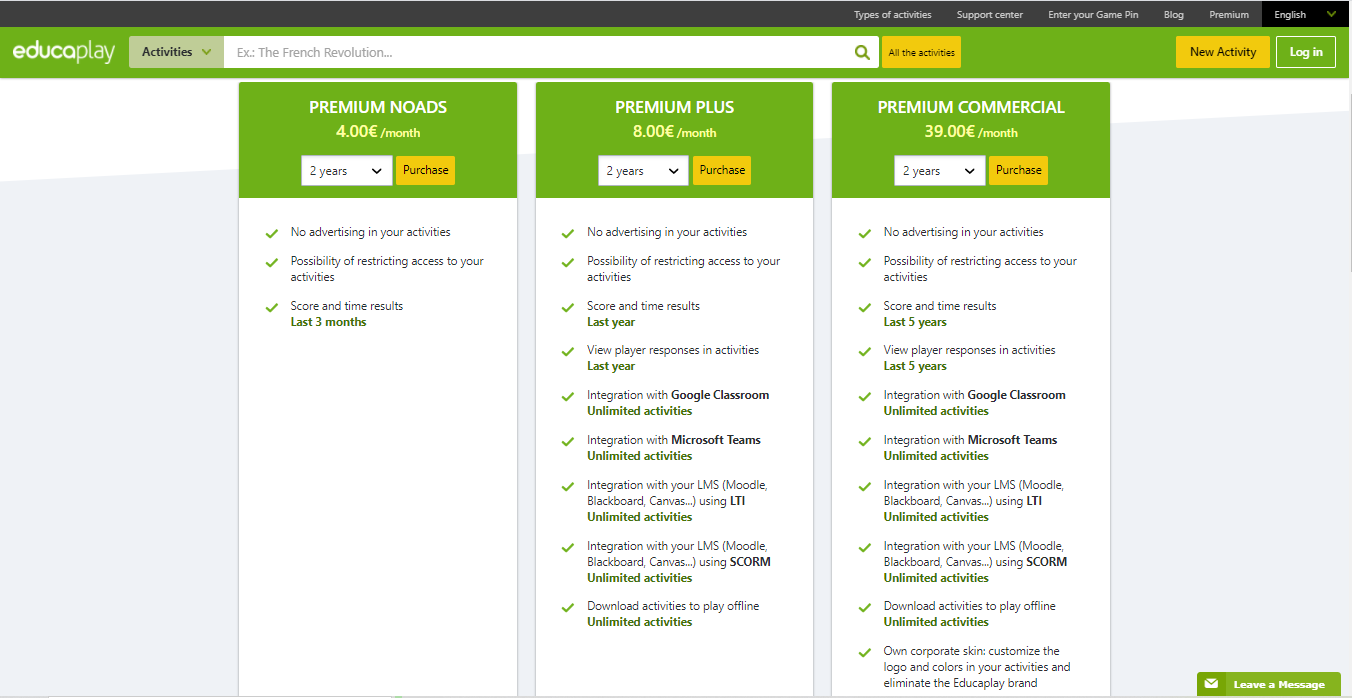 The next figure illustrates the 16 types of activities that you can create and use with Educaplay: riddle, fill in the blanks game, crossword puzzle, dialogue game, dictation game, map quiz, unscramble letters game, unscramble words game, slideshow, matching game, matching columns game, memory game, ABC game, word search puzzle, quiz and video quiz. By clicking on a task you can open a description and explanation card and view a short tutorial.
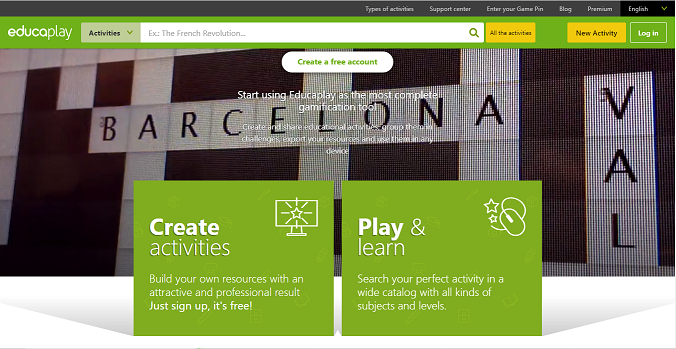
 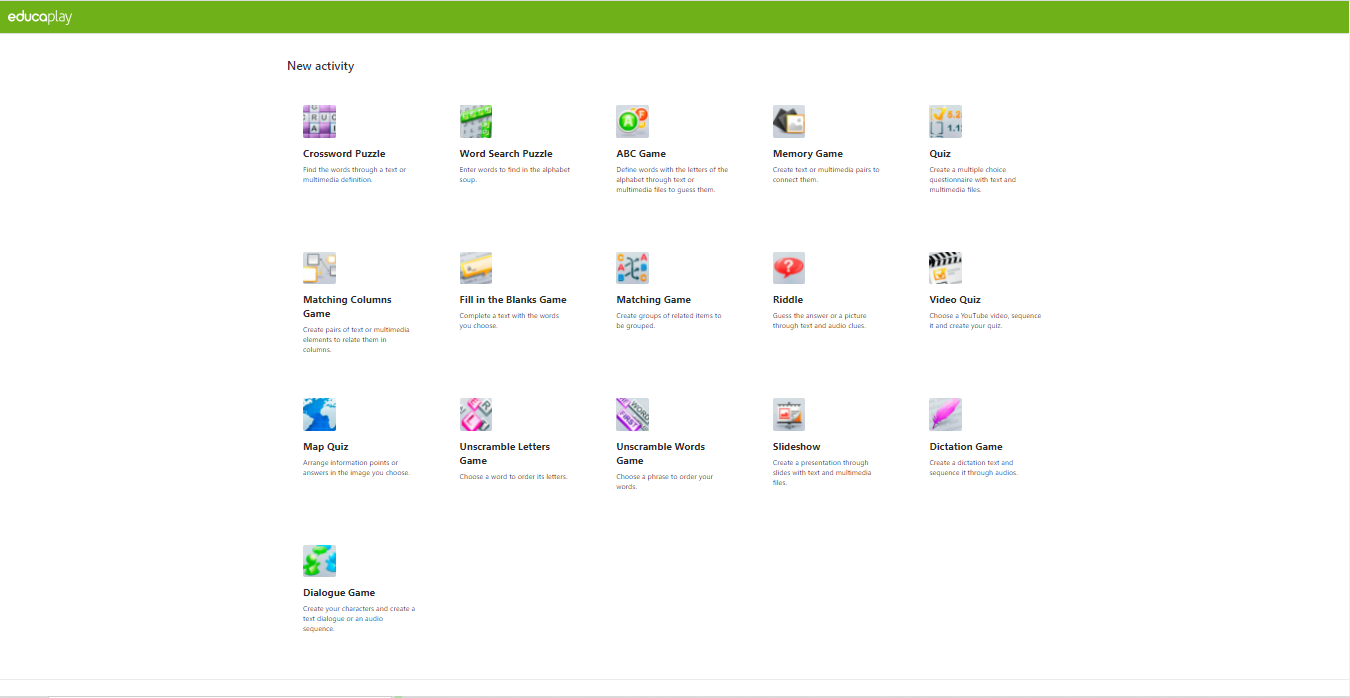 To use the application you need to create an account: after clicking on the "create free account" button on the Educaplay home page, you will see the following screen where you can register through Facebook, Google or Windows Live accounts, or through your email.
 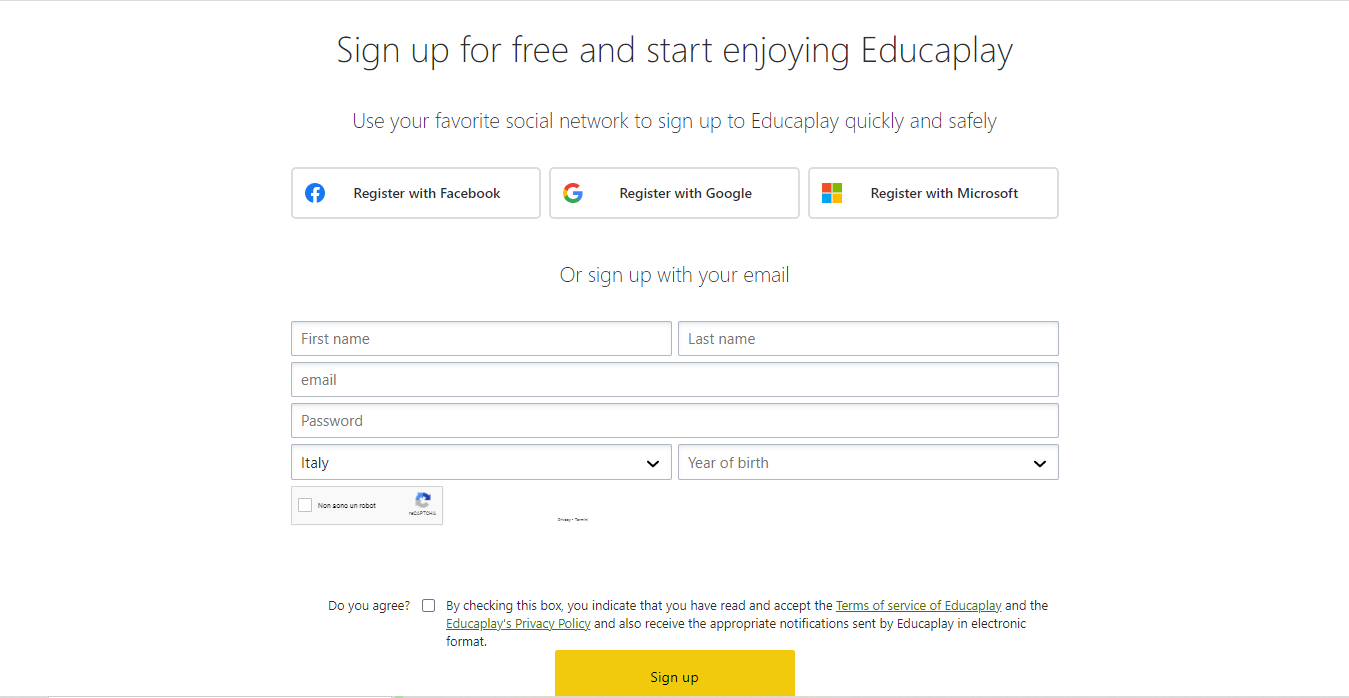 Once registered, you will access a dashboard to manage all the activities and tools made available. The first part of the menu refers to personal and favorite activities and collections that are series of homogeneous activities concerning the same learning module, which are divided into several steps; a step is an activity or a task that the students will have to carry out in order to proceed in the following phases. The second part of the menu concerns the groups; it is possible to create publicly accessible group in the free version and also private ones in the premium versions. The third part of the menu allows you to view the results of the students in the individual activities or collections created by us.
 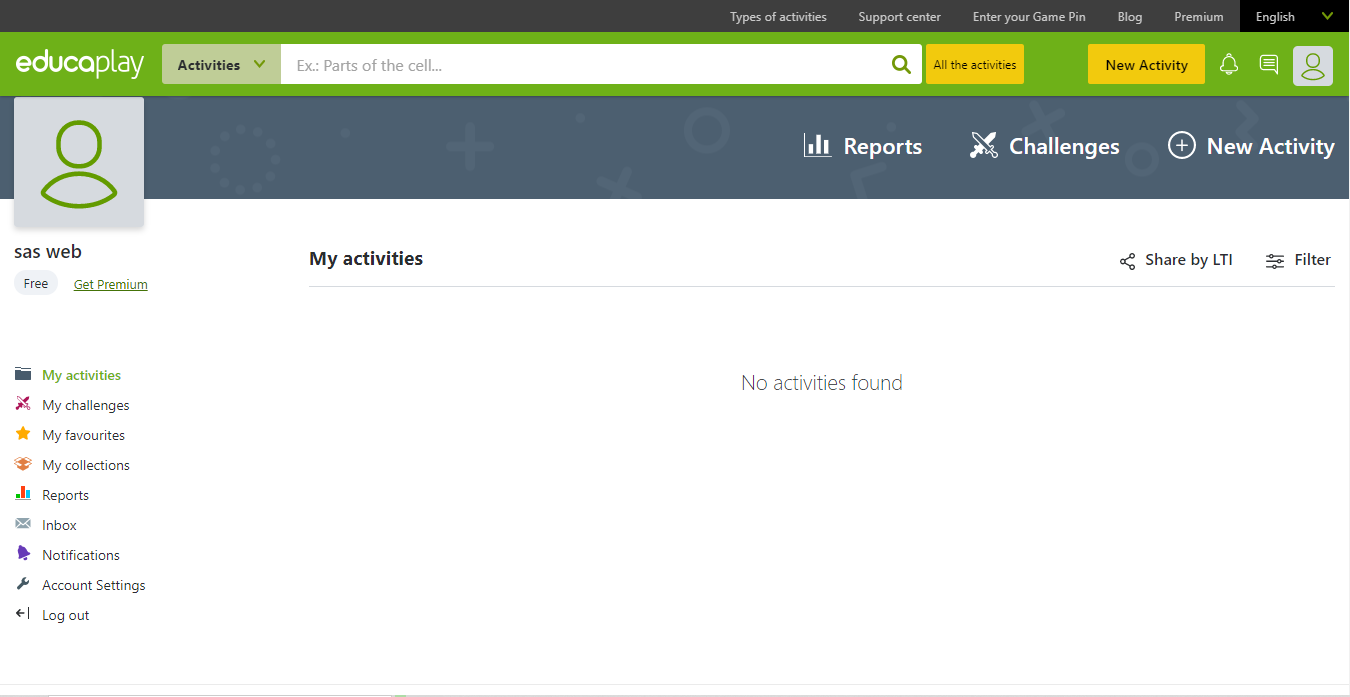 In order to create a new task, you need to click on the "new task" item and choose the type of activities: it is necessary to specify the language, the title and a description.
 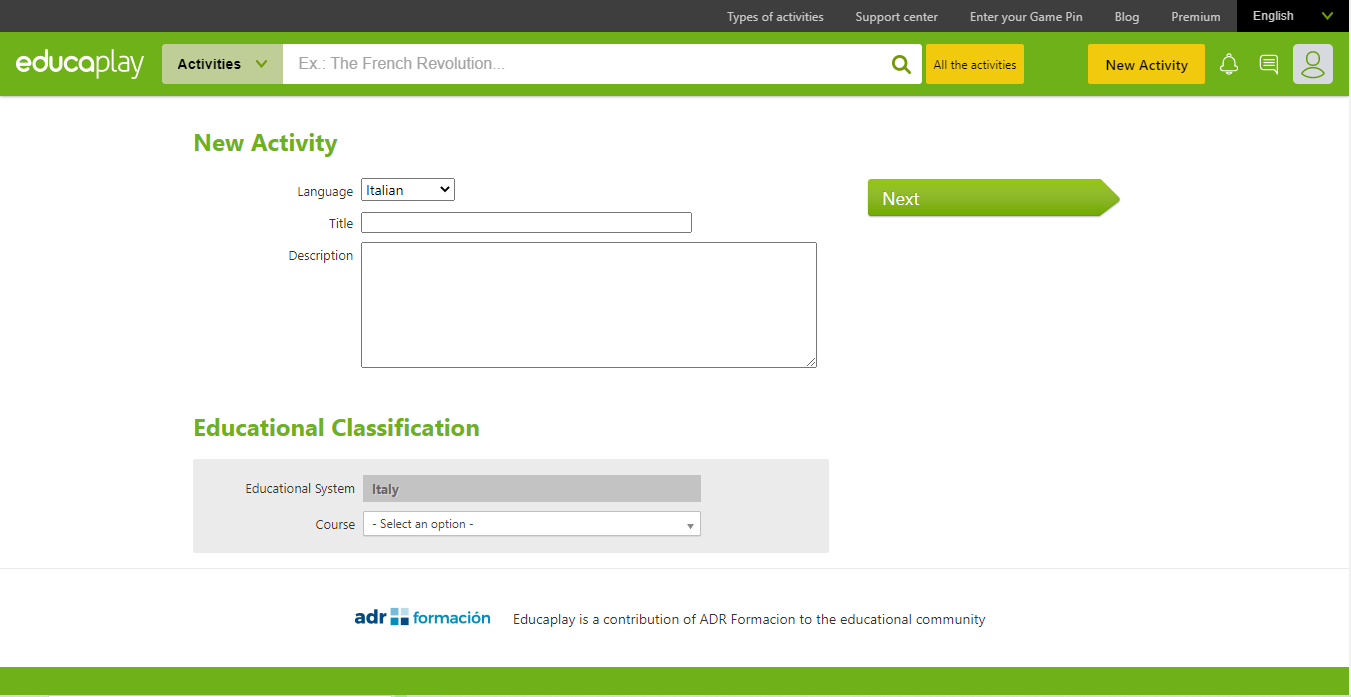 In the next page we access to a form to define the chosen activity: most of the entries in the editor are applicable only from premium accounts. In our example the chosen activity is the crossword puzzle: from the free account we have the opportunity to enter a time limit and help. In the bottom right section it is necessary to enter a minimum of three tags related to the topic of the activity; the diagram at the top right indicates the status of completion of the activity. In the "help" section you have the possibility to see some help to develop the activity; it is also possible to preview the activity before to publish it. As all the conditions for implementation are met, the indicator bar (which is currently in the red zone) will rise progressively until it reaches the green zone, which will mean that the design of our business has been completed and then you can publish it and share the link or share it on social networks such as Facebook, Twitter and Google.
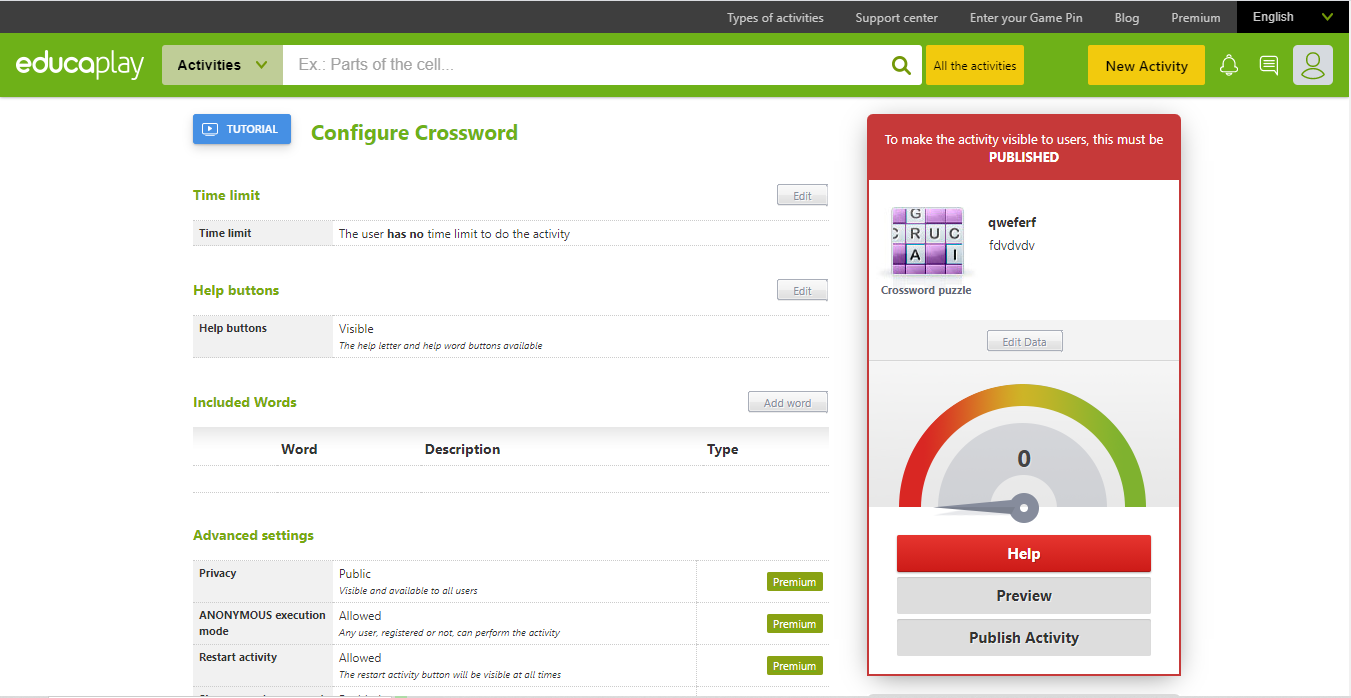


Copy link