
Enter all the desired criteria: the apps that satisfy them all will be searched; if a criterion is specified multiple times, only the last occurrence will be considered.
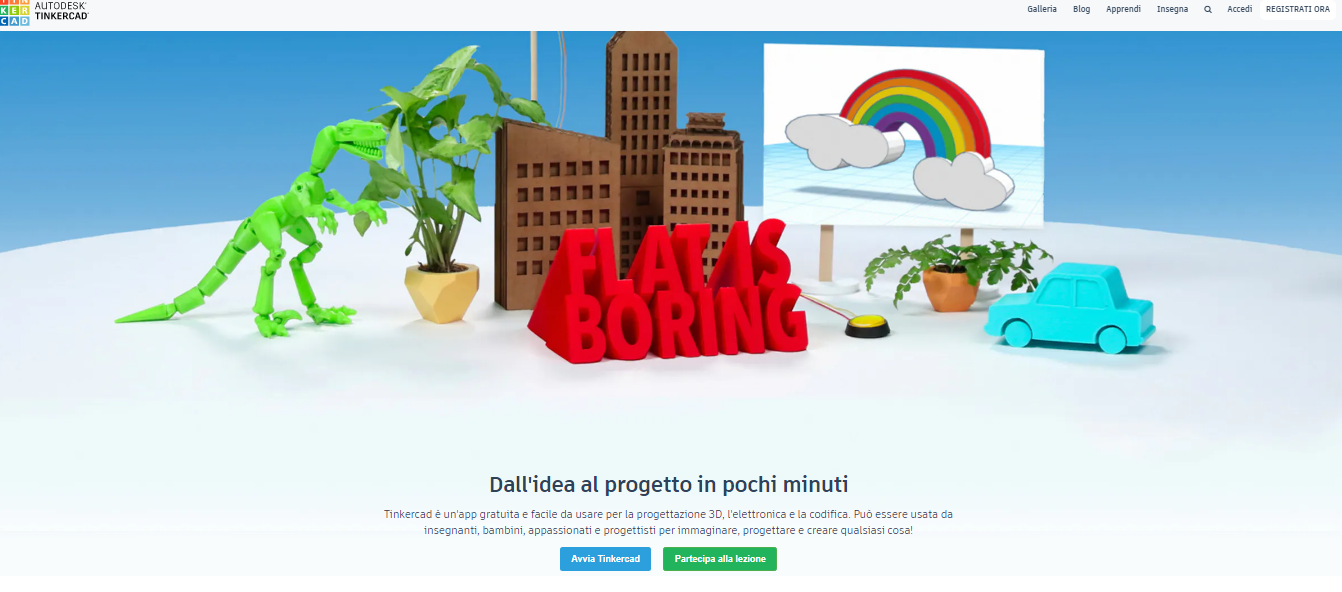 By clicking on one of the proposed sections shown below, you will be directed to a page that will allow you to: design in 3D, simulate electronic circuits, and create designs with code.
 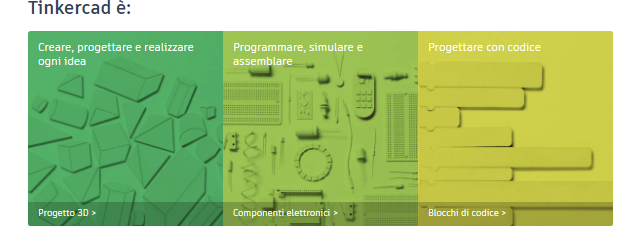 The dashboard that appears once logged in, presents the “Create new design” option, and just below you can see the thumbnails of your previously created projects. From the left sidebar, you can search your own projects and access to the following sections: 3D projects, circuits, codeblocks and lessons, especially useful for beginners. At the bottom of the page, you can click on “Support” in case you need assistance to solve a problem, or select your preferred language, which is situated right next to the “Follow” section. From the top menu you can access the “Gallery” (which presents all the work that users have decided to make public), the “Blog”, the “Learn” section, which consists of lessons that help you learn different skills, and the “Teach” section (which allows teachers to create a virtual classroom and get resources for teaching).
 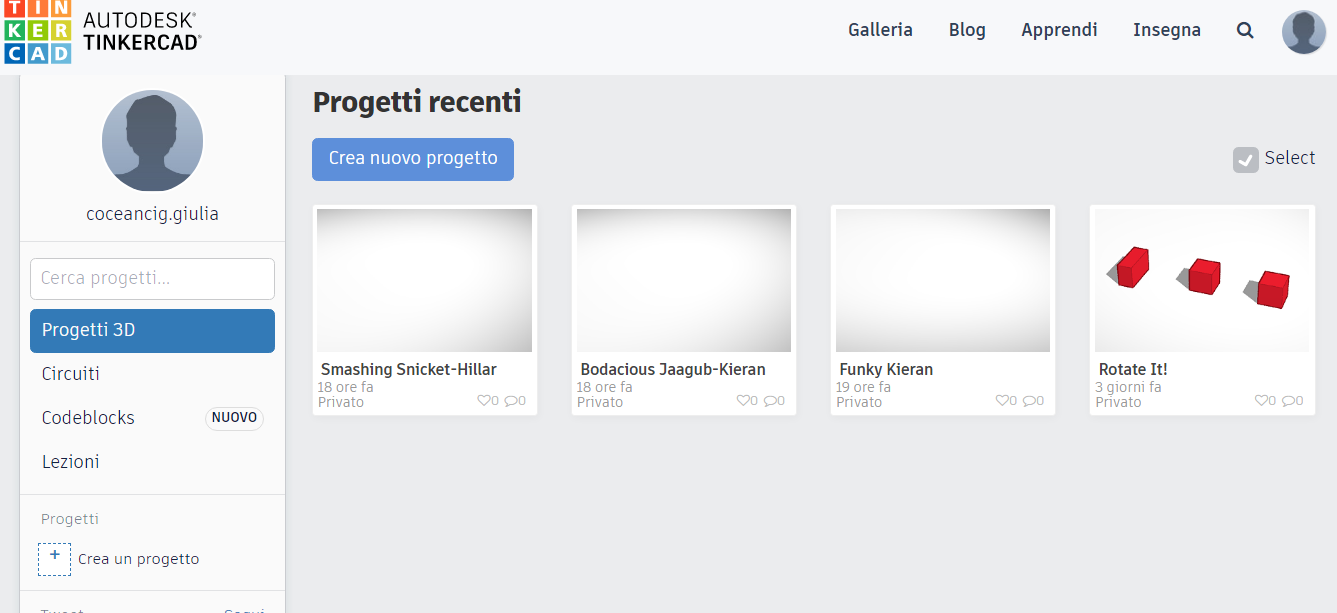 The page that allows the creation of a project is composed of a workplane divided into millimeters. From the panel on the right, you can access the library and choose from various available shapes and figures (texts and numbers, solids, characters, and circuit assemblies). Above the panel, there are the options that allow you to import, export or send the project. From the View menu located on the left, you can choose whether to have a front or top view, switch to the flat view, change the zoom or return to the initial point of view. At the bottom right, next to the worktop, you can choose the various grid settings (unit of measure, length, width or choose from the default settings). You can access the Main menu, situated just above the drawing area, which contains the main commands such as copy, paste, duplicate & repeat, delete, undo or redo, group, ungroup, align or mirror. At the top right, next to the personal profile icon, you can choose between the 3D project option, blocks or bricks, and finally invite other people to collaborate on the project. To change the name of the project, simply click on the current project name at the top left and type the new one.
 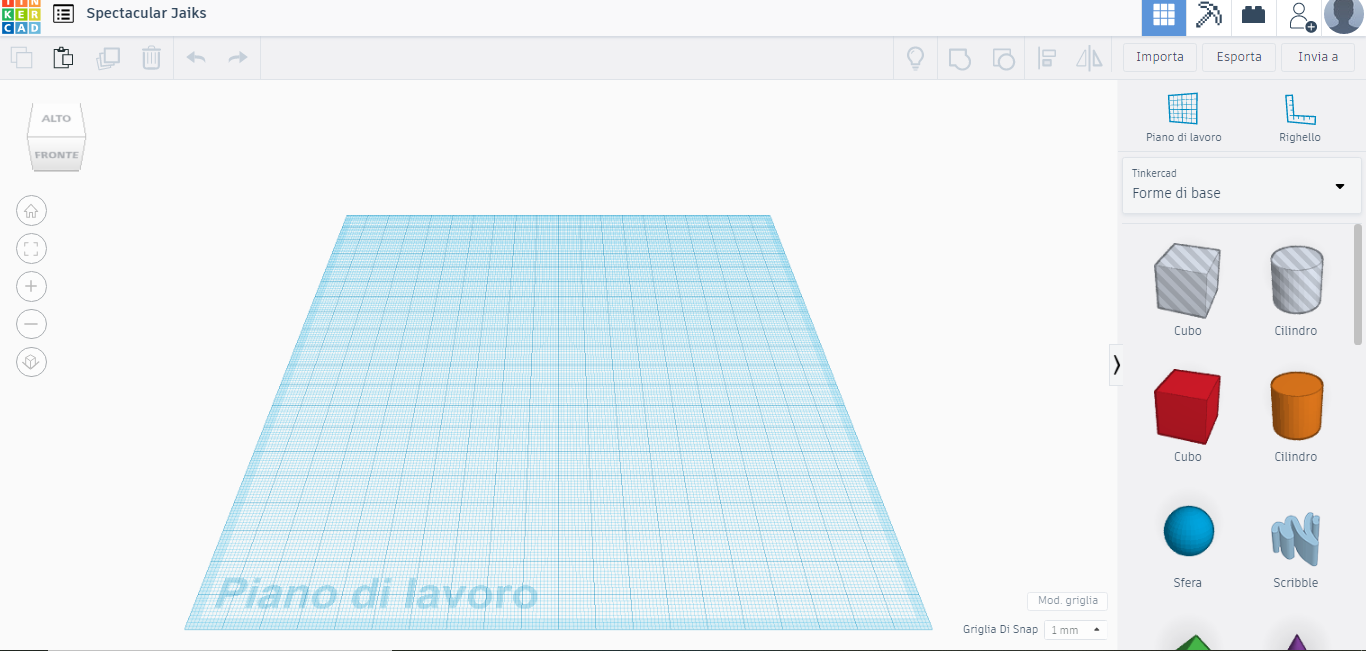 Another important feature is the “Learn” page, since it allows you to learn basic 3D design functions and circuits through the use of the same grid, but with the instructions on the left.
 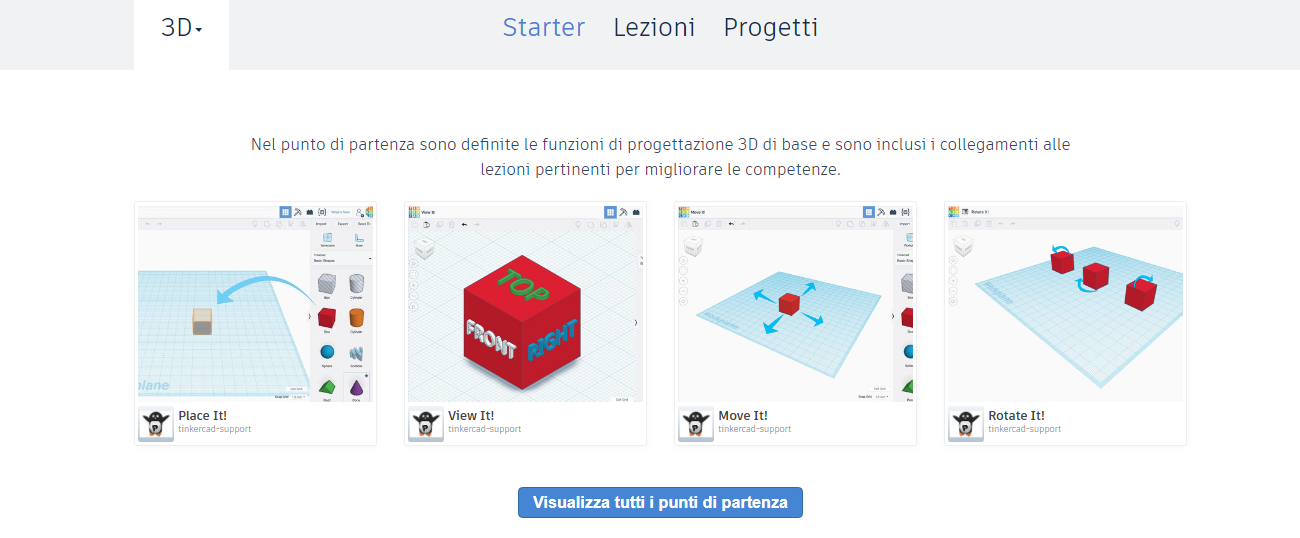 The following screenshot shows an example of how to learn to zoom:
 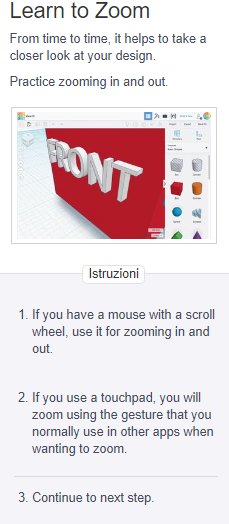 In the “Gallery”, as already mentioned, you can view the various projects published by other users, with related likes and comments. There is also the possibility to copy, modify or download the projects of other users and exchange opinions or advice. For example, you can find the creations of various objects or machines:
 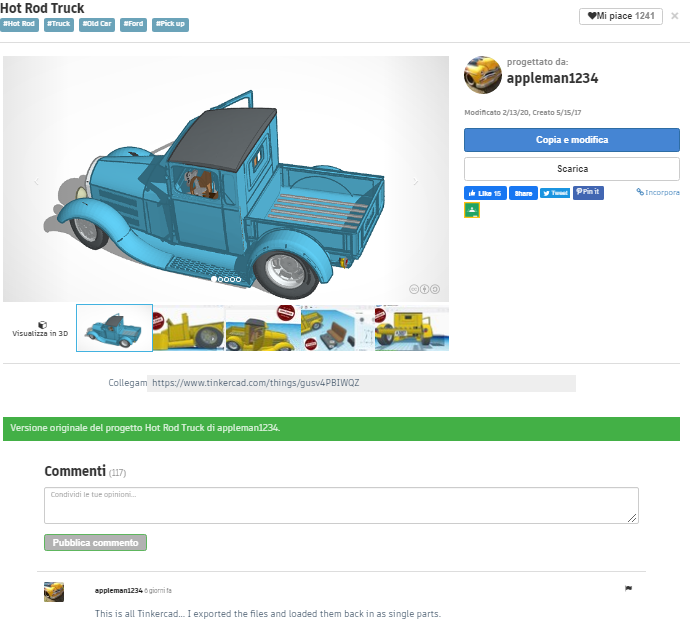 Tinkercad also has a simulation app which allows to simulate circuits with Arduino:
 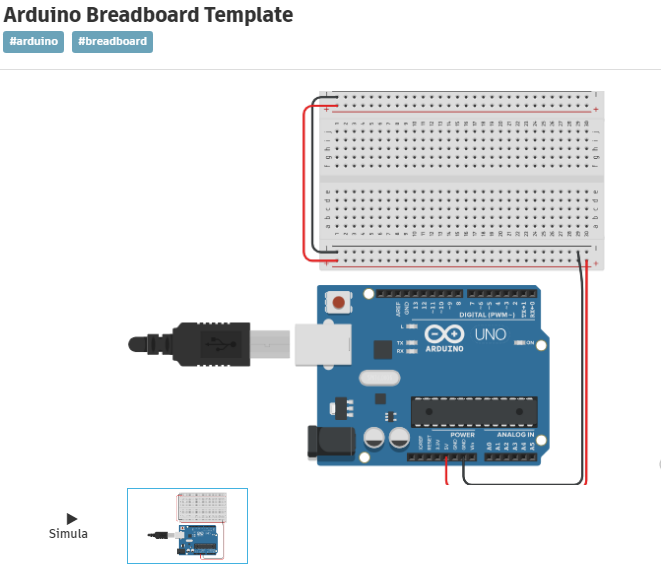 Finally, you can also view designs created using codeblocks:
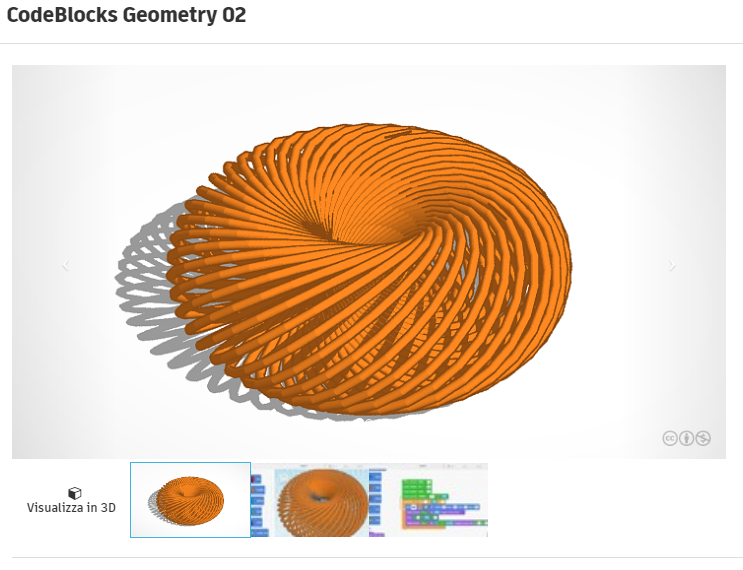


Copy link