
Enter all the desired criteria: the apps that satisfy them all will be searched; if a criterion is specified multiple times, only the last occurrence will be considered.
 Once the verification of your account has been verified, you will be able to do your FIRST ACCESS, by typing your credentials in the box at the top right (under the LOGIN item) and then pressing the ENTER button.
  Then a screen will open and at the bottom of the page, you will find the START QUESTBASE button. You have to click on that button to start your activity.
 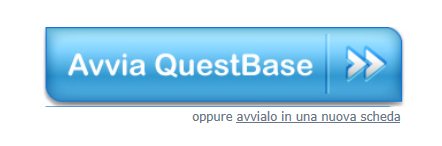 The first time you log in to QuestBase, the Welcome window will be shown, which allows you to set some basic options related to the account: 1. Enter Name and Surname. 2. Complete the other options if necessary. 3. Press Continue to confirm and continue. NOTE: these options can be changed at any time, by clicking on the username (top right) and selecting MY PROFILE, which includes all the info about your user profile.
 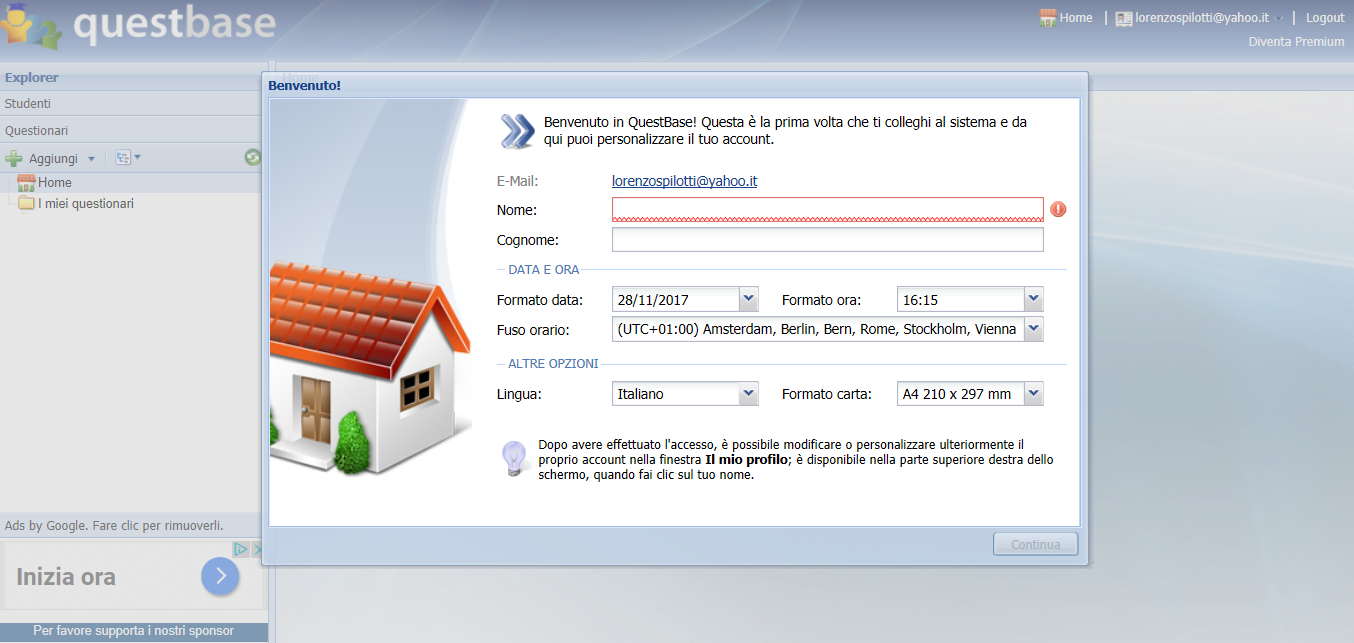 After having correctly filled in all the fields in the Welcome window, press the Continue button. Then you will see another window with the following elements: - list of questionnaires and shared questionnaires (top left under “Questionnaires”): allows you to manage your own questionnaires and the questionnaires that other users share with you, rename them, collect them in folders, copy them, move them or delete them; - list of students (top left under “Students”): allows you to manage students, form groups, move them, rename them or delete them; - central area (central part of the screen, under the heading “Home”): allows you to view the details of a selected item of the bar on the left; - preview area (will open at the bottom, under the “Home” item after selecting the object): displays the preview of the selected object in the central area.
  CREATION OF A QUESTIONNAIRE Click on the “Add” button on the top left and select “Add questionnaire”. In this first page you will be asked to insert the TITLE of your questionnaire.
 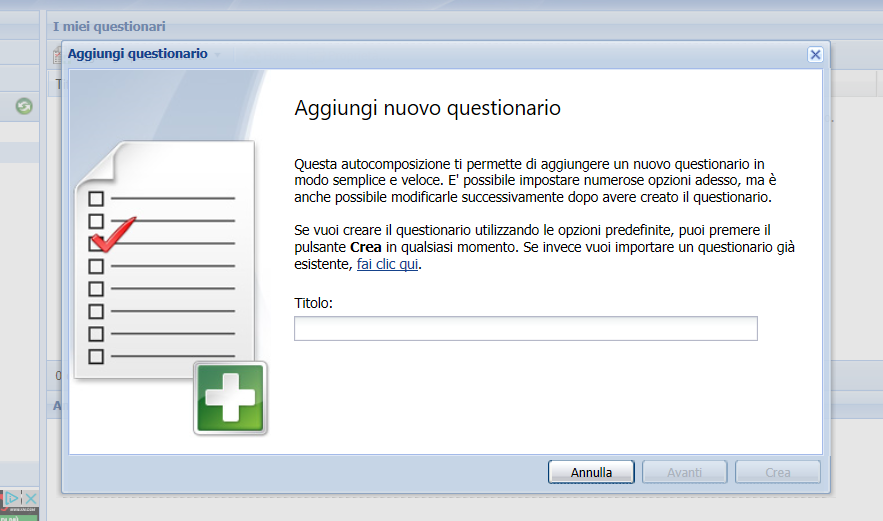 General informations In this window you are asked to enter a description and some keywords regarding your questionnaire. In addition, there is the possibility to be able to select or create a different folder where to save the questionnaire (“Folder”).
 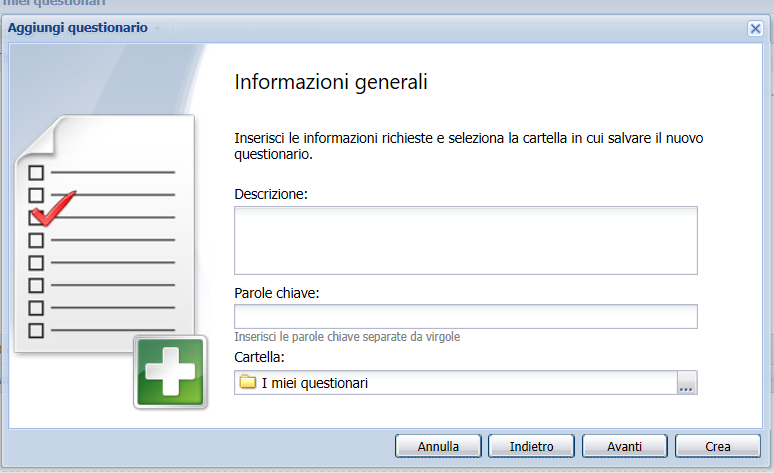 Personal data Possibility to request personal data before the test (example: Name, Surname, Matriculation etc.).
 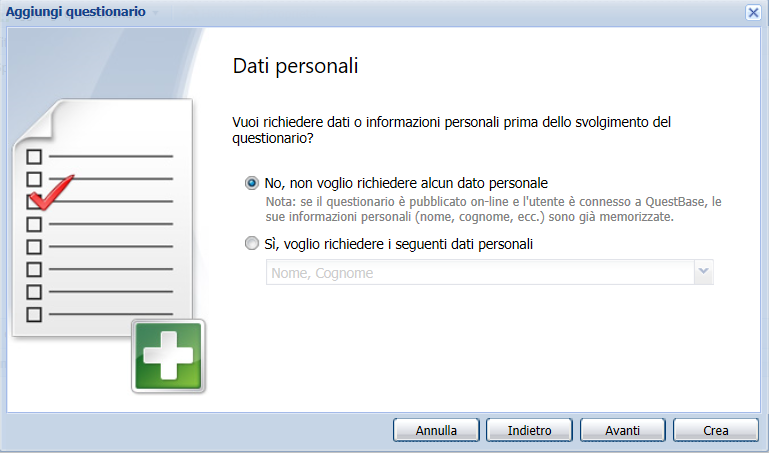 Custom messages You can add some custom messages that will be displayed before the start of the survey (for example a generic instruction message) and after submitting the answers (for example a thank you message).
 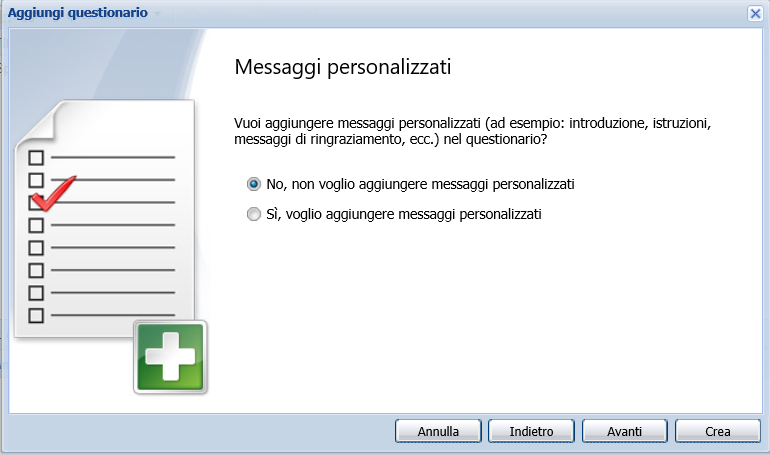 Sharing In this window, you can decide whether to share your questionnaire with other users or colleagues, in order to work together (example: add or remove questions). In addition, there is the possibility to include your questionnaire inside the QuestBase archive, giving the possibility to anyone to find it through the keywords.
 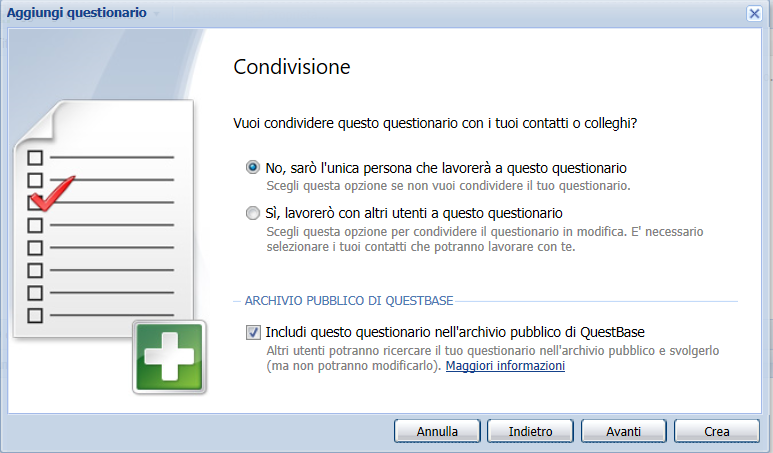 Congratulations The questionnaire has been created in the correct way. Now press the “Create” button: the questionnaire will appear in the list of questionnaires on the left, while in the central part will appear the relative Home Page with its sections: Questions, Options, Publications, Executions.
 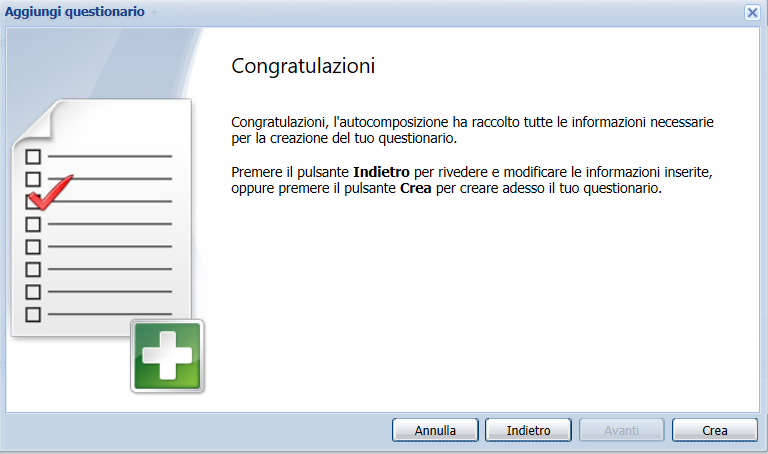 As explained before, after pressing the “Create” button, the following interface will appear, where you will find different sections regarding your questionnaire: - the Questions section will allow you to view, add or modify the questions in the questionnaire; - the Options section allows you to enter the data to be requested at the beginning of the questionnaire (Name, Surname, Class etc.) and to manage the multimedia files (video, images); - the Publications section allows you to decide how the questions are displayed or printed; - the Executions section lists the users who have already completed the questionnaire, with their respective scores and outcomes.
 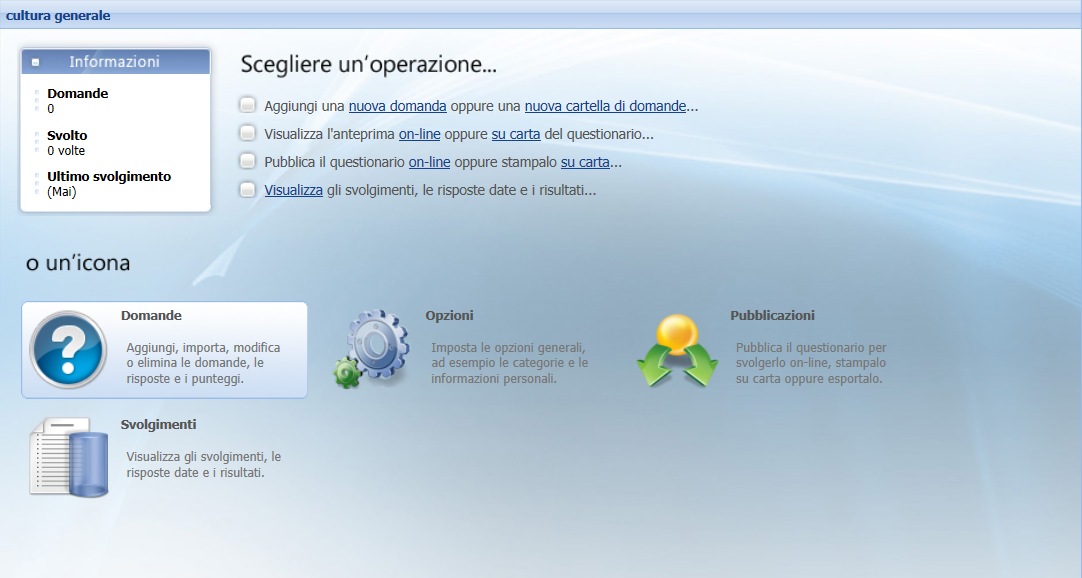 There is the possibility to modify the questionnaire just created by clicking on its name and choosing Properties from the menu. The following window will appear:
 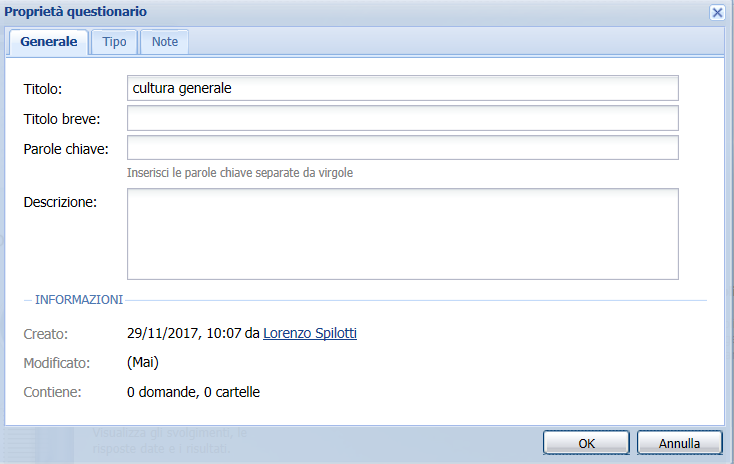 Here you can make the changes to be confirmed with the OK button. STUDENTS MANAGEMENT To add one or more students, select the “Students” section in the upper left, clicking on the Add button and then on Add students, in order to display the relative window. For each student you want to add you will need to specify a username and a password (additional information, such as Name, Surname and E-Mail, are optional and can be completed later by the student). Using these credentials, students will be able to log in from the dedicated QuestBase interface (see the Student Interface section below) where they can complete the questionnaires to which they have been registered (see the section below) and keep track of their activities. After adding all your students, QuestBase allows you to group them with a simple and effective tool: Groups. Using the groups you can organize the students in the preferred way (for example, by class, by course, etc.).
 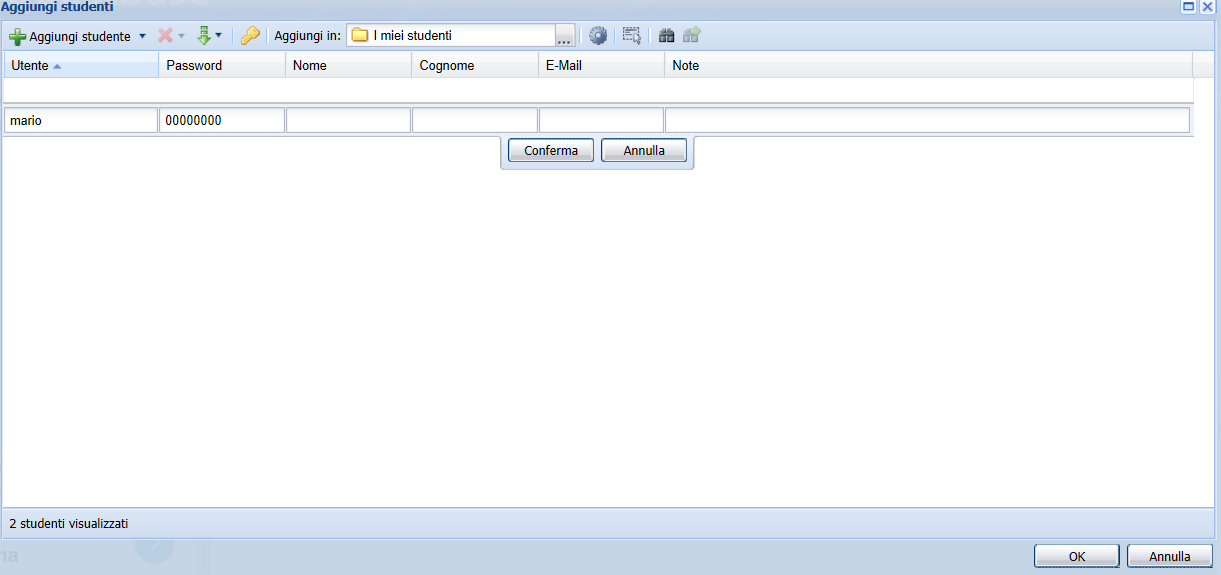 REGISTRATION FOR QUESTIONNAIRES After adding all the students and eventually grouped them into groups, it is now possible to register them for one or more questionnaires: -Select the questionnaire in the list of questionnaires on the left and click on Publications on the central part. - Click on a publication and select Properties.
 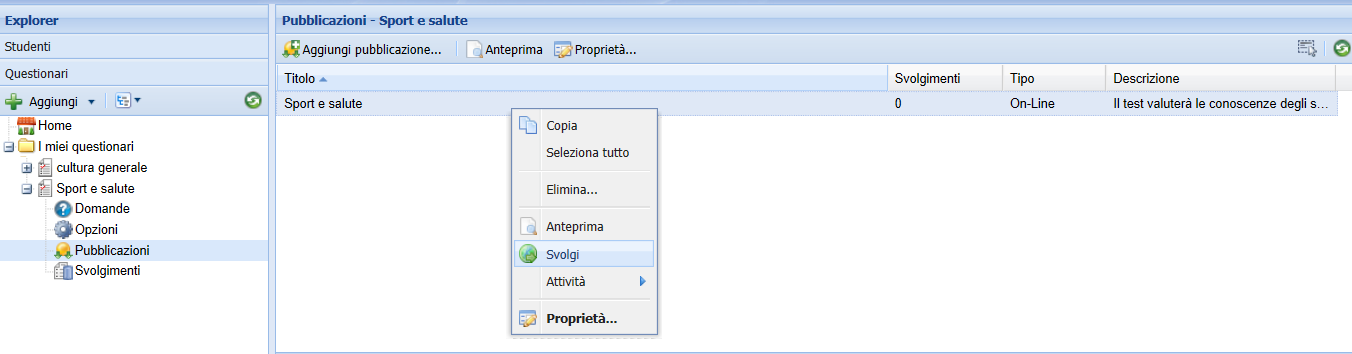 - Select the Privacy tab and activate the option Only students or registered groups. - Press Register students or groups to enroll one or more students in this questionnaire. To enroll students, click on the Register students button; to register a group, click on the Groups tab and then on the Subscribe groups button. By registering a group, all students included in that group (even if added later) will be automatically registered in the questionnaire.
 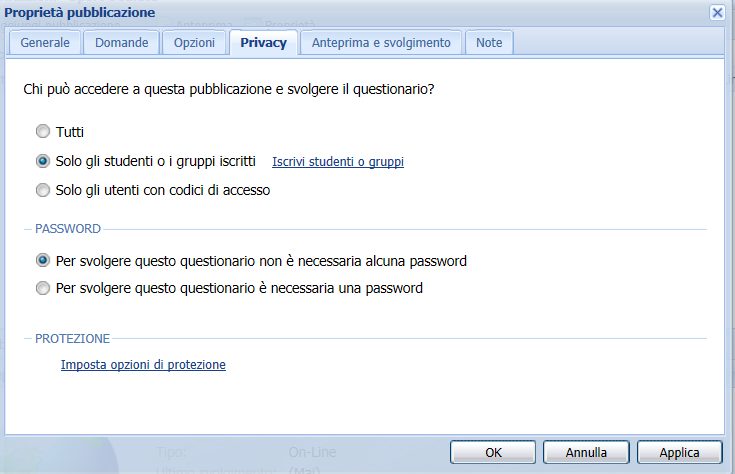 Select the students (or groups) you want to enroll and press the OK button to confirm. Finally close the window by pressing OK again. At this point the students have been registered and can carry out the questionnaire. Click on the Preview and progress tab to view the address to which students will have to log in (with the specified username and password) to complete the assigned questionnaires. NOTE: to carry out the questionnaires to which they have been registered, students must connect to the address of your account, which you can find in the Preview and Performance tab in the Properties of the publication.
 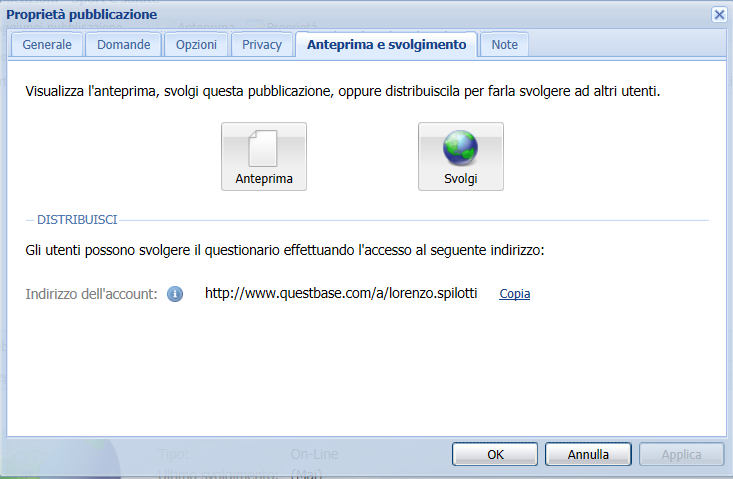 INTERFACE FOR STUDENTS To carry out the questionnaires students do not have to register on QuestBase but simply log in to your account address (eg "http://www.questbase.com/a/lorenzo.spilotti") and enter the username and password that you specified for each of them.
 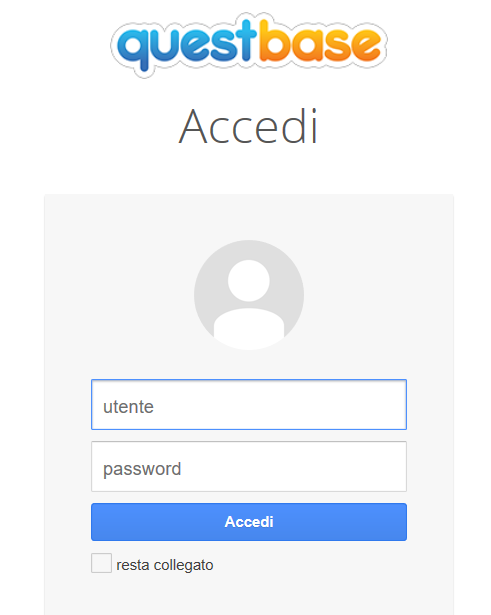 After logging in, students will view a list of all the questionnaires to which they have been registered. If this is the first time they log in, they will be asked to enter some personal information (for example, first and last name, while the e-mail address is not mandatory). To start a questionnaire, simply press the Start link.
  After having been completed at least once, the questionnaire disappears from this list and is moved to the Hidden Subscriptions section (from where it can still be completed again if the option Allow only one execution has not been set, or if it is moved again between the Active Subscriptions) .


Copy link