
Enter all the desired criteria: the apps that satisfy them all will be searched; if a criterion is specified multiple times, only the last occurrence will be considered.
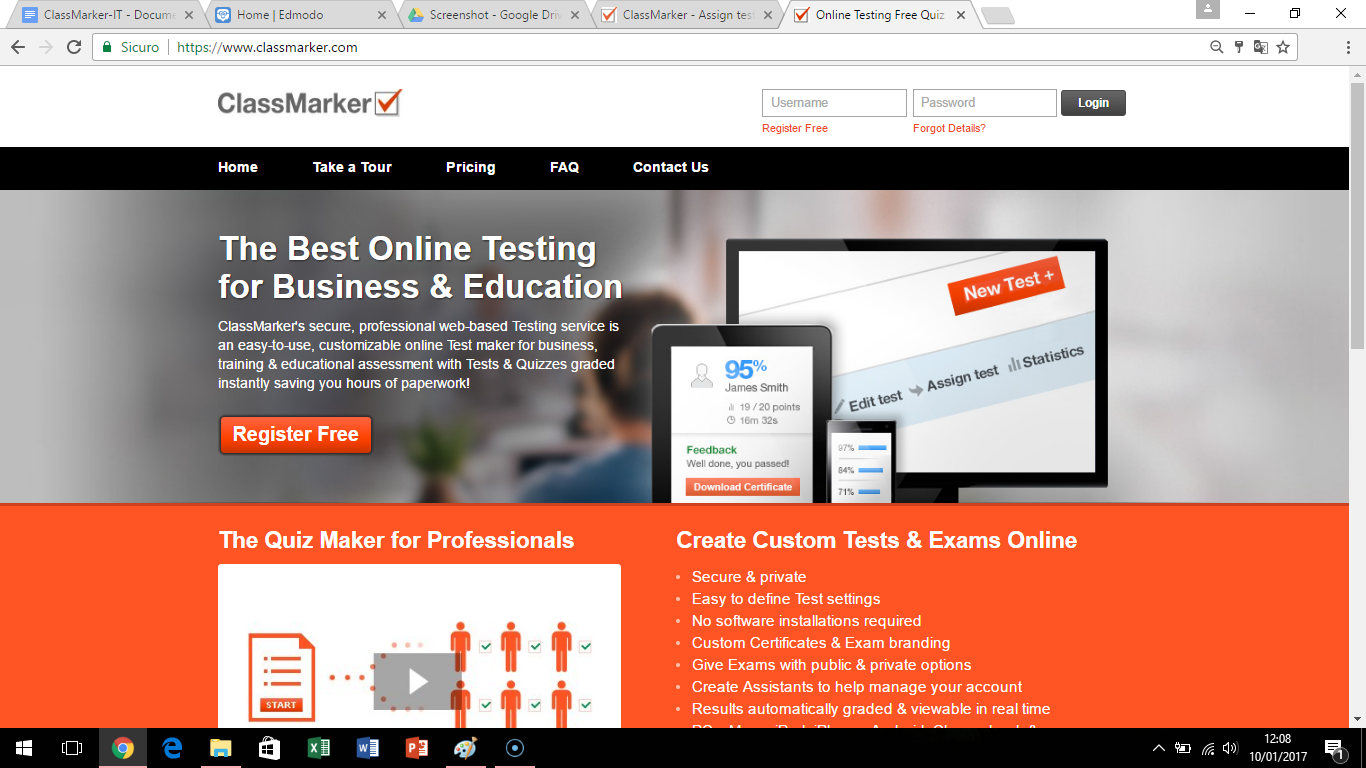 To concretely create a test, you have to sign up to the website by clicking on “Register Free”. Now, you’ll have to choose what is the usage aim of your account. For example, if you choose the “For Education” option, you’ll have to insert credentials, as shown in the following image.
 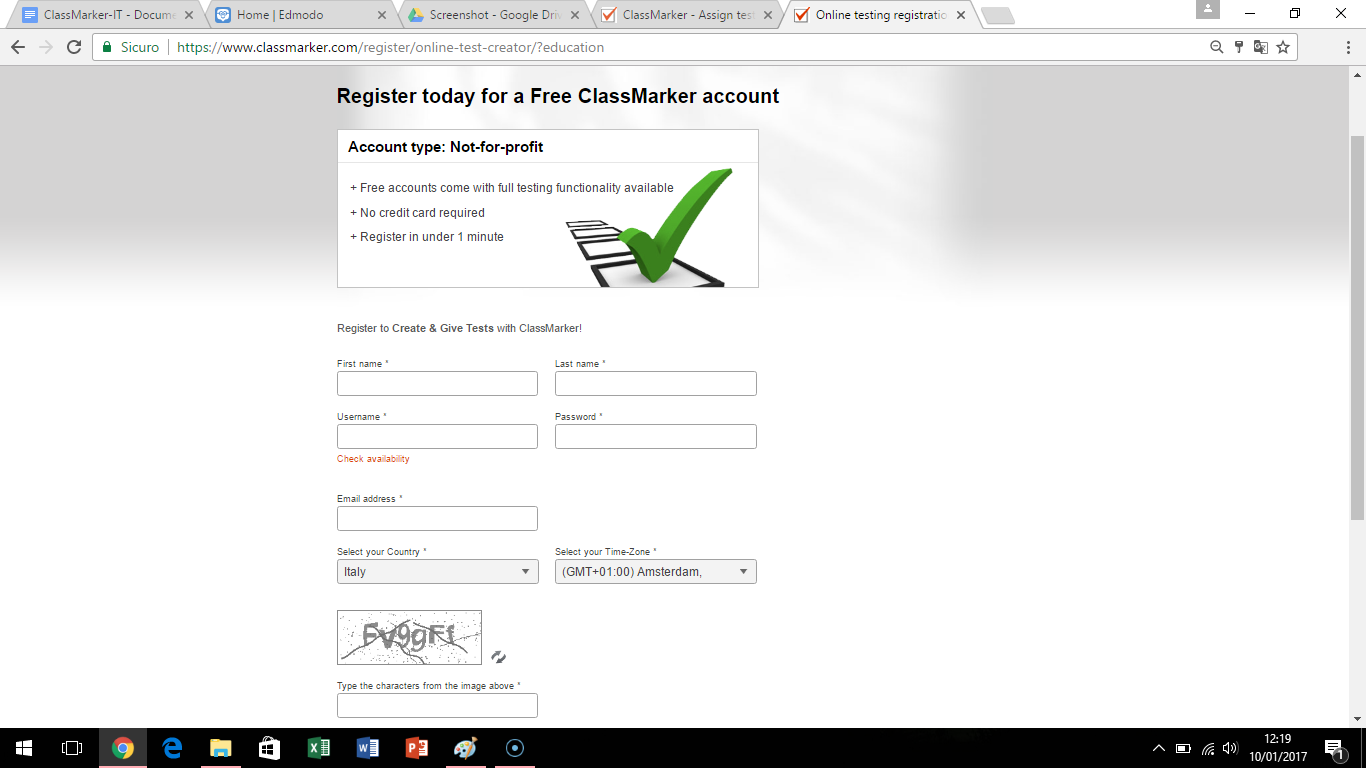 Once entered your account, it will open your dashboard (see image), where you can see the finished tests, the lists of questions, results, layouts and the different test categories, statistics, shared files and certificates.
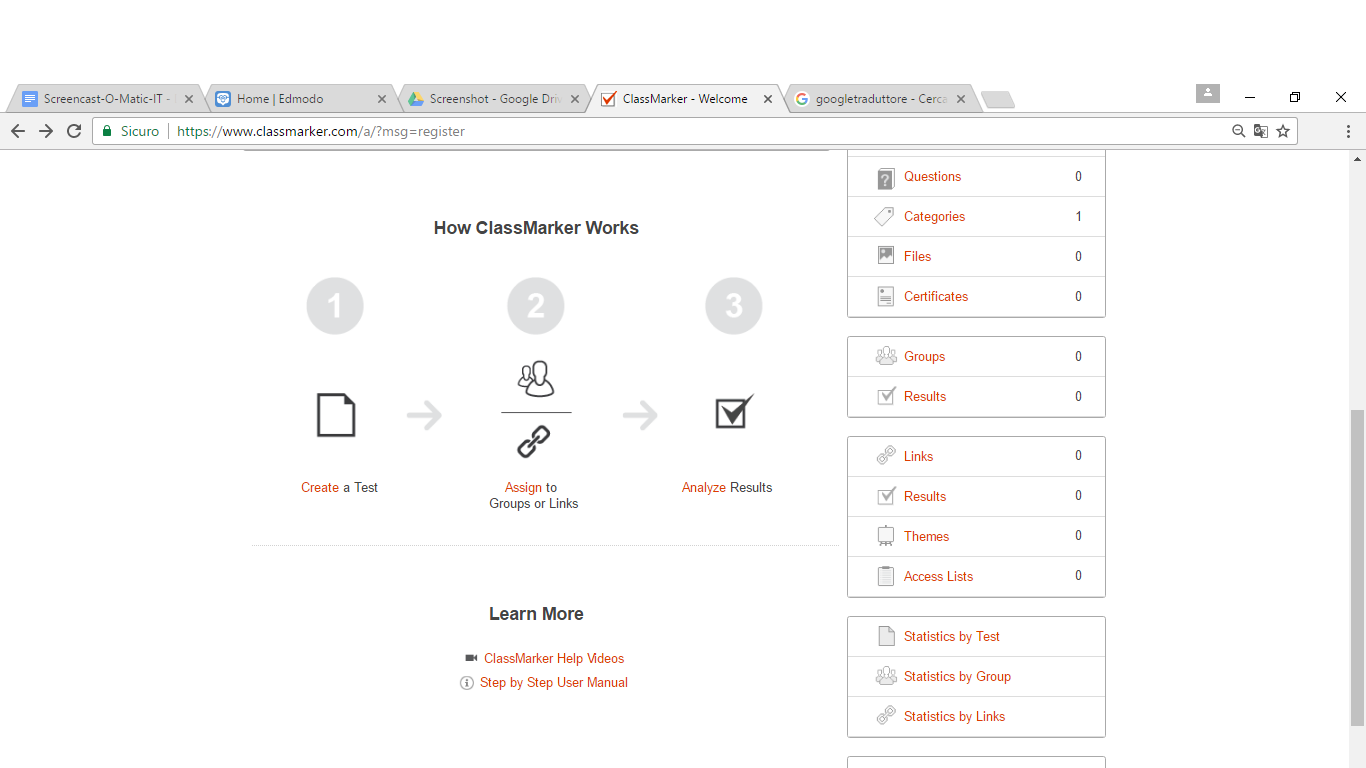
 To create a test, you just have to click “Create a Test” on the center of the Dashboard or go on “Test” on the menu on the right and then clicking on “New Test+”. At this point you’ll have to give a title to the test.
 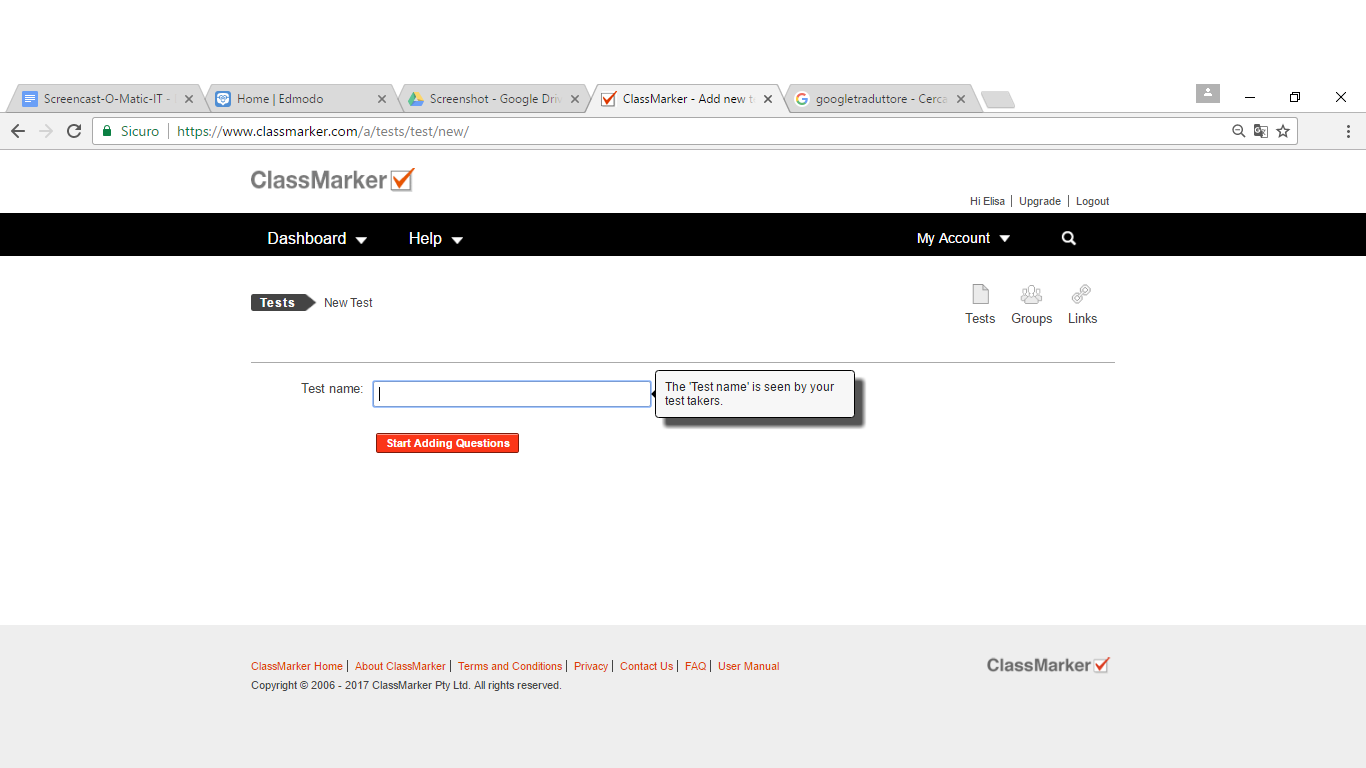 After that, it will open a page (following image) where you can see the technical and esthetical aspects of the test and how many question have been written, and how to add them clicking on “Fixed Question” and then “Add new”.
 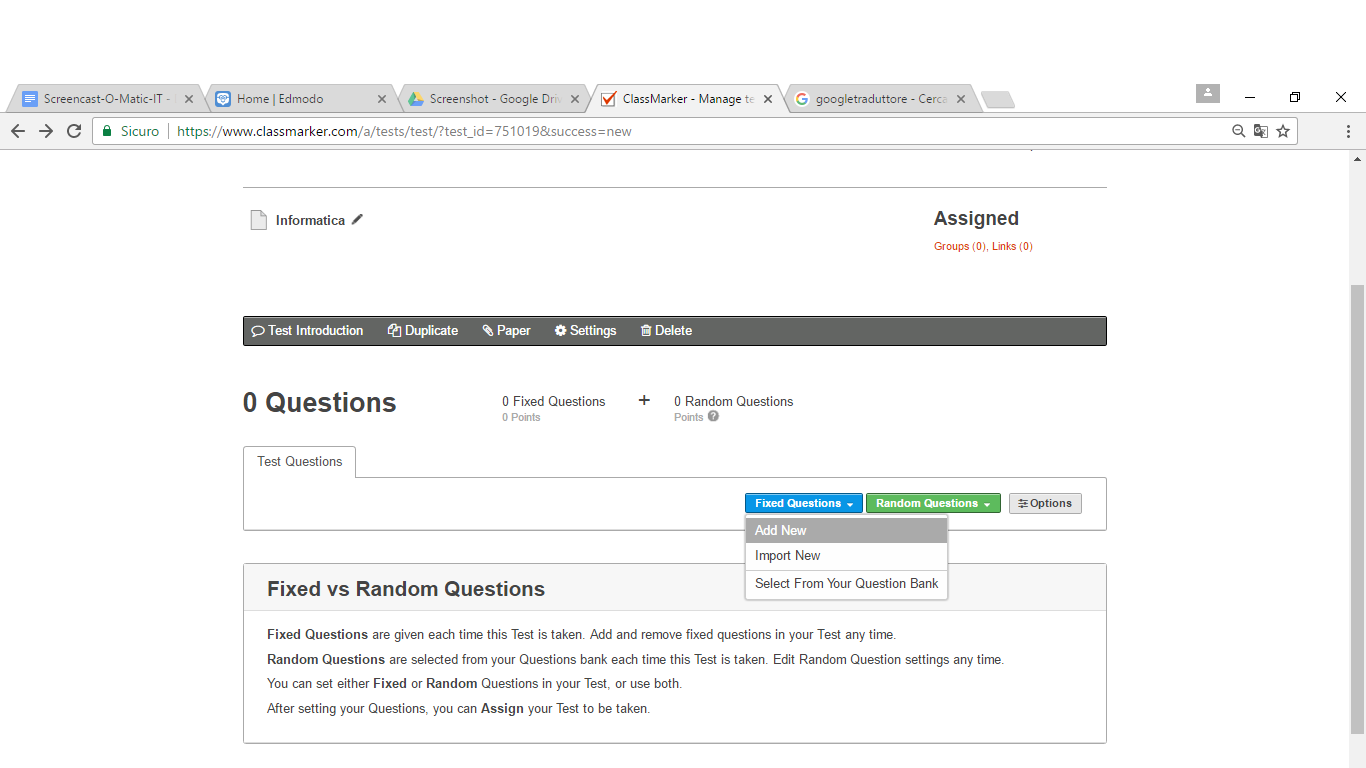 Now you’ll get a screen where you will write and choose the type of questions for your test. For example multiple answer questions, true or false, open answer, etc. You can also have a preview of your survey and then keep on editing it.
 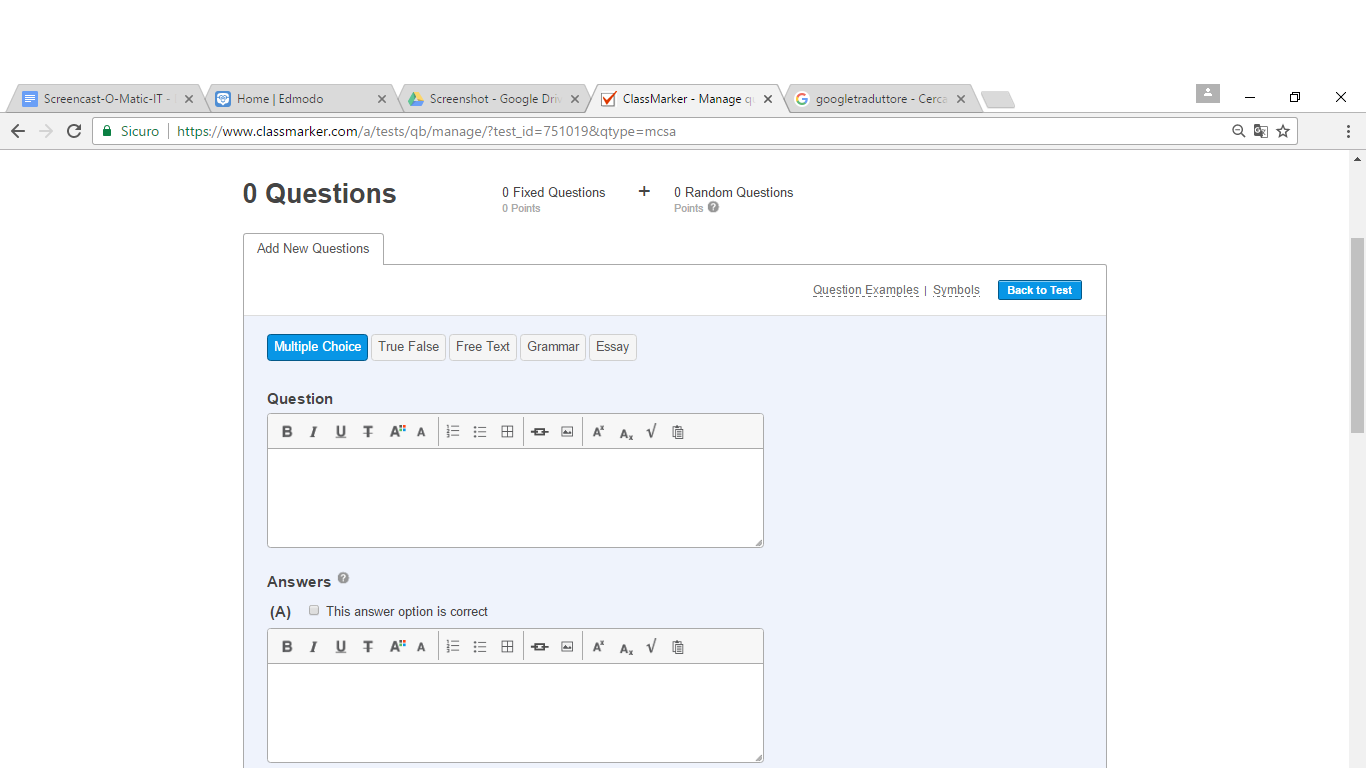 To assign the test, first it’s necessary to choose how to send it and how get the other users to access it. You just have to return on the Dashboard and click “Test”, choose the title of the test you want to assign and and click “assign”. It will open a page (see image) that allows you to select the Groups or Link modalities.
 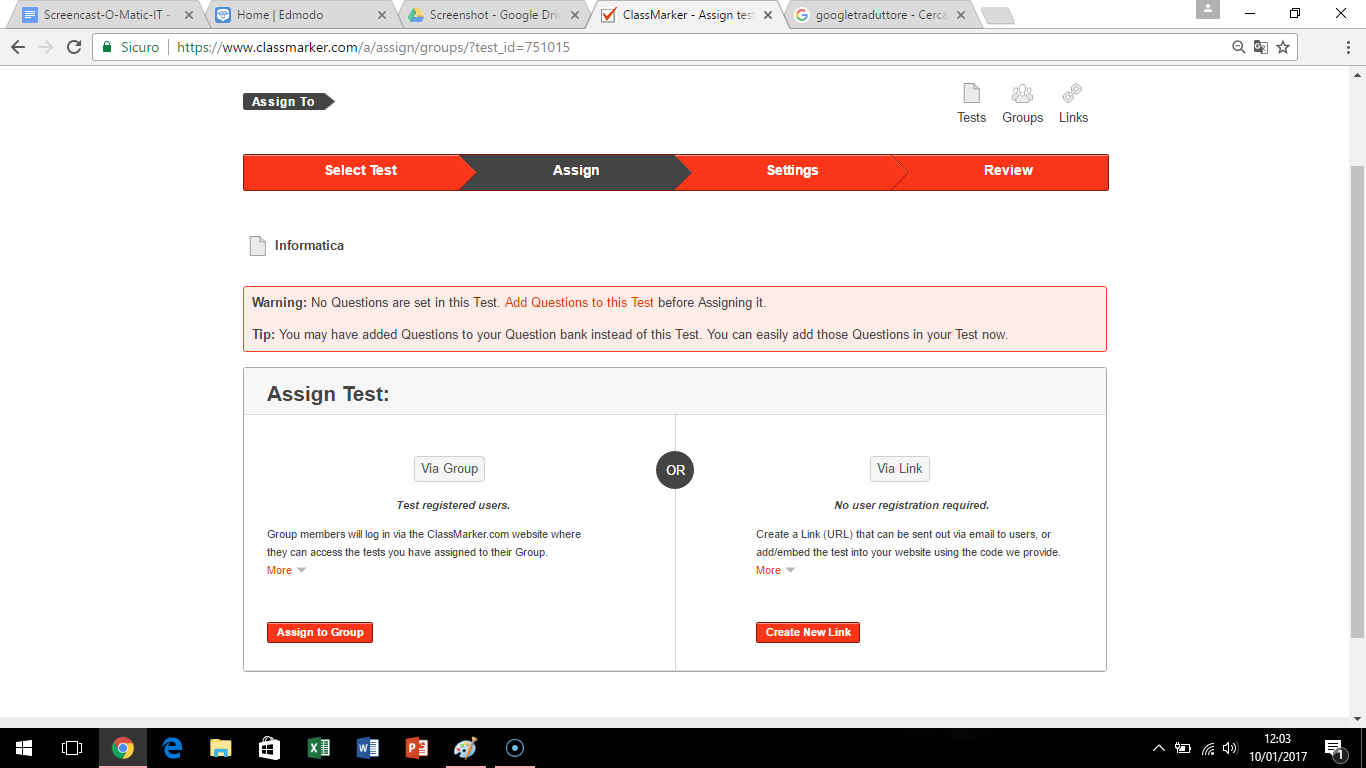 Group modality allows to assign the test to a specific group and the Link one allows to get a link to share with all users involved in the test.


Copy link