
Enter all the desired criteria: the apps that satisfy them all will be searched; if a criterion is specified multiple times, only the last occurrence will be considered.
 To use Timeglider you must register to the app and create your own account, and choose among the various plans offered. For students there is a free plan that offers the opportunity to create 3 timeline, while for the others there are two paid packages that offer advanced options.
 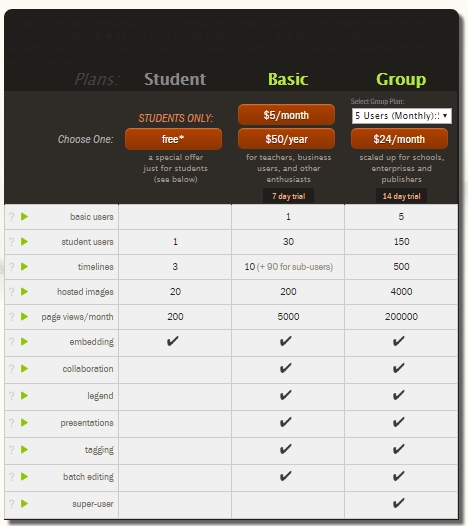 Once chosen the plan and completed your registration, you have to log in to the App using the special box
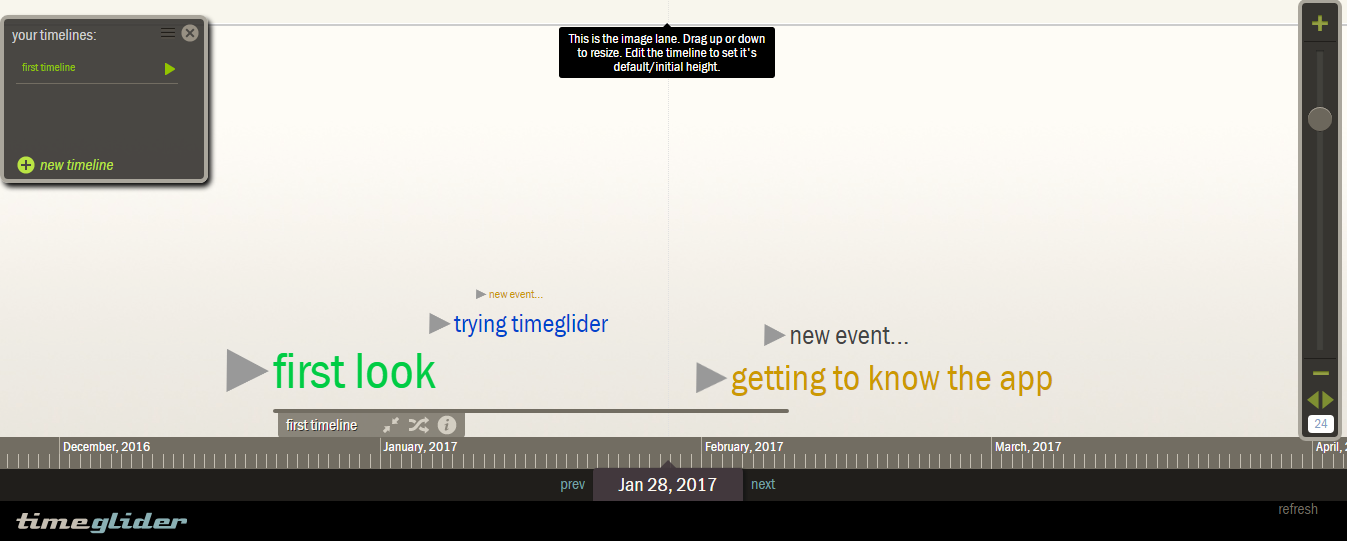
  By logging in to your account from the Dashboard you can create and edit your own timeline.
 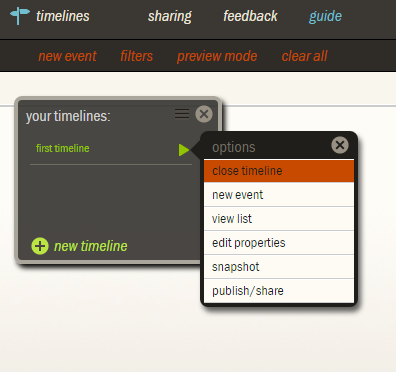 To get started, simply click on New Event and you can start to create your own events, modify, highlight and zoom them as you want. You can determine the date of the event, write a description, add pictures, video, audio, tags, colors and sizes.
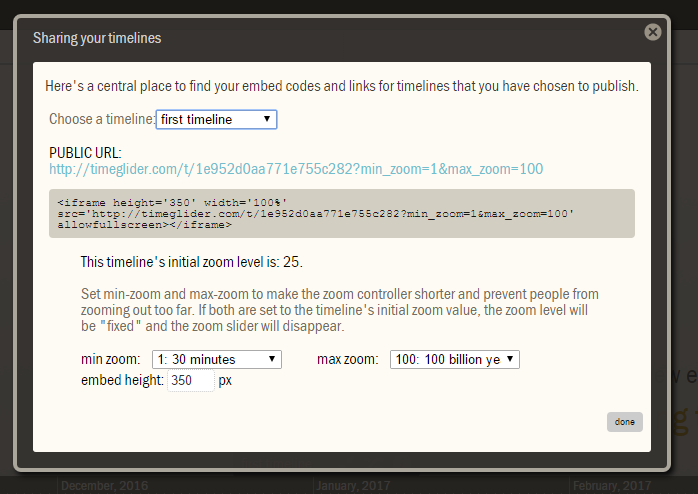
 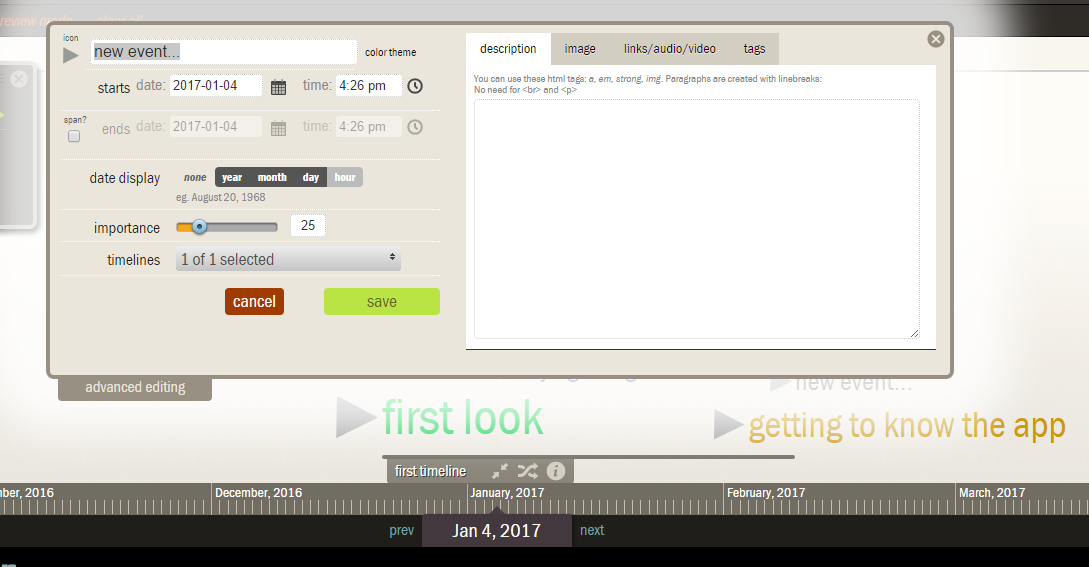 Once the timeline is finished, you can make it public and share it. Just click Edit, check the Public Url box and you’ll get the timeline’s link. Next, click Sharing, choose the timeline to make public, choose the zoom values and open the timeline, which will be visible to other users too.
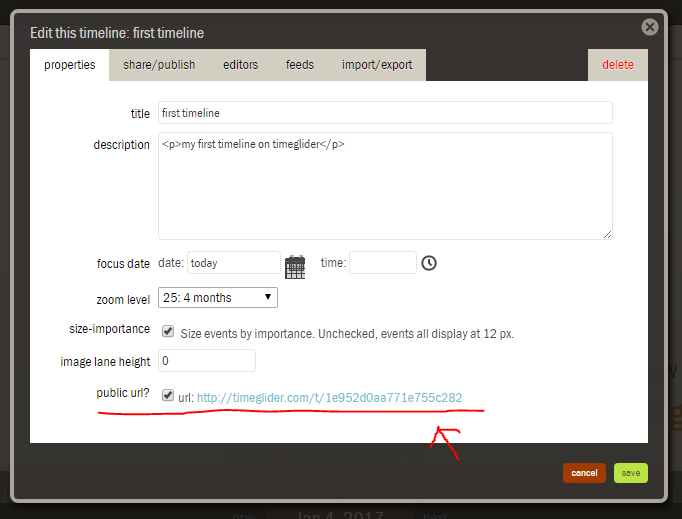


Copy link