
Enter all the desired criteria: the apps that satisfy them all will be searched; if a criterion is specified multiple times, only the last occurrence will be considered.
 The following is your account dashboard where you can find your created projects and organize them into collections. To create a new project you need to click on "create story". The app also provides templates but to access them you need to upgrade to paid profiles.
 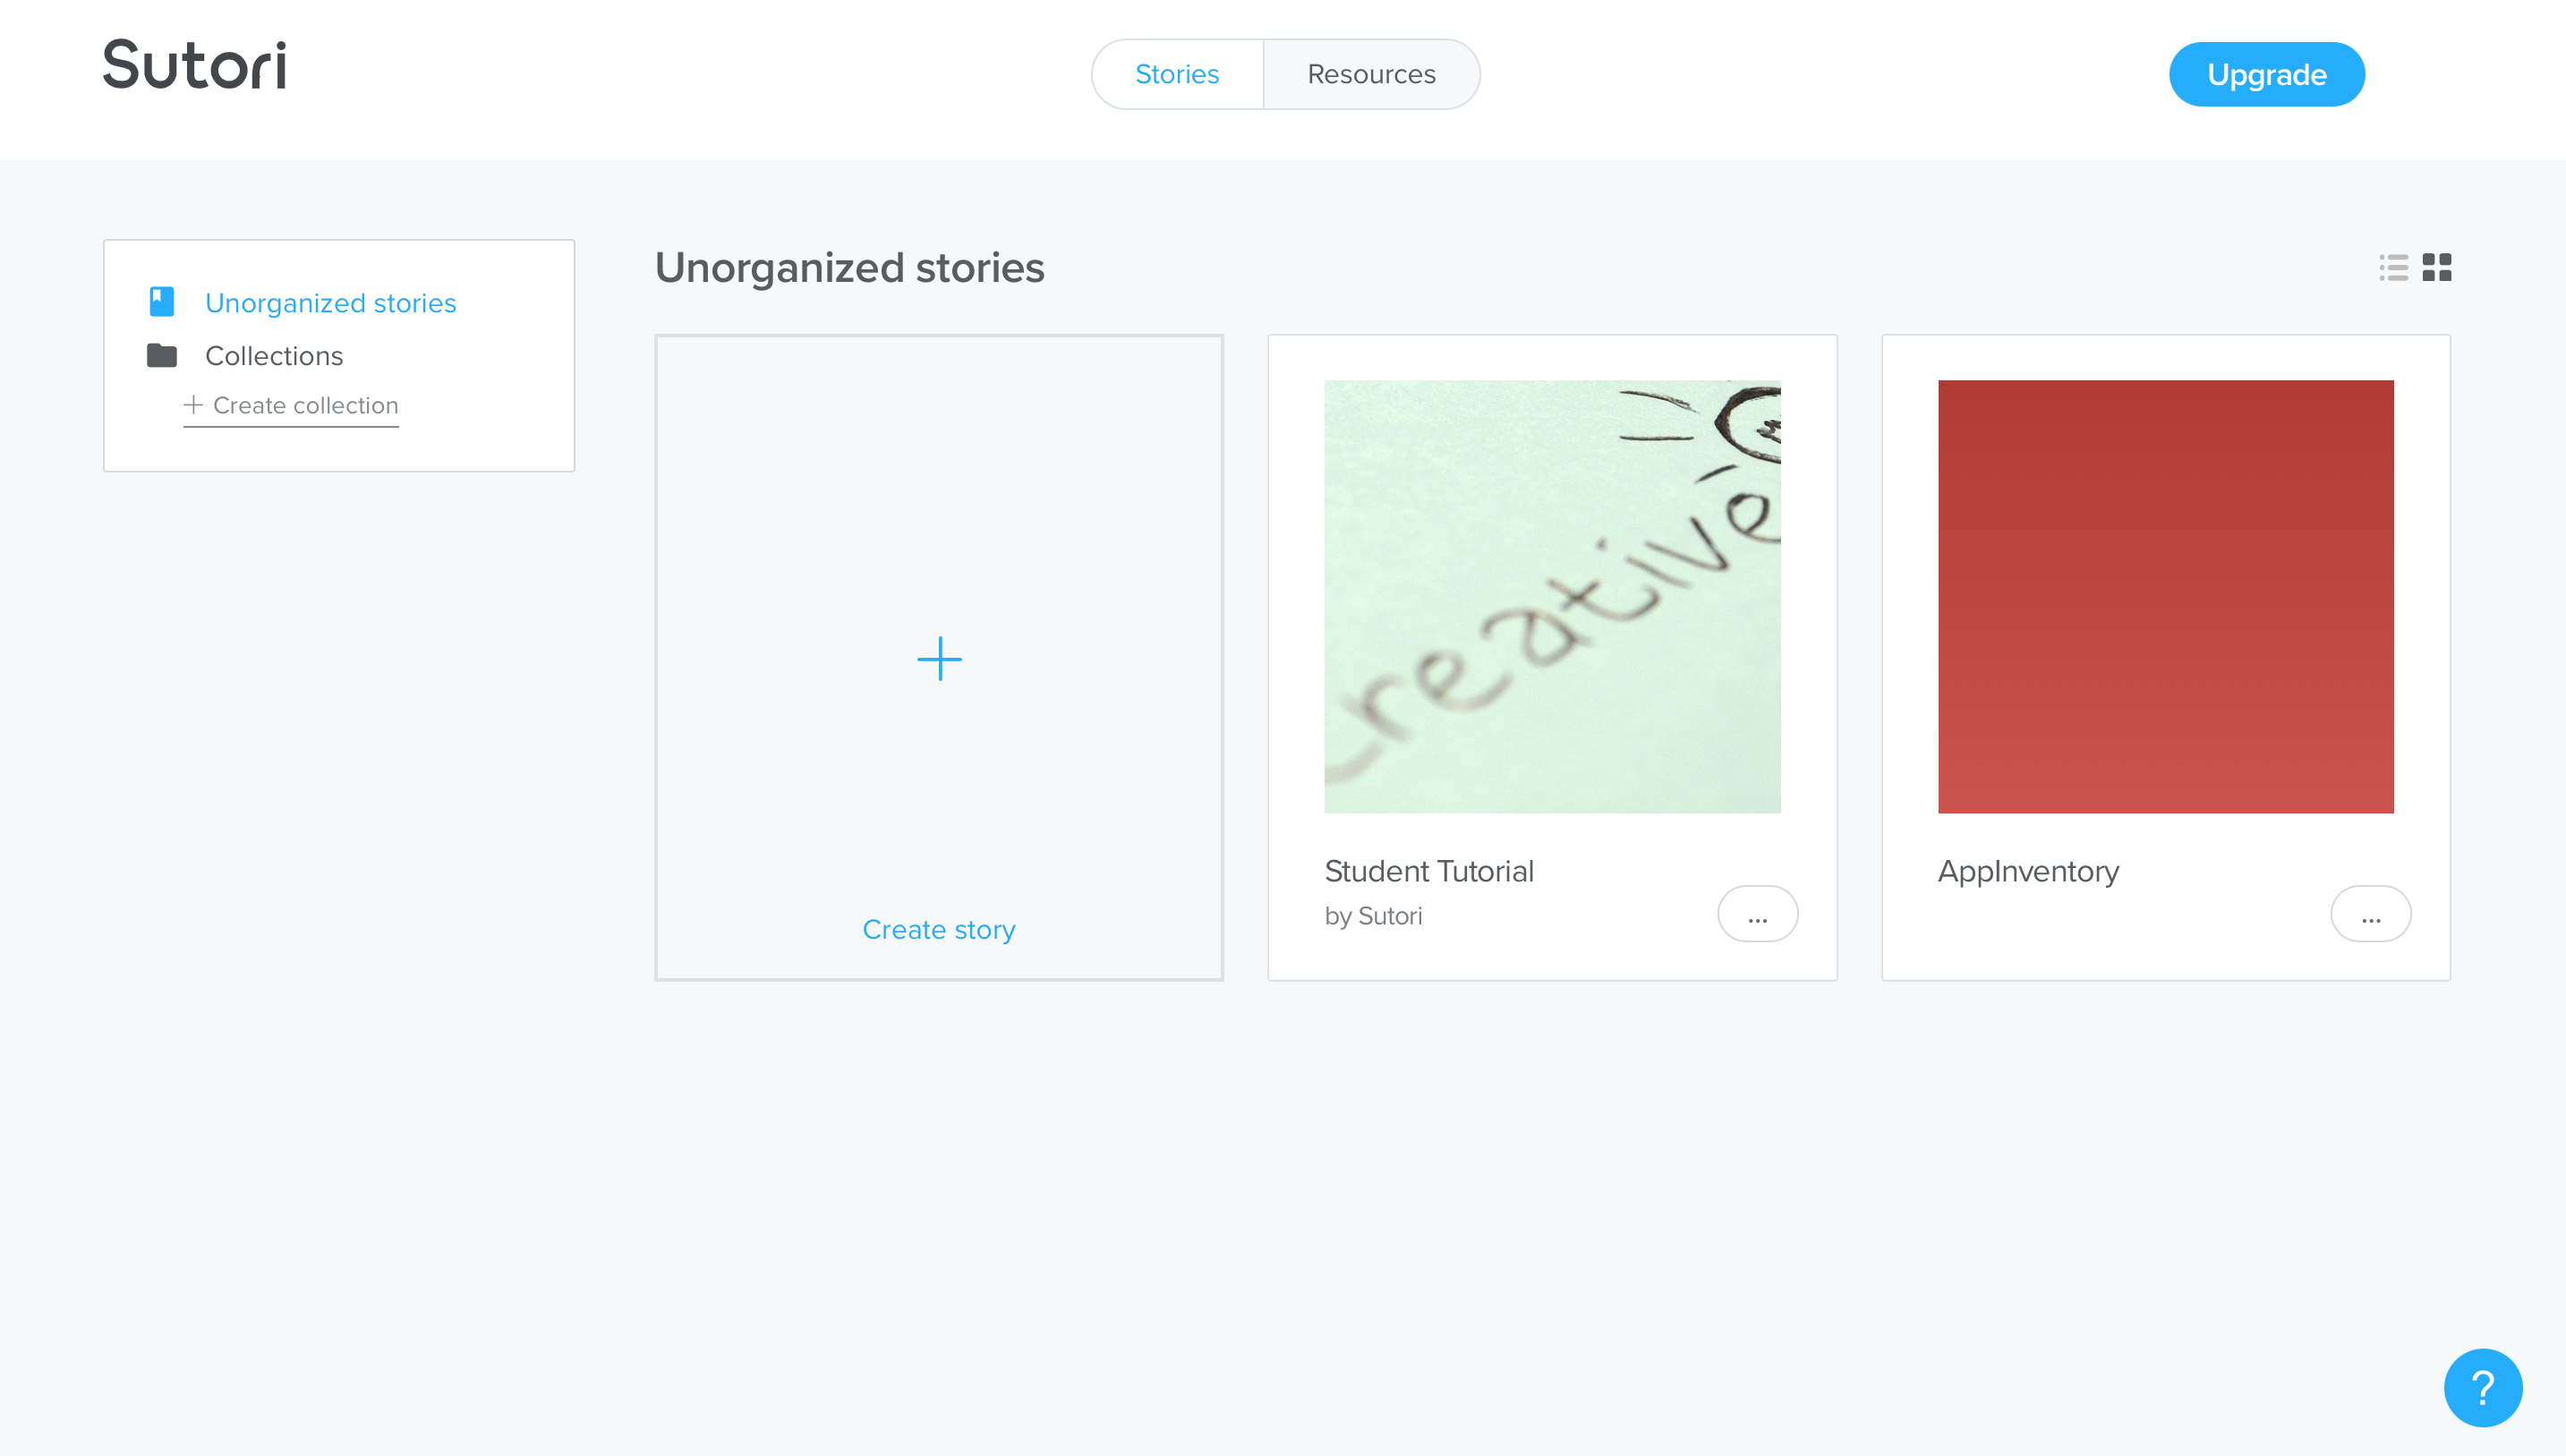 The following is the editing screen. You need to enter a title and description. After that you can proceed to create your timeline by entering the header and pressing on the "+" to insert text boxes and images. For each text box you can change the text style (font size, alignment, italics, etc.) and insert media (files from your PC, images, links, videos from YouTube, files from Google Drive, and audio recordings). You can initiate the presentation mode by clicking on the "present" button, you can share the project with other users by entering their email address, share it through links or share it on Microsoft Teams and Classroom. Finally, the project can be embedded through embed link to a website or you can export it to PDF.
 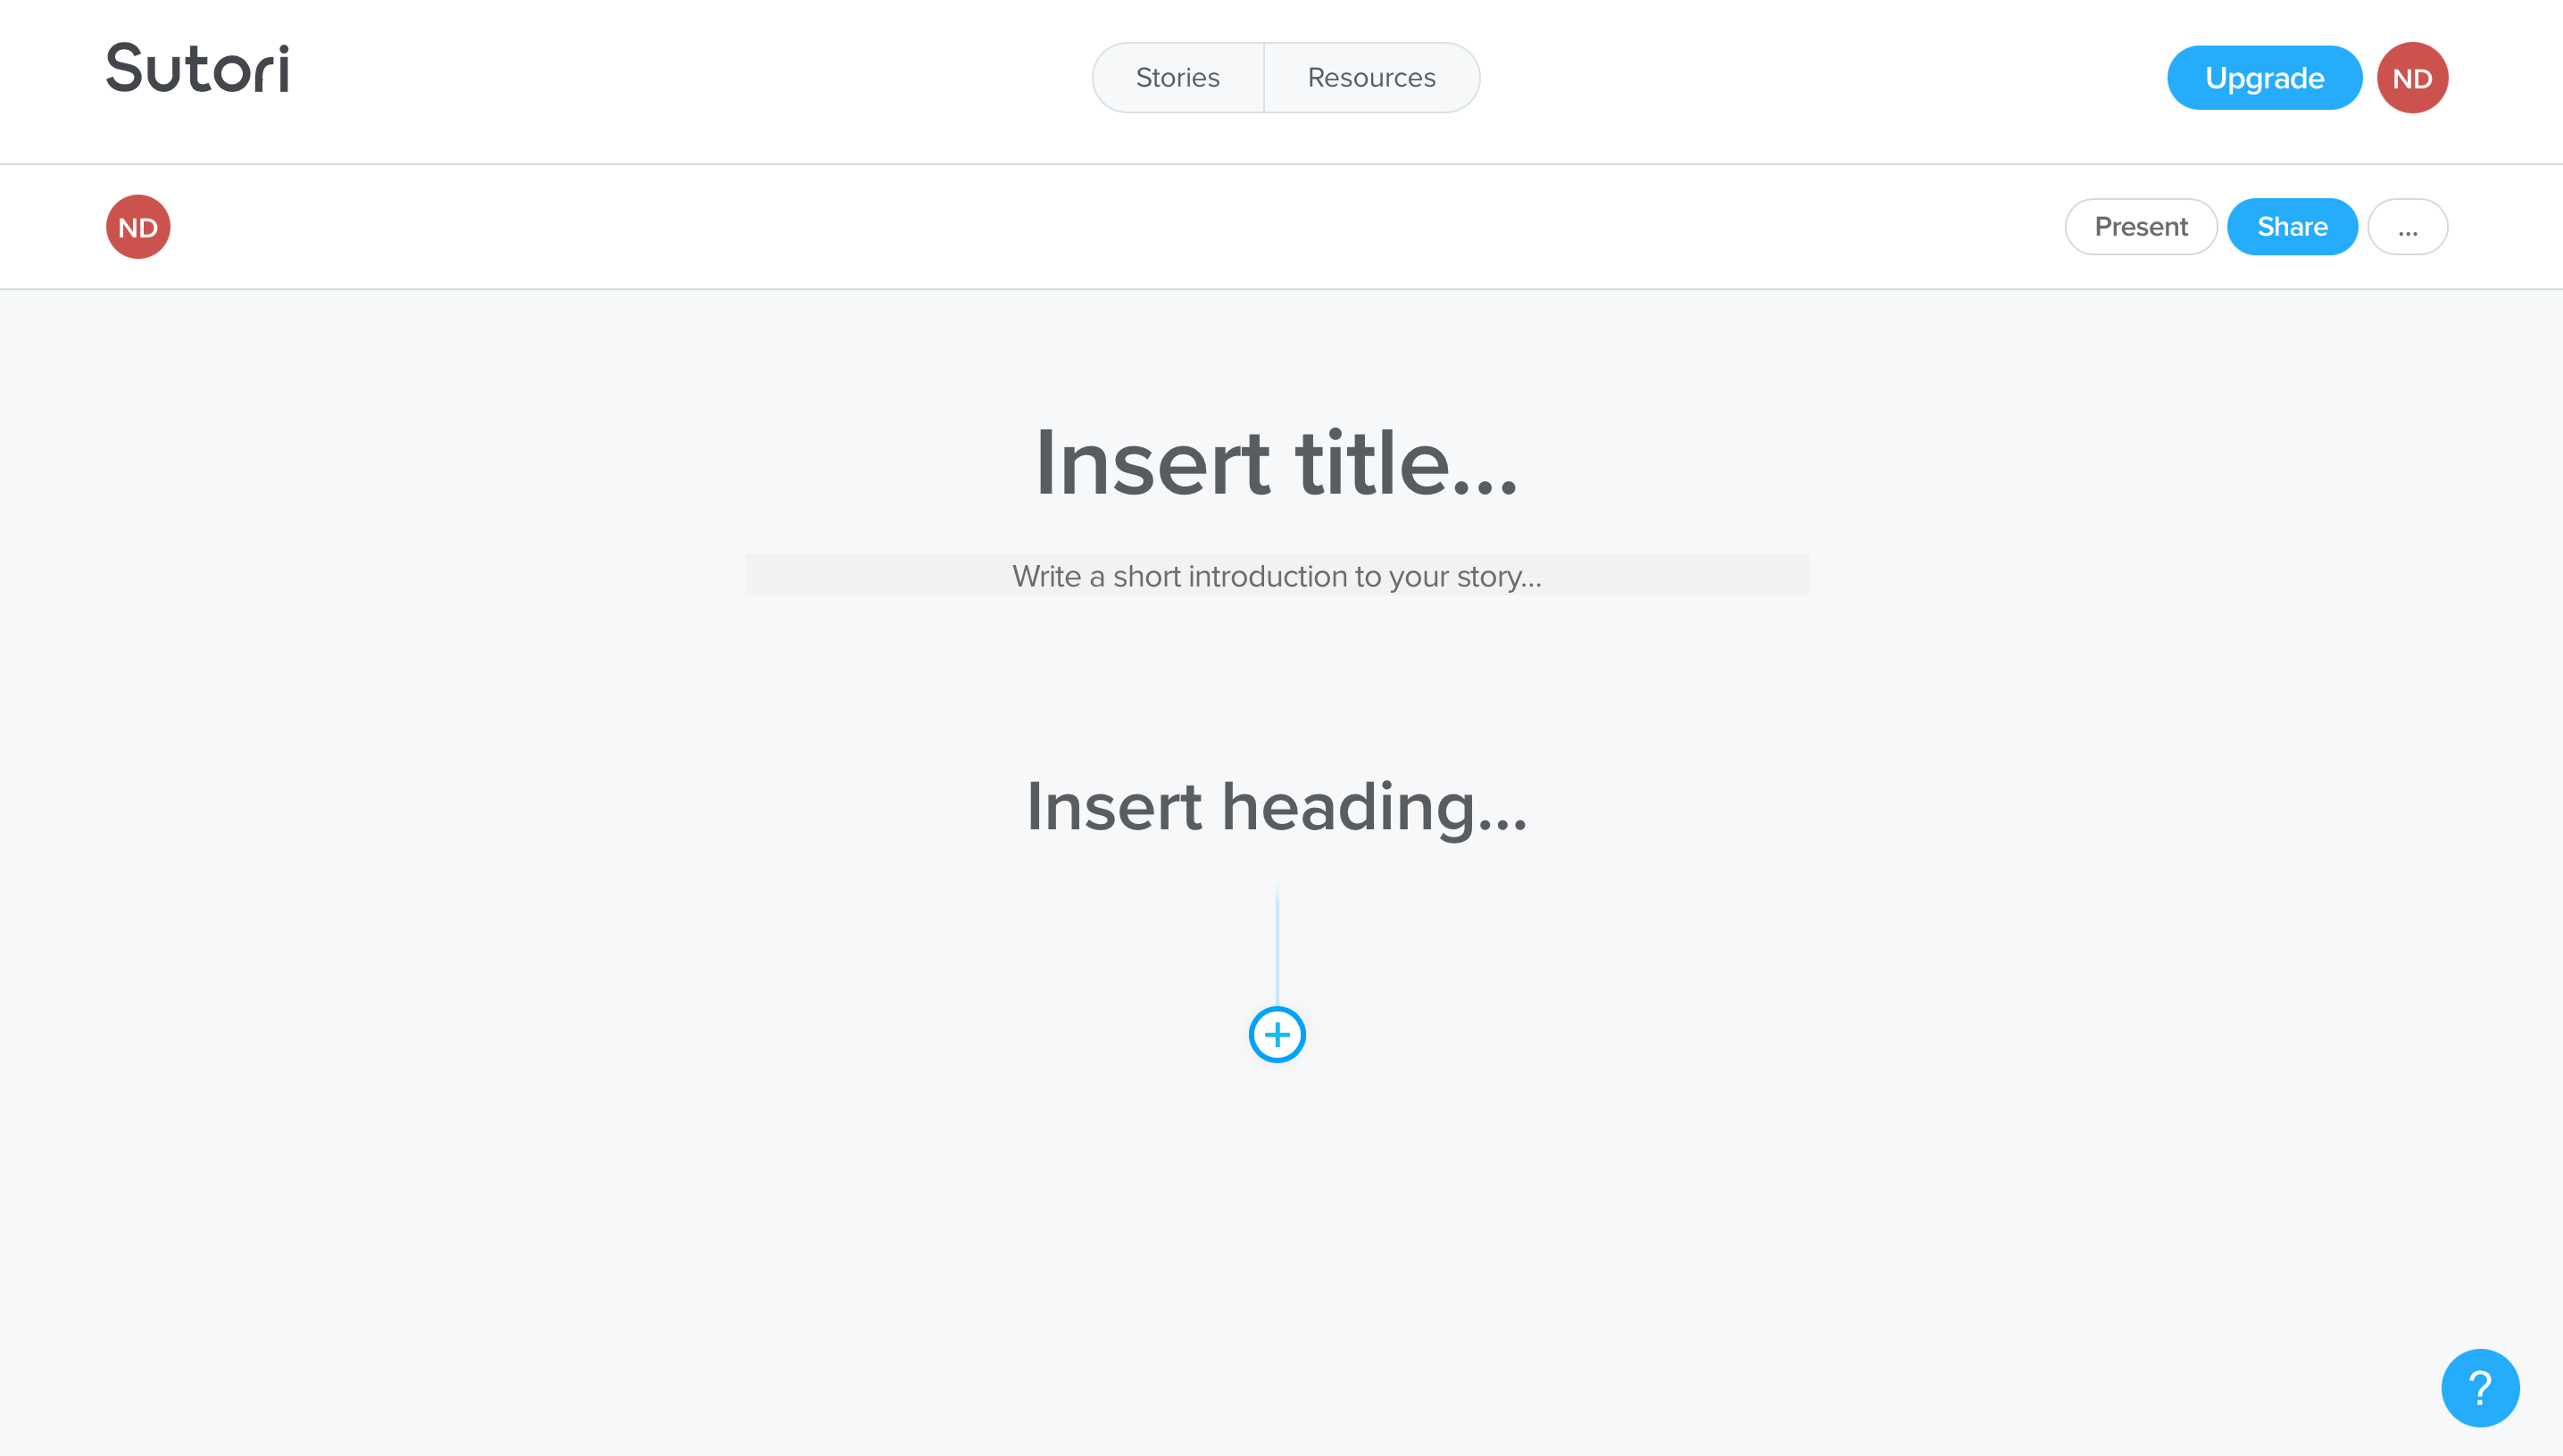 The following is an example of a timeline related to "The History of the Web" created with Sutori.
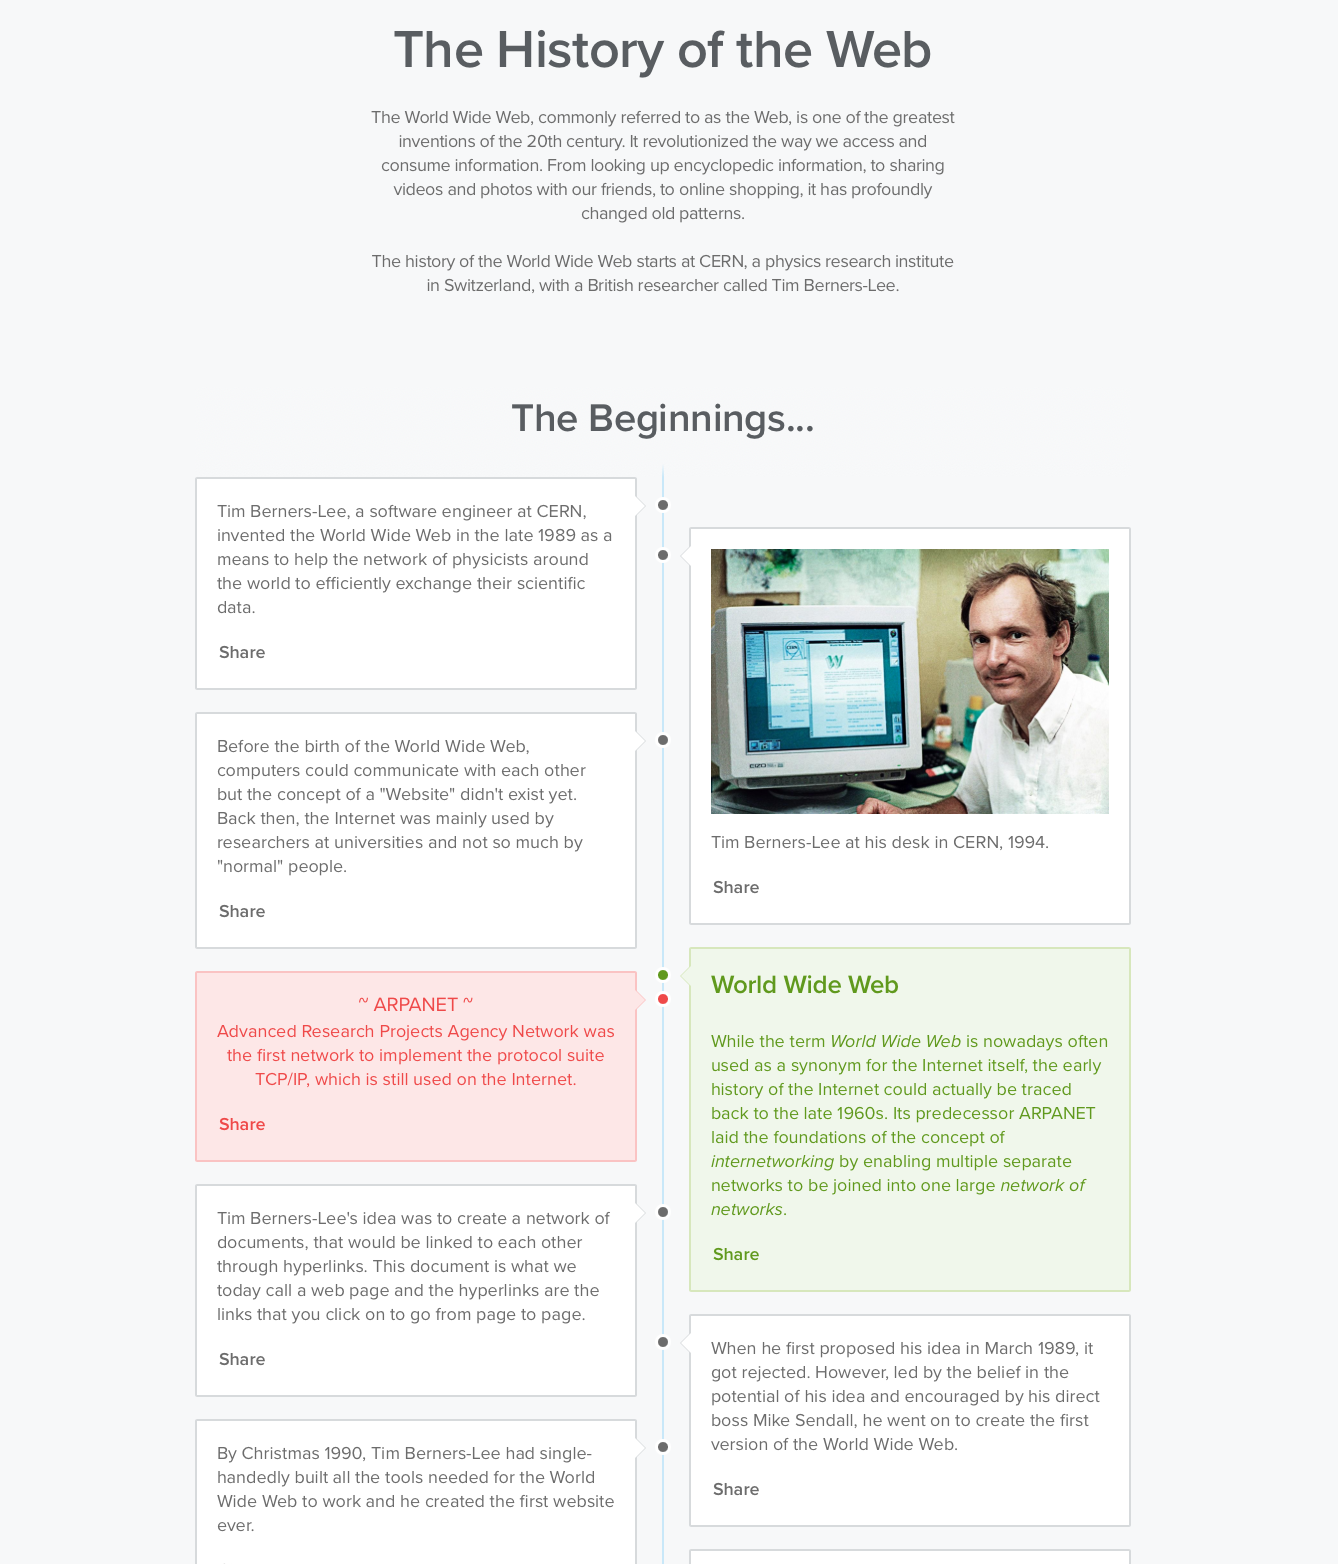


Copy link