
Enter all the desired criteria: the apps that satisfy them all will be searched; if a criterion is specified multiple times, only the last occurrence will be considered.
 This is the main work page. On the right we can find four options (legend, layers, base maps, data), while on the left there are different tools.
 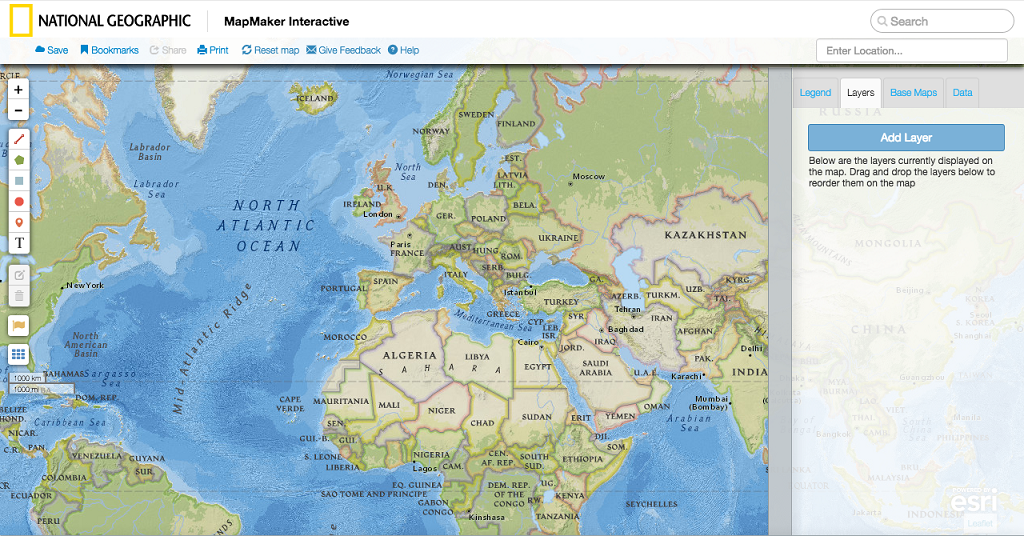 Let’s see some useful tools to start with: clicking on “Layers” – “Add Layers” opens a toolbar with different layers categories that we can add to our map. Every layer can be overlapped to another with different transparencies. This allows you to confront different layers. The information about them can be found clicking on “Legend”.
 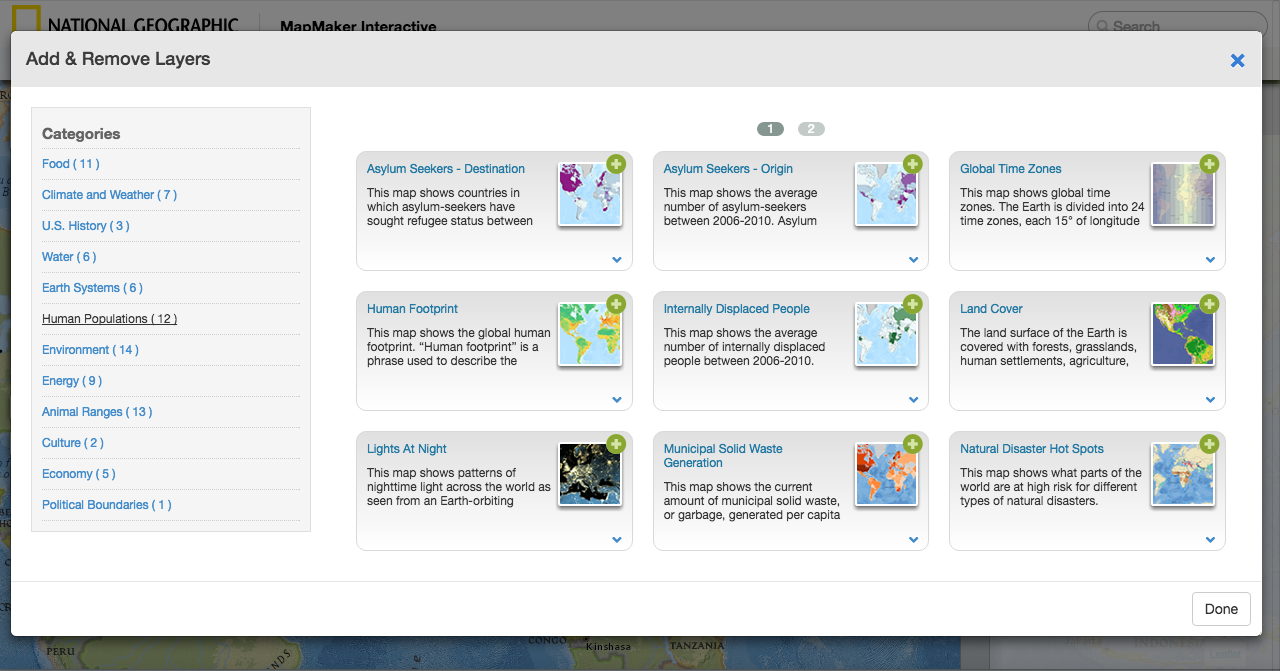 Clicking on “Base Maps” we can choose the type of map we want to use as a base. Let’s see the tools
 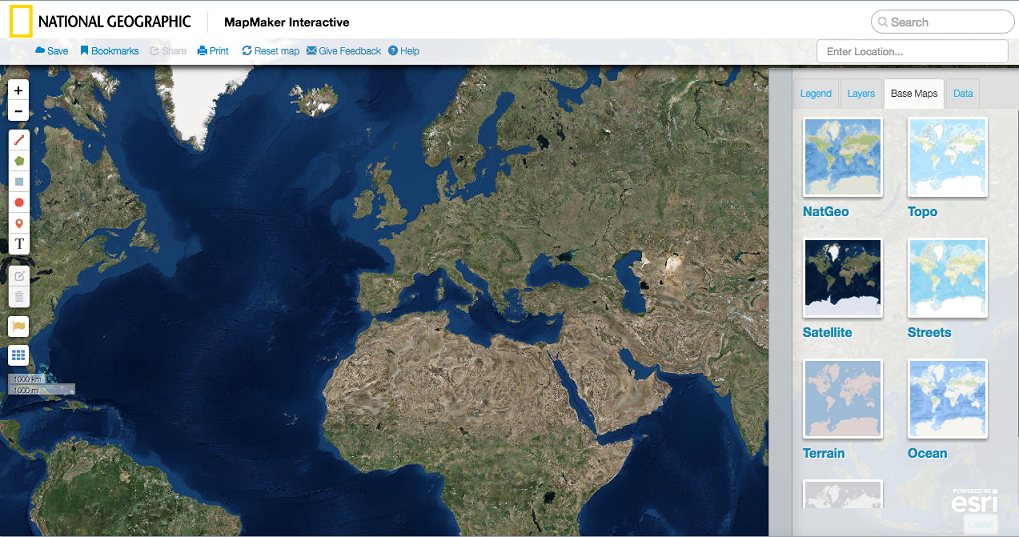 - “Draw a polyline” allows you to draw one or more lines from a point to another, defining the distance between points. - “Draw a polygon” allows you to border a place - “Draw a rectangle” - “Draw a circle” to add different markers on the map - The “Text” tool allows you to add a text
 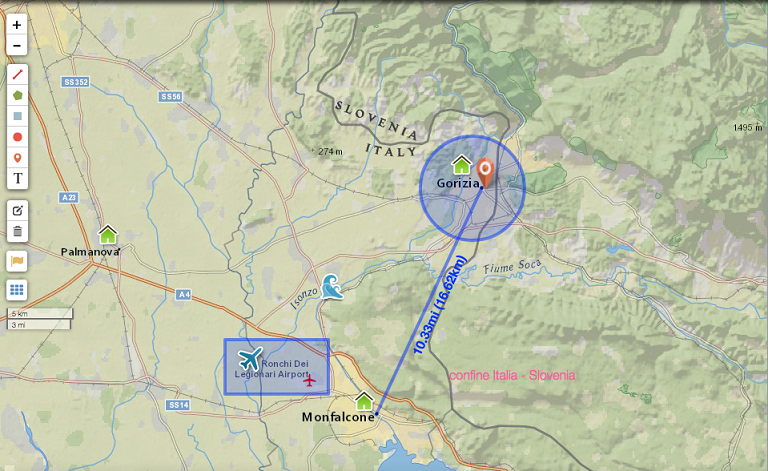 - “Edit layers” and “Delete Layers” buttons are useful to edit or eliminate the previous tools by selecting them. “Edit layers” also allows you to add links to the chosen elements. - The “Country facts and flags” button shows the flags of the different countries. - “Show and Lng lines” shows Latitude and Longitude.
 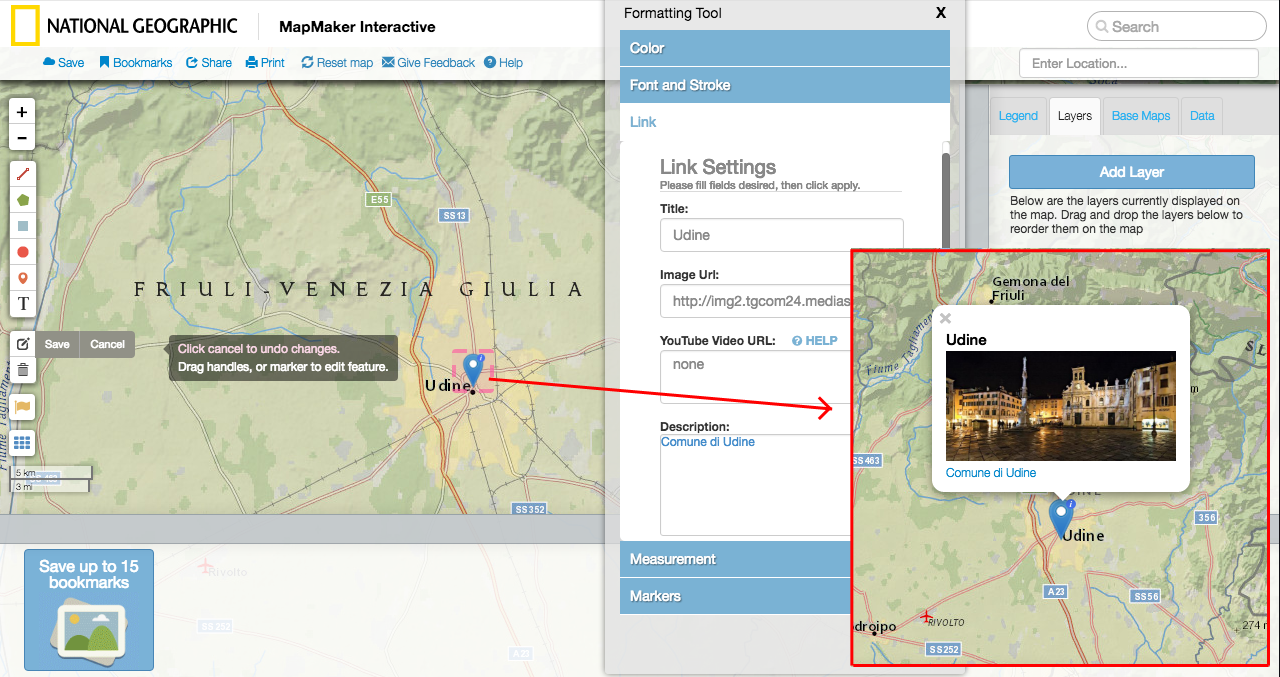 If you want to save your map, you just have to click “Save” and you’ll be able to enter a title and the email address and the system will send you a set of links to use to edit and share your map.
 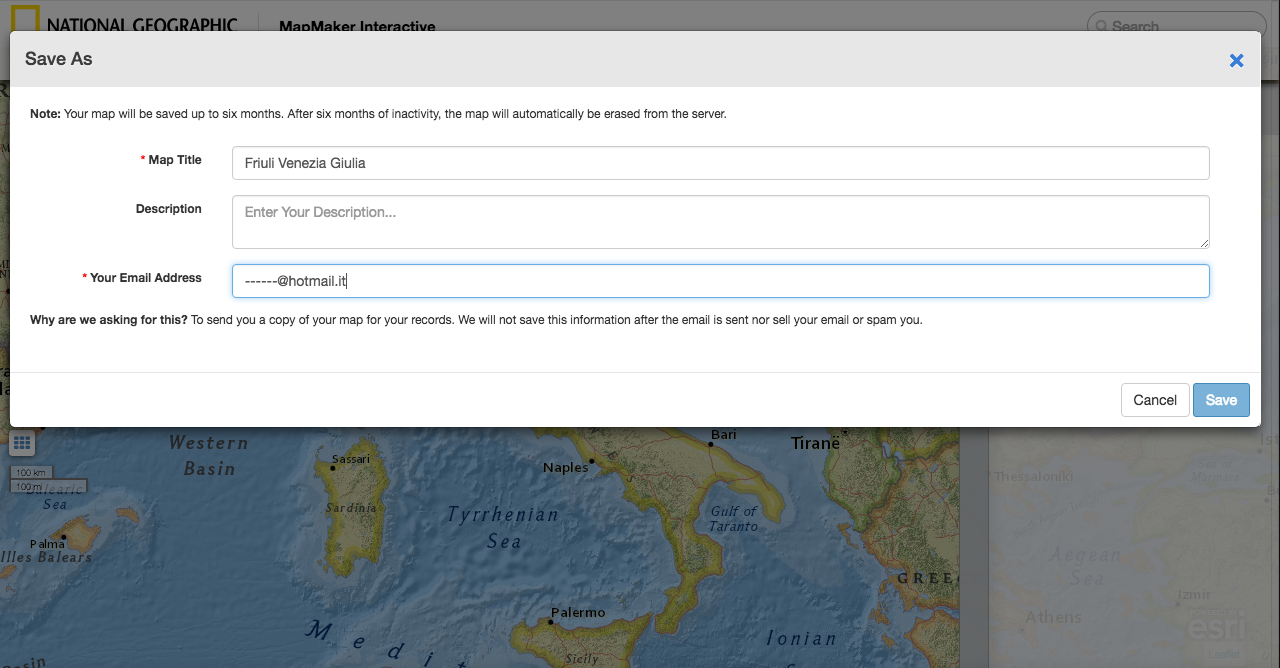 Once the main map is saved, it’s possible to create bookmarks to achieve a geographical story: you just have to click on “bookmarks” and save. You can create up to 15 bookmarks and that can be edited or reorganize their position.
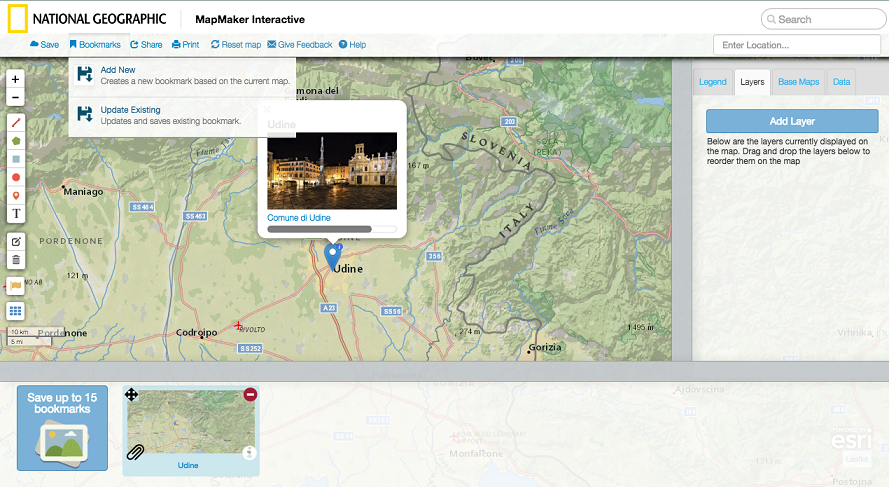


Copy link