
Enter all the desired criteria: the apps that satisfy them all will be searched; if a criterion is specified multiple times, only the last occurrence will be considered.
 The following is the Discord’s dashboard. In the left column there is the list of servers: with the "+" item you can create and add a new server, with the second item you can explore public servers, and with the last item you can download the app to your PC.
 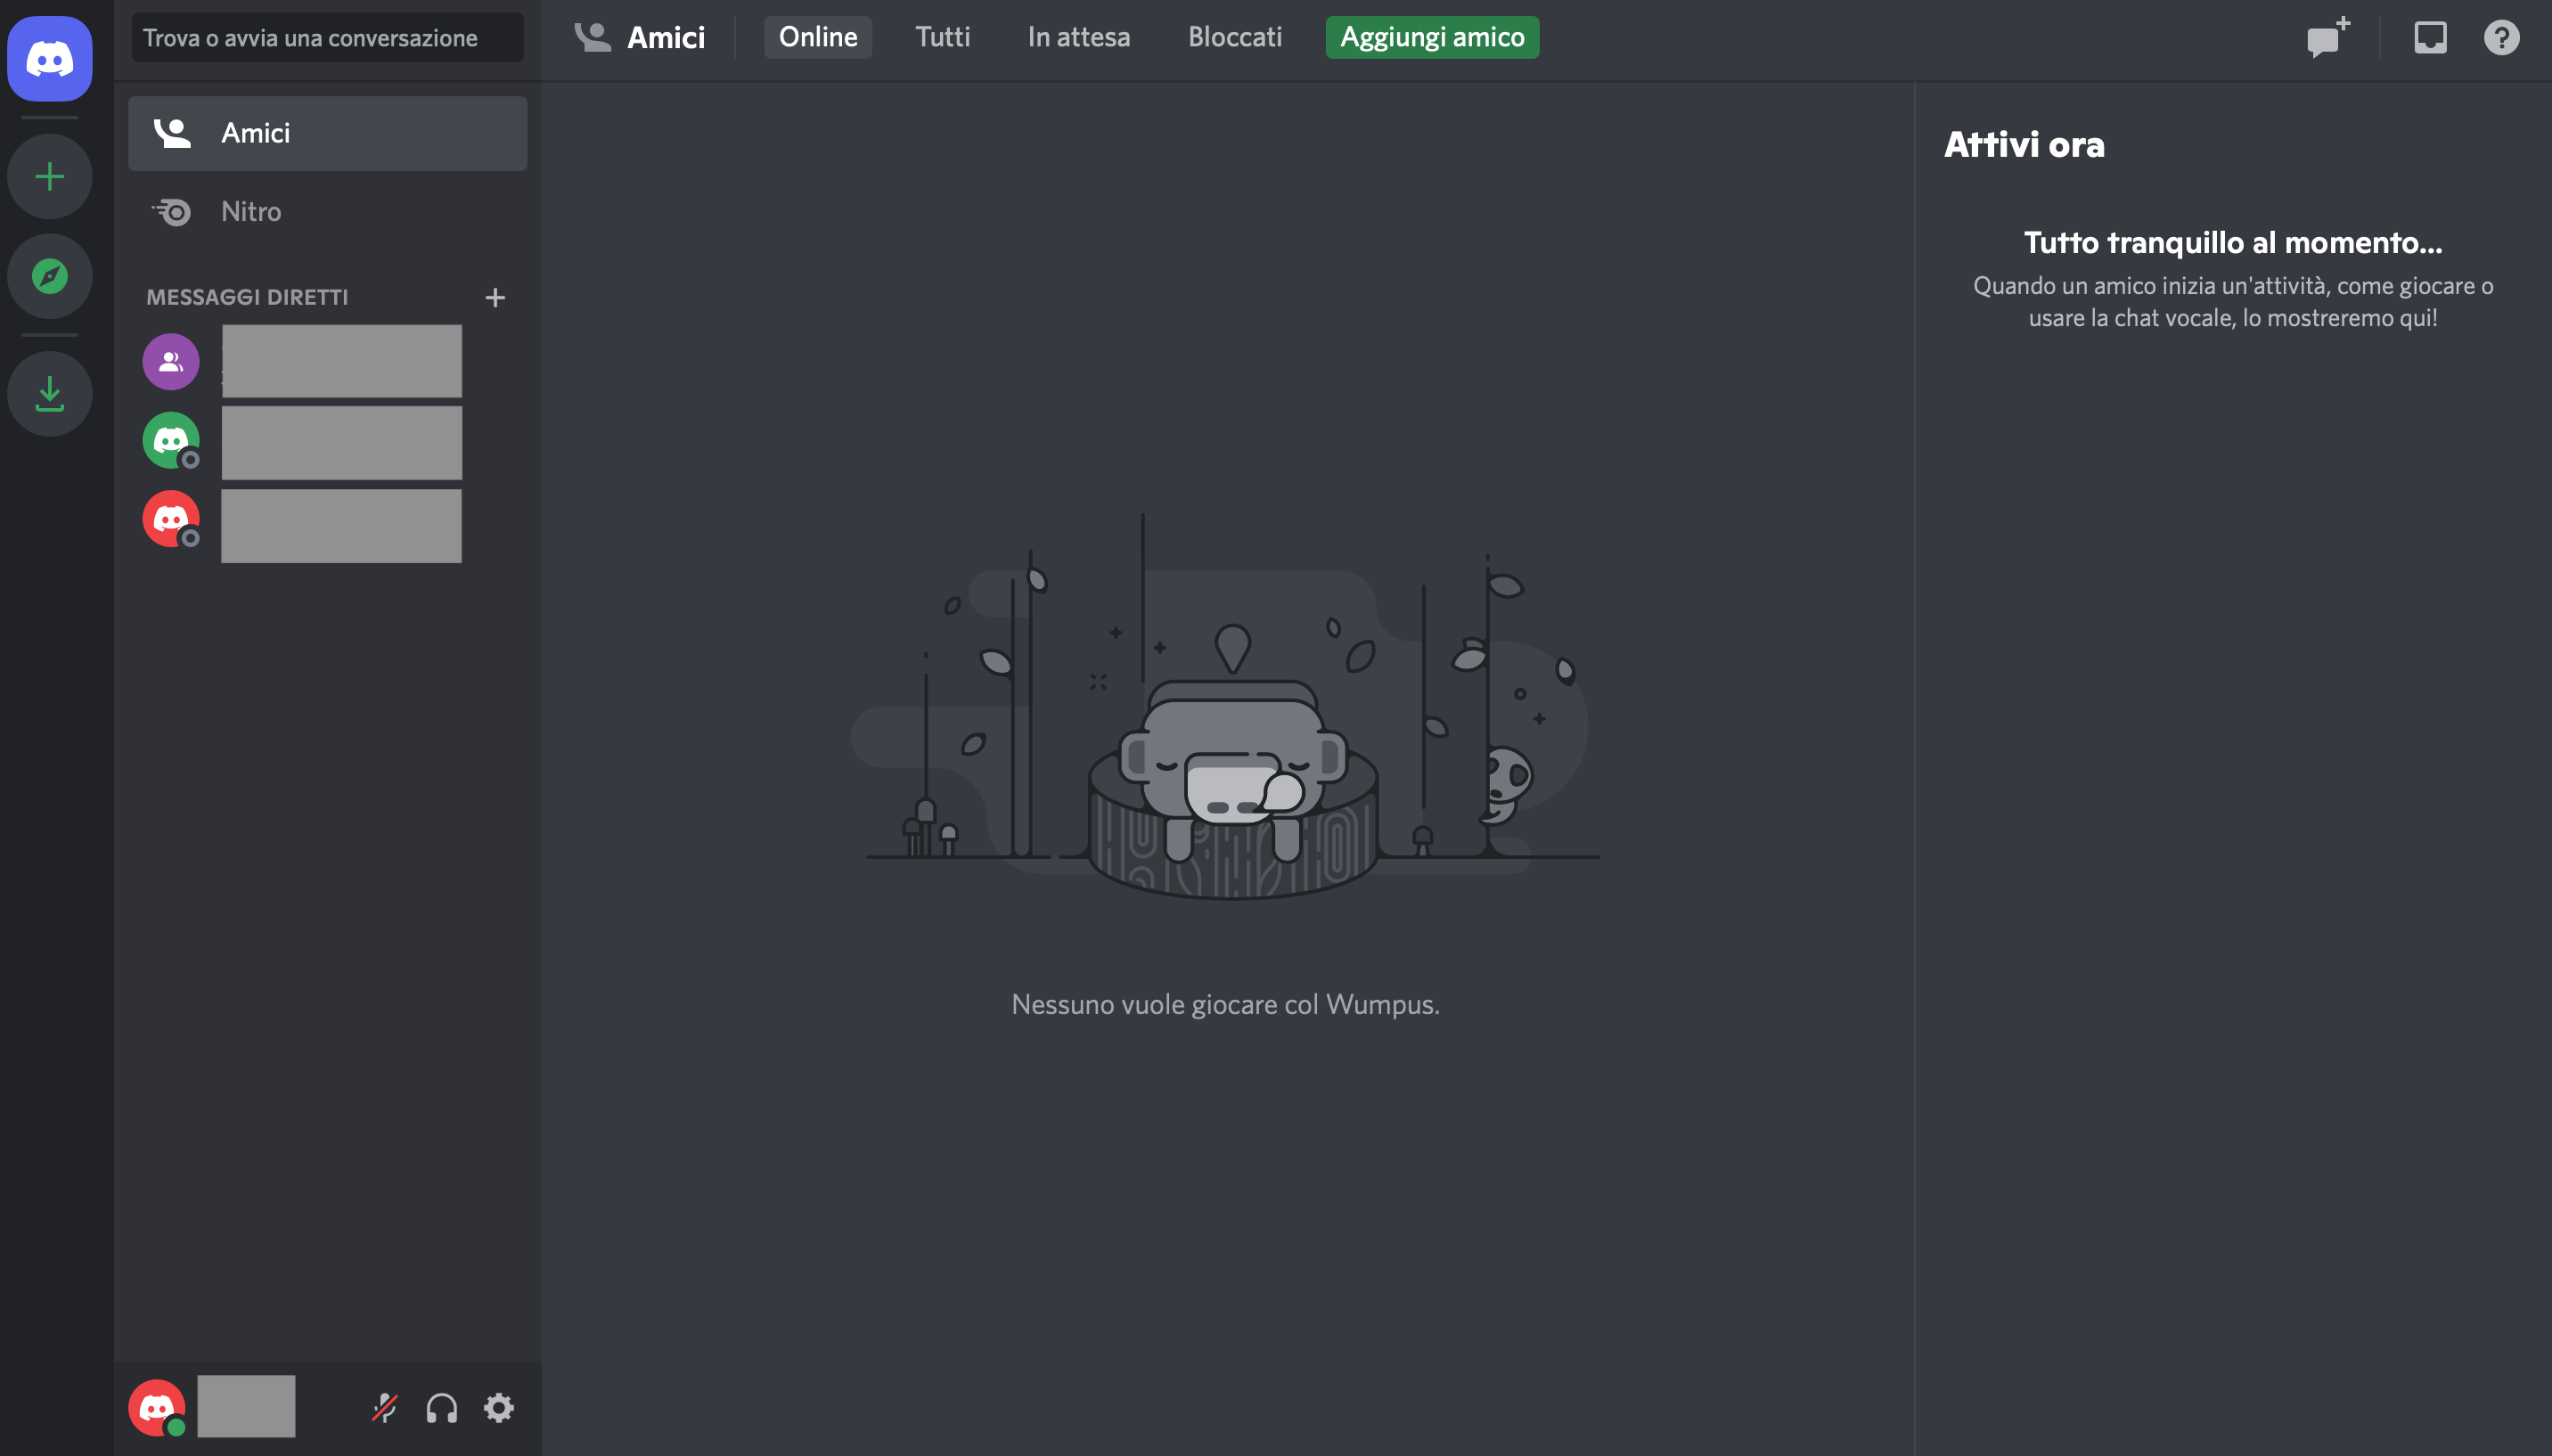 In the dashboard you can see in the left menu your friends, any private groups you have created, and add new contacts. Selecting a contact brings up the following screen where you can initiate a conversation through chat, call or video call.
 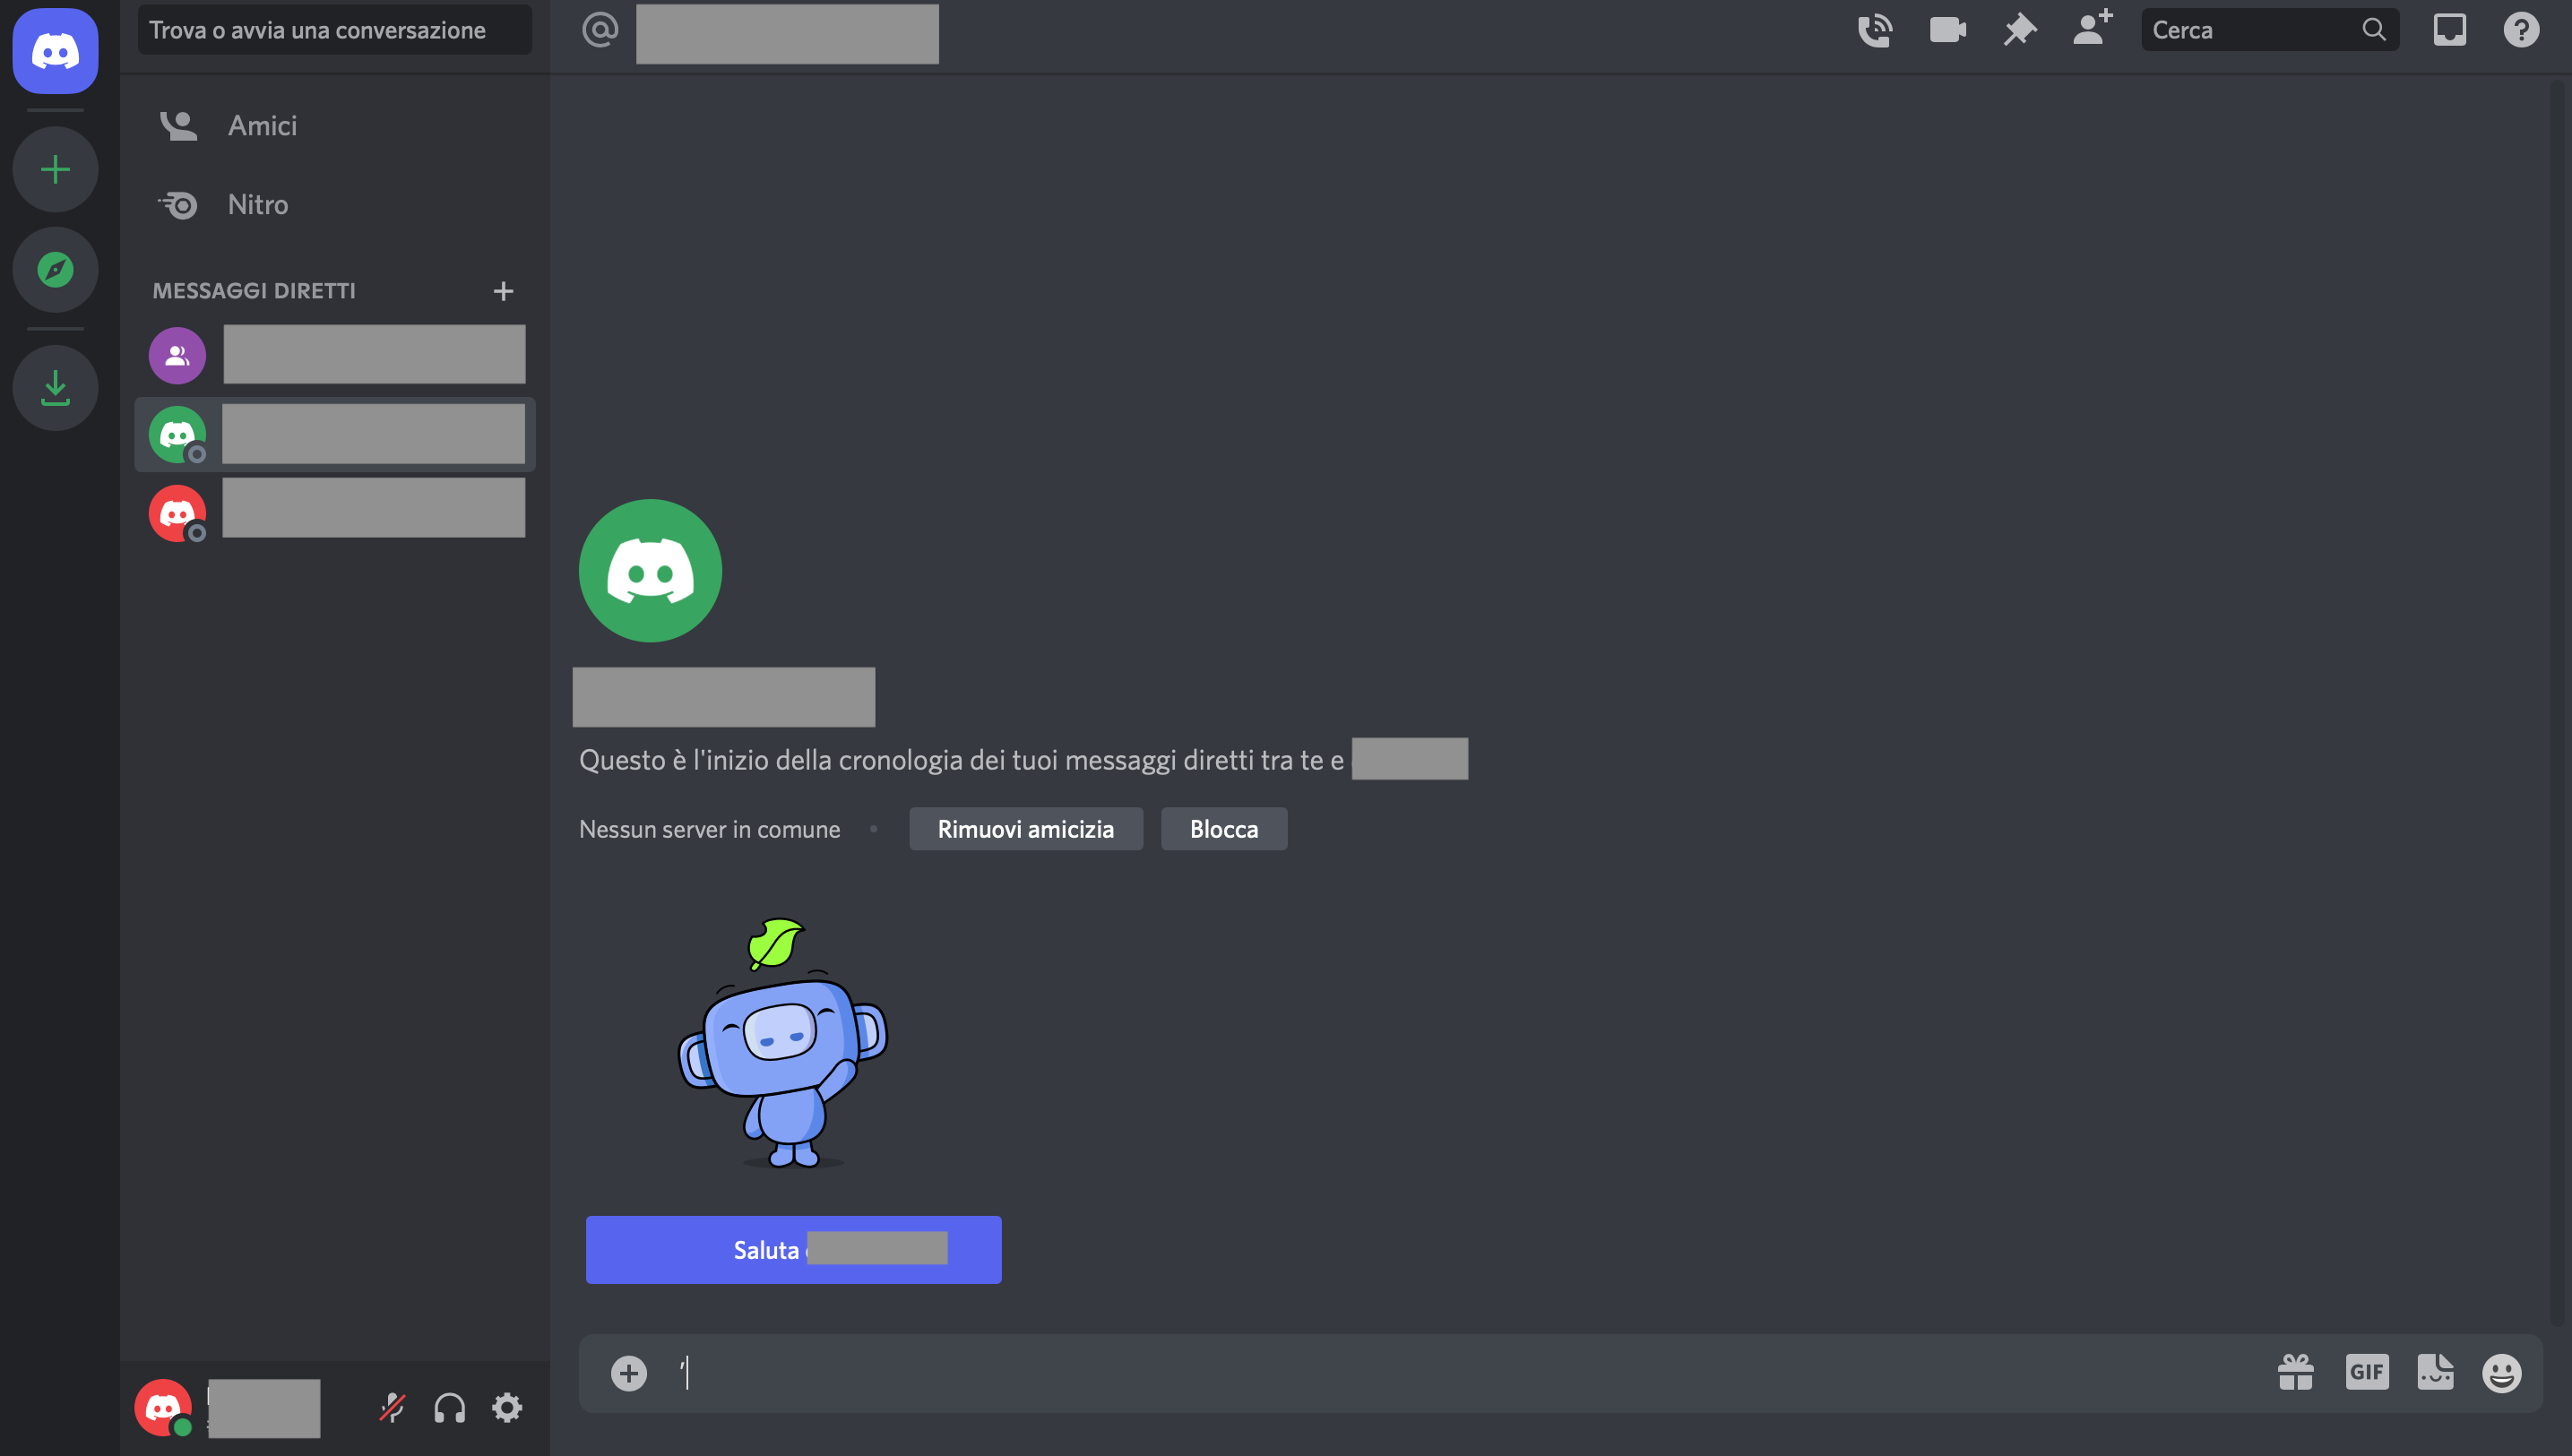 Clicking on explore brings up the following screen. In the left menu you can explore the servers by category of interest, and in the middle part you can see the featured communities or search for specific ones using the search bar. You can access servers as a visitor (in which case the app allows you to see what is happening within the community) or join and interact with users. When you want to join a server, Discord will indicate the rules related to it and then it will appear in the list of servers in your dashboard (in the left column). An interesting and useful feature for teaching is the "Student Hub" item where, by entering your school email, you can interact with your classmates and create study groups.
  The following is the interface that appears when joining a server. In each server there are channels that appear in the menu on the left; in the middle part is the content of the channel, which can consist in chat or description pages; in the right column are the various users who are subscribed to the server and are online. The servers to which one has subscribed appear in the menu on the left and can be grouped by category. Channels are used to make conversations within the server more focused; therefore, within the same server you can find channels related to general information, channels related to discussions, channels related to presentations, etc. Channels, in addition to being textual, can be vocal and therefore contain audio (you can recognize them because instead of being marked by the hashtag they are marked by the audio symbol). In order to make voice chats work properly, it is necessary to go to the setting item (lower left menu) and adjust the microphone and audio. Also, in some channels it is possible to watch online live streams.
 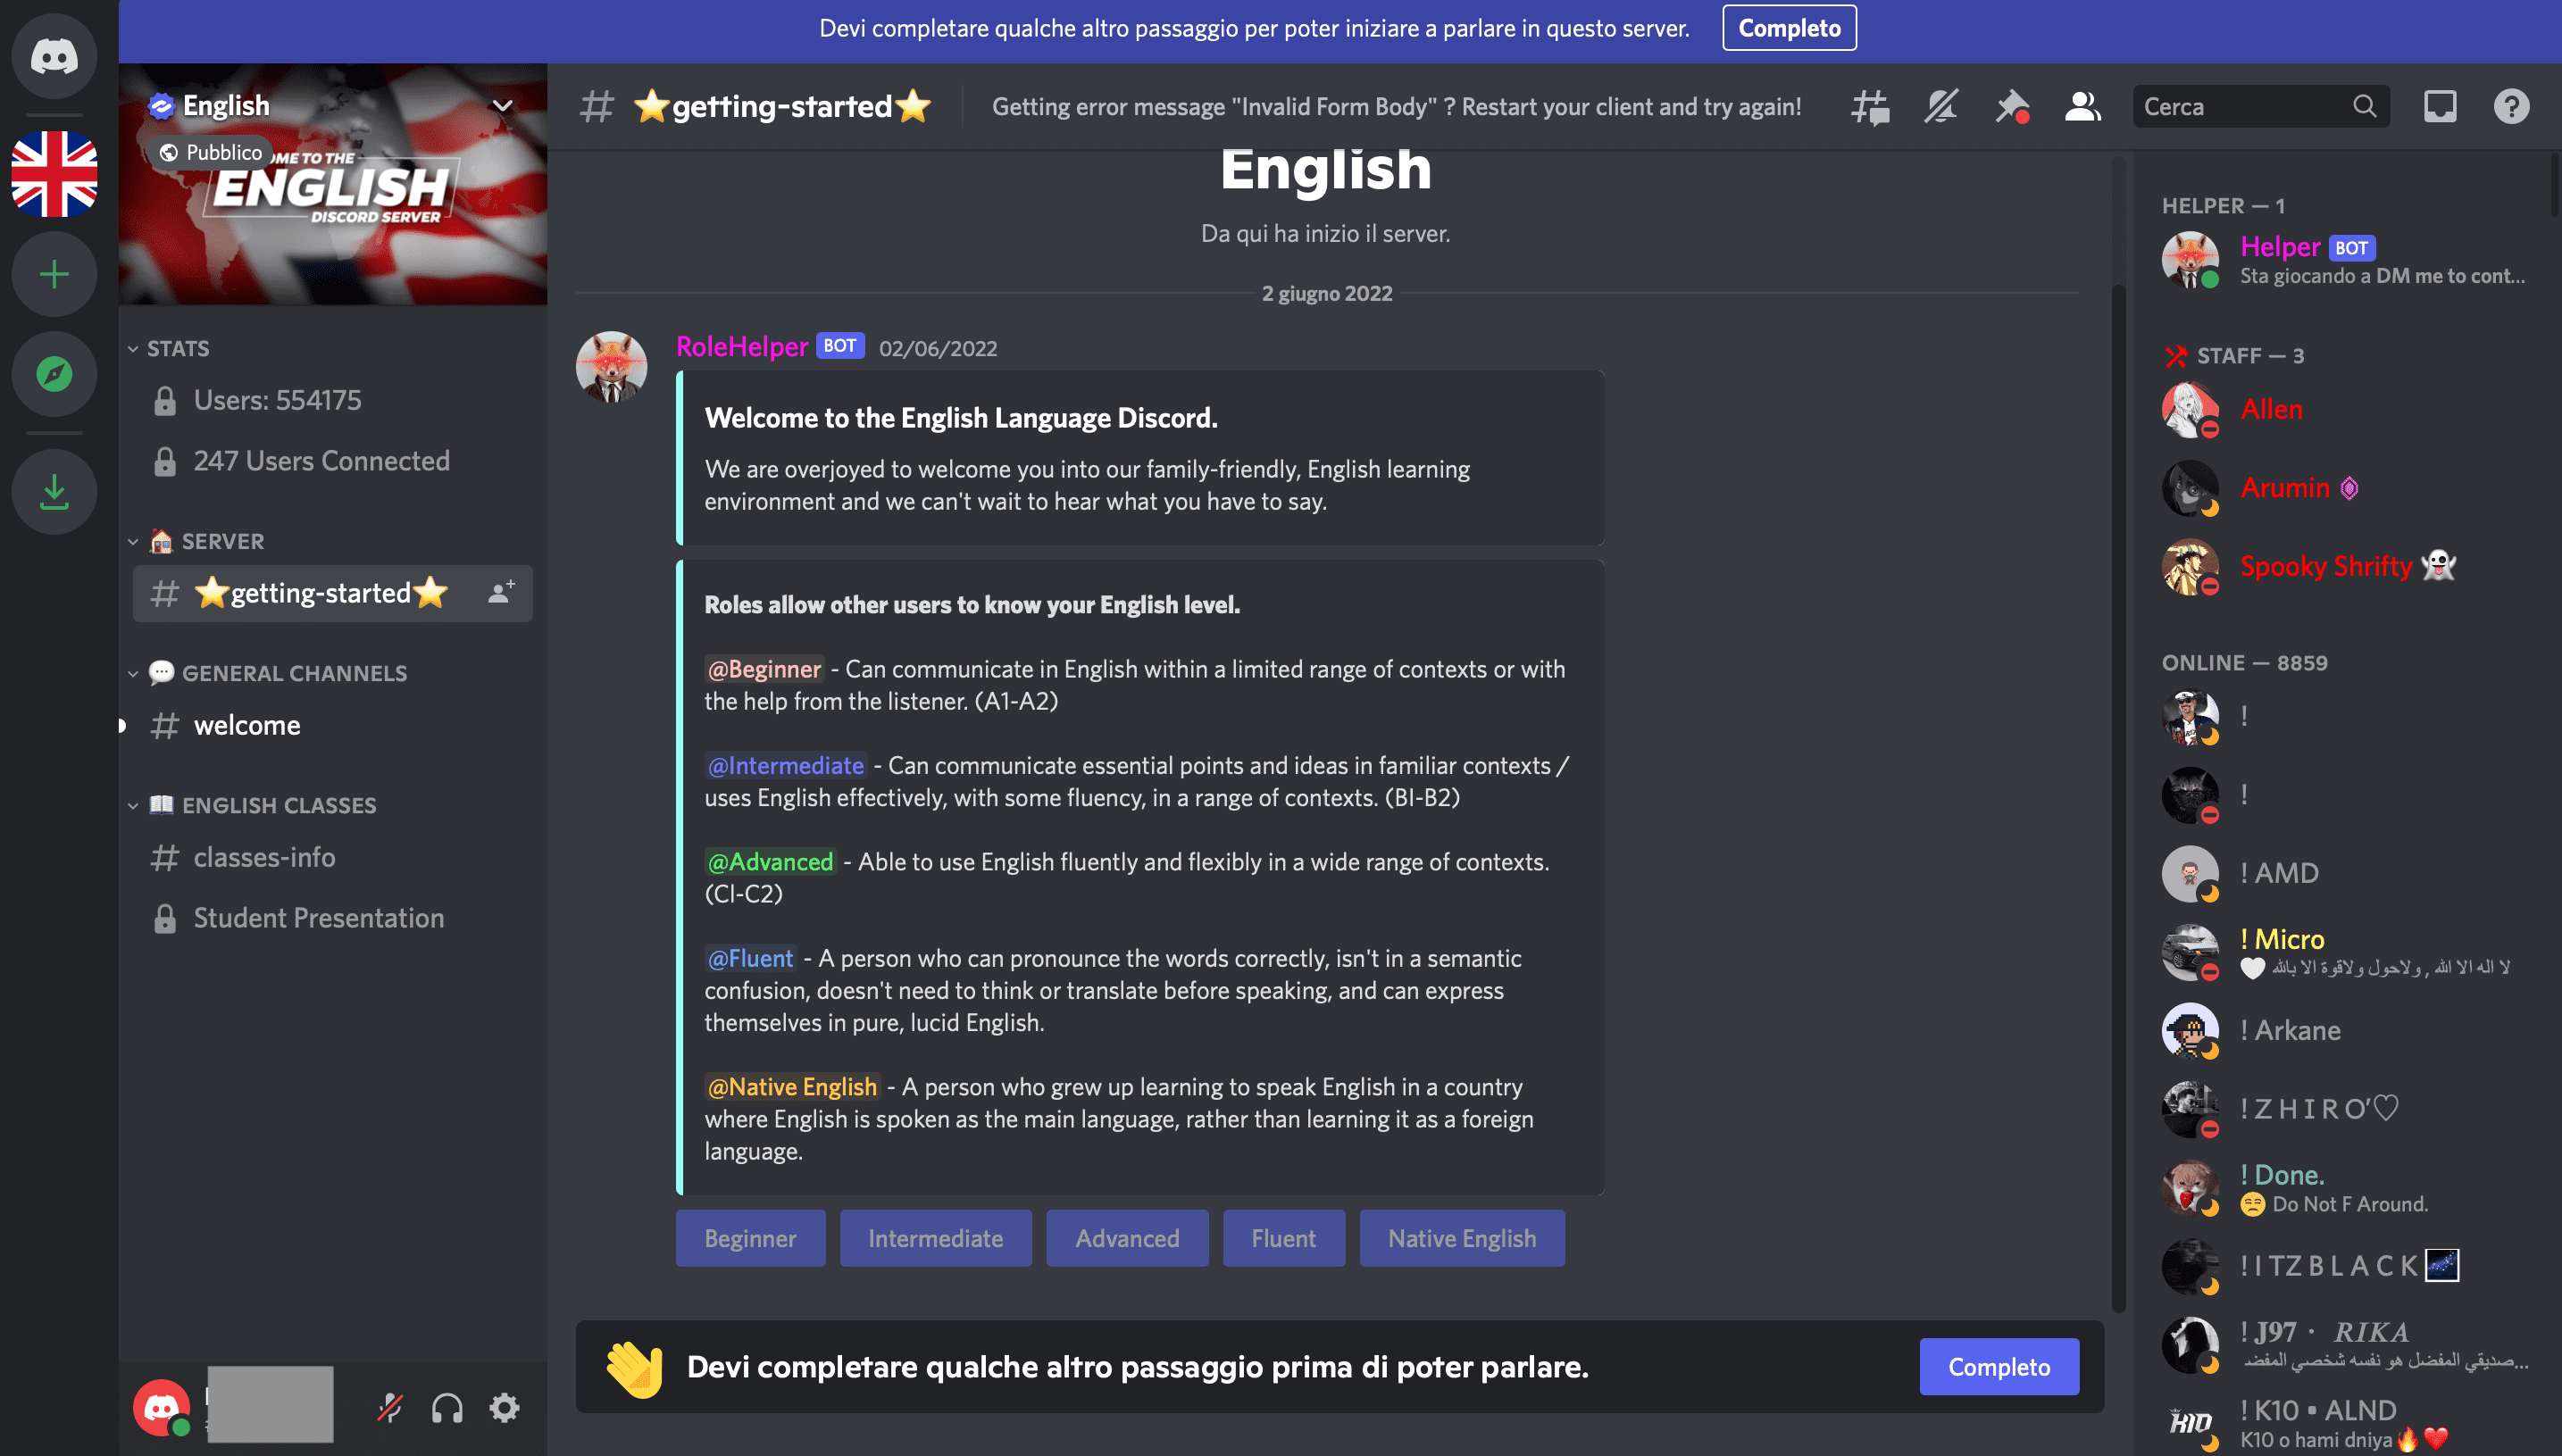 To create your own server click on the "+" icon in the menu on the left. You can create a custom one or start from templates that the app provides. The app will ask if the server you intend to create is meant to be public or for a few friends, then you need to give it a name and add an icon such as a photo or image. Then the following screen will appear where you can invite friends and start sending messages. In the menu on the left you can view the channels created related to your server and in the one on the right the online users. To create channels you will simply click on the "+" icon and the app will ask if you want to create a text channel or a voice channel. Within a server you can organize users according to roles; for each role you can define permissions, that is, activities that those users can do or not do according to the role that has been assigned. To do this you have to click on the name of your server in the upper left-hand corner where a drop-down menu will open and select "server settings”.
 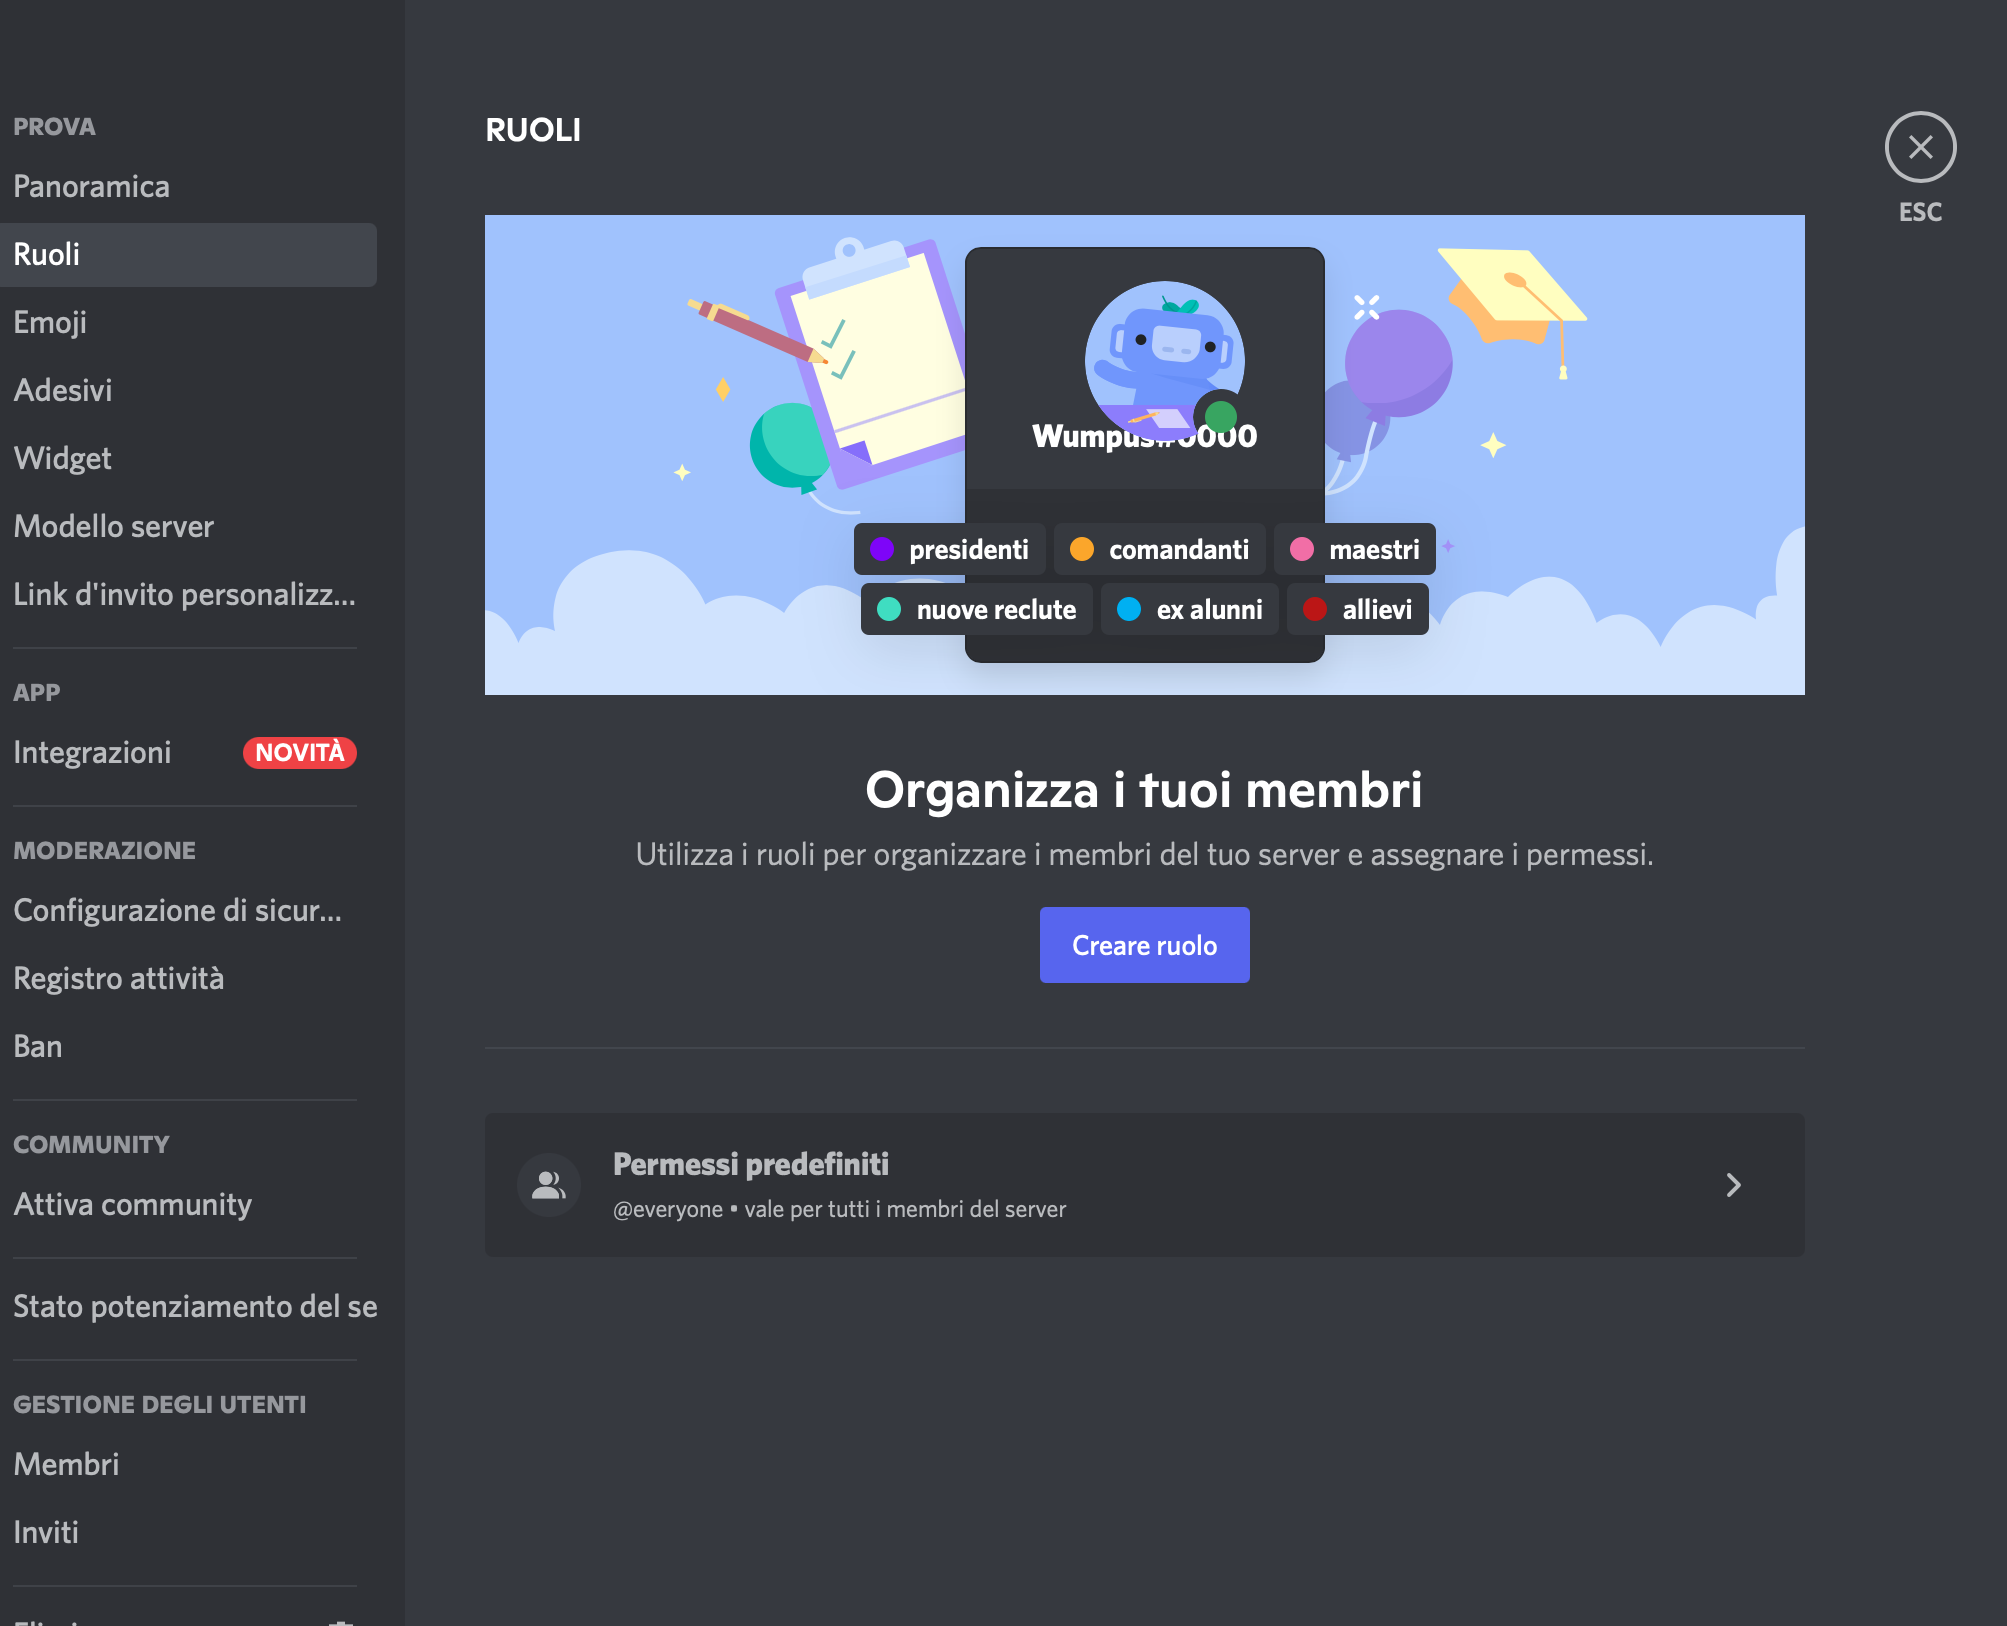 Next, the following screen will appear. Click on the "roles" item to organize the server members according to roles and permissions. Examples of roles: president, moderator, teacher, student, etc. Examples of permissions: manage channels, expel members, send messages, attach files, etc.
 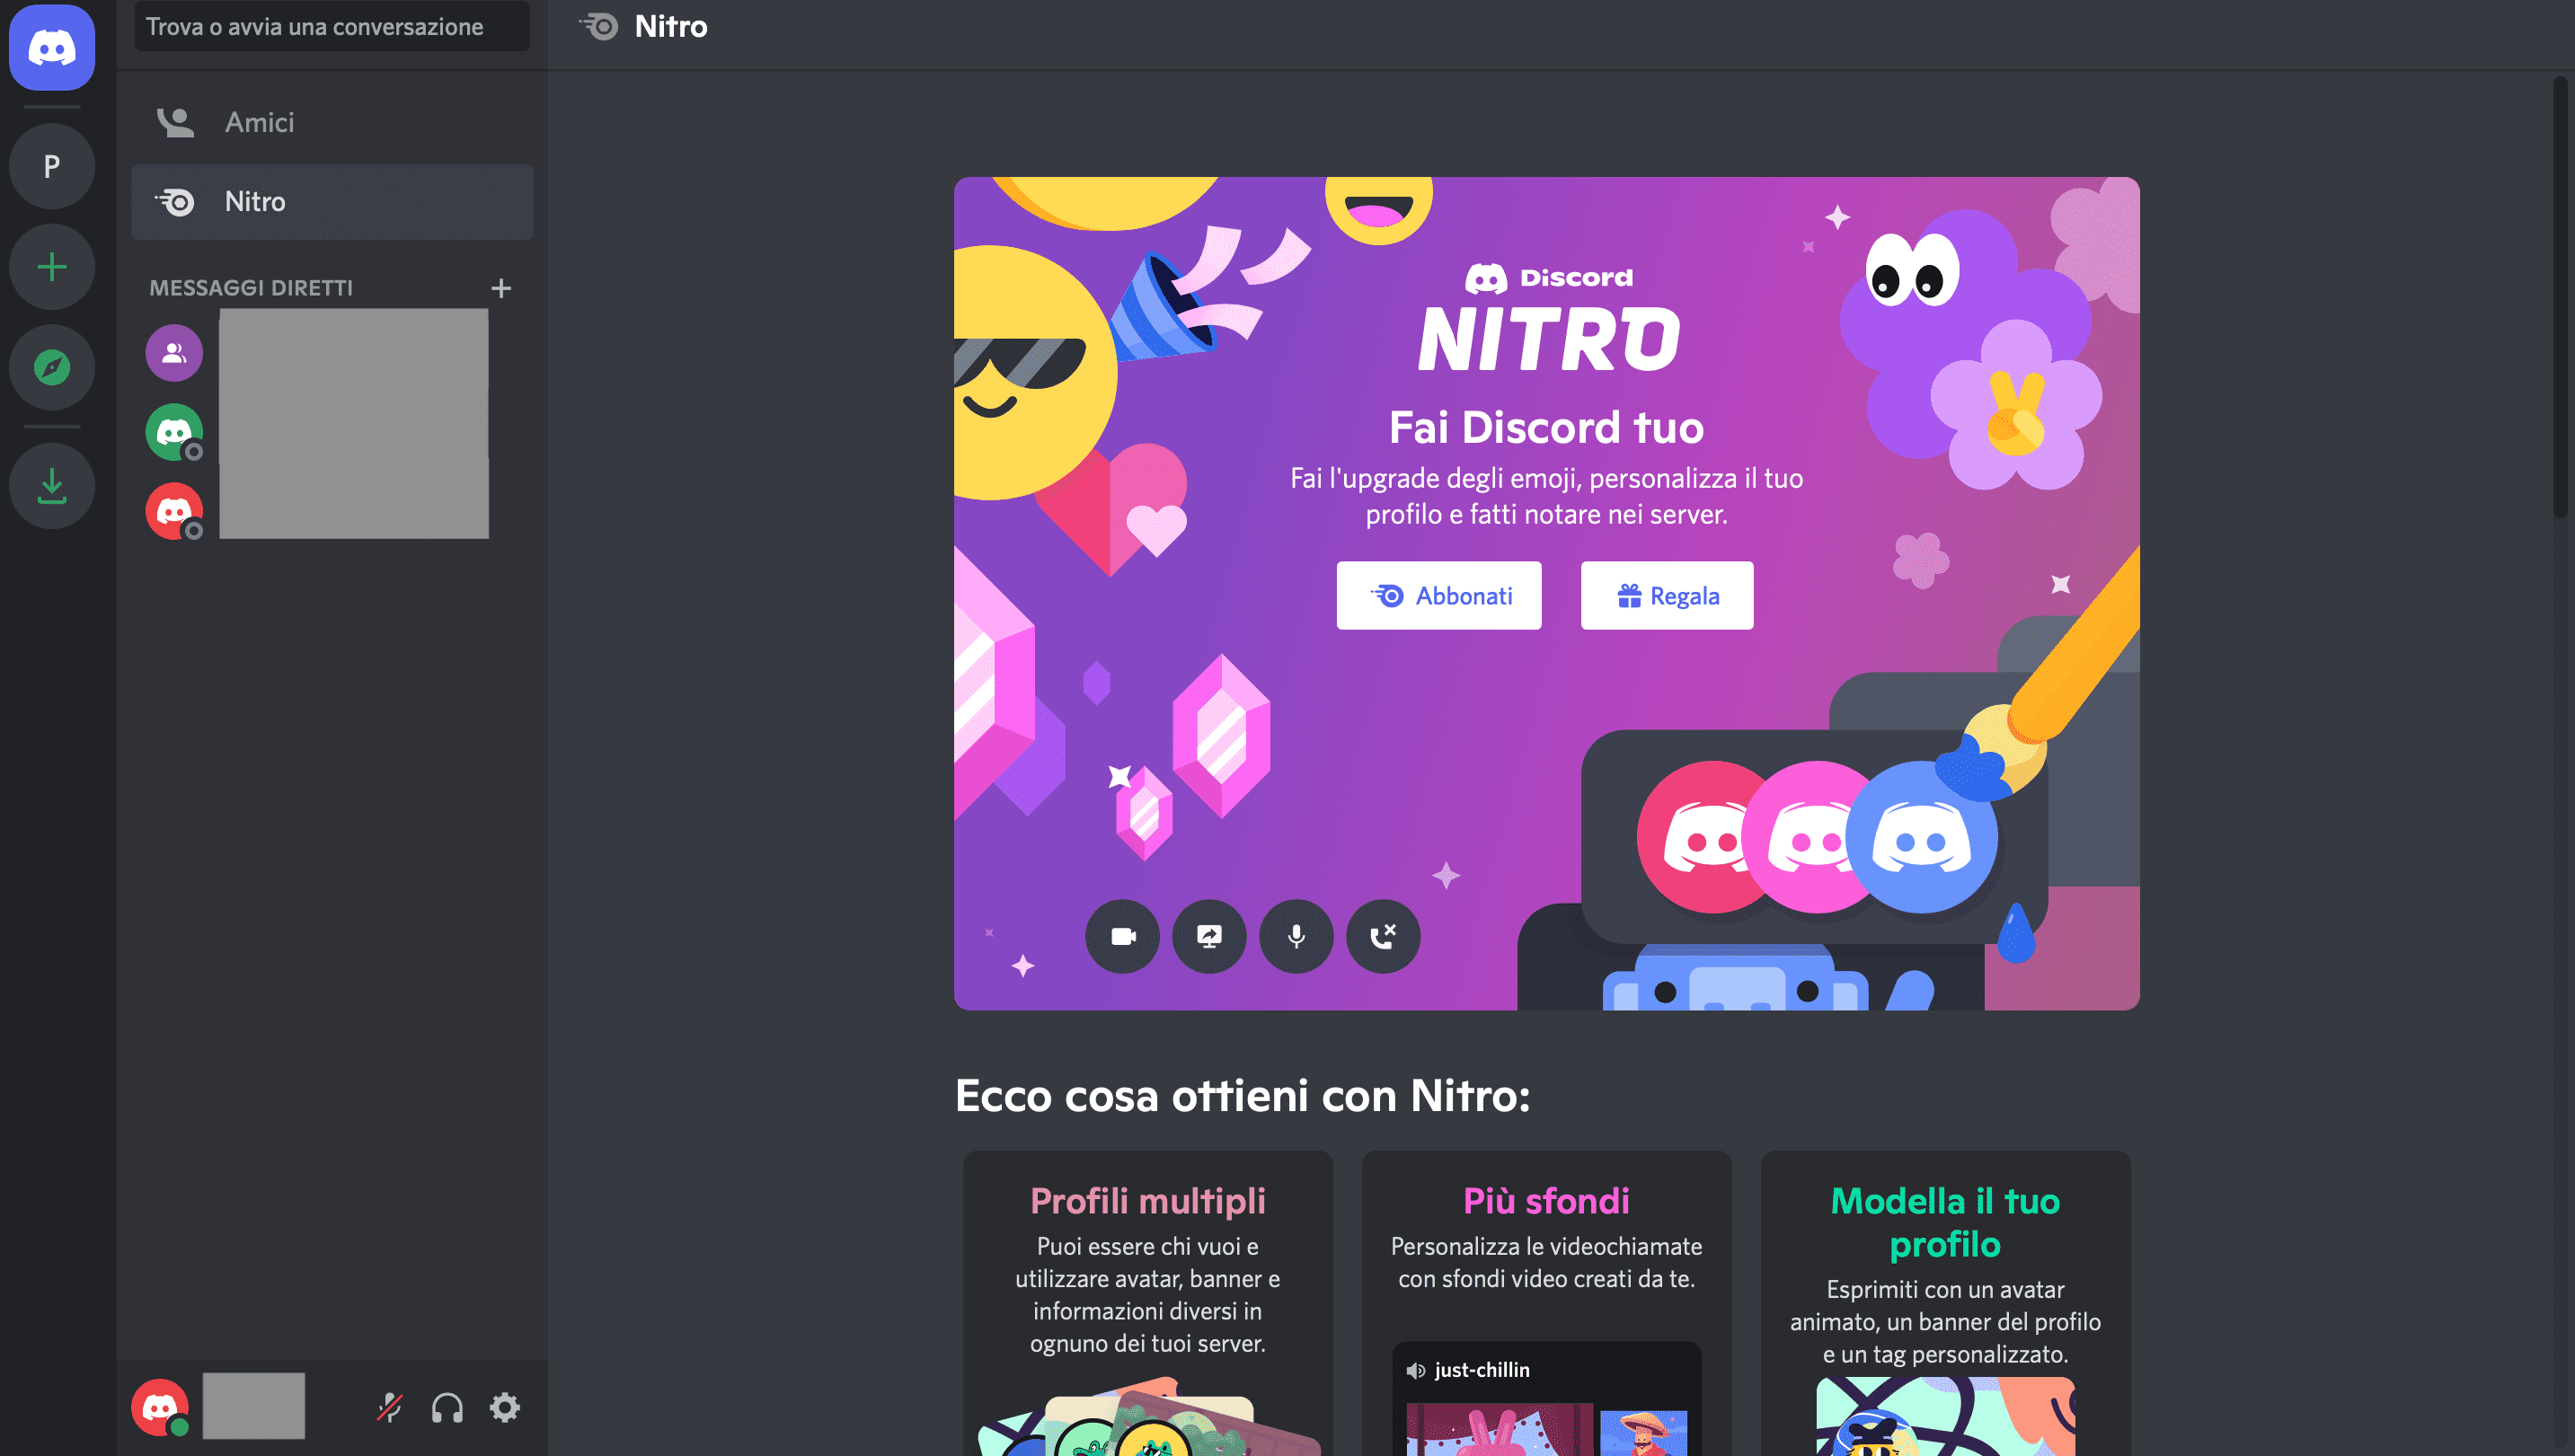 Discord Nitro consists of a number of additional features (normally the app is free) that can be unlocked by paying a subscription. These features consist, for example, of sending customized and animated emoji, attaching files up to 50MB, high-resolution streaming, messages up to 4000 characters, etc.
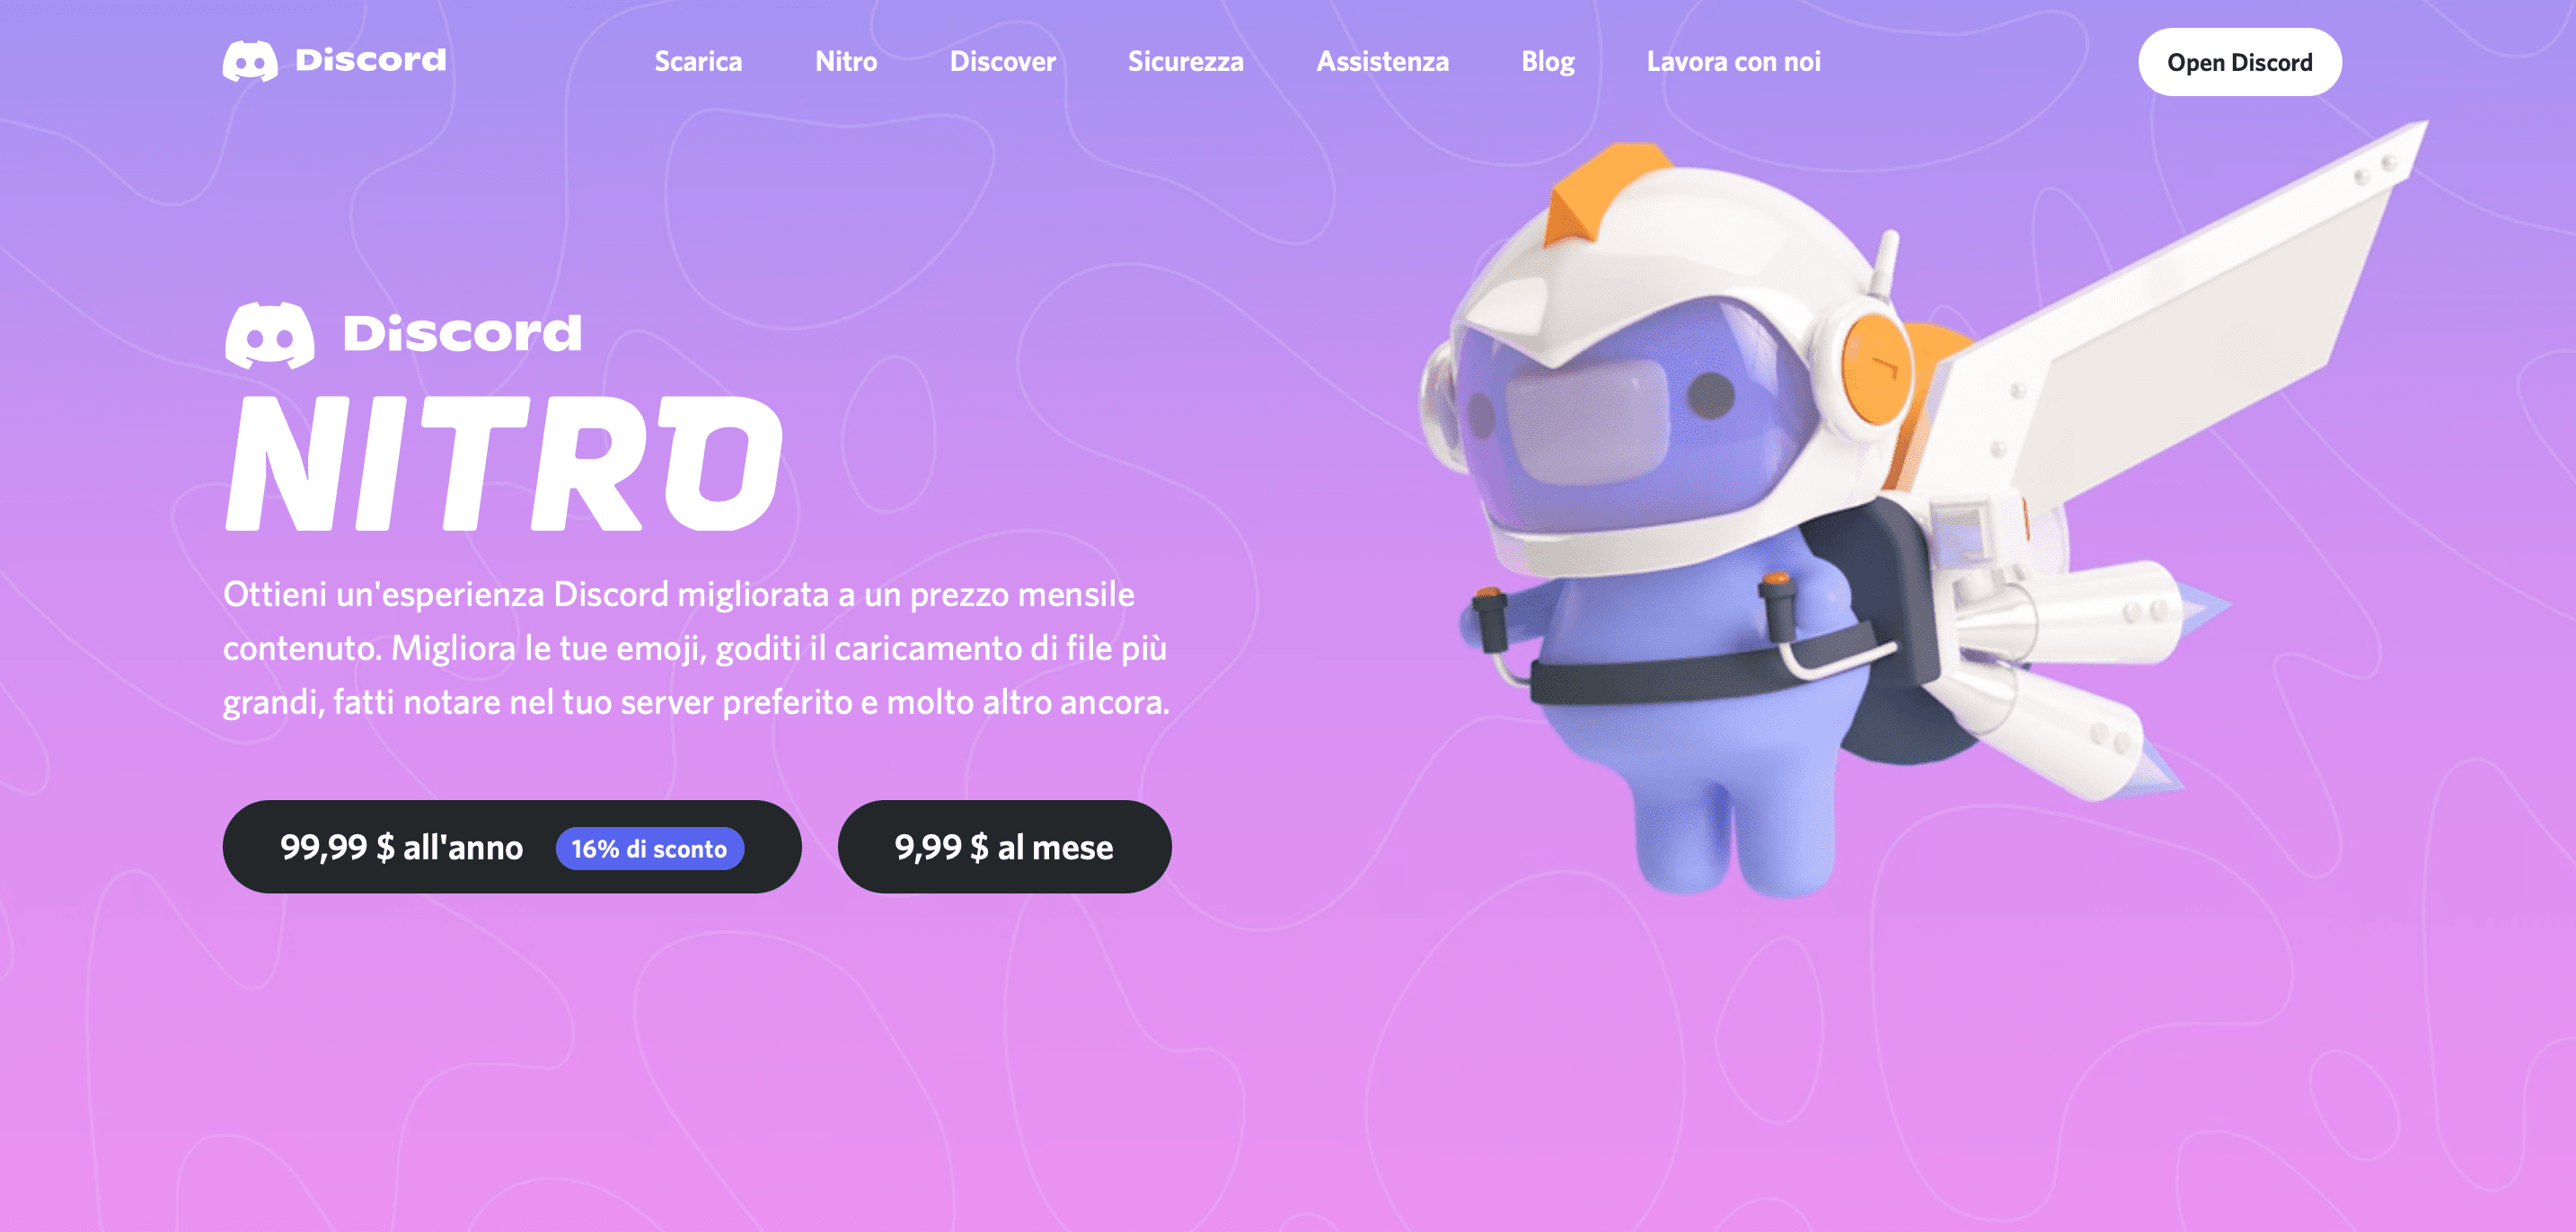


Copy link