
Enter all the desired criteria: the apps that satisfy them all will be searched; if a criterion is specified multiple times, only the last occurrence will be considered.
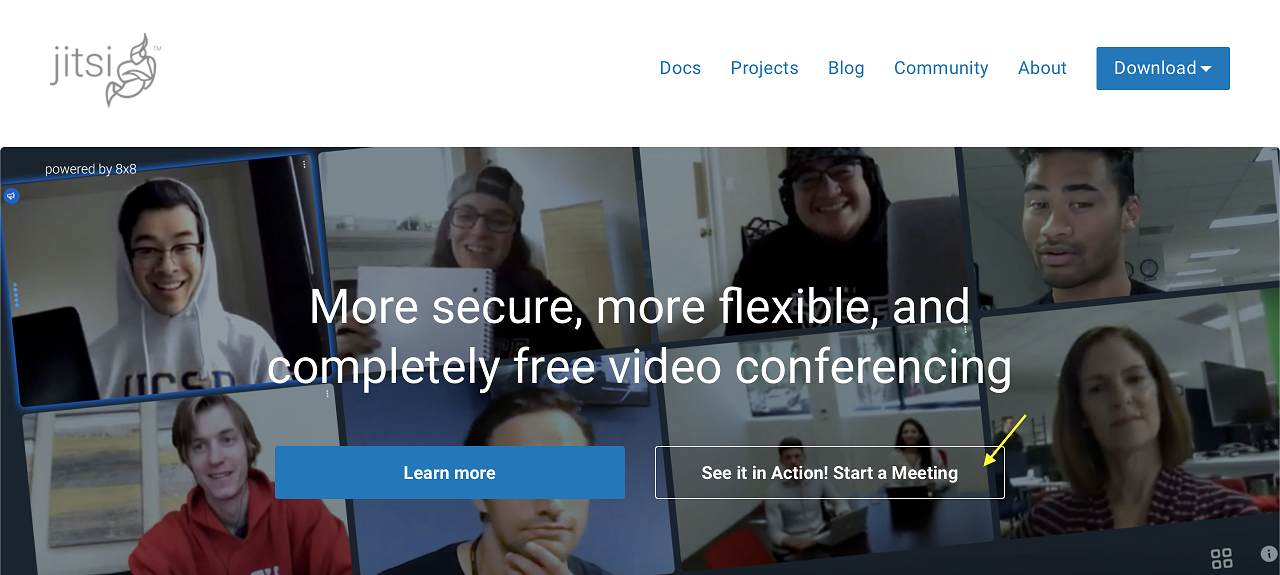 Once you have selected “See it in Action! Start a Meeting” we must choose a name for the room that we will share with the other participants (it is advisable to choose a complex name, otherwise our room can be easily found by strangers). By clicking on the gear at the top right we can change some settings: select the device to use (webcam and microphone), set the name to be recognized or alternatively a gravatar email, connect to the calendar of your Google or Microsoft account and finally choose a language. To start a new conference, click on “Go”.
 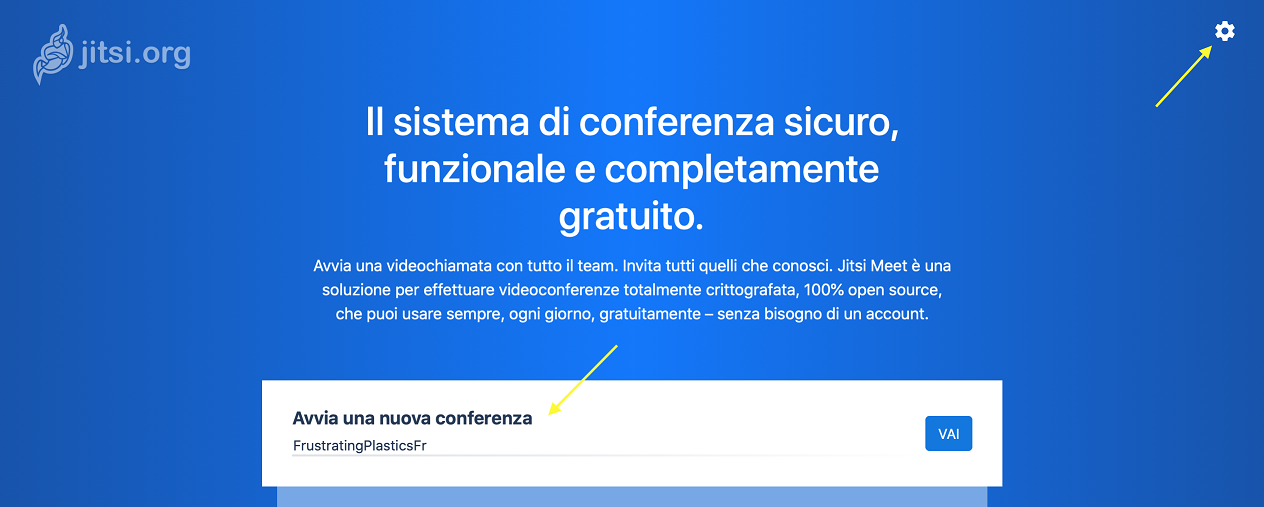 Once the conference has started, we will be in the room together with the other users who participate and whose image we will see in the center of the screen. We can choose to activate or deactivate both the microphone and the camera by clicking on the relative icons. We can exit the room by clicking the central red button. On the left we find three buttons that respectively allow you to share the screen, raise your hand (if you want to ask a question or speak)or write something on the chat visible to all users of the room. On the right of the screen we can choose between the two viewing modes: one participant alone or all together, the video conference sharing option (here we can also add a password to make the room more secure) and on the three dots we can choose other useful options, for example to start a recording, share the live video oh your YouTube channel, close the microphone to all participants, and others.
 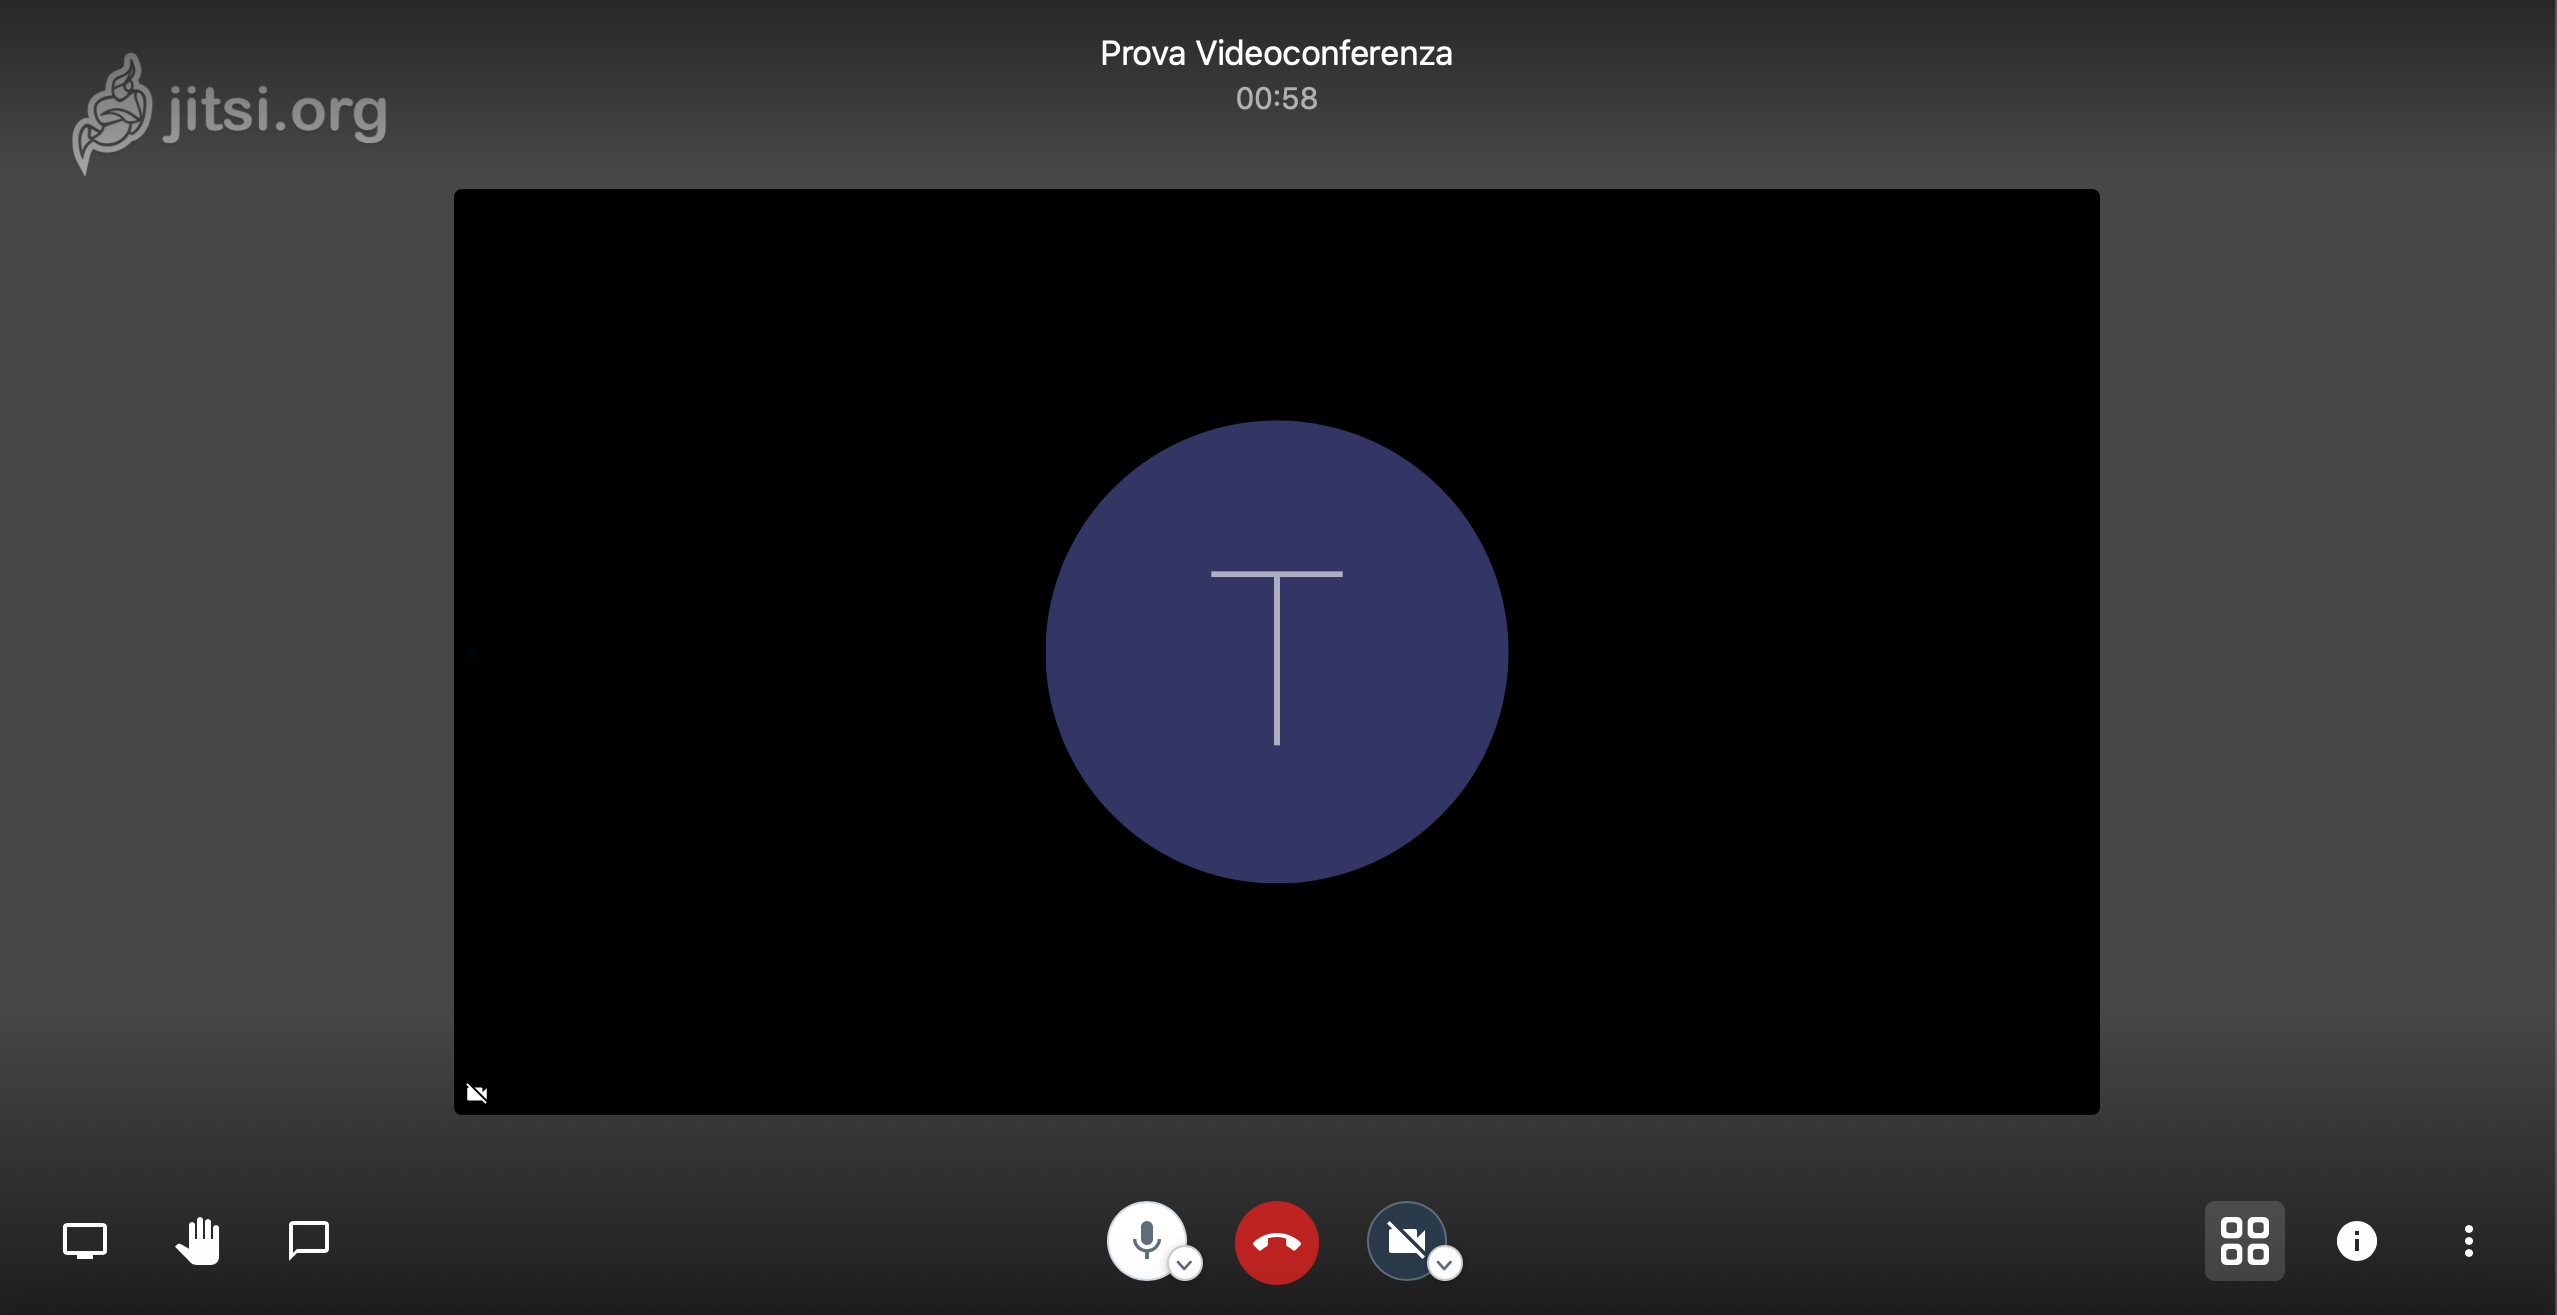 To share the room in which the video conference will be held, once created, simply share the URL that will show the name we have decided (eg. meet.jit.si/ProvaVideoconferenza) or the name and the password chosen.


Copy link