
Enter all the desired criteria: the apps that satisfy them all will be searched; if a criterion is specified multiple times, only the last occurrence will be considered.
 The “public Bounds” page shows the different Bounds and select the available routes in your area.
 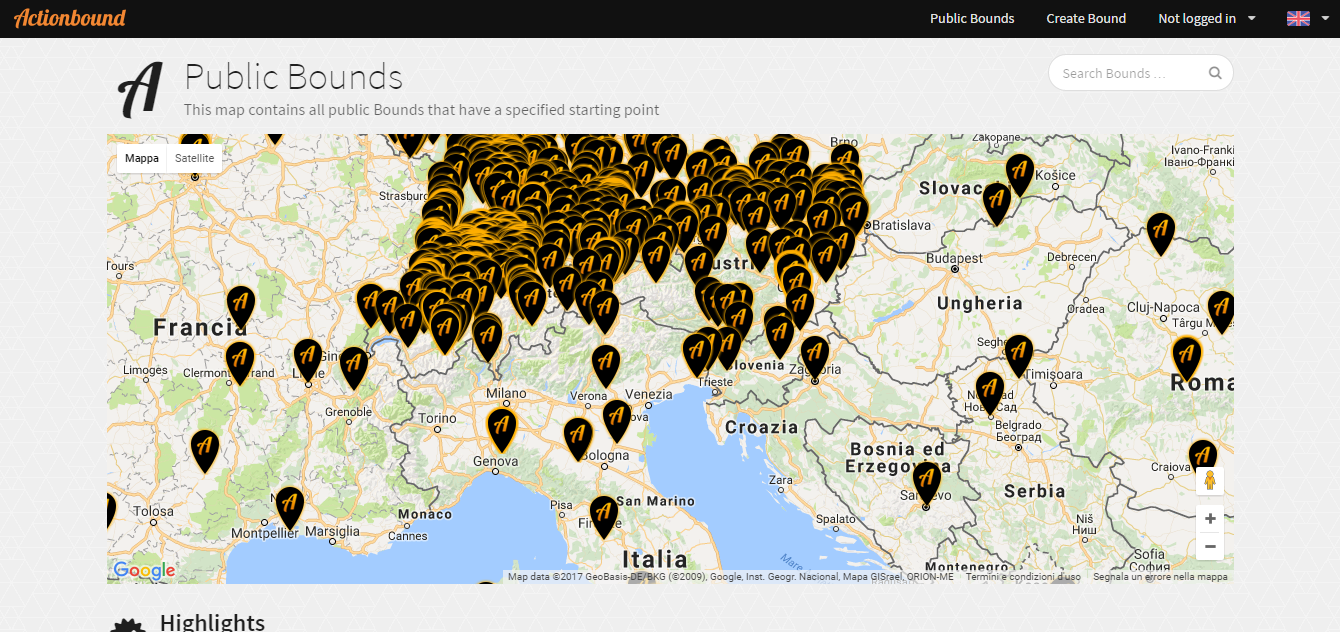 Once logged in you can access to different tools of the menu to see and create new Bounds.
 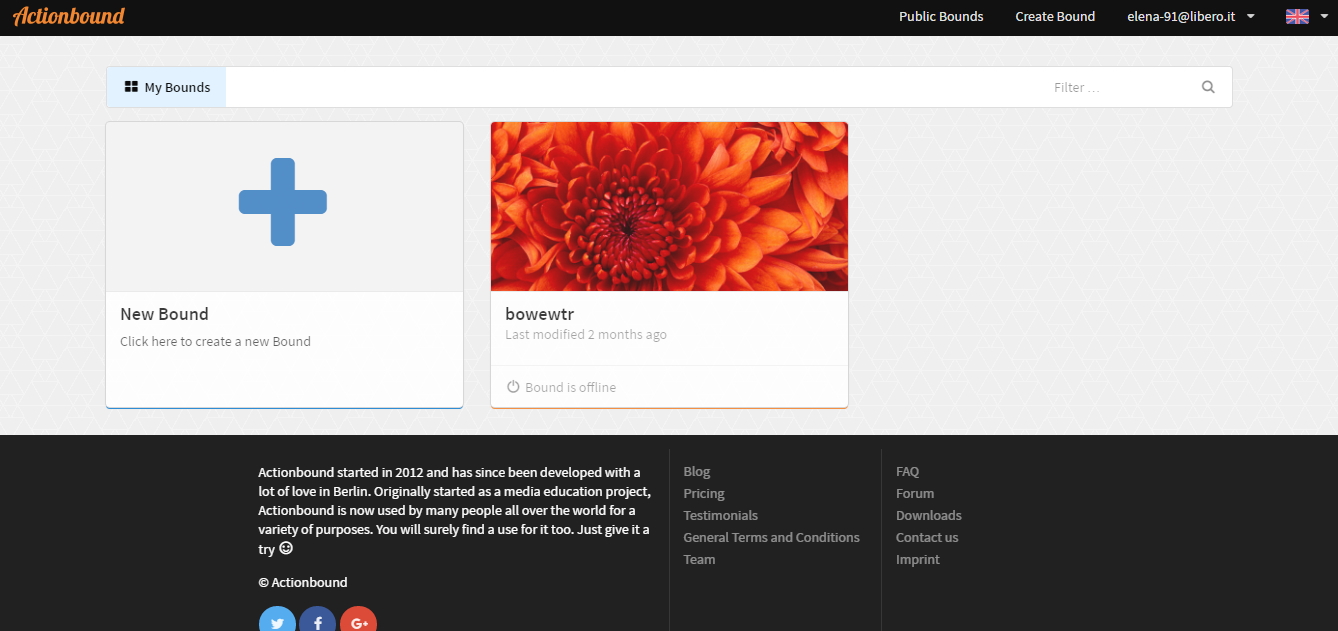 By clicking on “Create Bound” you’ll see the following screens where you can complete your Bound, adding some general information and single activities such as quizzes or missions. This is the first screen that appears when we create a new quiz.
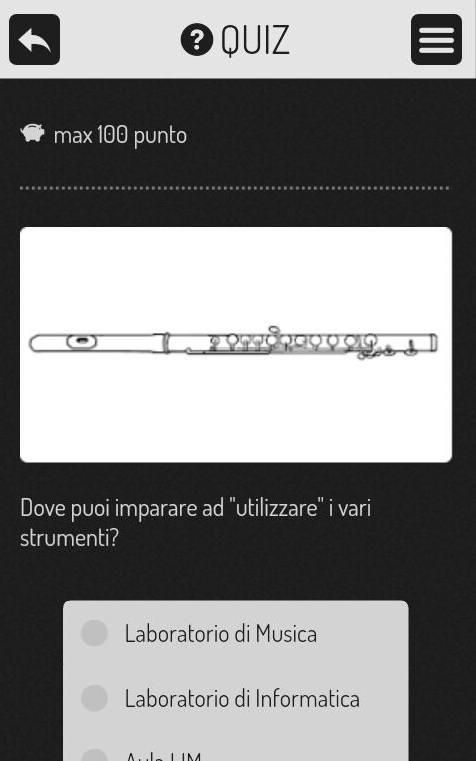
 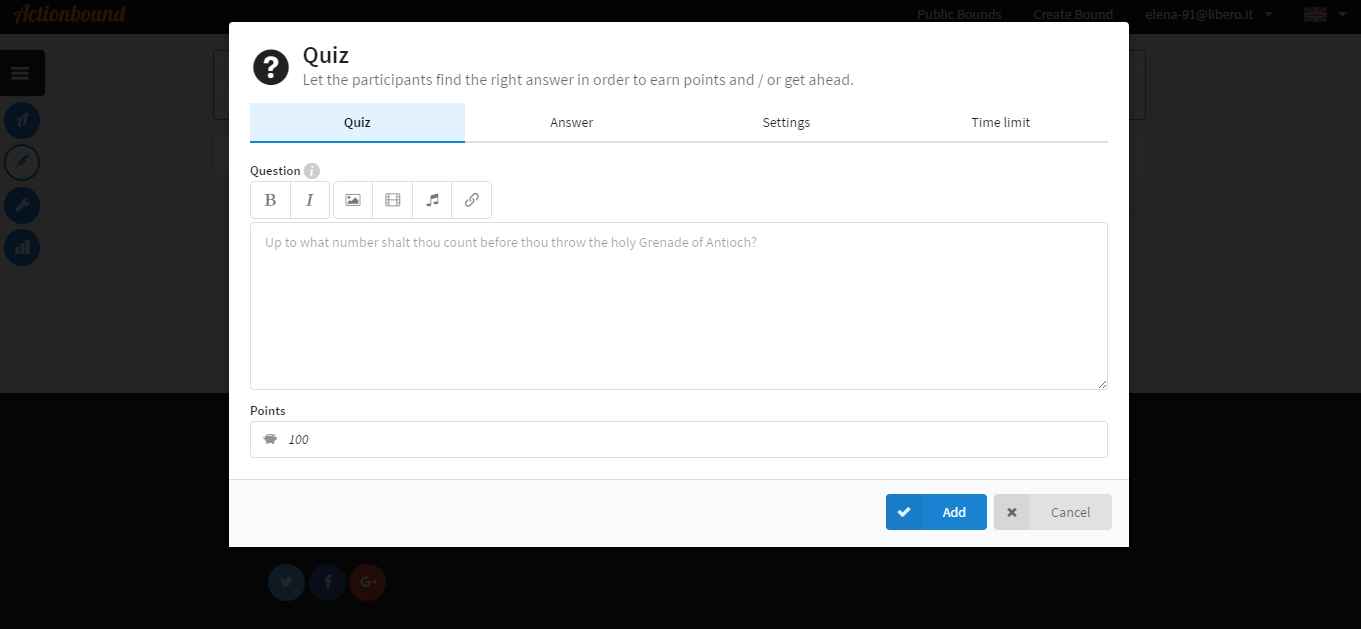 This is another page for the creation of a quiz.
 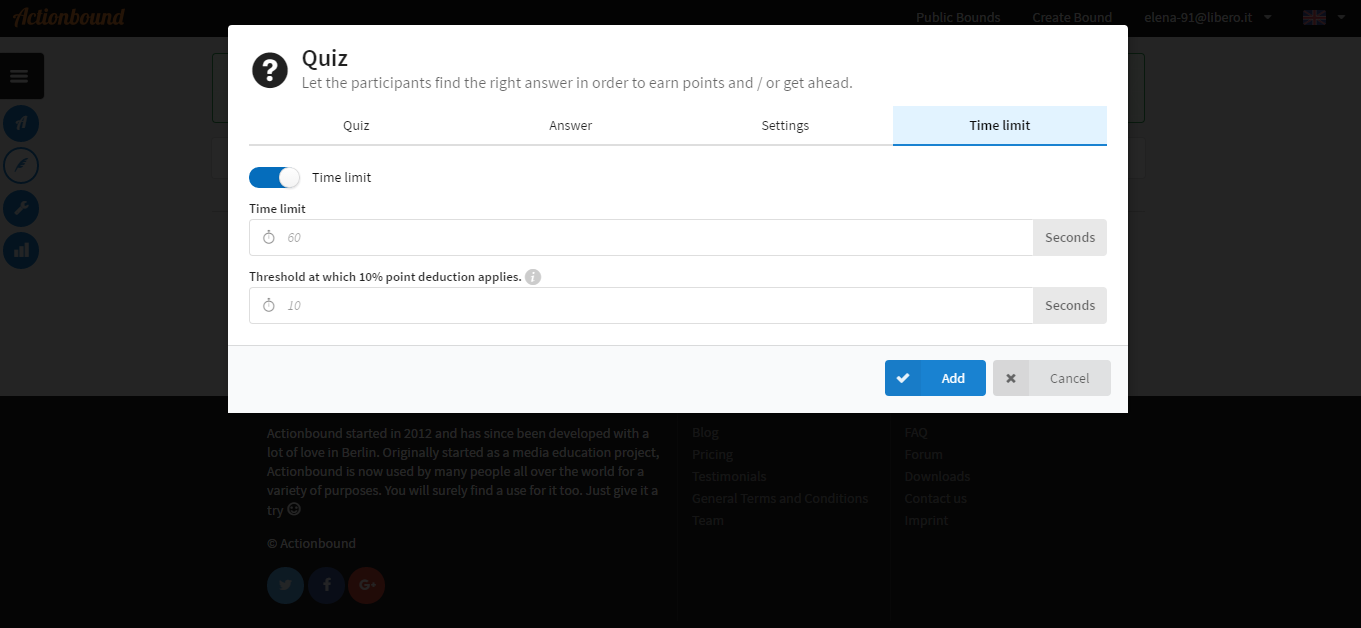 In addition to the quizzes, we can see on the right of the image below, all the other activities that can be added to the Bound.
 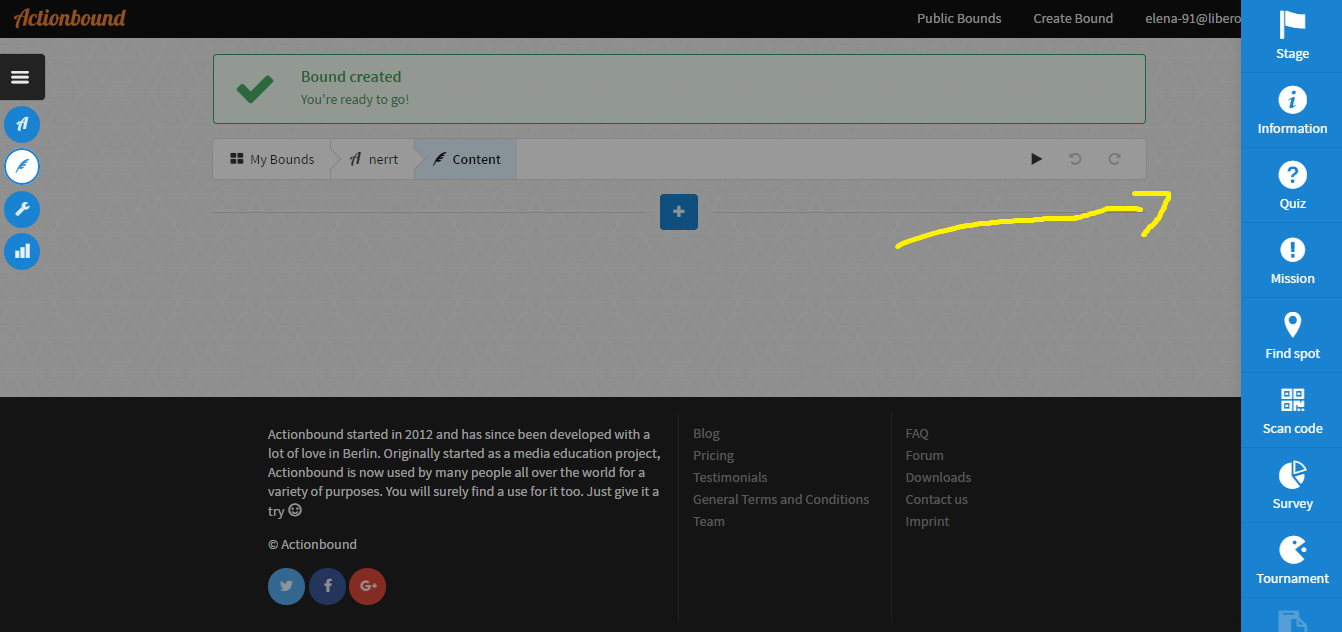 Finally, you see this screen with all your activities. Now the bound is ready to be used and can be activated.
 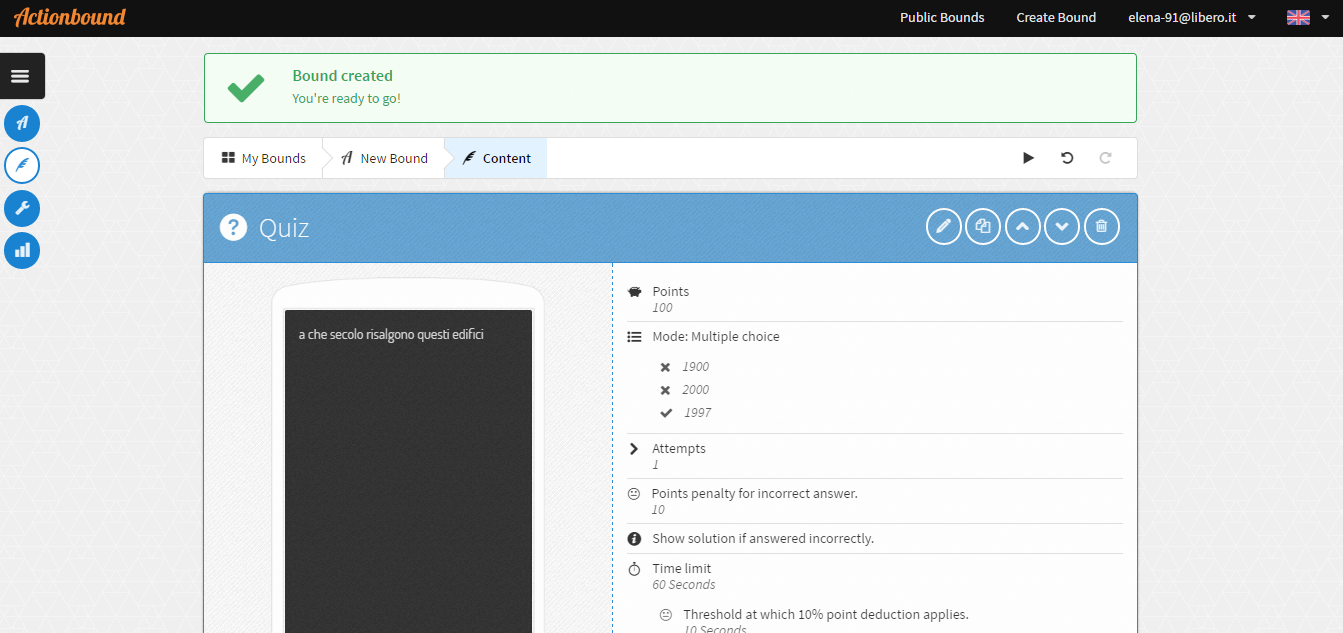 To start plaing you need the mobile app. It looks like this:
 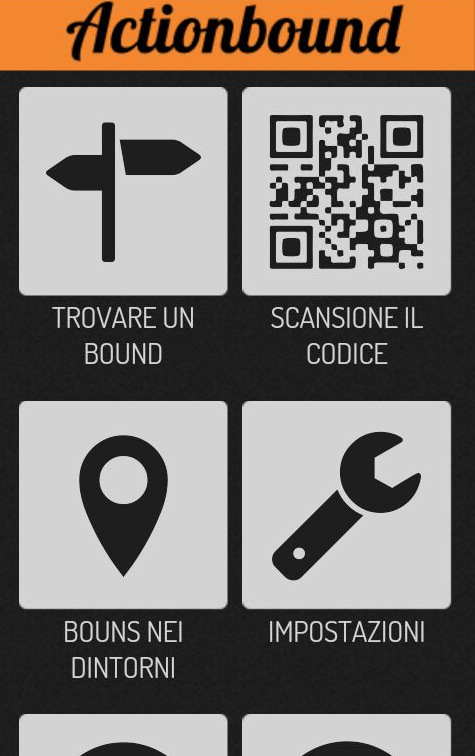 The easiest way to start a Bound is to frame the QR code provided on the website that can also be printed and given to the participants. On the mobile application, the graphic is simple and effective, presenting with these icons the various menu items.
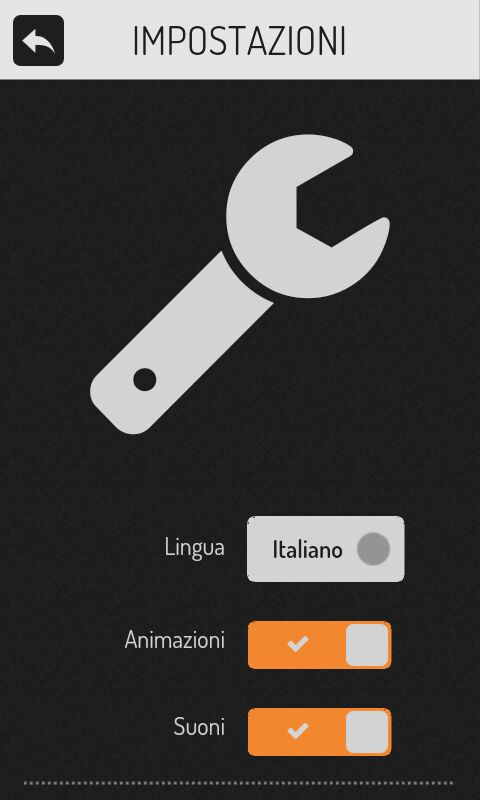
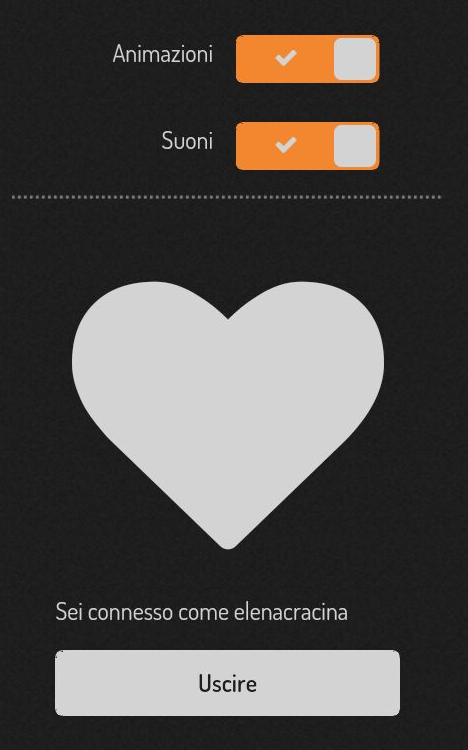 In the settings you can choose the language and access the account created on the site.
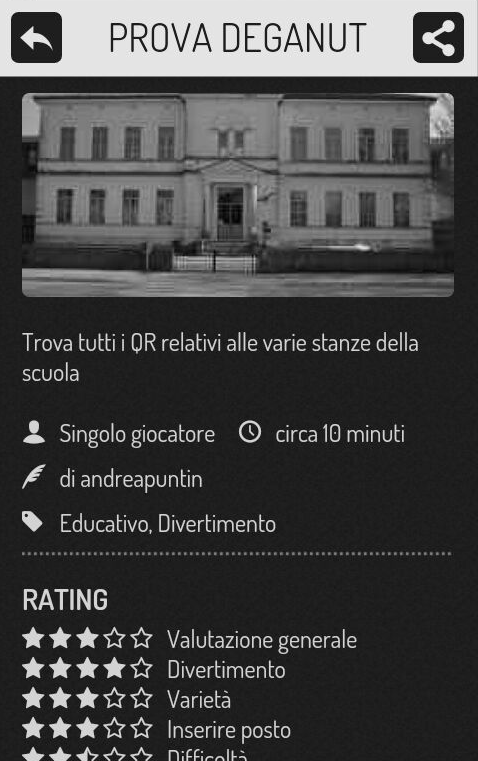
 In the "Neighbouring Bounds" section you will see a map that displays the various Bounds close to where you are (blue dot on the map) and interact with them to start the hunt.
 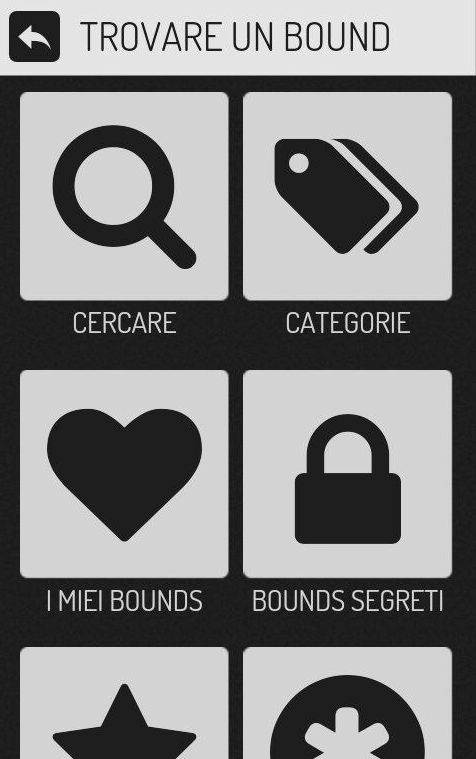 In the menu, there is a wide range of choices, you can search a bound by name, by category, to view your Bounds, view new users’ Bounds, and the best bounds made by the various users (mainly Germans).


Copy link