Enter all the desired criteria: the apps that satisfy them all will be searched; if a criterion is specified multiple times, only the last occurrence will be considered.

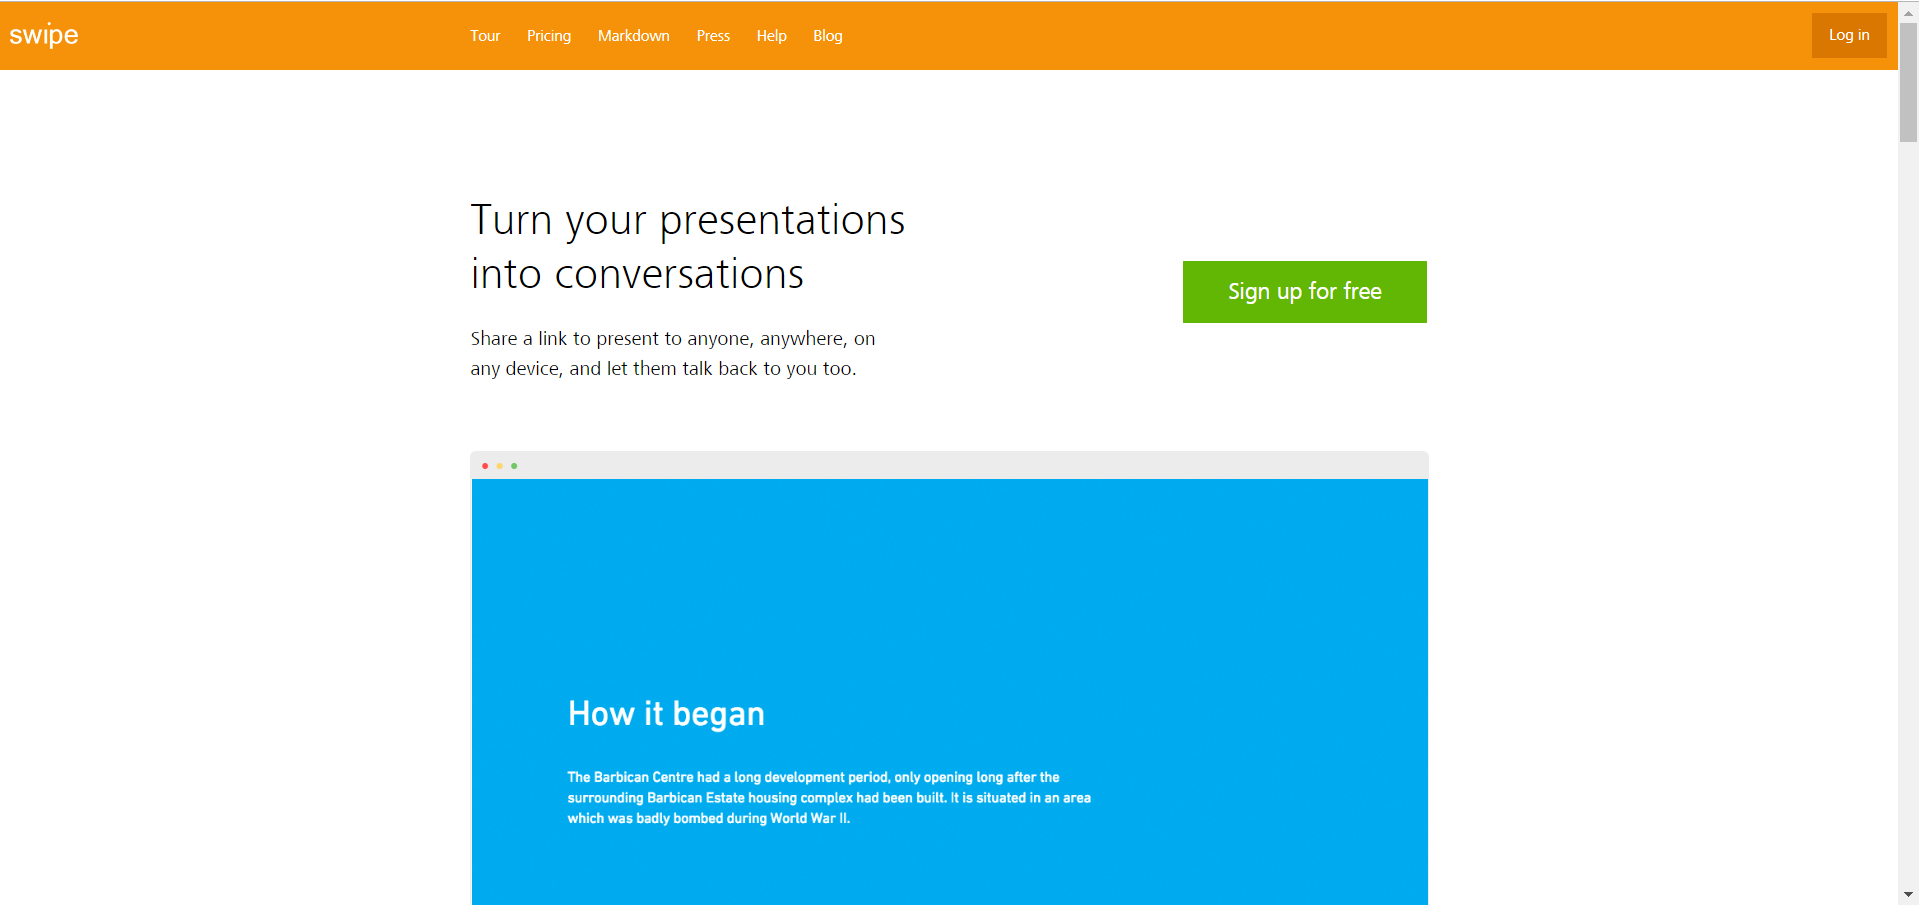 Once logged in, we are faced with a clean-looking dashboard, we can find an presentation project called "Tips & tricks" whose purpose is to explain how to take the first steps in the application.
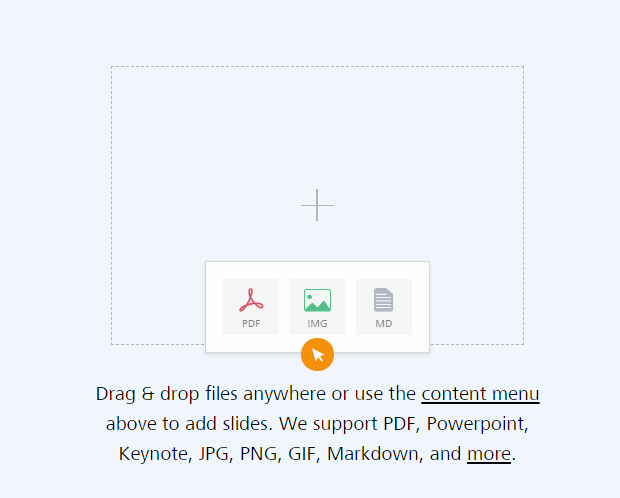
 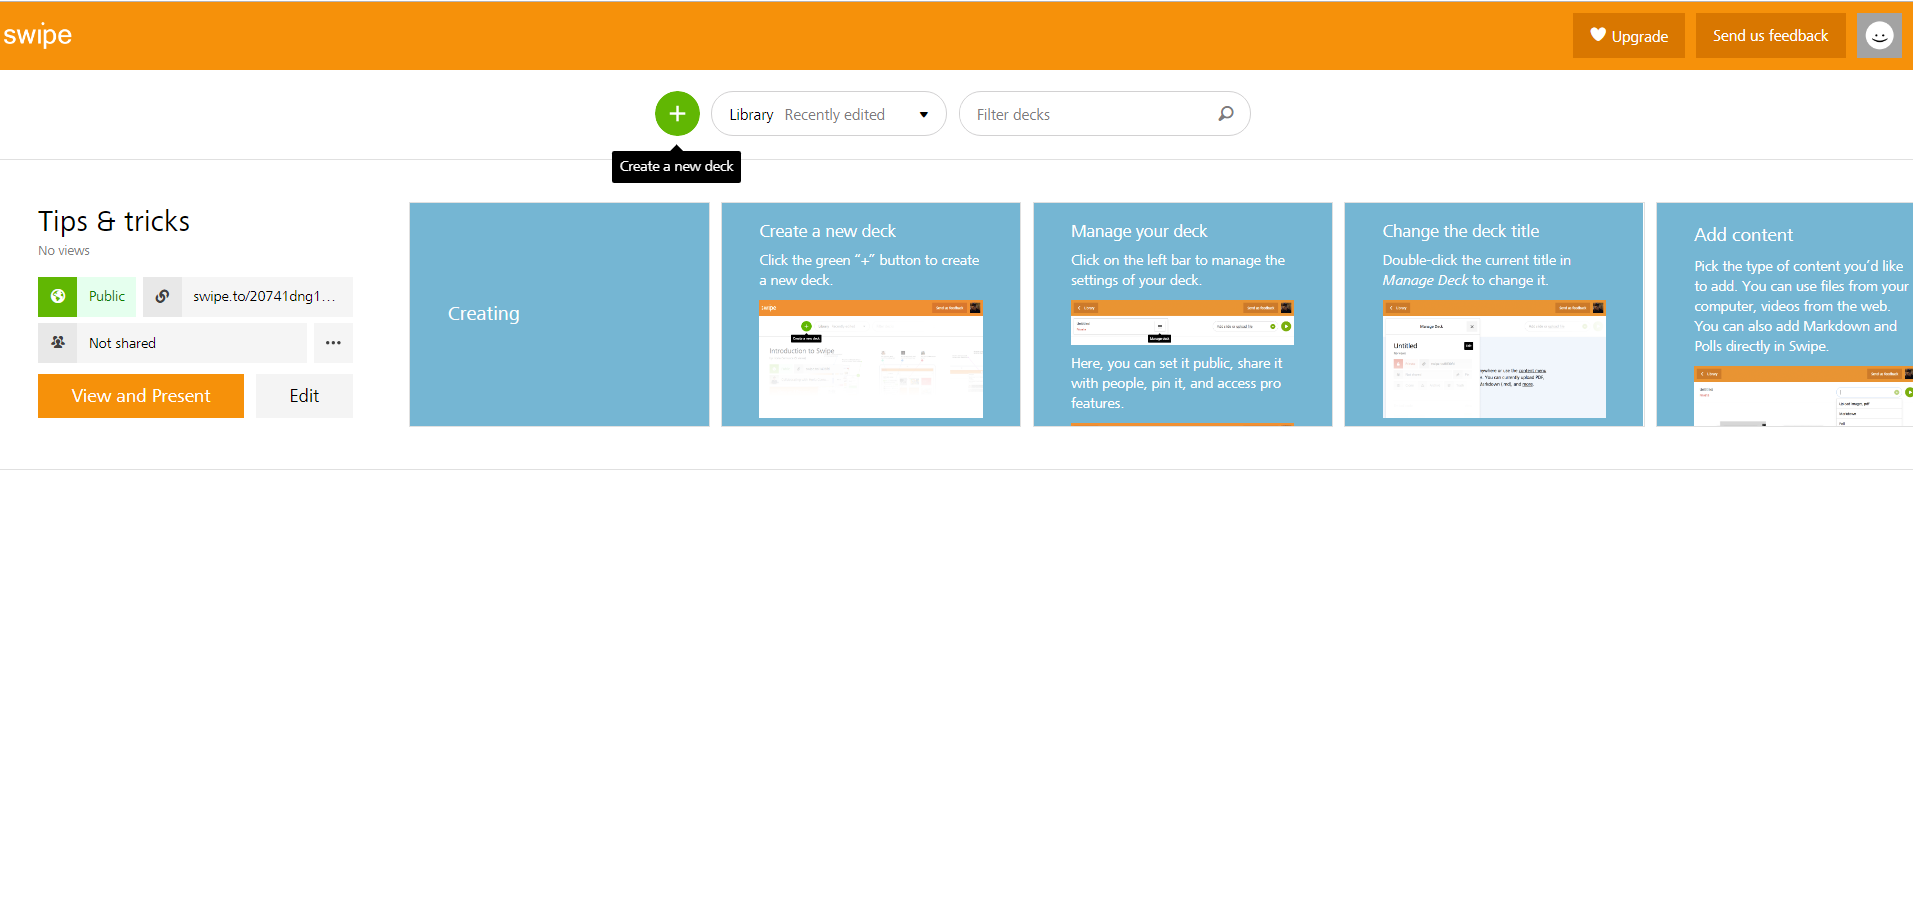 Creating a project is extremely easy and intuitive: just select the "Create a new deck" button and drag the files you want to insert in the presentation inside the dotted square. In the creation phase it is also possible, using the + button (this time on the right, near the play button marked as "View and Present"), to add text slides, images, polls, animated GIFs and videos taken from Youtube to our presentation.
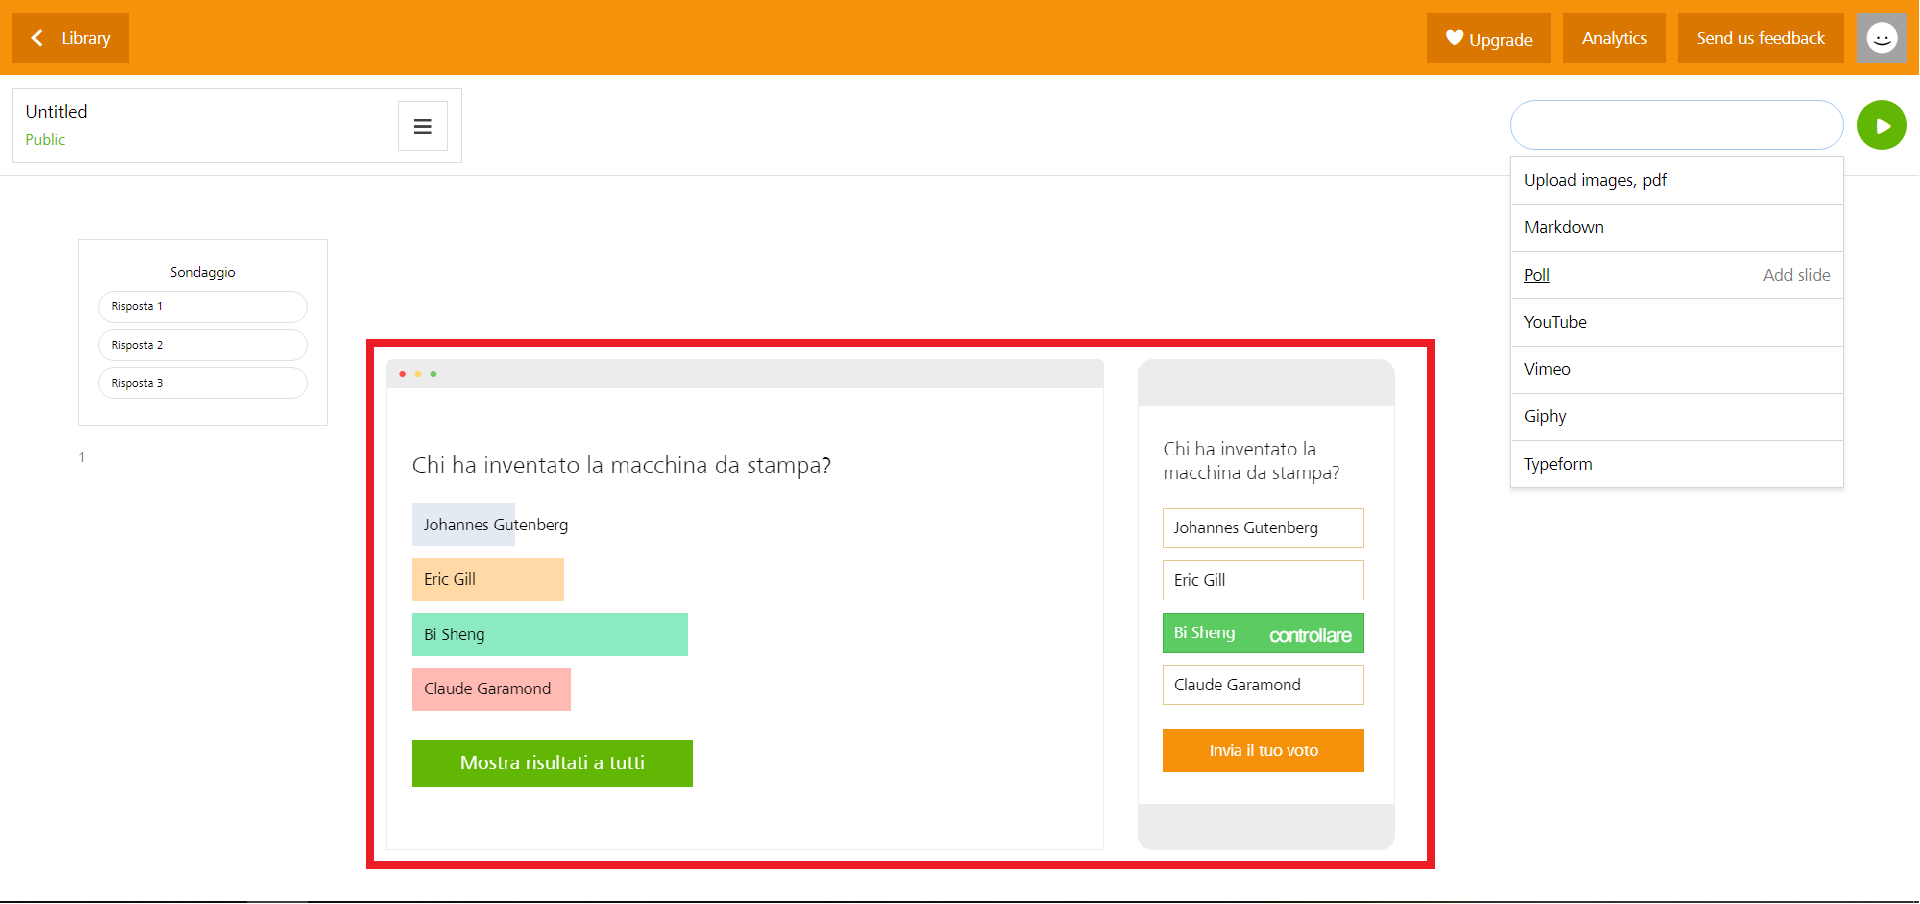
  Inserting polls in our presentation is very simple, just use the + button again and press poll: a creation screen with seven text boxes will open. The first box is used for the question, the other six are dedicated to the possible answers to be voted. Once the creation is complete, the survey will be available in our presentation, it can be voted once per user and the results will be shared but the voters will remain anonymous.
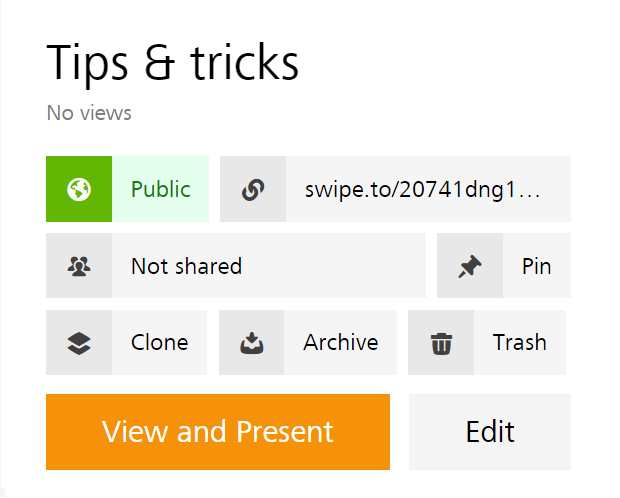
  Back to the dashboard you can rename the project, set its privacy, copy the link linking the presentation to share with other users. The presenter can decide to offer an individual fruition of the presentation or to control the progress through the "Go live" button (visible at bottom-left of the page). In the sharing section you can enter the emails of our collaborators and set the degree of involvement in the project (for example read only access, or edit permission). And finally you can copy the presentation, archive it or delete it.
Copy link