Enter all the desired criteria: the apps that satisfy them all will be searched; if a criterion is specified multiple times, only the last occurrence will be considered.

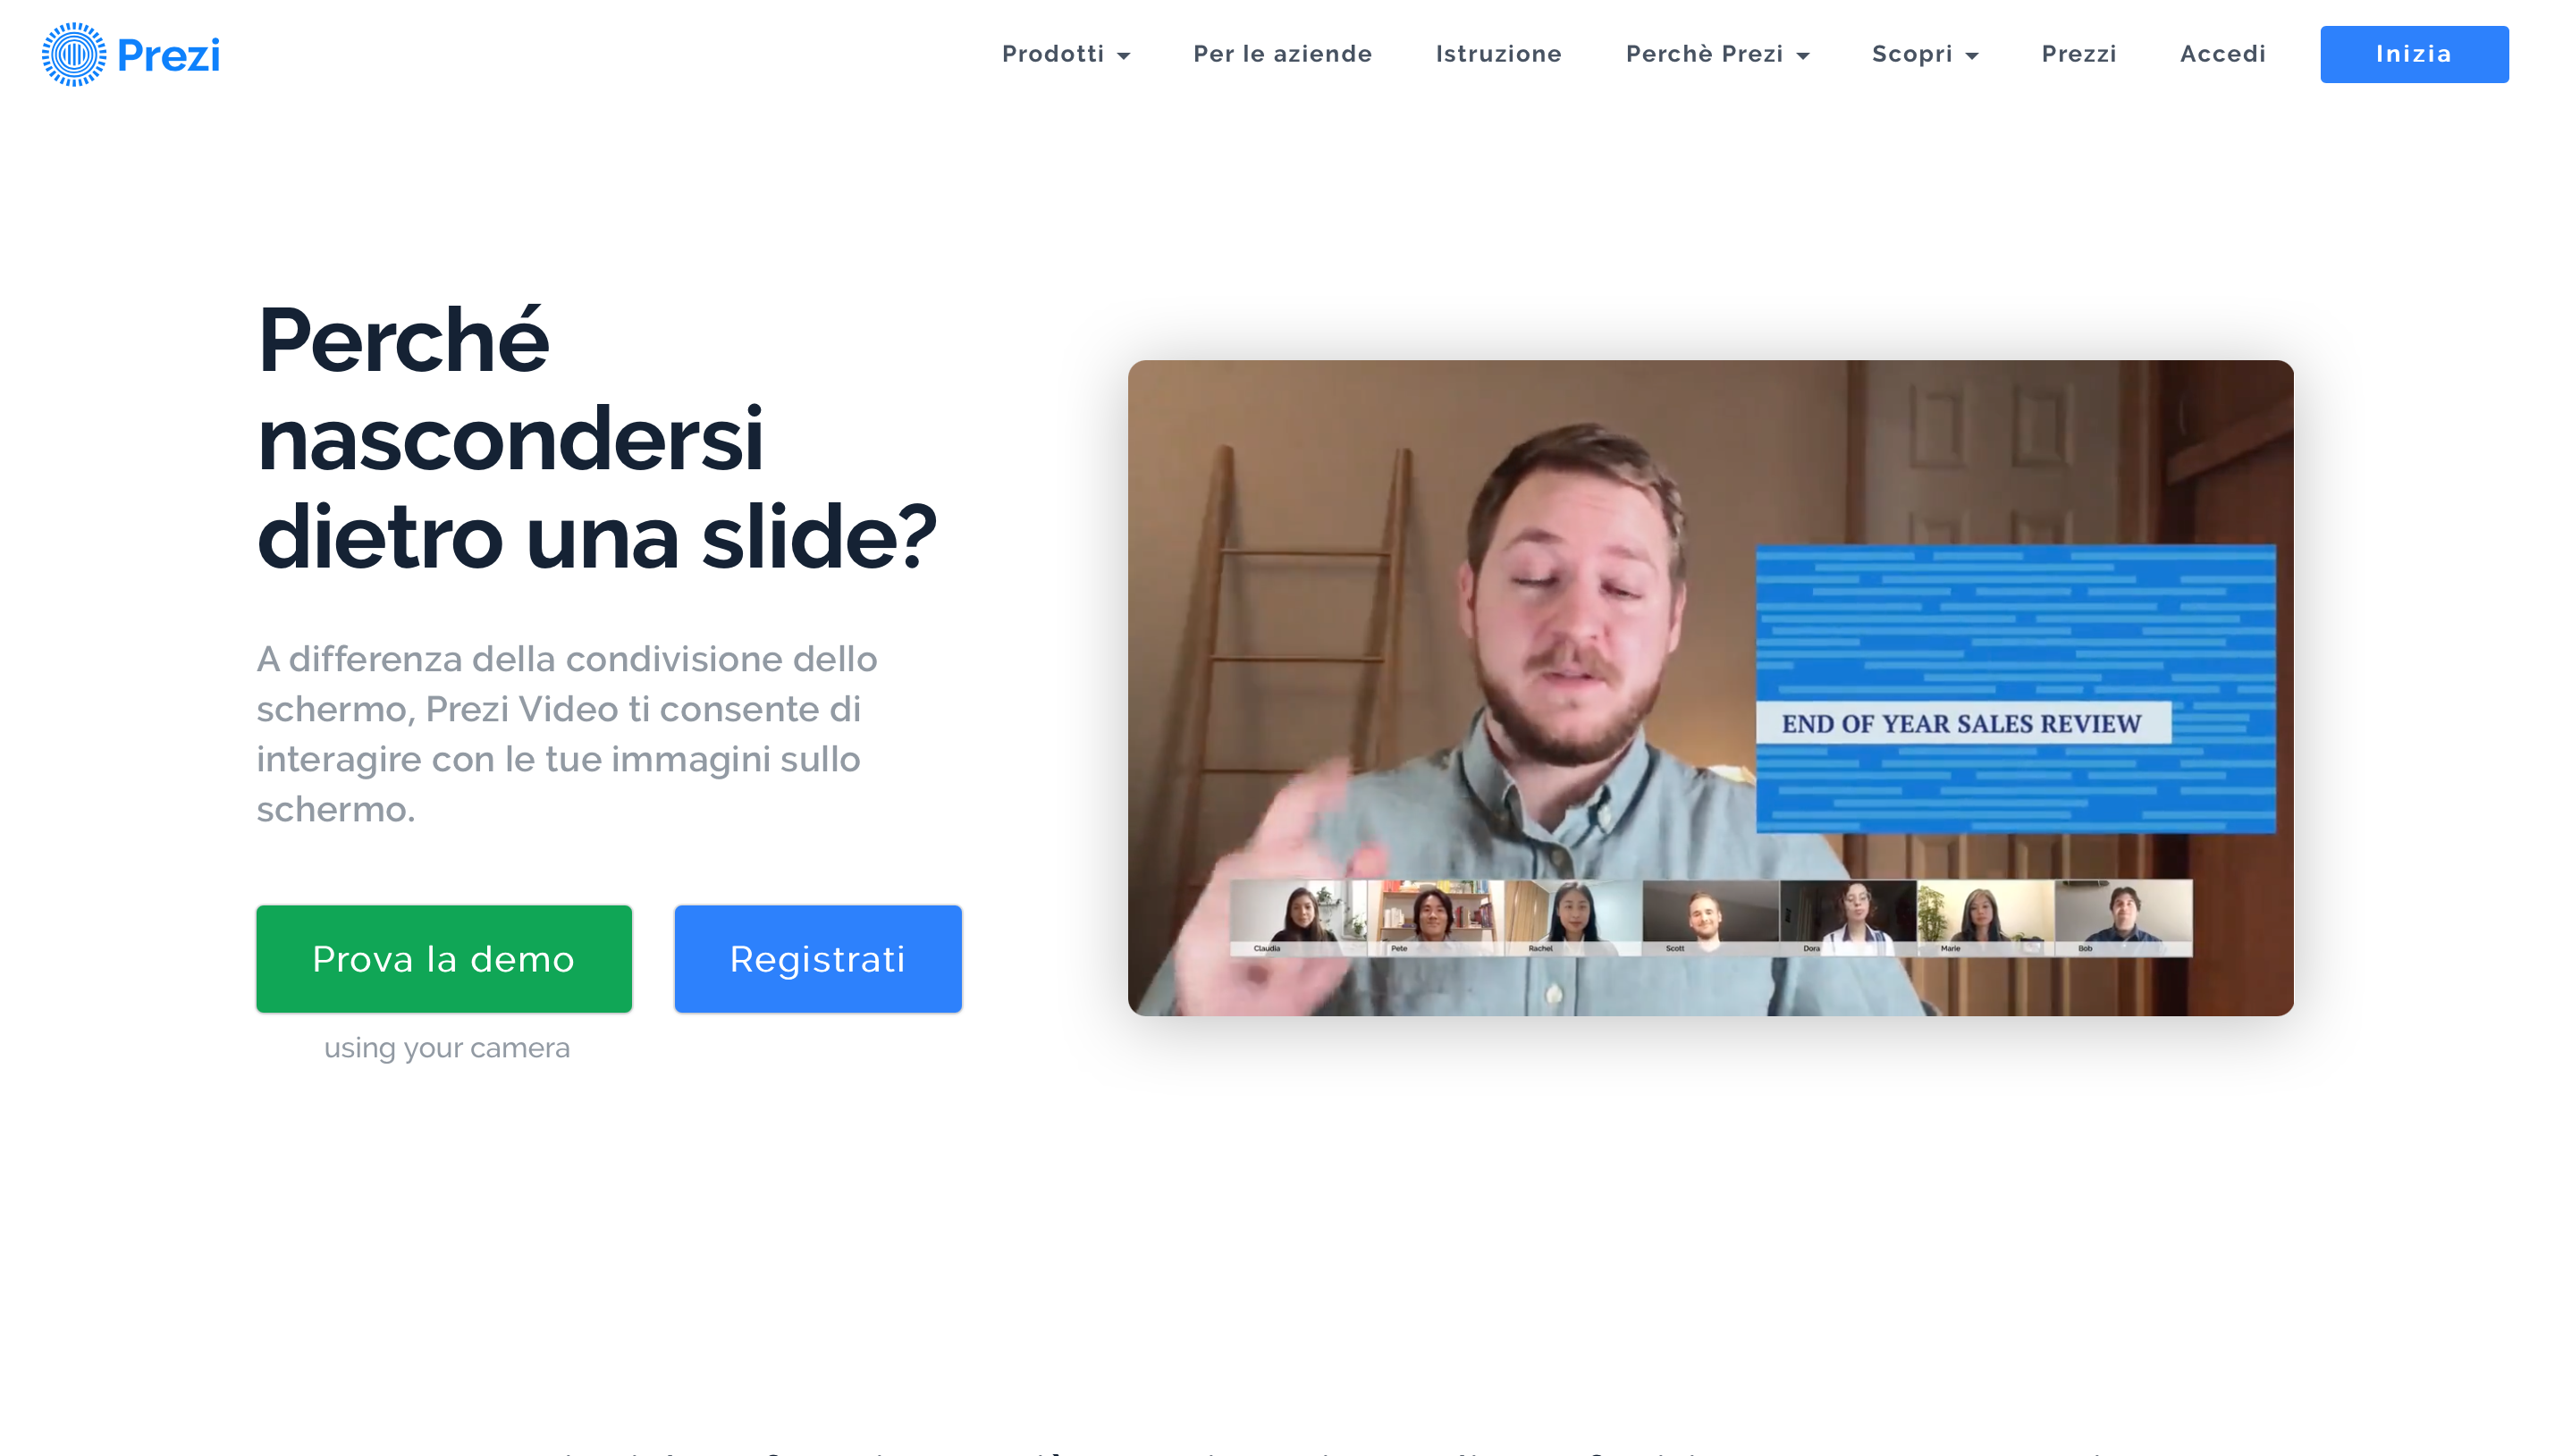 The following is the dashboard of your account that appears after registering. Here we can see all the projects we've done and create new ones.
In the menu on the left we can choose whether to use Prezi Video, Prezi Design or Prezi Present.
 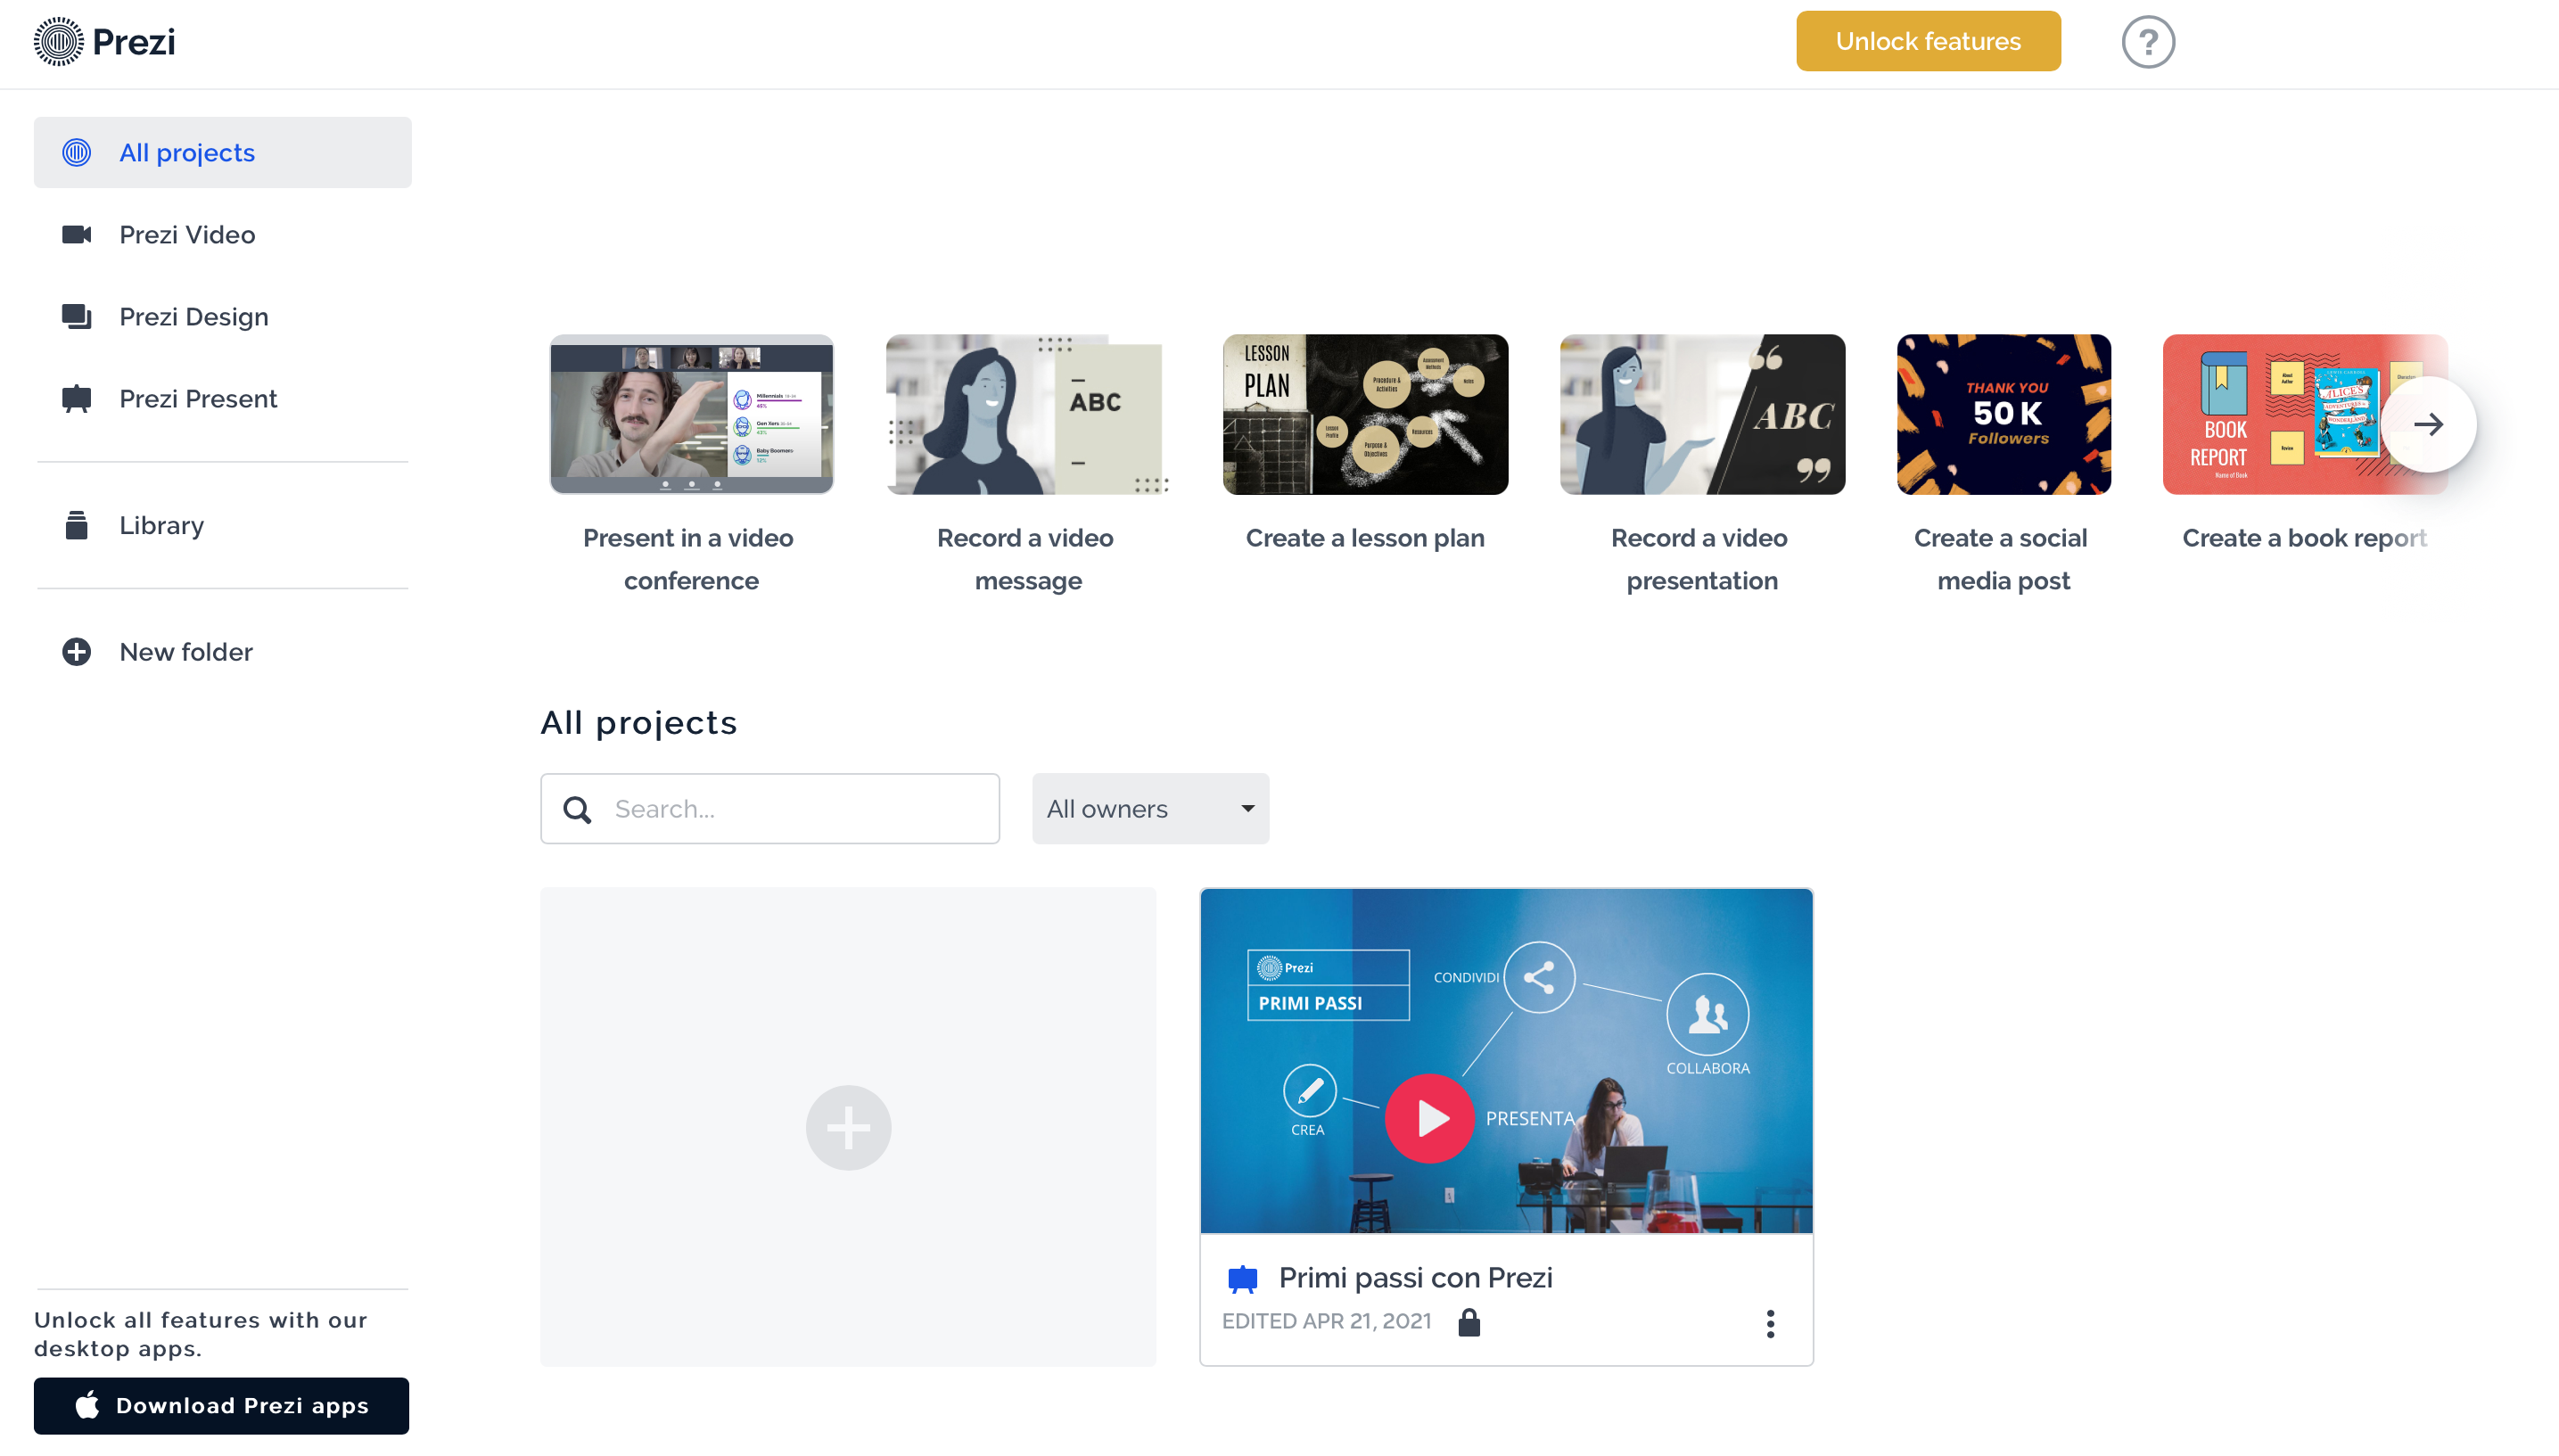 We choose to use Prezi Present and the app will ask us if we want to create a presentation from scratch or use a template from those provided by the app or convert a PowerPoint. The following is the editing screen of Prezi Present. From here you can proceed with the creation of the presentation by choosing the style, layout and inserting text, images, animations, shapes, PDF, audio, graphics and video by clicking on the "insert" button in the top menu. Once finished, you can share your presentation through links, invite collaborators, make a live presentation with Live Prezi or create a video with Prezi Video.
 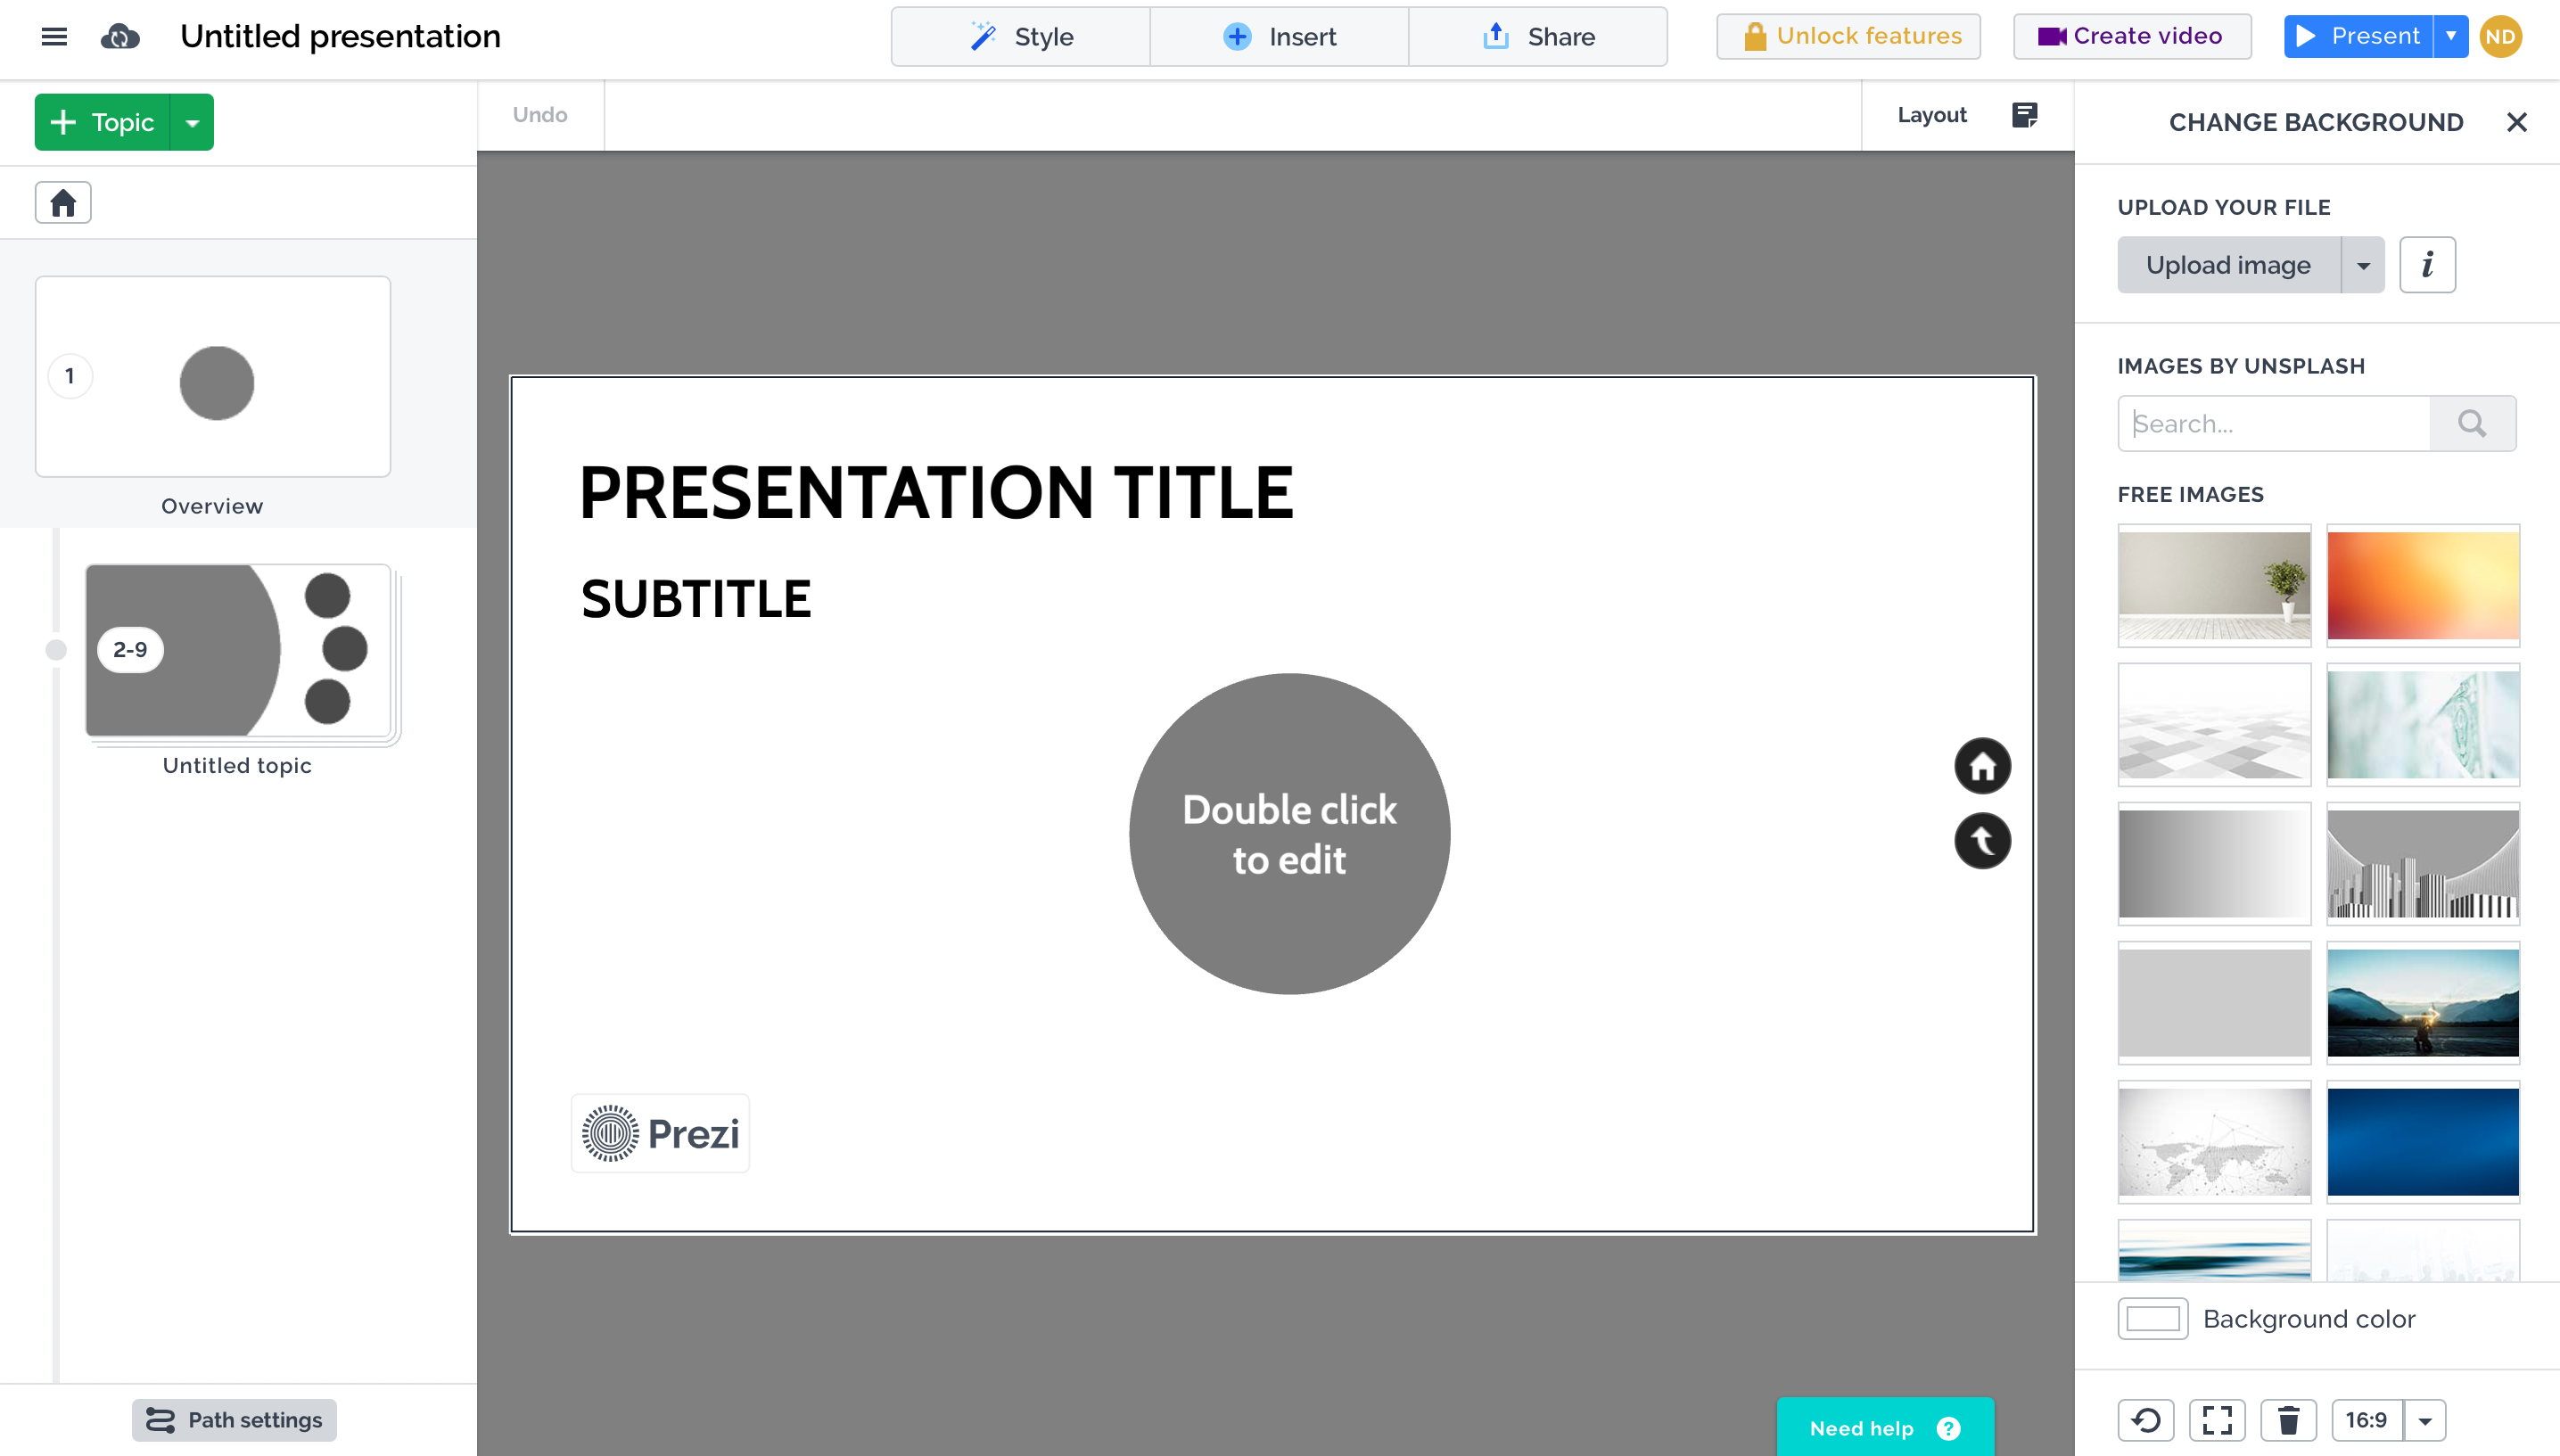 For Prezi Video we'll have to use Google Chrome; at this point Prezi Video is useful for making projects more interactive, since it will be possible to record a video that will appear next to the presentation in order to explain it to the audience. To do this we can import a PowerPoint from our PC or use Prezi Present.
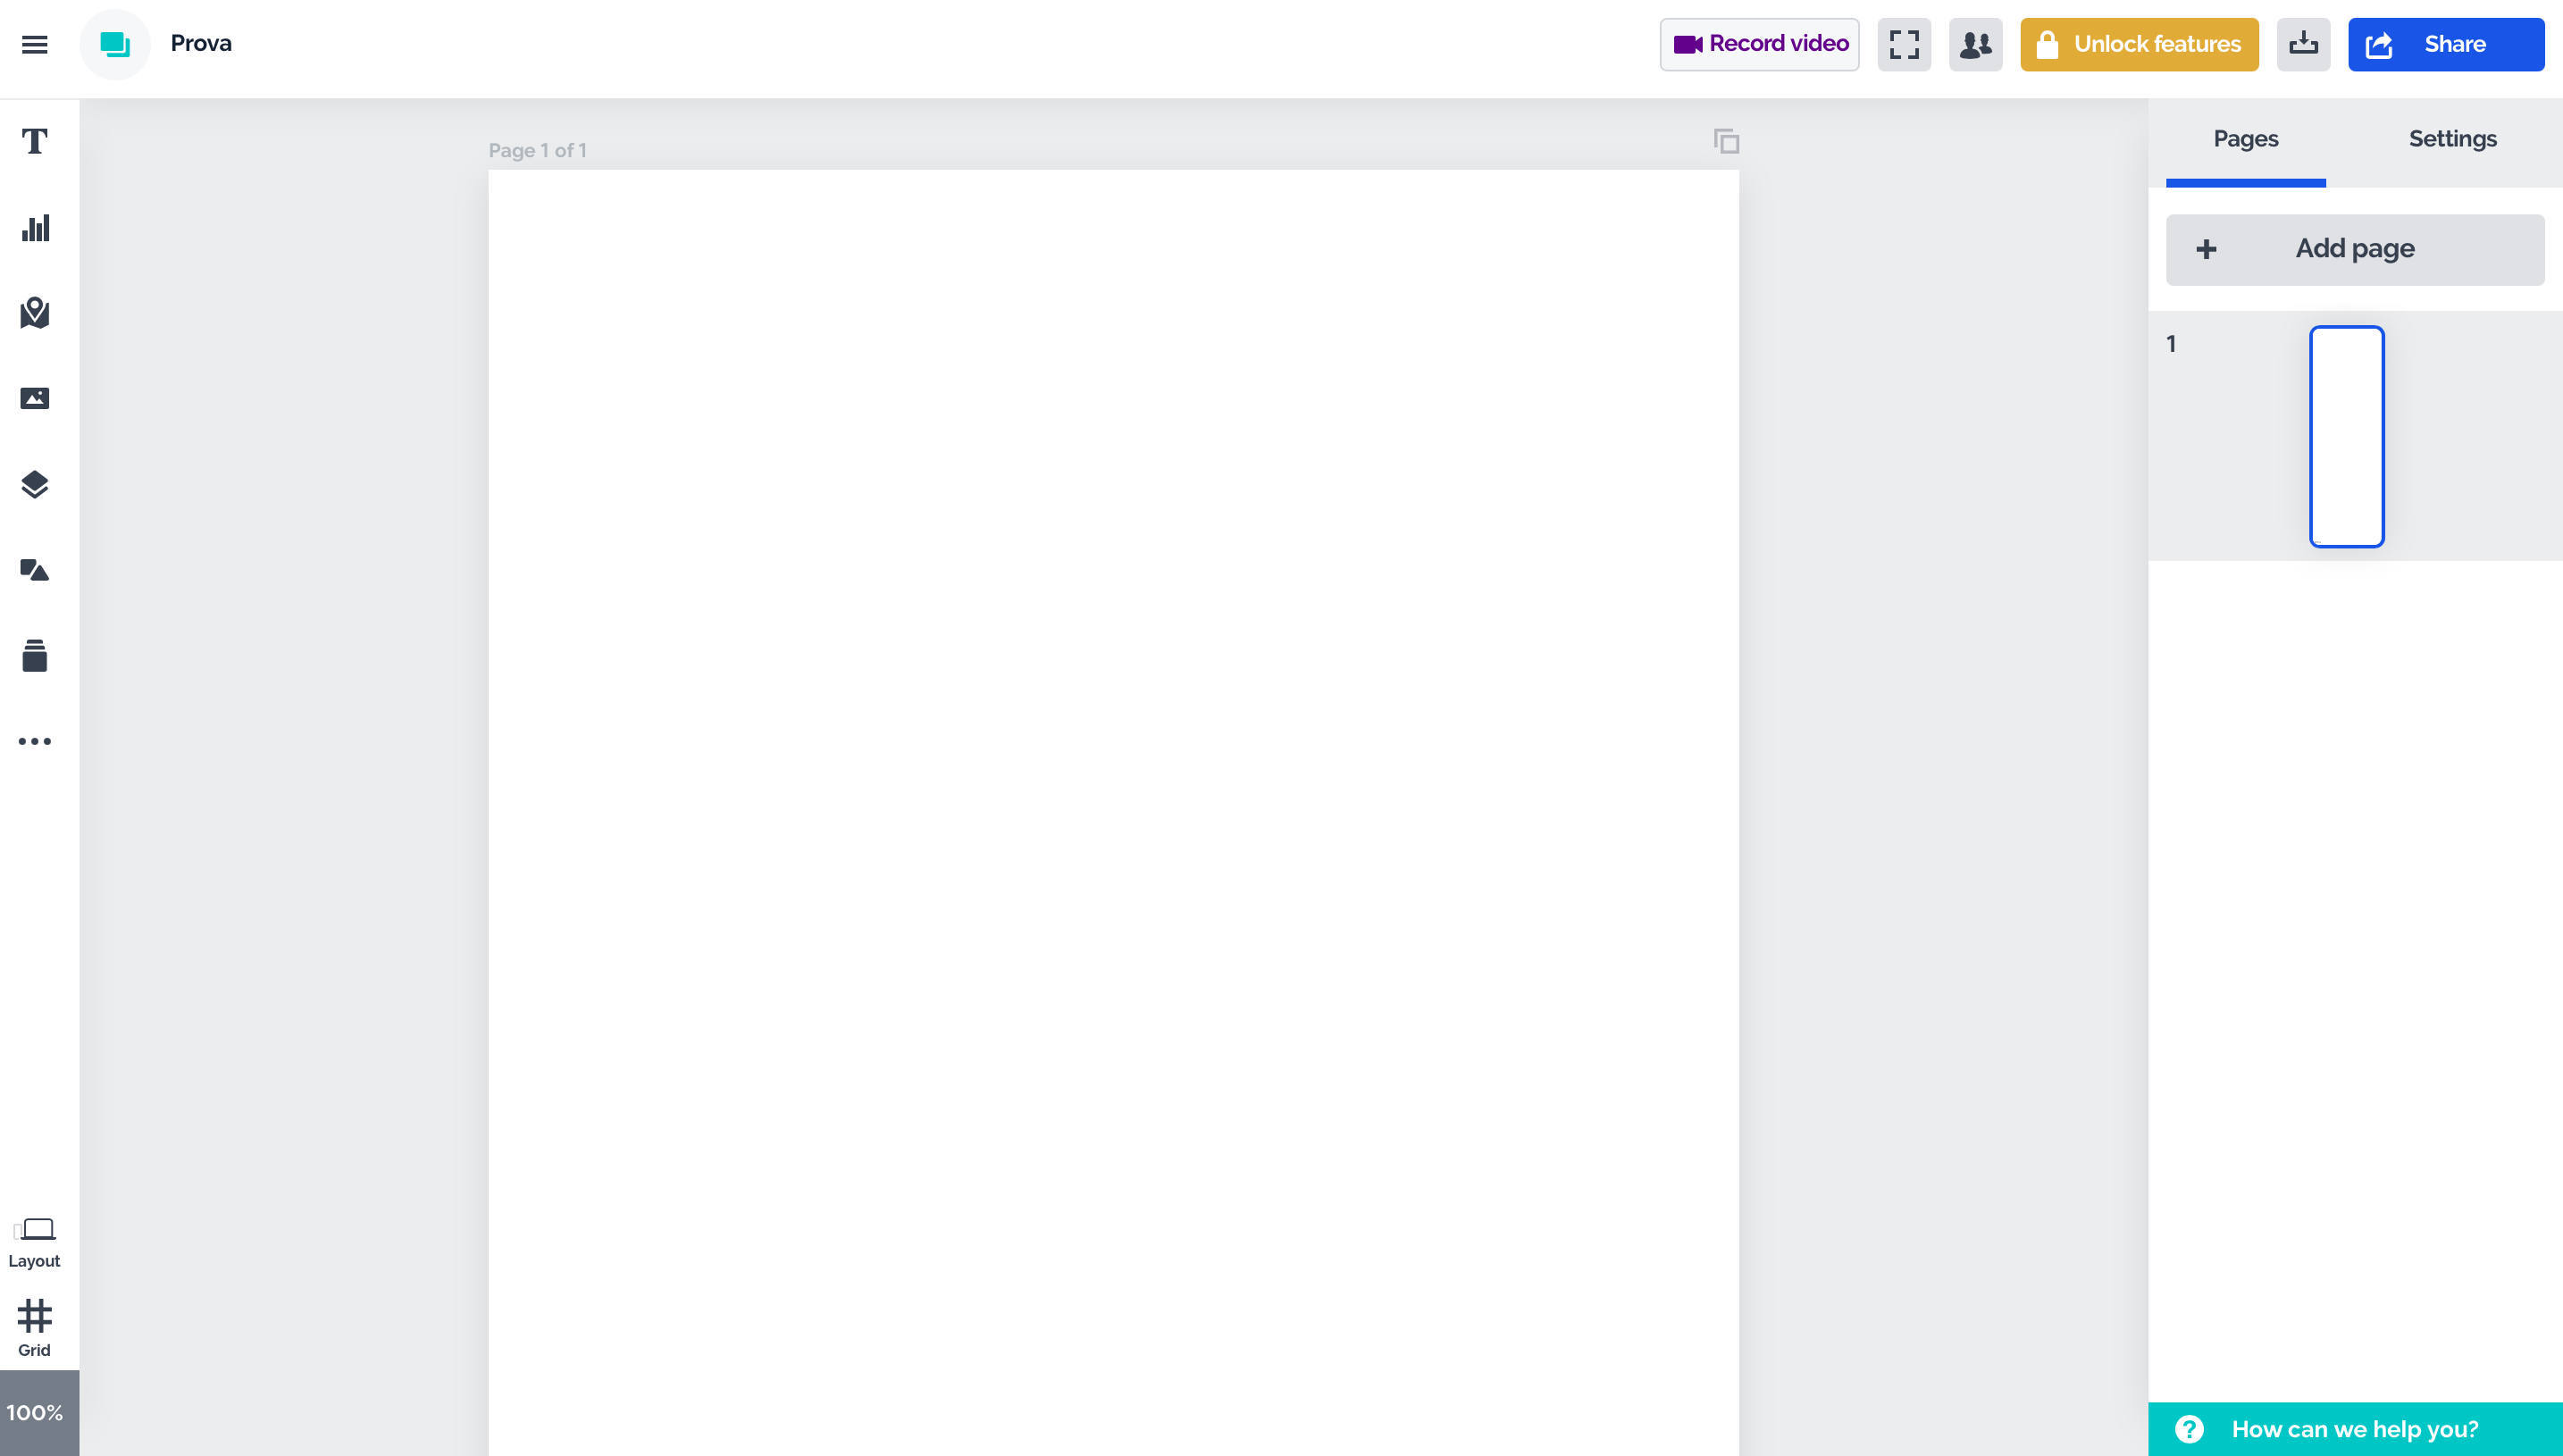
 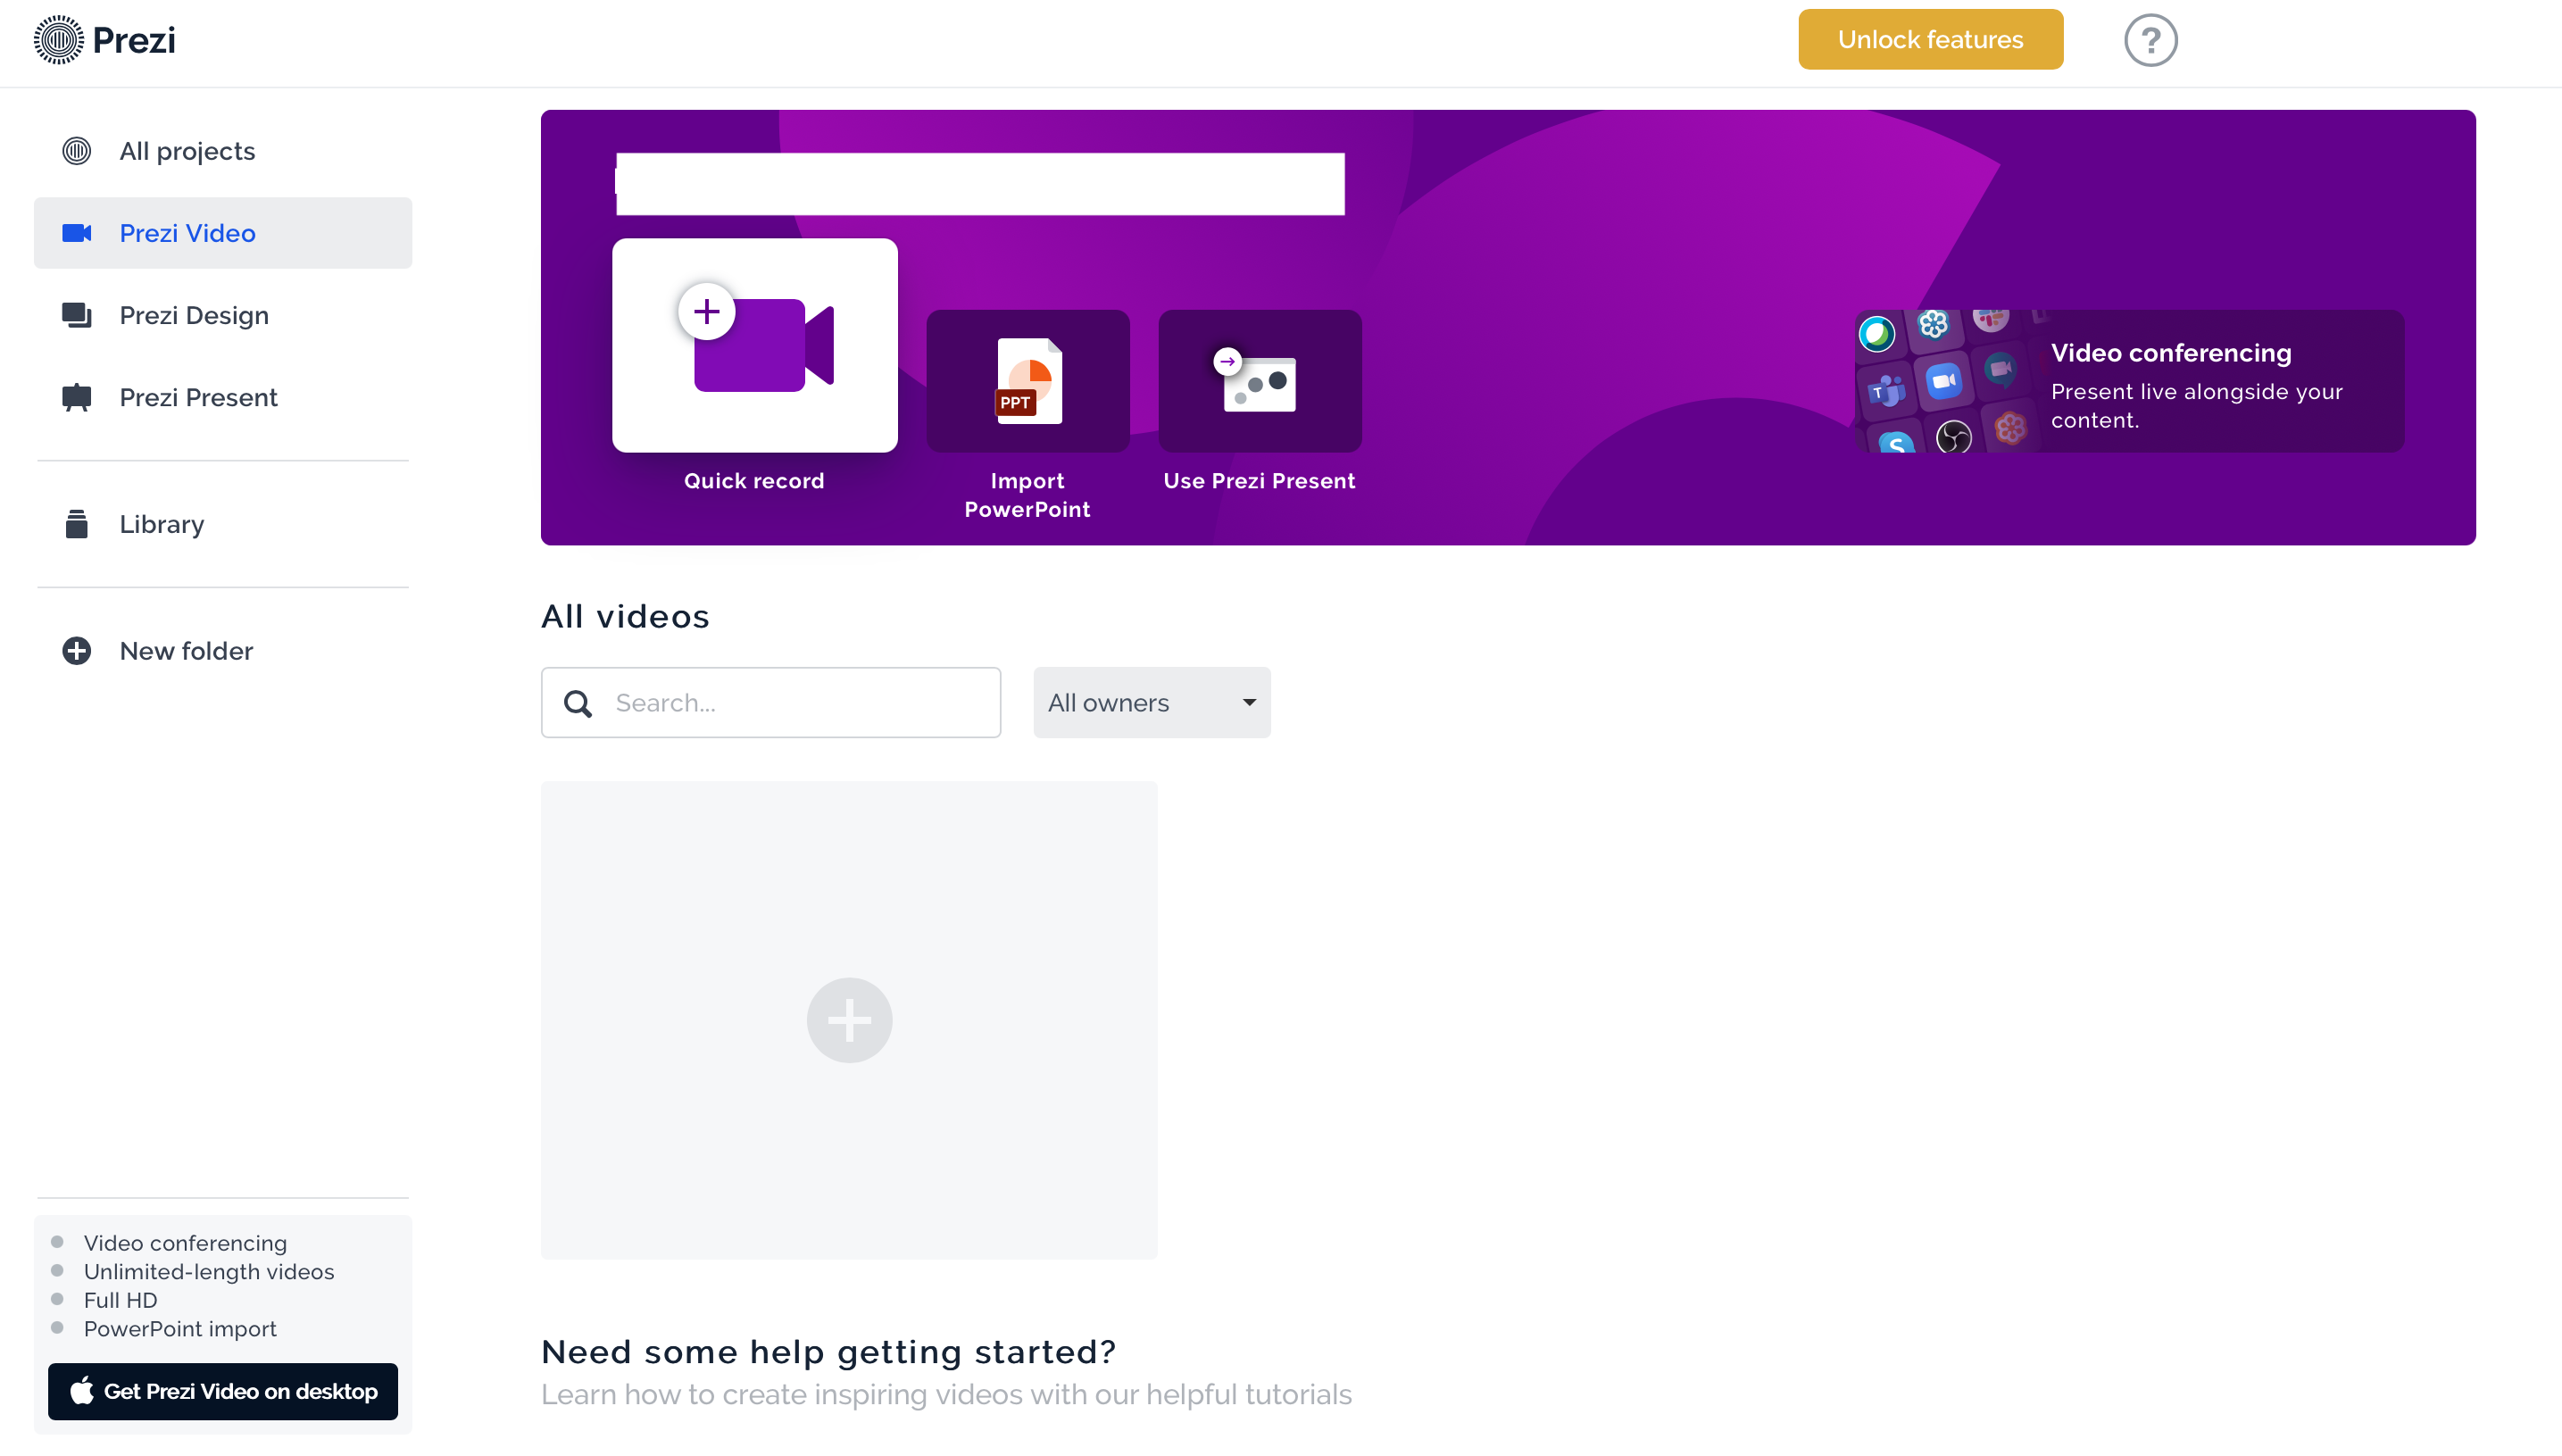 The following is the editing screen of Prezi Design. Also in this case it will be possible to choose a template or start from scratch. In the menu on the left we can insert text, graphics, maps, images, icons, shapes and other elements. It is also possible to insert media via Prezi Video, YouTube, Vimeo or by entering a URL.
Once finished we can share the project with other users through links.
Copy link