
Enter all the desired criteria: the apps that satisfy them all will be searched; if a criterion is specified multiple times, only the last occurrence will be considered.
 After signing up, it will open these two screens. On the first screen you have to choose which plan we want to get: Public (free account), Personal or Advanced (require payment). There's also a third premium account called Professional that offers more functions and more storage space (1TB). Pearltrees allows you try a premium account for 14 days and after the trial period, you can decide to continue and pay it, or just use the free account.
 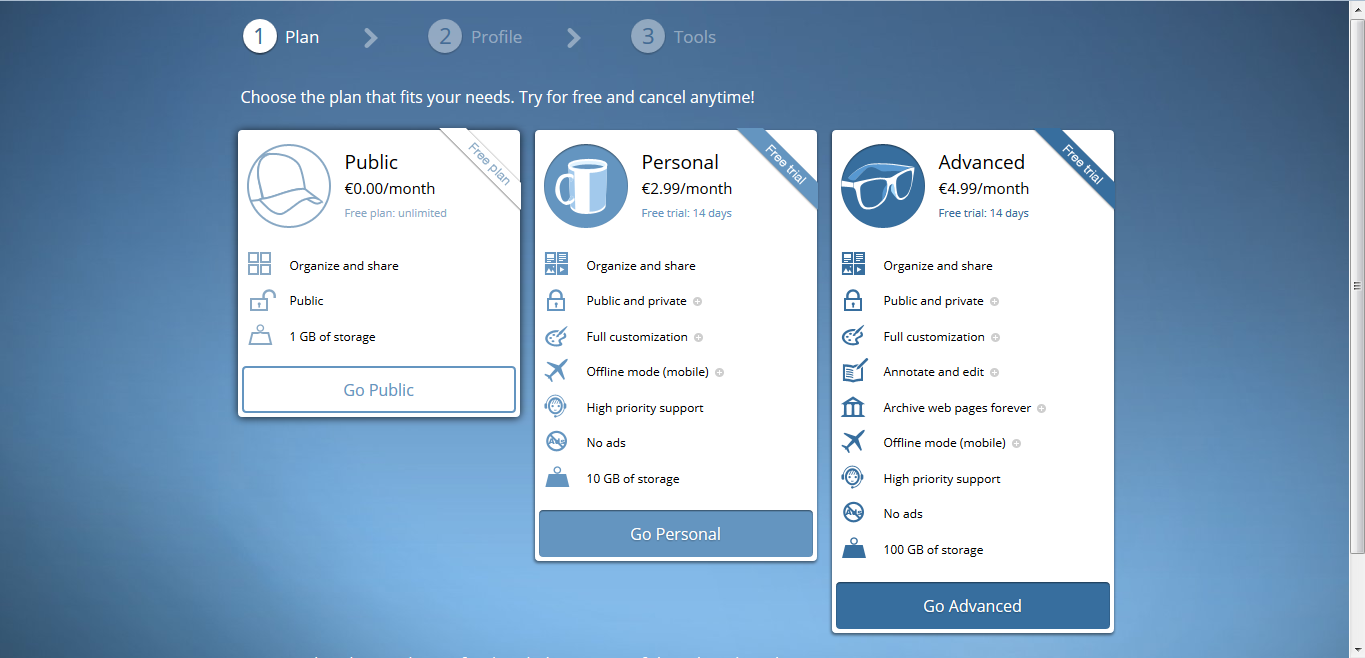 On the second screen you can insert your username, email and other optional account details (real name and brief biography)
 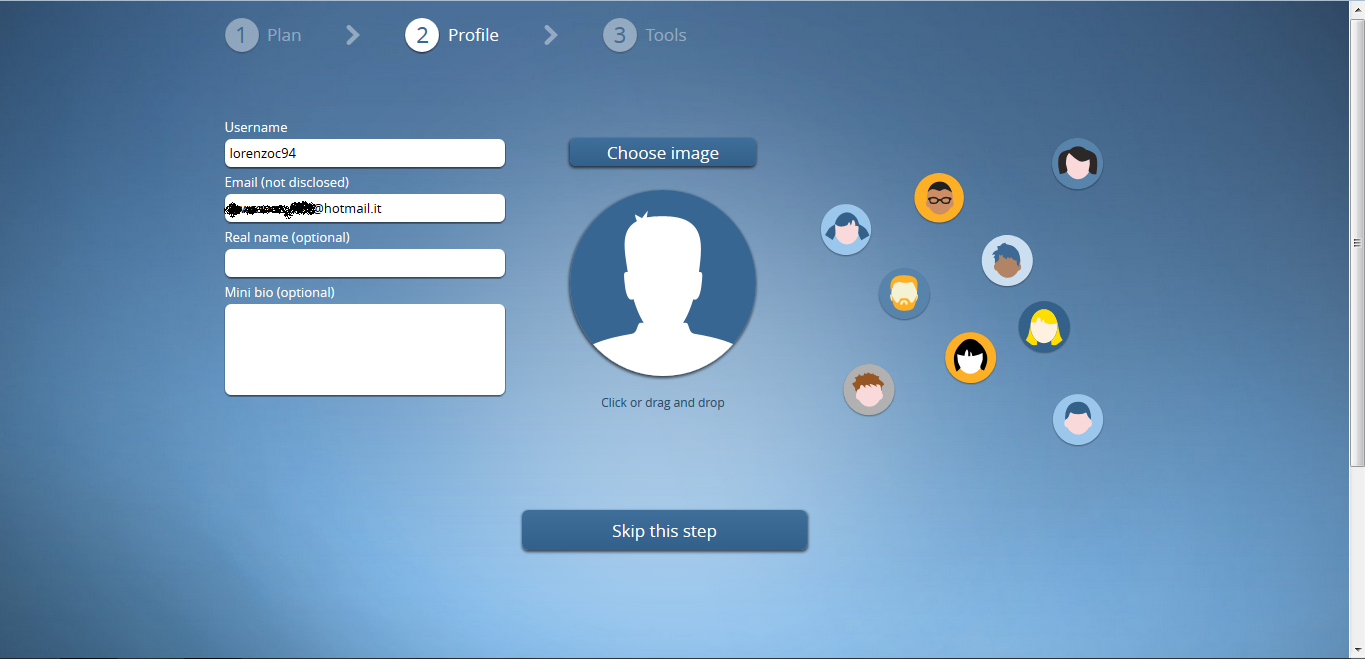 With the Public account, your Pearltrees page will look like this. Through the “add” function at the centre of the page or on top next to the nickname, you can add links to webpages, other web Apps, add files from your PC or from a cloud service (Google Drive or Dropbox for example). To add contents on Pearltrees you can even just drag and drop on your page.
 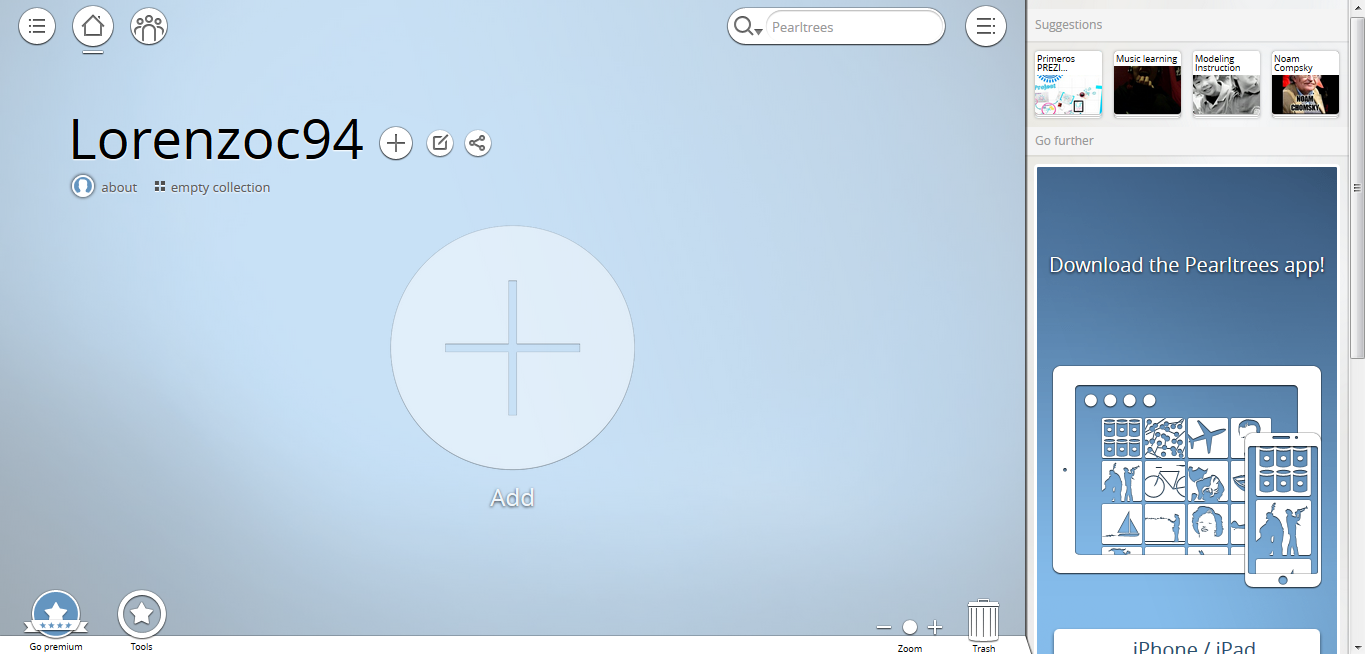 An example of a Pearltrees page with adjunct of web pages and images uploaded from a PC. Through Pearltrees is possible to browse other users’ public pages; the App itself, analysing your interests on or personal page, will show you some suggestions on the left of the screen. The easy use of Pearltrees is its strong point. At the beginning it can be difficult to understand how to organize and manage all of your interests through a single web App, but once the base functions are learned, it becomes easier and the user won’t have any difficulty in organizing and managing hundreds of webpages and files. Pearltrees also offers two types of services dedicated to business and school, that are called Enterprise and Education, and can be used by groups of users.
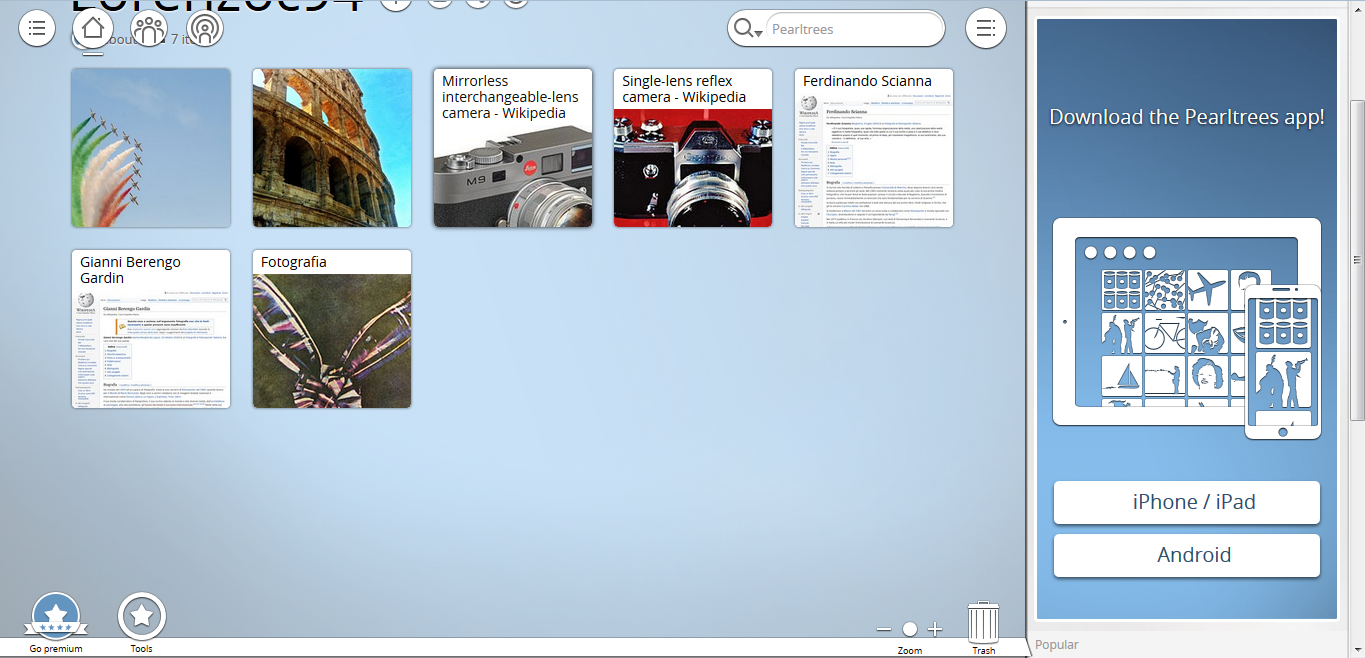


Copy link