
Enter all the desired criteria: the apps that satisfy them all will be searched; if a criterion is specified multiple times, only the last occurrence will be considered.
 Once you've registered, your profile dashboard will look like this. Here, you can view your projects, calendar, collaborators, and any integrations from external apps. You can create your own projects by clicking “Create New Project” in the top-right corner.
 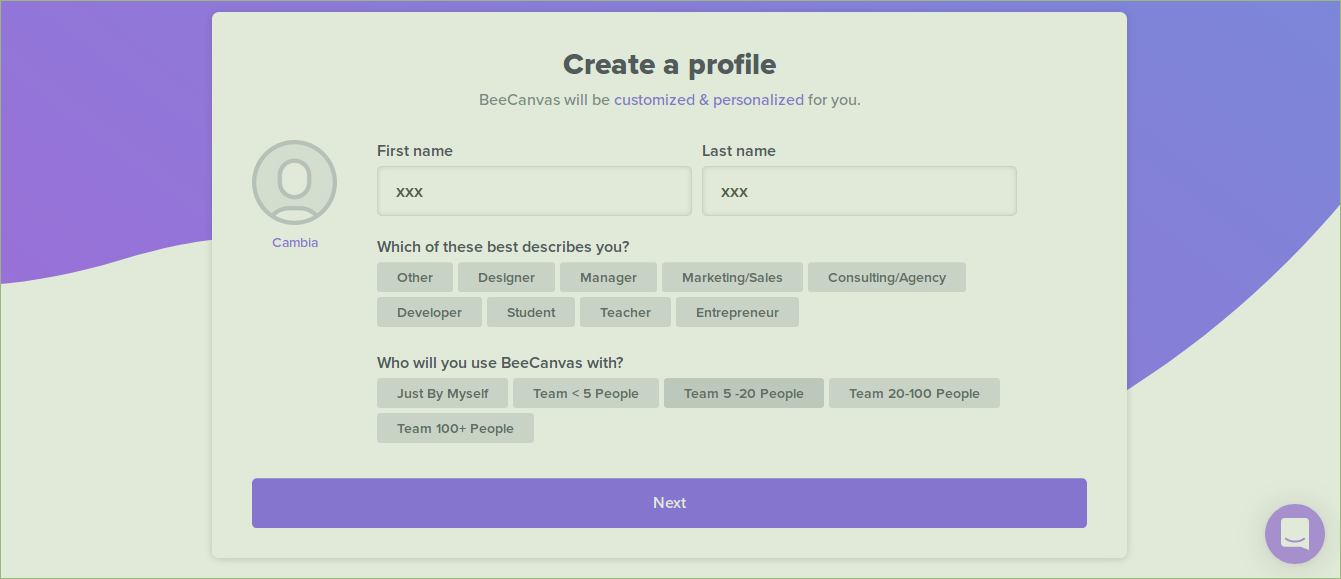 After choosing to create a new project, you will be asked to provide a description of it or select one of the suggested templates.
 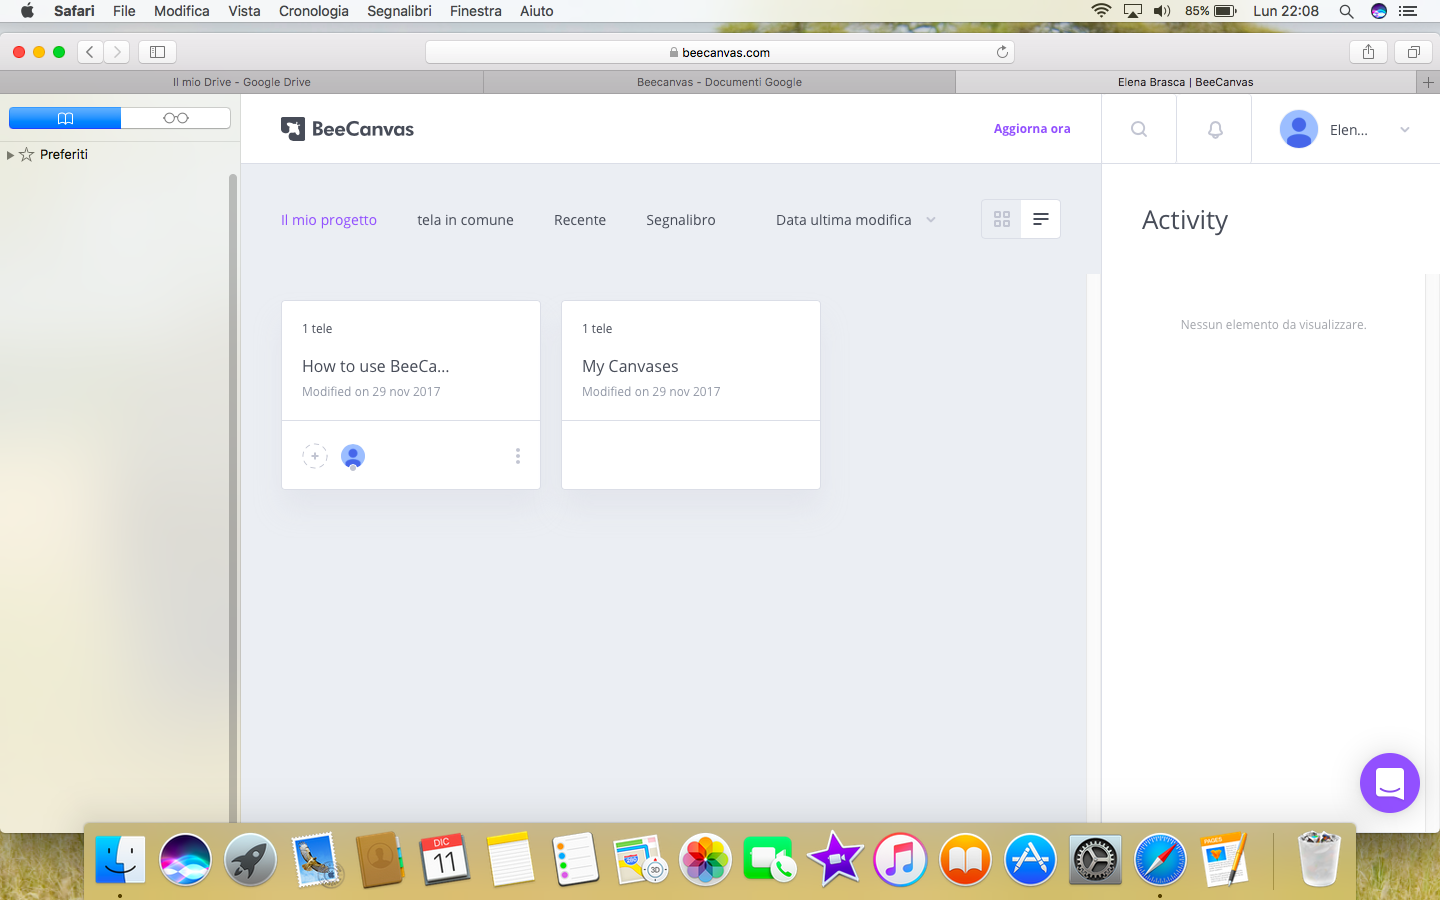 Once you've created the project, you'll have canvases available where you can work and enter data, as shown in the screenshot below. The canvases are divided into columns: to add different activities, you can use the + icon in each column. As you work, you can move the various elements (canvases) by dragging them to the desired section. The sections are customizable: you can rename them or create new ones.
 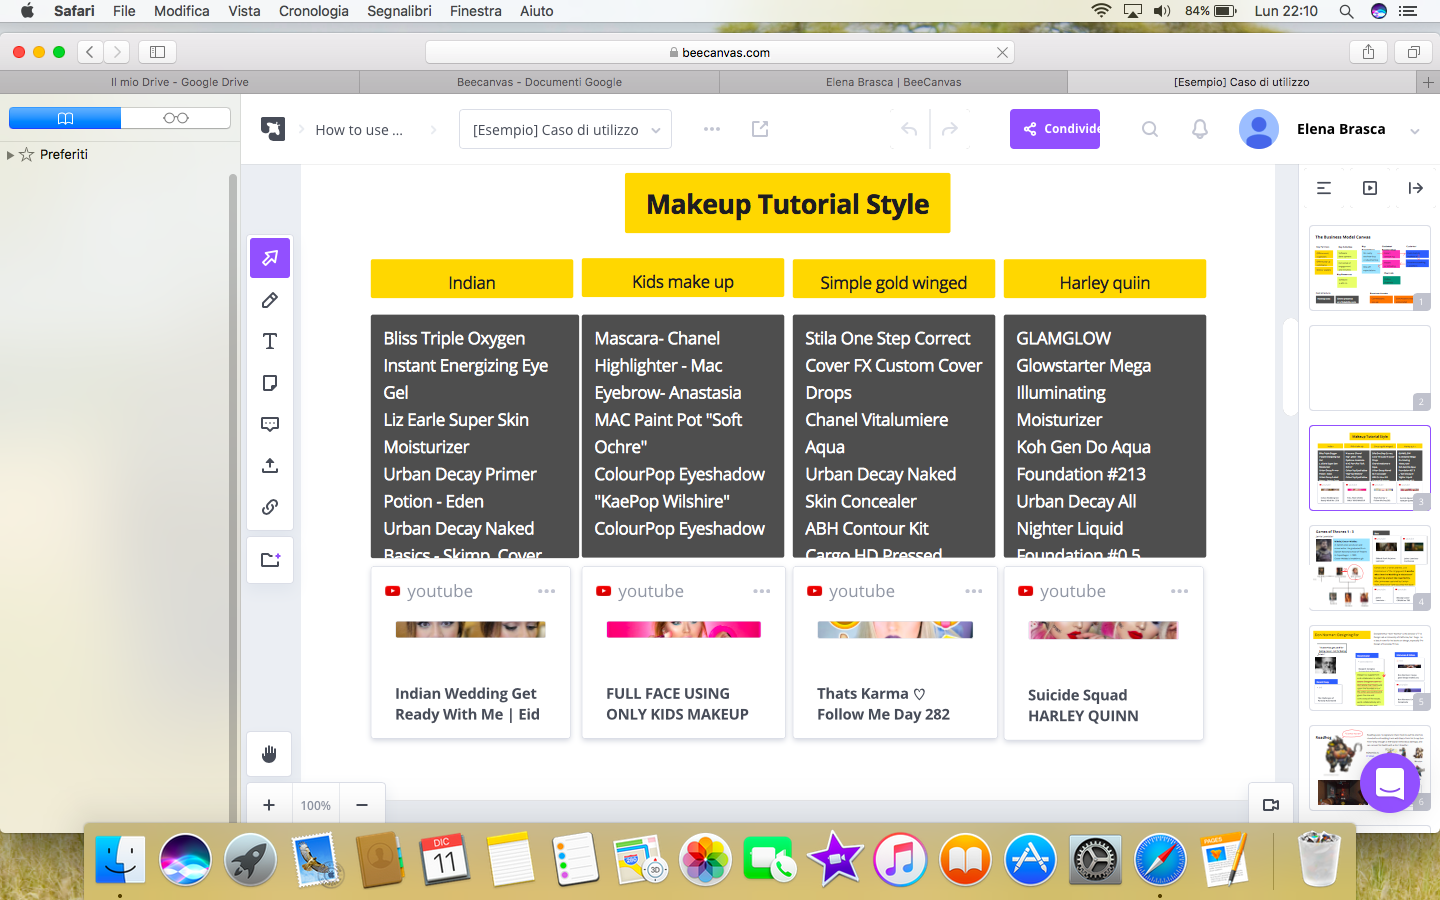 Below are some products created using ALLO templates.
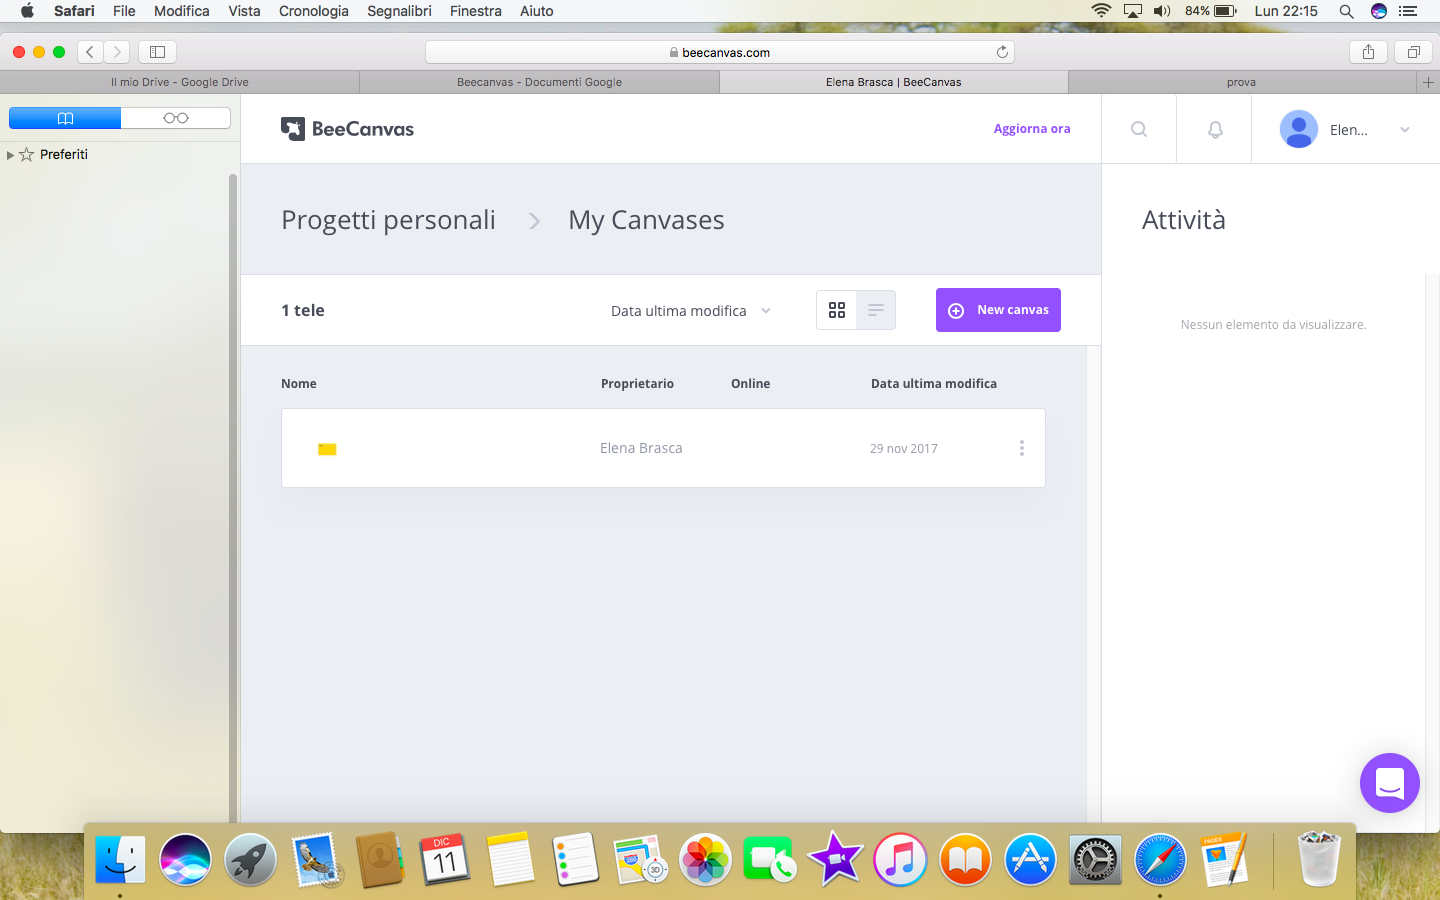


Copy link