Enter all the desired criteria: the apps that satisfy them all will be searched; if a criterion is specified multiple times, only the last occurrence will be considered.

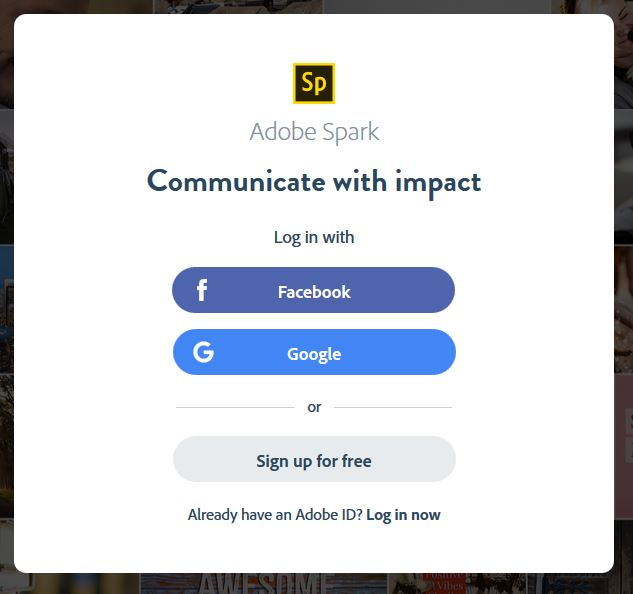
 Ecco i diversi modi con cui ci si può iscrivere ad Adobe Spark.
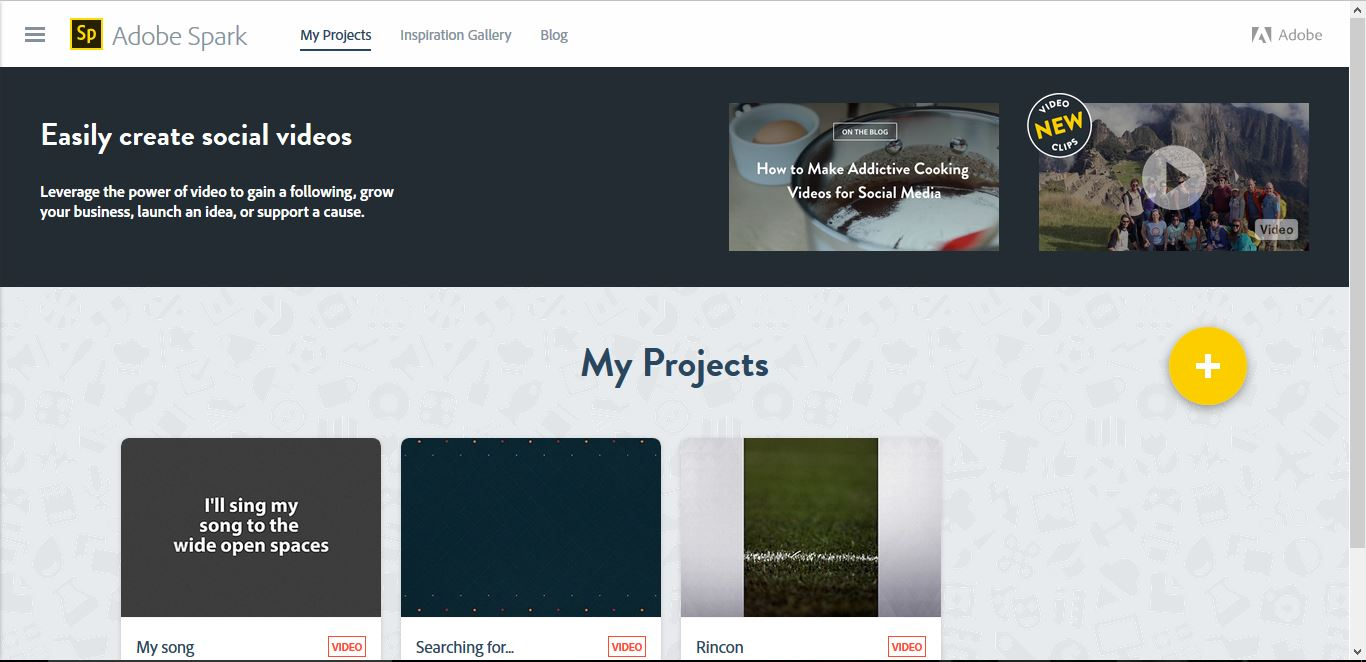
  Once registered or logged in, you‘ll see the dashboard with all your creations.
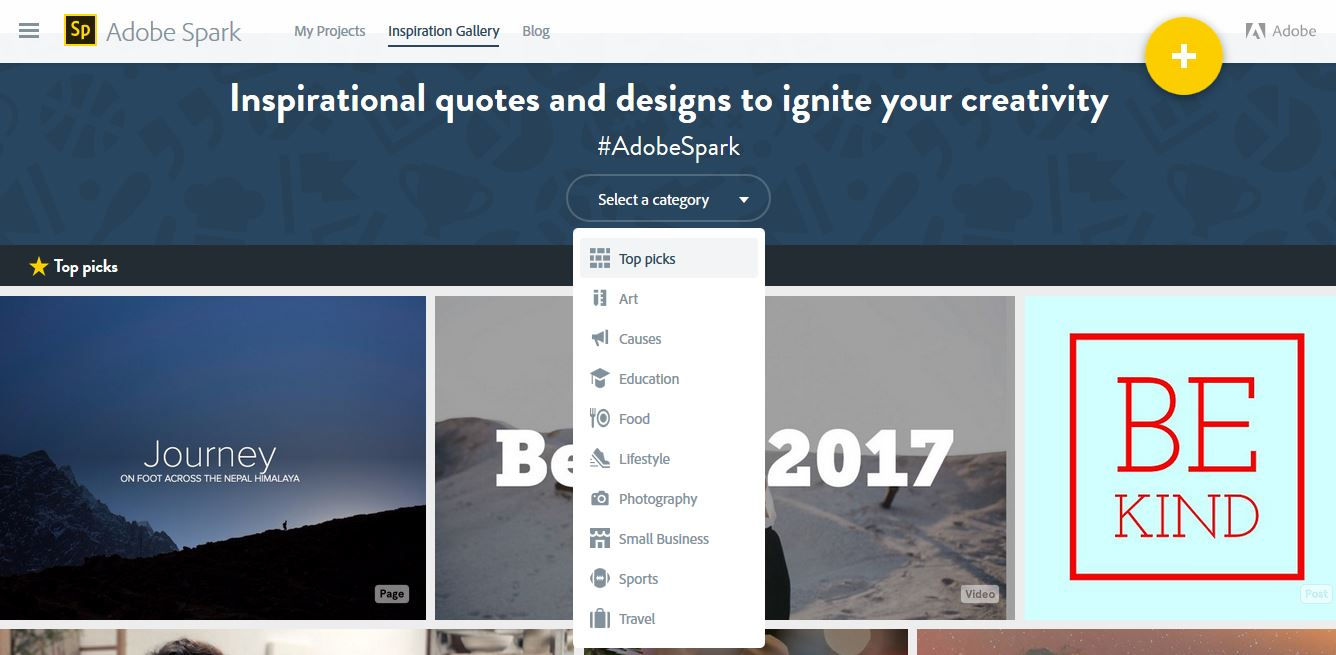
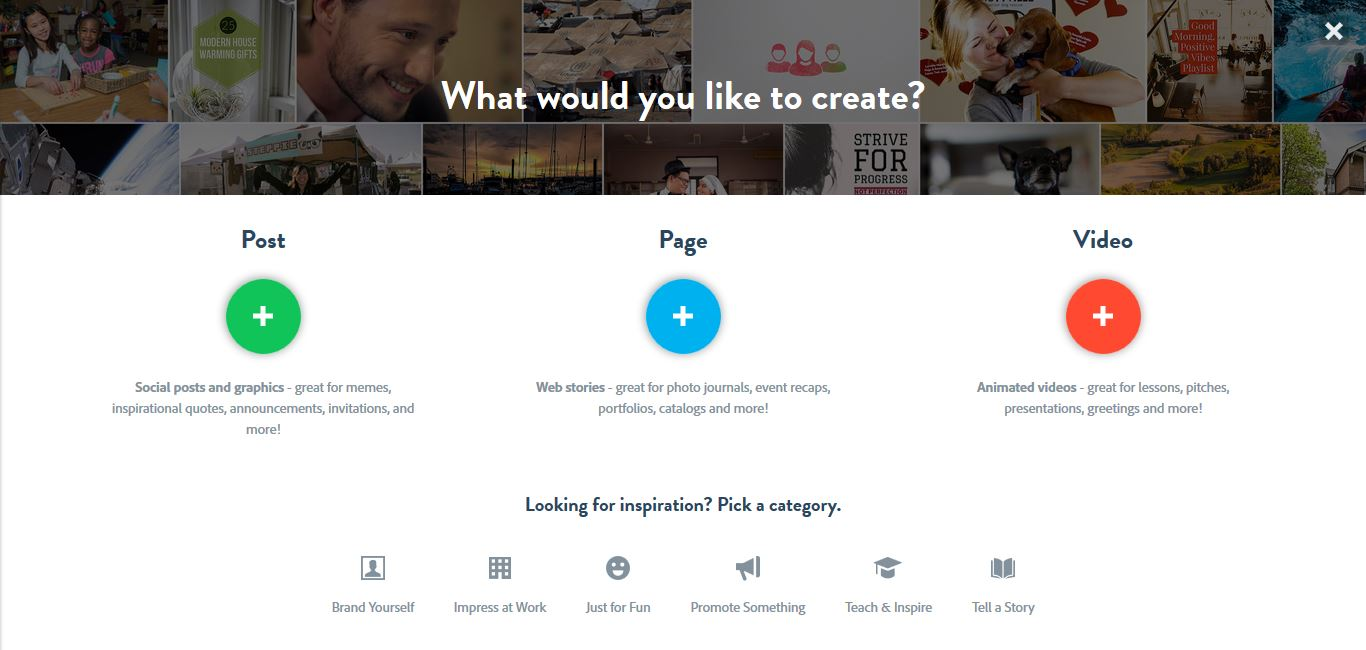
  The inspiration Gallery is a collection of other users products. You can get inspired by “Top picks”, the most clicked works, or just choose a category and explore. By clicking on "+" button you can start creating your product.
  Now, click on Video
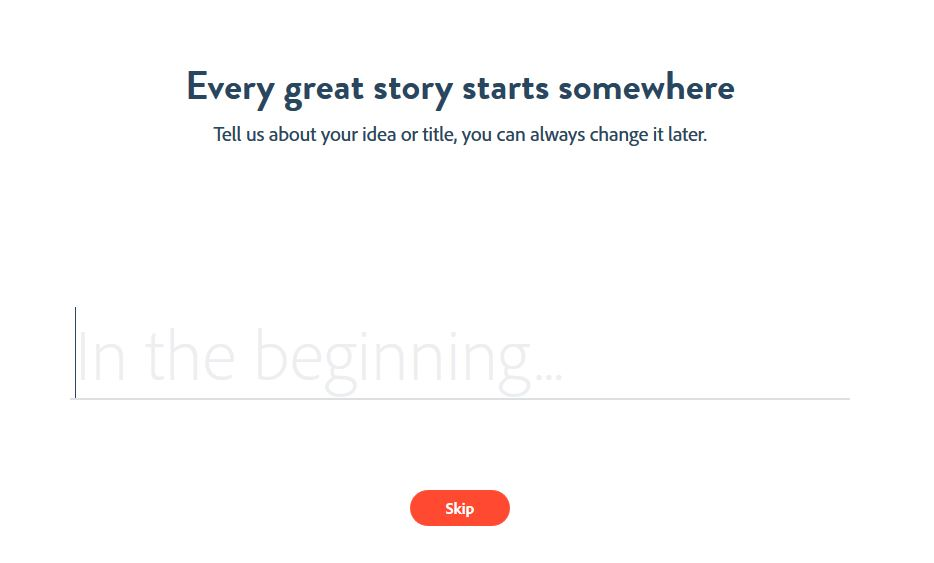
  The site suggests some steps to follow in the creation of the video, for example starting from a title or a main idea to develop the rest of the work.
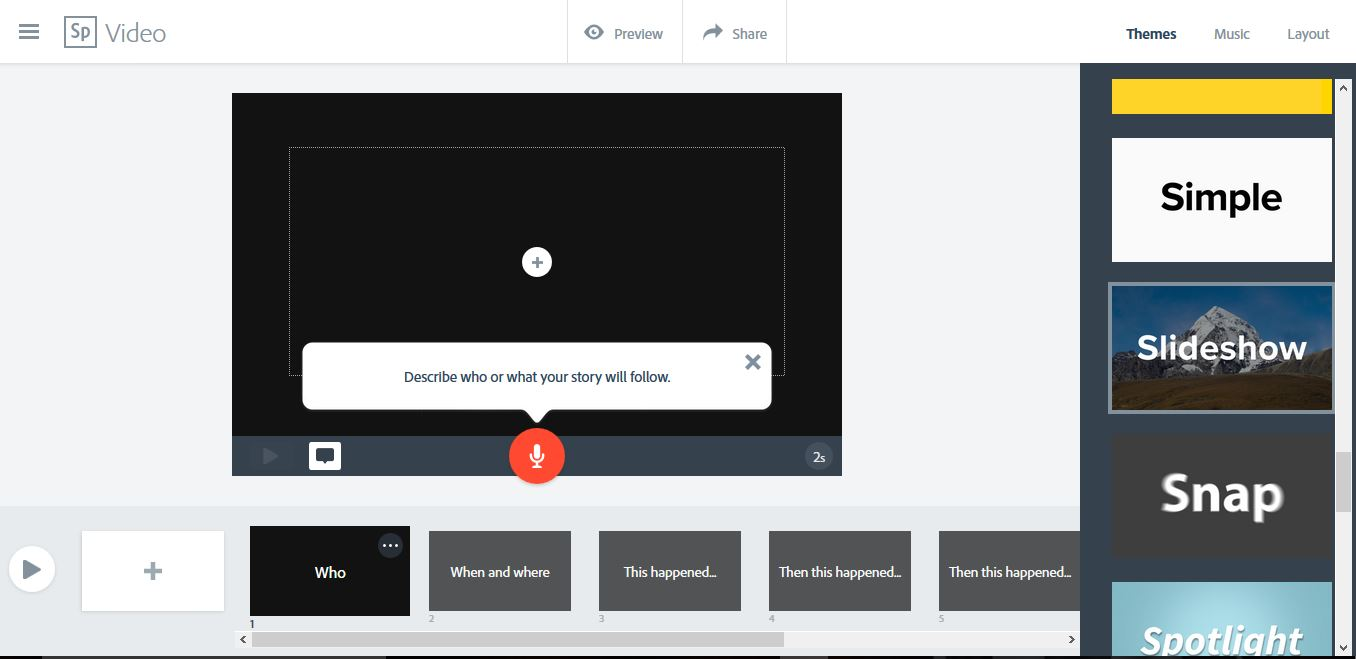
  This is the main screen from which you can start creating your video. On the bottom part there’s a preview of the slides, on the right a menu from which you can choose the theme that will characterize the background and graphics, the background music (there are default melodies, but you can also upload a song from your PC archive) and the layout. In the middle of the screen you can customize the slides, in fact by clicking on the "+" button you can add a text, a picture or a video and by clicking on the microphone icon you can record your voice. Doing so, you can describe each slide of the presentation.
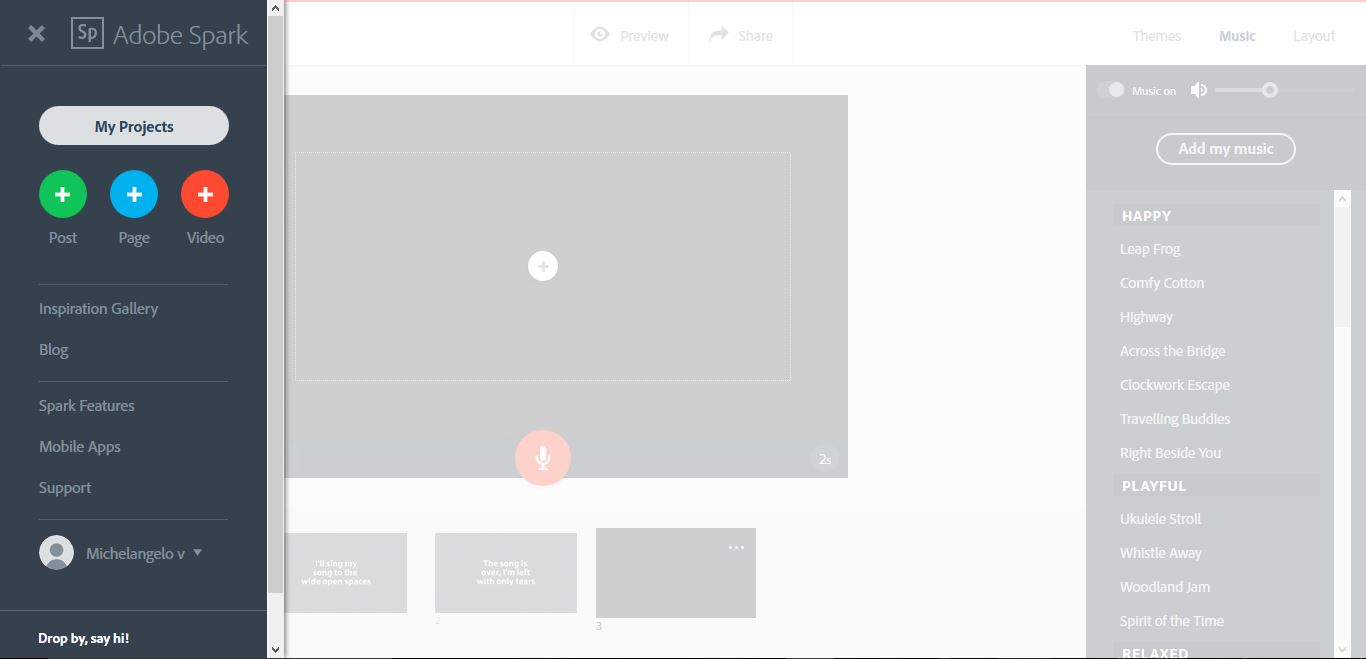
  By clicking on the drop down menu on the top left part, there is the dashboard, from which you can quickly reach all the sections of the site.
  By clicking on "Preview", at any time you can watch a preview of the presentation. Clicking on the "X" on top right allows you to go back to the creation screen.
 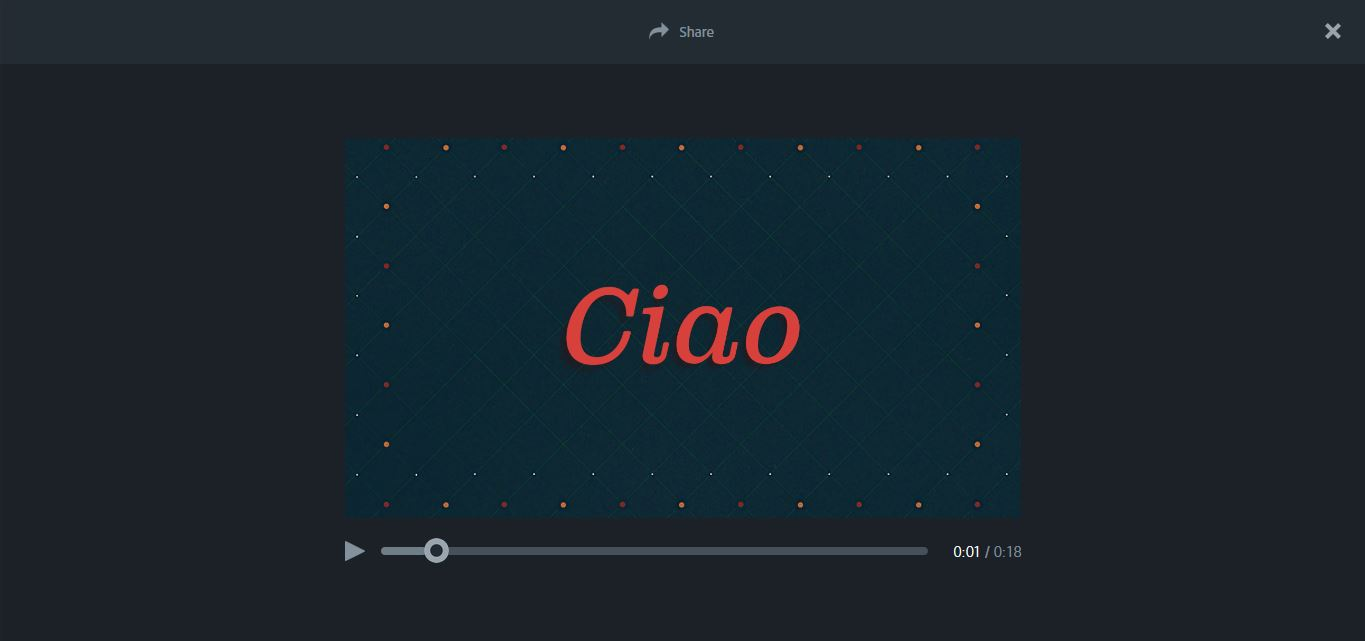 If you click on "Share" you have the opportunity to make the work accessible to everyone, and then share it on the main Social Networks.
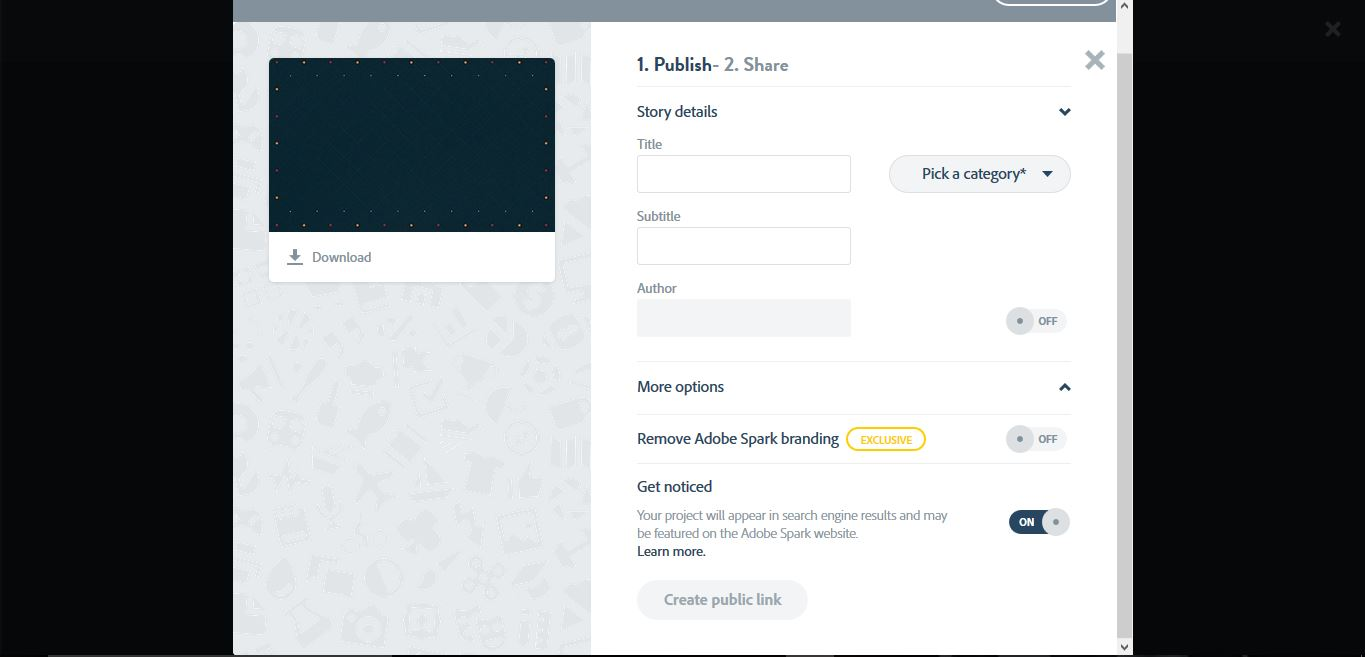
Copy link